
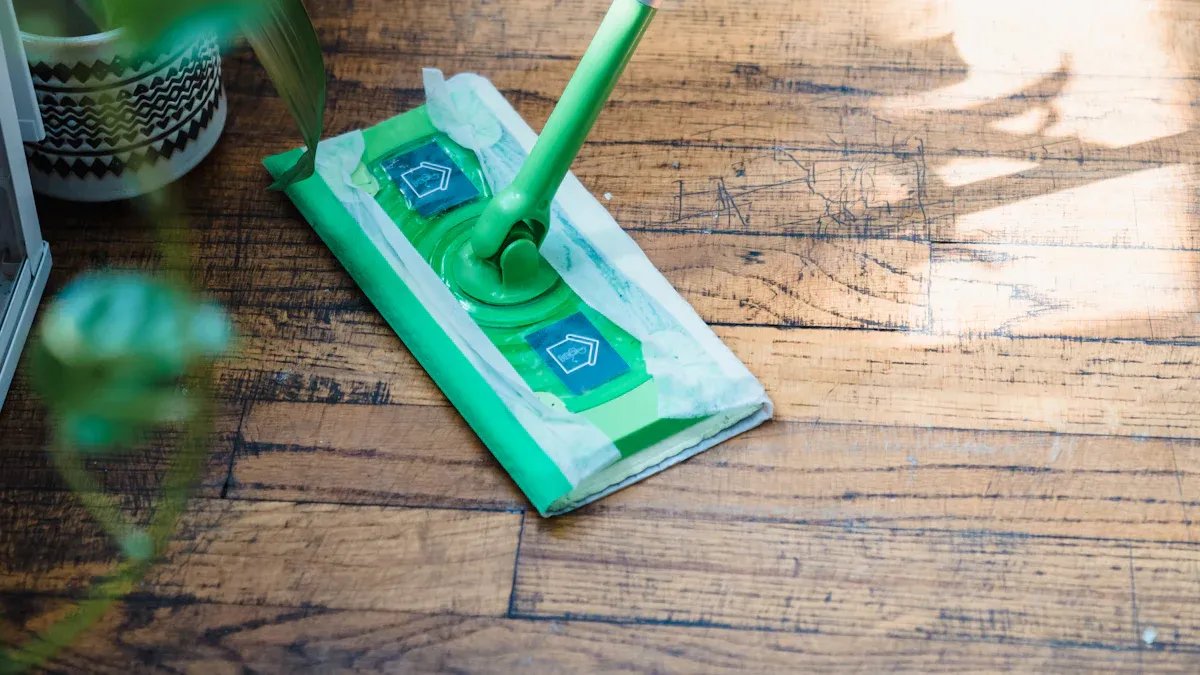
You may wonder, does vinyl need wax? Most modern vinyl plank flooring uses a special coating that resists dirt and stains, so wax can harm the surface. Applying wax on vinyl floor may lead to sticky buildup and make cleaning harder. Always check your vinyl plank flooring type before using wax. Manufacturers often recommend simple cleaning methods for vinyl. Proper care ensures your vinyl stays bright and strong. Many vinyl plank flooring products look shiny without extra wax.
Tip: Read the manufacturer’s care instructions for your vinyl plank flooring before starting any cleaning or waxing routine.
Does Vinyl Need Wax? How to Tell
Check Manufacturer’s Care Guidelines
You should always start by reading the care instructions from your floor’s manufacturer. These guidelines tell you how to clean and protect your vinyl plank flooring. Most manufacturers recommend that you sweep or vacuum daily to remove dirt. Use a microfiber mop and a pH-neutral cleaner for regular cleaning. Avoid harsh chemicals, abrasive powders, and steam cleaners. These can damage the surface and make it harder to care for luxury vinyl plank flooring.
Note: Never use wax on vinyl floor unless the manufacturer says it is safe. Many modern vinyl plank flooring products have a special finish that does not need wax. Using wax can leave a sticky residue and may even void your warranty.
Here are some common manufacturer recommendations:
- Sweep or vacuum daily to keep dust and grit away.
- Mop with a damp (not wet) microfiber mop and a gentle cleaner.
- Avoid ammonia, bleach, and abrasive tools.
- Use felt pads under furniture to prevent scratches.
- Do not use steam mops or wax unless the care guide allows it.
Following these steps helps you keep your vinyl looking new and prevents damage from improper products.
Identify Your Vinyl Floor Type
You need to know what type of vinyl you have before you decide if wax is needed. Vinyl plank flooring comes in several types, each with different care needs. Some floors have a no-wax finish, while others may need occasional polishing.
- Sheet vinyl comes in large rolls and is glued down. It is waterproof but can scratch or dent.
- Luxury vinyl plank flooring (LVP) and luxury vinyl tile (LVT) look like wood or stone. They have extra layers for strength and often use a click-together system.
- Rigid core vinyl plank flooring has a tough core and is waterproof. It is thicker and more durable.
| Vinyl Flooring Type | Description | Pros | Cons | Cost Range (per sq ft) |
|---|---|---|---|---|
| Vinyl Composite Tile (VCT) | Made from limestone, fillers, binders, and pigments; cut into tiles; needs polishing. | Inexpensive, easy DIY, easy repairs | Seams allow water in, fewer designs, shorter life | $1 – $4 (materials), $3 – $9 (installed) |
| Sheet Vinyl | Large rolls, glued down, waterproof but can scratch or dent. | Seamless, low cost | Can scratch/dent, may discolor | N/A |
| Luxury Vinyl Flooring (LVF) | Includes LVP and LVT; mimics wood/stone; thicker wear layer. | Durable, long-lasting, looks like real wood | Most expensive, may fade, quality varies | $1.50 – $12 (materials), $3 – $16 (installed) |
All vinyl types are waterproof, but the need for wax depends on the surface finish. Most modern vinyl plank flooring uses a urethane or enhanced coating. These coatings protect the floor and remove the need for wax. Older floors or VCT may need waxing to keep their shine.
Spotting a No-Wax or Factory Finish
You can often tell if your vinyl plank flooring has a no-wax or factory finish by looking at the surface. No-wax vinyl has a clear top layer that protects against stains and scratches. Urethane-coated vinyl offers even more protection and does not need wax or polish. Some floors use advanced coatings like aluminum oxide for the highest level of defense.
- If your floor looks shiny and smooth, it likely has a factory finish.
- If the care instructions say “no-wax,” do not use wax on vinyl floor.
- If your floor loses its shine, check if the manufacturer recommends a special polish instead of wax.
Vinyl flooring is made to be easy to care for. The materials and coatings used in vinyl plank flooring mean you rarely need to use wax. In fact, adding wax on vinyl floor can cause more problems than it solves. Wax can build up, attract dirt, and make cleaning harder. Most modern vinyl floors are designed for low-maintenance care, so you can keep them looking great with simple cleaning.
Wax on Vinyl Floor: Quick Assessment Checklist
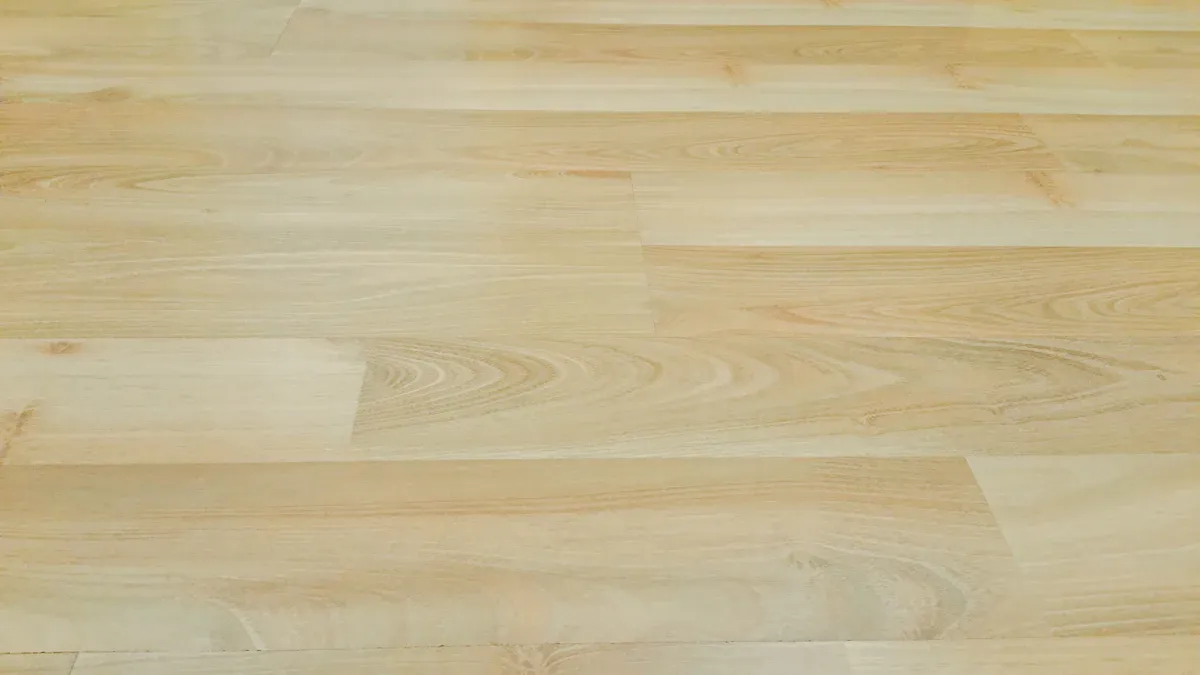
Signs Your Floor Might Benefit from Waxing
You may wonder if floor waxing is right for your vinyl. Some older vinyl floors, especially those without a factory finish, can lose their shine over time. If you see dull spots or faded areas, floor waxing might help restore the look. Waxing can also help fix scratches and scuffs on older vinyl. If your floor has no protective coating and shows signs of wear, waxing could add a layer of shine and protection.
Look for these signs before you start floor waxing:
- The vinyl looks dull even after cleaning.
- You see many scratches and scuffs that regular cleaning does not fix.
- The floor has no clear top layer or factory finish.
- The manufacturer’s guide says waxing is safe for your floor.
- You want to fix scratches and scuffs and add shine to an older vinyl surface.
Tip: Always test a small hidden area before full floor waxing. This helps you see how the wax reacts with your vinyl.
Signs to Avoid Wax on Vinyl Floor
Most modern vinyl floors do not need wax. In fact, waxing can cause more harm than good. If your vinyl has a factory finish or a urethane coating, floor waxing is not needed. Wax on vinyl floor can create a sticky mess and attract dirt. Wax-based cleaners can weaken adhesives and dull the finish. This makes stains harder to remove and can damage your floor’s appearance.
You should avoid floor waxing if:
- The manufacturer’s care guide says “no-wax” or warns against wax on vinyl floor.
- Your vinyl has a shiny, smooth surface from the factory.
- You use luxury vinyl plank flooring or luxury vinyl tile.
- You want to prevent stains and keep cleaning easy.
- You want to avoid long-term damage to the wear layer.
Commercial flooring standards warn that wax, steam mops, and ammonia can harm vinyl. These products can break down the surface, making it easier for stains to set in and harder to fix scratches and scuffs. Floor waxing on modern vinyl can also void your warranty.
Note: If you are unsure, always follow the manufacturer’s instructions. Wax on vinyl floor is rarely needed for new floors.
Risks of Wax on Vinyl Floor
Surface Damage and Sticky Residue
When you use wax or try floor waxing on modern vinyl plank flooring, you risk damaging the surface. Many industry professionals have noticed that using too much wax or strong cleaners on no-wax vinyl can leave a sticky film. This sticky layer attracts dirt and makes your floor look dull. If you use abrasive or heavy-duty cleaners during floor waxing, you can break the shine and scratch the surface. Too much water during floor waxing can also seep into seams and loosen the glue, causing the vinyl to curl or lift. You want your vinyl plank flooring to stay smooth and shiny, but improper waxing can do the opposite.
Tip: Always avoid floor waxing on no-wax or factory-finished vinyl plank flooring to prevent sticky residue and surface damage.
Voiding Warranty on Vinyl Plank Flooring
You might not realize that floor waxing can void your warranty on vinyl plank flooring. Most manufacturers do not approve waxing for their vinyl plank flooring products. If you use wax or try floor waxing, you risk losing your warranty protection. Some brands, like Novocore, clearly state that waxing will void the warranty. Other companies list improper maintenance, such as using wax, as a reason to deny warranty claims. If you want to keep your vinyl plank flooring covered, always follow the care instructions and avoid floor waxing.
Note: Using wax or floor waxing on vinyl plank flooring often counts as improper maintenance and can lead to denied warranty claims.
Cleaning Challenges After Waxing
After floor waxing, you may face tough cleaning problems. Many people find that wax builds up on vinyl floors over time. Removing this build-up is not easy. You might need to strip the floor several times to get rid of old wax layers. This process often requires special equipment, extra cleaning products, and a team to help. Sometimes, you need to use near-boiling water and scrapers to remove stubborn wax. If you do not keep up with regular cleaning, floor waxing can make your vinyl much harder to maintain. Experts recommend using a pH-neutral cleaner and buffing the floor monthly instead of waxing. This keeps your vinyl plank flooring shiny without the hassle of wax build-up.
Remember: Floor waxing may seem like a quick fix, but it can create long-term cleaning headaches for your vinyl plank flooring.
Safe Care and Shine for Vinyl Plank Flooring
How to Clean Vinyl Plank Flooring Without Wax
You can keep your vinyl plank flooring looking great without using wax. Regular cleaning helps you remove surface dirt and grime before it can scratch the protective layer. Start by sweeping or vacuuming daily with a hard floor setting. This step removes dirt and dust that can dull the finish. Use a microfiber mop with a mild dish soap and warm water solution for weekly cleaning. Do not use too much soap, as it can leave a sticky residue. Always dry the floor after mopping to protect the waterproof properties of your vinyl. Avoid harsh chemicals like bleach or ammonia, which can damage the protective layer and cause stains. Never use steam mops because heat and moisture can harm the adhesive and cause warping or mold. If you clean up spills right away with a soft cloth, you prevent stains and keep your floor looking new.
Tip: Change your mop water often so you do not spread dirt around instead of cleaning.
Best Products for Shine and Protection
Choosing the best cleaning options and products for vinyl plank flooring helps you maintain shine and protect the surface. Look for specialized vinyl floor cleaners with a neutral or slightly alkaline pH. These products clean vinyl without harming the protective layer. Spray cleaners and wipes work well for daily maintenance, while liquid cleaners are best for deep cleaning. Some brands offer vinyl floor polish designed for non-wax floors. These products add shine and extra protection. Avoid products with harsh chemicals, as they can damage the protective layer and cause discoloration. The best products for vinyl plank flooring often have good user reviews and do not leave streaks or residue. Always follow the manufacturer’s instructions for care and maintenance.
| Product Type | Use Case | Protective Layer Safe? | Notes |
|---|---|---|---|
| pH-neutral cleaner | Regular cleaning | Yes | No harsh chemicals |
| Vinyl floor polish | Shine/protection | Yes (if non-wax type) | Apply thin, even layers |
| Spray cleaner | Daily maintenance | Yes | Quick and easy |
| Wipes | Spot cleaning | Yes | Good for small stains |
Restoring Shine Without Wax on Vinyl Floor
You can restore shine to vinyl plank flooring without using wax. Start by deep cleaning the floor with a cleaner made for vinyl. This step removes grime and stains that make the floor look dull. For stubborn stains, use a gentle baking soda paste. After cleaning, apply a high-gloss vinyl floor polish made for non-wax floors. Use thin, even layers and let each coat dry before adding another. Buff the floor with a soft cloth to bring out the shine. Some people use natural solutions like diluted vinegar or a protective wax-free sealer to brighten the floor and protect the surface. These methods help you maintain the protective layer and keep your vinyl looking new. Regular cleaning and the right products make it easy to care for luxury vinyl plank flooring and extend its life.
Note: Early use of a protective sealer can reduce maintenance costs and keep your vinyl shiny for years.
How to Wax Vinyl Floor (If Absolutely Necessary)
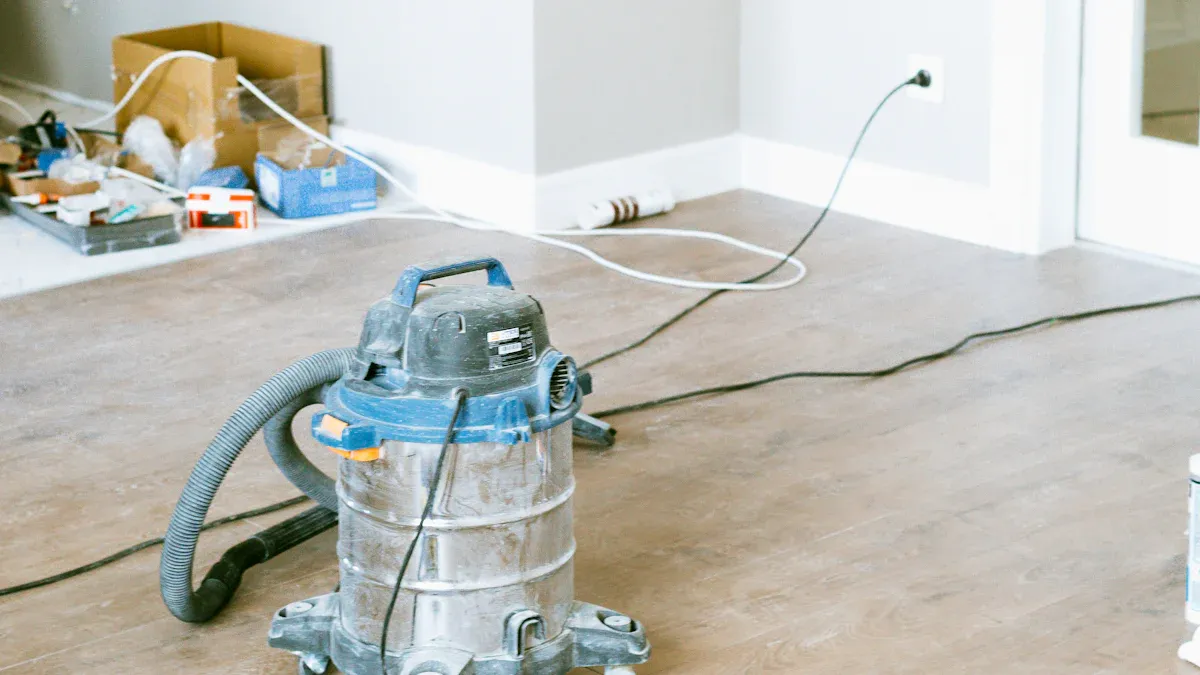
Preparing Older Vinyl Floors for Wax
If you have older vinyl plank flooring, you must prepare the surface before any waxing. Proper preparation helps the wax stick and keeps your floor looking its best. Start by removing all furniture and placing wet floor signs. Sweep or vacuum to clear away dust and dirt. For floors with old wax, you need to strip the surface. Use an 80 grit sanding screen to lightly sand the vinyl. This step increases the surface area for better wax application. Next, apply a wax stripper and let it sit for 15 minutes, making sure it does not dry. Scrub the floor with a 175 RPM machine and a black stripping pad. Squeegee and vacuum up the solution. If you see leftover wax, repeat the stripping process. Rinse the floor with a cleaning agent and dry it with an air mover. Vacuum corners and edges well. Check the floor’s pH; it should be between 6 and 8. If not, rinse and dry again. Apply isopropyl alcohol with a microfiber pad and buff the floor. These techniques ensure your vinyl plank flooring is ready for waxing.
Choosing the Right Wax Product
Selecting the right wax for vinyl plank flooring is important for a successful waxing process. Many users find it hard to get a lasting shine with traditional waxes. For vinyl, sealers often work better than soft finishes, especially if you do not have special machines. Some recommended products include “Carefree” by S.C. Johnson Wax for easy removal and “First Down” sealer by Buckeye Company for stain protection. For vinyl composition tile and sheet flooring, Lundmark All Wax (self-polishing) works well and does not need buffing. For luxury vinyl tile, use an acrylic-based polish like Bona Stone, Tile and Laminate Floor Polish. Always avoid wax on wood laminate flooring. The right product makes diy floor waxing easier and helps you maintain shine with less effort.
| Vinyl Floor Type | Recommended Product | Key Advice |
|---|---|---|
| Vinyl Composition Tile (VCT) and Sheet Flooring | Lundmark All Wax (self-polishing) | Wax every 6-9 months to maintain shine; no buffing needed |
| Luxury Vinyl Tile (LVT) | Bona Stone, Tile and Laminate Floor Polish (acrylic-based) | Do not wax; use acrylic polish applied with microfiber pad |
| Wood Laminate Flooring | Zep Hardwood and Laminate Floor Cleaner | Avoid wax and water; clean regularly with laminate-specific cleaner |
Step-by-Step Waxing Process
You can follow these diy floor waxing techniques to get the best results for your vinyl plank flooring. Remove all furniture and post wet floor signs. Sweep or dust mop to clear debris. Mix and apply a floor stripping solution in sections, letting it sit for 10-15 minutes. Scrub the floor with a machine and black stripping pad, focusing on high-traffic spots. Remove the dirty solution with a wet vacuum or mop. Rinse the floor two or three times with clean water and let it dry completely. Now, start the waxing process. Apply the wax in thin, even coats using a clean mop. Wait 30-45 minutes for each coat to dry before adding the next. Apply three to five coats for strong protection and shine. Let the final coat dry for at least eight hours before walking on the floor. Buff or burnish the floor 24-48 hours after the last coat to boost shine and durability. These diy techniques help you achieve a professional look with your floor waxing. Always test chemicals in a small area first and use fans to speed up drying. Schedule your diy floor waxing during off-hours to avoid foot traffic. With the right application and care, your vinyl plank flooring will look bright and last longer.
Post-Wax Care for Vinyl Floors
After you finish waxing your vinyl floor, you need to follow a good care routine to keep it looking shiny and clean. Waxing adds a protective layer, but this layer can wear down if you do not maintain it. You should sweep or dust mop your floor every day. This step removes dust and dirt that can scratch the wax and make your floor look dull. Regular dust mopping helps the waxing last longer and keeps your floor bright.
You should also clean up spills right away. Liquids can seep into the wax and cause stains or damage. Use a damp mop with a gentle cleaner once a week. Avoid harsh chemicals, as they can break down the wax and shorten the life of your waxing. If you notice dull spots or scratches, you can buff the area with a soft cloth to restore shine.
Tip: Place mats at entrances to catch dirt before it reaches your vinyl floor. This simple step protects the wax and reduces how often you need to repeat waxing.
Professional cleaning services can help you care for your floor after waxing. They know how to use eco-friendly and dustless methods that protect both the wax and the vinyl. If your floor gets a lot of foot traffic, you may need to repeat waxing once a year. For lighter use, waxing every few years is enough.
Here are some key steps for post-wax care:
- Sweep or dust mop daily to prevent dirt buildup.
- Clean with a pH-neutral cleaner weekly.
- Buff out scratches or dull spots as needed.
- Schedule regular waxing based on traffic.
- Use professional services for deep cleaning and stripping when needed.
Proper post-wax care saves you money and keeps your vinyl floor looking its best. Regular maintenance means you will not need to strip and reapply wax as often. By following these steps, you extend the life of your waxing and enjoy a beautiful, shiny floor for years.
What to Do If Wax Has Been Used on Vinyl Plank Flooring
Safely Removing Wax on Vinyl Floor
If you have used waxing products on your vinyl plank flooring, you need to remove the wax safely to protect your floor. Waxing can leave a sticky layer that attracts dirt and makes cleaning harder. You can follow these steps to remove wax from vinyl without causing damage:
- Move all furniture and clear the area. Place signs or barriers to keep the workspace safe.
- Open windows and wear gloves, goggles, and a mask. Good ventilation and personal protection keep you safe from fumes during waxing removal.
- Choose a pH-neutral stripping solution made for vinyl. This type of product will not harm your vinyl plank flooring.
- Mop the stripping solution onto the floor. Spread it evenly and avoid letting it pool.
- Let the solution sit for 10-15 minutes. This helps break down the old waxing layer but do not let it dry out.
- Use a low-speed buffer with a stripping pad to scrub the floor. Scrub corners and edges by hand to remove all traces of waxing.
- Rinse the floor with clean water. If needed, use a neutralizing solution to remove any leftover chemicals.
- Buff the floor with a high-speed burnisher. Check for any missed spots and touch up as needed.
Professional cleaning companies like Sparkle Surface Care use these steps to remove waxing from vinyl plank flooring. Newer methods, such as biobased strippers and robotic cleaners, make waxing removal safer and easier.
Restoring the Original Finish and Care Routine
After you finish removing the waxing, you want to restore the original look of your vinyl plank flooring. You can bring back the shine and set up a good maintenance routine. Start by sweeping or vacuuming to remove dust and dirt. Use a vinyl-safe wax remover if you still see cloudy spots from old waxing. Rinse the floor with a damp mop and let it dry fully.
You can polish the floor with a pH-neutral cleaner or a mix of diluted vinegar and water. This step helps restore shine without adding more waxing. Wipe the floor with a damp cloth to remove any leftover residue. Many companies, like Corporate Care, use special coatings to protect vinyl after waxing removal. These coatings seal the surface and make future maintenance easier.
Here is a table to help you understand the stages of vinyl floor maintenance after waxing:
| Maintenance Stage | Description |
|---|---|
| Routine Maintenance | Keep the floor clean and smooth to stop dirt from causing damage. |
| Interim Maintenance | Remove top layers of finish and re-coat to restore shine before full stripping is needed. |
| Restorative Maintenance | Strip old finish and refinish to bring back the original look after heavy waxing or damage. |
Tip: Set up a regular maintenance schedule for your vinyl plank flooring. This helps you avoid the need for waxing and keeps your floor looking new.
You do not need waxing for most vinyl plank flooring. Modern vinyl floors have protective layers that make waxing unnecessary and risky. Always check the manufacturer’s care guide before starting any waxing routine. Regular maintenance, such as sweeping and mopping, keeps your vinyl looking new. Avoid harsh chemicals and steam mops during maintenance. Waxing can damage vinyl plank flooring and create cleaning problems. If you have older vinyl, only use waxing when the manufacturer recommends it. Compared to hardwood, vinyl plank flooring needs less maintenance and no waxing for shine. Good habits, like using felt pads and cleaning spills quickly, help you avoid waxing and protect your floor.
- Regular maintenance for vinyl plank flooring includes sweeping, mopping, and avoiding waxing.
- Waxing is not needed for most vinyl, and improper waxing can harm your floor.
- Vinyl plank flooring offers easier maintenance than traditional floors, saving you time and money.
Tip: Always follow the care instructions for your vinyl plank flooring to avoid unnecessary waxing and keep your floor beautiful.
FAQ
Can you use regular floor wax on vinyl plank flooring?
No, you should not use regular floor wax on vinyl plank flooring. Most modern vinyl floors have a protective layer. Wax can cause sticky buildup and damage the surface. Always check your manufacturer’s care guide before using any product.
How do you keep vinyl floors shiny without wax?
You can keep vinyl floors shiny by cleaning with a pH-neutral cleaner and a microfiber mop. Use a vinyl-safe polish if you want extra shine. Buff the floor with a soft cloth. Avoid harsh chemicals and steam mops.
What happens if you accidentally wax a no-wax vinyl floor?
Wax can leave a sticky residue and attract dirt. You may see dull spots or streaks. Remove the wax with a pH-neutral stripping solution. Restore the shine with a vinyl-safe cleaner. Always follow the manufacturer’s instructions for best results.
How often should you clean vinyl plank flooring?
You should sweep or vacuum daily to remove dust and dirt. Mop weekly with a gentle cleaner. Clean spills right away to prevent stains. Regular cleaning helps your floor stay bright and last longer.
Is it safe to use vinegar on vinyl floors?
You can use diluted vinegar for cleaning vinyl floors. Mix one cup of vinegar with one gallon of warm water. Vinegar helps remove grime and restores shine. Do not use undiluted vinegar, as it can damage the protective layer.




