

You can install vinyl flooring with adhesive over old tile surfaces in 2026 if you prepare the area carefully. Cleaning the tile removes dust and grease that could weaken the adhesive. Leveling the surface and filling grout lines helps avoid bubbles, peeling, or cracking. Moisture control is important because excess water can cause warping or mildew. When you address these details, your new floor will stay smooth and durable.
Why Vinyl Flooring with Adhesive Works Over Old Tile
Advances in Adhesive Technology
You benefit from new adhesive products that make vinyl flooring installation easier and stronger than ever. Modern adhesives use special formulas with high-performance polymers. These formulas help the glue stick well to many surfaces, including over ceramic tile. You can see some of the latest adhesive options in the table below:
| Product Name | Key Features | Application Method |
|---|---|---|
| Roberts 8799 Quick Bond | Quick, one-step application; pressure sensitive; high-shear strength; immediate foot traffic | Stand and spray installation |
| VacuuBond | Sticks to all substrates; mess-free; activates under pressure for vacuum bond | Peel and press system |
| RockHold by TotalWorx | Versatile; can be installed dry, semi-wet, or wet; exceptional moisture resistance | Fully adhered, pressure-sensitive |
These adhesives resist water and temperature changes. You get a strong bond that lasts, even over ceramic tile.
Compatibility with Tile Surfaces
You can install vinyl flooring with adhesive on many types of tile. The most compatible surfaces include:
- Smooth, clean, and dry tiles
- Existing vinyl or laminate flooring
- Ceramic or porcelain tile with standard grout lines
- Linoleum in good condition
- Laminate surfaces
Before you start, make sure your existing tile floor is not loose or damaged. Fill grout lines wider than 1/16 inch. This step creates a flat base for your new floor. Modern adhesives work well over ceramic tile because they bond tightly and flex with movement.
Tip: Always fix any loose tiles before you begin. This helps prevent problems later.
Benefits of Installing Over Existing Tile
You save time and money when you install vinyl flooring with adhesive over existing tile. Removing old tile takes a lot of effort and creates a mess. By installing over ceramic tile, you avoid demolition and reduce costs by up to 40%. You also finish your project faster—sometimes in less than half the time.
Other benefits include:
- No need to clean up dust or debris from tile removal
- Easier maintenance, since vinyl flooring does not need grout cleaning
- Less disruption to your daily routine
You get a smooth, modern look without the hassle of tearing out your old floor.
Preparing Old Tile for Vinyl Flooring with Adhesive
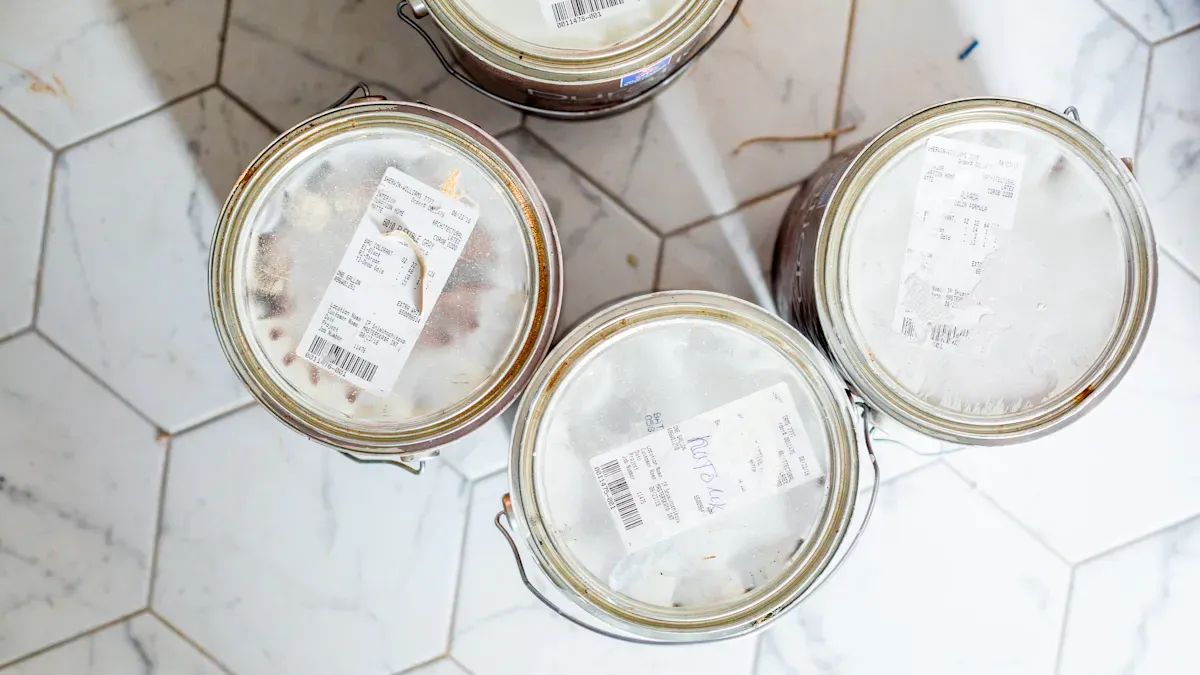
Cleaning and Degreasing the Tile
You start by making sure your tile surface is spotless. Dirt, grease, and old adhesive can weaken the bond when you install vinyl flooring with adhesive. Use a strong cleaner like Superior Mark Degreaser to remove oil and grime. Bona Pro Series Vinyl Floor Cleaner works well for stubborn stains and keeps the tile finish safe.
Steps for cleaning and degreasing:
- Sweep away loose dirt and dust.
- Apply a degreaser to break down grease and oil.
- Scrub the tile with a mop or sponge.
- Rinse with clean water and let the surface dry.
- Vacuum to remove any leftover particles.
Note: A clean tile surface helps your new floor last longer. Professional cleaning can extend the lifespan of your vinyl floor and keep it looking fresh.
| Evidence Type | Description |
|---|---|
| Lifespan of VCT | 15 to 25 years, depending on maintenance and foot traffic |
| Maintenance Impact | Good care extends durability and appearance |
| Professional Cleaning | Removes deep dirt and boosts floor longevity |
Leveling and Smoothing the Surface
You need a flat surface before you install vinyl flooring over ceramic tile. Uneven spots cause problems like bubbles or loose planks. Check for bumps or dips greater than 1/8 inch. Use a self-leveling compound such as Sika Level-325 to fix these areas. Patch minor imperfections with Sika Level SkimCoat. Apply Sika Level-01 Primer Plus to help the leveling compound stick well.
Recommended tools for leveling:
- Tile leveling systems (wedge and clamp, rotating, board)
- Margin trowels
- Flooring trowels
- Finishing trowels
- Hand floats
- Power tools
Ordered steps for leveling:
- Assess the tile for cracks, holes, and uneven spots.
- Clean and prime the surface.
- Mix the leveling compound according to instructions.
- Spread the compound with a trowel.
- Use a spike roller to remove air pockets.
- Allow the surface to dry fully before moving forward.
Tip: Always check the temperature in your workspace. Keep it between 41°F and 86°F for the best results.
Filling Grout Lines and Cracks
Grout lines and cracks can create dips under your new floor. You fill these gaps to make the tile surface smooth. Use a patching compound for cracks and holes. Sand down any high spots. Vacuum again to remove dust.
Checklist for filling grout lines and cracks:
- Fill cracks and holes with patching compound.
- Sand rough areas until smooth.
- Vacuum to clear away dust and loose material.
Callout: If grout lines are wider than 1/16 inch, fill them completely. This step prevents your vinyl flooring from sinking or shifting over ceramic tile.
You create a strong foundation by cleaning, leveling, and filling. These steps help your vinyl flooring with adhesive stick well and stay beautiful for years.
Step-by-Step Guide to Glue-Down Vinyl Flooring with Adhesive
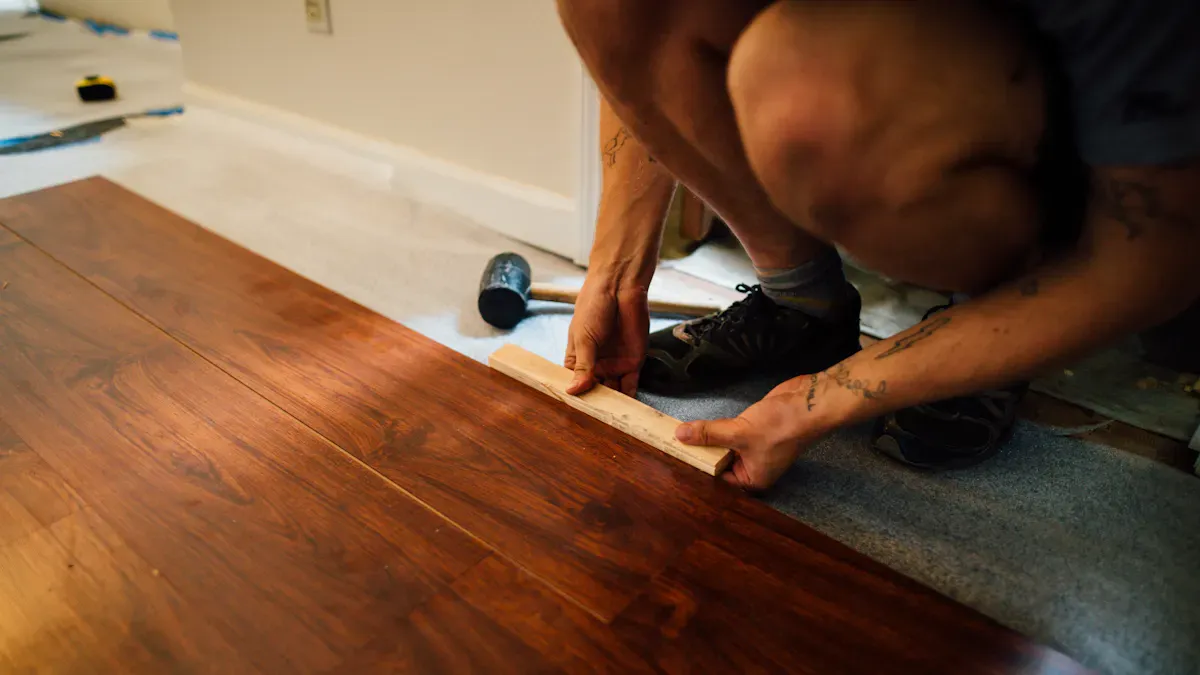
Installing vinyl flooring with adhesive over old tile requires careful planning and execution. Following a structured process ensures a durable, smooth finish. Here’s a comprehensive guide to help you through each step.
Gathering Tools and Materials
Before starting, assemble all necessary tools and materials. Having everything ready prevents delays and mistakes during installation. Essential items include:
- Utility knife
- Pencil
- Tape measure
- Chalk and chalk line
- Rolling pin or J-roller
- Carpenter’s square
- Liquid underlayment or embossing leveler
- S-185 Latex Primer
- Adhesive suitable for glue-down flooring
- Vinyl tiles or sheets
- Leveling compound
- Plywood underlayment (if needed)
- Dust broom
- Vinyl tile cutter or utility scissors
- Undercut saw
- Sanding pad with 100-grit paper
- Hammer and finishing nails
- Shoe molding
- Heat gun (for certain adhesives or adjustments)
In addition, you might need a level, a trowel for applying adhesive, and a measuring tape. The total cost of these tools and materials in 2026 typically ranges from $3 to $11 per square foot, depending on quality and quantity.
Using the right tools and materials is crucial. For example, applying the correct adhesive ensures the vinyl flooring with adhesive bonds tightly to the tile surface, preventing future lifting or bubbling. Proper tools like a J-roller help press the vinyl firmly into the adhesive, creating a strong, even bond.
Applying the Adhesive Correctly
Applying adhesive properly is vital for a successful glue-down flooring project. First, prepare the tile surface by cleaning it thoroughly. Remove dust, grease, and old adhesive residues. Use a degreaser and a clean cloth to ensure the surface is spotless.
Next, choose an appropriate adhesive, such as a multi-use LVT adhesive or a universal pressure-sensitive adhesive. Follow the manufacturer’s instructions carefully. Typically, you will spread the adhesive evenly using a trowel, ensuring a consistent layer. The recommended trowel size varies but often ranges from 1/16 to 1/8 inch notch, depending on the adhesive type and vinyl thickness.
Before applying the adhesive, prime the tile surface with a latex primer like S-185 Latex Primer. This step enhances adhesion and prevents future lifting. Use a brush or roller to apply the primer evenly, and allow it to dry as specified.
When spreading the adhesive, work in manageable sections. Use a notched trowel to create ridges that help distribute the glue evenly. Avoid over-application, which can cause excess squeeze-out and mess. Once the adhesive is applied, wait the recommended time before laying the vinyl. This waiting period allows the adhesive to develop tackiness, ensuring a firm bond.
Laying the Vinyl Planks or Sheets
With the adhesive ready, it’s time to lay the vinyl flooring with adhesive. Start by unrolling or positioning the vinyl sheet or planks in the room. Use a chalk line to mark the center of the space and align the vinyl accordingly. Double-check measurements to ensure straight, even placement.
Carefully position the vinyl over the adhesive, starting from one corner or edge. Gently press the material into the adhesive, working from the center outward. Use a rolling pin or J-roller to firmly press the vinyl into the adhesive, eliminating air bubbles and ensuring full contact.
For sheets, unroll gradually, smoothing out wrinkles and aligning edges as you go. For planks, stagger the seams for a natural look and fit each piece tightly against the next. Use a vinyl tile cutter or utility scissors for precise cuts around corners and fixtures.
Once all the vinyl is laid, go over the entire surface with a J-roller or rolling pin. Apply firm, even pressure to secure the bond. This step helps prevent future lifting and bubbles. Afterward, reinstall baseboards and shoe molding, and caulk the edges for a clean finish.
Following these steps carefully ensures your vinyl flooring with adhesive adheres properly, resulting in a smooth, durable surface that lasts for years.
Rolling and Securing the Flooring
You need to roll and secure your vinyl flooring after you lay it down. This step helps you create a strong bond between the vinyl and the adhesive. Rolling prevents bubbles and keeps the floor flat. You use special tools to press the vinyl firmly into place.
Here is how you roll and secure the flooring:
- Use a floor roller after you lay each section. The roller presses the vinyl tightly into the adhesive.
- Roll the entire floor once all vinyl is in place. Move the roller slowly and cover every area.
- Press down firmly on every section. This ensures full contact between the vinyl and the adhesive.
You can see the recommended tools for rolling and securing vinyl flooring in the table below:
| Category | Recommended Tool | Function Description |
|---|---|---|
| Cutting tools | OLFA heavy-duty hook knife and marble | Accurately cutting the edge of the coil material |
| Adhesive tools | Sawtooth scraper (3mm tooth height) | Apply glue evenly |
| Laying tools | 50kg steel pressure roller, rubber hammer | Exhaust, adjust flatness |
| Auxiliary materials | Water based moisture-proof primer, same color welding rod | Moisture proofing and seam beautification |
You use a 50kg steel pressure roller to press the vinyl down. The roller helps you remove air pockets and makes the floor flat. A rubber hammer lets you adjust the edges and corners. You also use a sawtooth scraper to spread glue evenly before rolling.
Tip: Always roll the floor in multiple directions. Start from the center and move toward the edges. This method helps you get the best bond and prevents lifting.
Rolling and securing the flooring gives you a smooth, durable surface. You protect your floor from peeling and bubbling. You also make sure your vinyl flooring lasts for many years.
Tips for Uneven Subfloors and Common Issues with Vinyl Flooring with Adhesive
Identifying and Addressing Uneven Areas
You need to check your subfloor before installing vinyl flooring with adhesive. Look for bumps, dips, or cracks. Use a straightedge or level to spot uneven spots. If you plan to install vinyl flooring over ceramic tile, pay close attention to grout lines and tile height differences. Uneven areas can cause problems like gaps or lifting edges.
Here is a table showing common techniques for fixing uneven subfloors:
| Technique | Description |
|---|---|
| Self-Leveling Compounds | Fill depressions and create a smooth surface for vinyl installation. |
| Grinding High Spots | Reduce elevated areas to achieve a uniform plane. |
| Moisture Barrier | Reinforce the leveling layer and provide a stable base for vinyl installation. |
Tip: Always use a primer before applying a self-leveling compound. This step improves adhesion and helps your floor last longer.
Solutions for High or Low Spots
You can fix high or low spots with simple steps. Start by applying a primer to the area. Mix and pour a self-leveling compound, then spread it evenly with a trowel. Let the compound cure as the manufacturer recommends. If you have high spots, use a grinder to smooth them down. When you install vinyl flooring over ceramic tile, these steps help you create a flat surface.
Follow this ordered list for best results:
- Apply primer to enhance adhesion.
- Pour self-leveling compound and spread it with a trowel.
- Allow the compound to cure fully before installing vinyl flooring.
Note: A moisture barrier adds extra protection and keeps your floor stable.
Preventing Peeling and Lifting
You can avoid peeling and lifting by preparing your subfloor properly. Common issues include gaps at seams, lifting edges, uneven joints, and telegraphing of subfloor imperfections. These problems often happen when you skip steps or rush the process. Make sure you roll the floor after installation to remove air pockets. Use the right adhesive and follow timing instructions. If you see gaps or peaking at seams, check for uneven spots and fix them before laying vinyl.
- Gaps at seams
- Lifting edges
- Uneven joints
- Telegraphing of subfloor imperfections
- Compromised bond strength from incorrect adhesive timing
- Air pockets from not rolling the floor
Callout: Careful preparation and attention to detail help you achieve a smooth, durable finish that lasts.
Troubleshooting and Maintenance with skspcflooring
Fixing Bubbles or Loose Edges
You may notice bubbles or loose edges after installing vinyl flooring with adhesive. These issues can happen if air gets trapped or if the adhesive does not bond well. You can fix small bubbles by using a pin to poke a tiny hole and pressing the bubble flat. For loose edges, apply a small amount of adhesive under the edge and press it down firmly. Use a rolling pin or a floor roller to secure the area.
Tip: Always check your floor for bubbles or loose edges right after installation. Early fixes prevent bigger problems later.
Steps to fix bubbles or loose edges:
- Identify the affected area.
- Use a pin to release trapped air.
- Apply adhesive if needed.
- Press and roll the area.
Cleaning and Caring for Your New Floor
You keep your vinyl flooring looking new by cleaning it regularly. Sweep or vacuum the floor to remove dust and dirt. Use a damp mop with a mild cleaner for deeper cleaning. Avoid harsh chemicals or abrasive tools. These can damage the surface.
| Cleaning Task | Recommended Action | Frequency |
|---|---|---|
| Sweeping/Vacuuming | Remove dust and debris | Daily/Weekly |
| Damp Mopping | Use mild cleaner | Weekly |
| Spot Cleaning | Wipe spills immediately | As needed |
Note: skspcflooring products resist stains and water. You get easy maintenance and long-lasting beauty.
When to Call a Professional
You can handle most maintenance tasks yourself. Sometimes, you need expert help. If you see large bubbles, deep cracks, or widespread lifting, call a professional installer. Professionals use special tools and adhesives to fix major issues. You also call for help if your floor gets damaged by water or heavy furniture.
Signs you need a professional:
- Large bubbles or loose sections
- Deep cracks or holes
- Water damage
- Persistent lifting
Callout: skspcflooring offers certified flooring solutions and expert support. Visit skspcflooring.com for help and advice.
You can install vinyl flooring with adhesive over old tile surfaces when you prepare the area well. You fix uneven spots and fill grout lines to create a smooth base. This method gives you a strong, attractive floor that lasts. Homeowners in 2026 can trust this approach for most projects.
- Choose certified products from skspcflooring for reliable results.
- Enjoy easy maintenance and modern style.
Tip: Visit skspcflooring.com for expert advice and high-quality flooring solutions.
FAQ
Can you install vinyl flooring with adhesive over any type of old tile?
You can install vinyl flooring with adhesive over most ceramic, porcelain, or stone tiles. Make sure the tiles are clean, dry, and not loose. Fill wide grout lines and repair cracks for best results.
How do you know if your old tile floor is ready for vinyl installation?
Check for loose tiles, deep cracks, or uneven spots. Clean the surface well. Fill grout lines and level the floor. If the surface feels smooth and solid, you are ready to install vinyl flooring.
Do you need to remove grout lines before installing vinyl flooring?
You do not need to remove grout lines. Fill any grout lines wider than 1/16 inch with a patching compound. This step creates a flat surface for the adhesive and vinyl flooring.
How long should you wait before walking on new vinyl flooring with adhesive?
Wait at least 24 hours before walking on your new vinyl floor. This time allows the adhesive to set and ensures a strong bond. Avoid moving heavy furniture during this period.



