
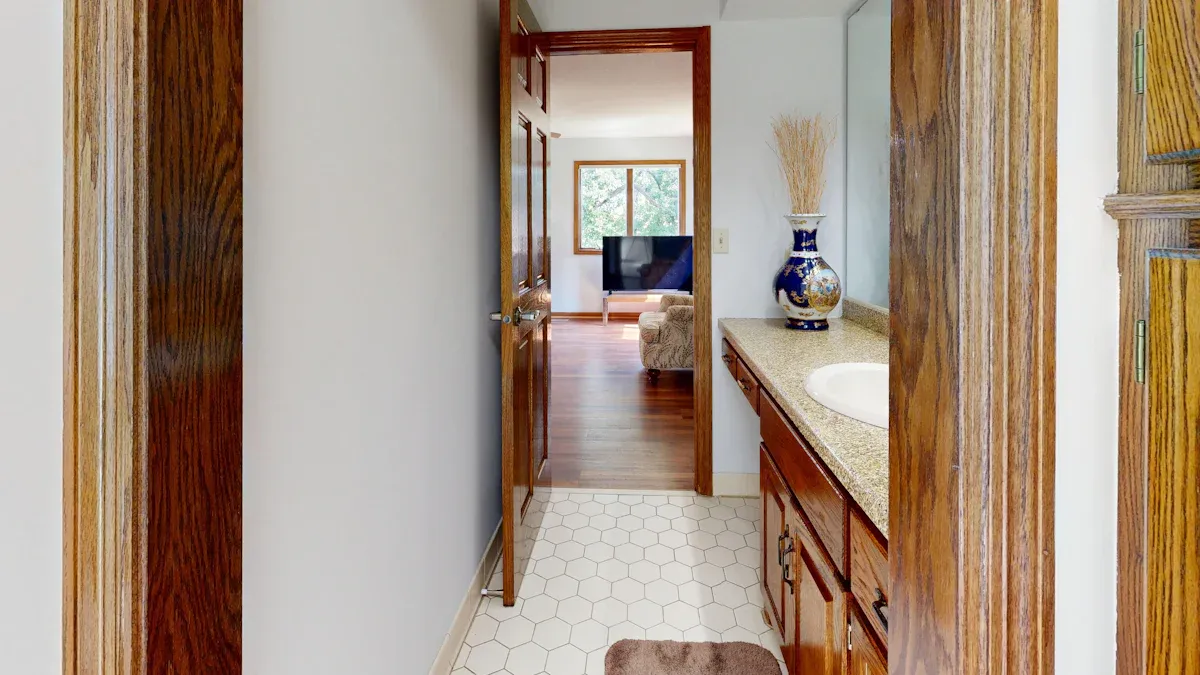
You can create a polished look in your home when you use the right trim and transitions for clicking vinyl plank flooring. Careful planning helps you hide gaps and protect the edges of your flooring. Paying attention to these details makes your floor look smooth and well-finished. Even if you tackle the project yourself, you can achieve a result that feels professional.
Why Trim and Transitions Matter for Clicking Vinyl Plank Flooring
Enhancing Aesthetics and Seamless Appearance
When you install clicking vinyl plank flooring, you want your space to look smooth and stylish. Transitions play a big role in making your flooring look high-end. You can use trim and transitions to cover expansion gaps and protect exposed edges. This helps you avoid visible gaps and imperfections.
- Trim and transitions provide aesthetic continuity, making your rooms look connected.
- They bridge gaps between different types of flooring, so your home feels unified.
- You prevent dirt and debris from entering sliding tracks when you use proper transitions.
- Techniques like cutting trim at a 45-degree angle and keeping nails evenly spaced help you achieve a seamless look.
Improving Durability and Longevity
Transitions do more than make your flooring look good. They help your flooring last longer, especially in busy areas. You protect the edges of your flooring from damage when you use the right trim. Transitions allow your flooring to expand and contract naturally, so it does not buckle or crack.
Here is how transitions improve durability:
| Benefit | Description |
|---|---|
| Protects edges | Prevents damage to tile and plank edges |
| Allows expansion | Lets flooring expand and contract without buckling |
| Smooth transitions | Creates trip-free transitions between rooms |
| Enhances appearance | Improves the high-end look of the floor |
| Increases durability | Adds long-term value to your flooring investment |
L-shaped vinyl trim creates smooth transitions between different flooring types. You can bridge gaps that might cause wear and tear on flooring edges.
Ensuring Safety and Functionality
Safety matters when you install flooring. Transitions help you avoid tripping hazards. If you skip transition strips, you risk uneven seams that can cause accidents. Experts agree that properly finished transitions make your home safer.
- Failing to install transitions can lead to tripping hazards.
- Uneven seams pose safety risks.
- Proper transitions protect flooring edges and keep your rooms safe.
When you plan your clicking vinyl plank flooring project, you should focus on transitions. You get a beautiful, durable, and safe floor that stands out in any home.
Types of Trim and Transition Pieces for Clicking Vinyl Plank Flooring
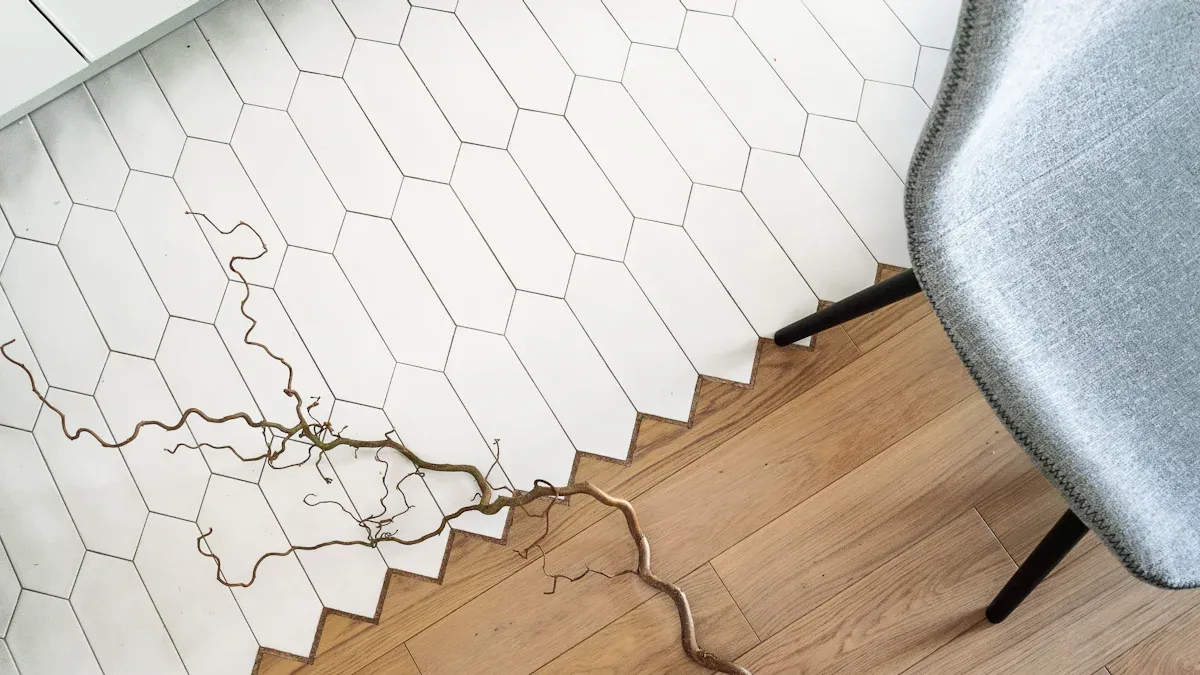
When you install clicking vinyl plank flooring, you need to choose the right trim and transition pieces. These parts help you connect different rooms, cover gaps, and protect the edges of your floor. You can find several types of floor transition molding that work for different situations.
T-Molding
T-molding is one of the most common transition pieces. You use it when you want to join two floors of the same height. This molding creates a smooth bridge between rooms or open spaces. You often see T-molding in open layouts or where two rooms have the same flooring.
Tip: T-molding works best when you want a seamless look between spaces with similar flooring heights.
Here is a quick look at where you can use T-molding:
| Use Case Description | Example Flooring Types |
|---|---|
| Used between floors of the same height | Vinyl to vinyl, Tile to tile |
| Common in open plan layouts or between two rooms | Same flooring in adjacent rooms |
Reducers
Reducers help you connect floors with different heights. You need a reducer when your vinyl plank floor meets a lower surface, such as carpet or thin tile. This piece creates a gentle slope, so you do not trip or see a sharp edge.
- A surface reducer is best for height differences.
- You can use an end cap if both surfaces are level.
Reducers make your floor safer and more comfortable to walk on. They also protect the edges from damage.
| Transition Type | Description | Use Case |
|---|---|---|
| Reducers | Connects shorter flooring to taller flooring with a rounded effect. | Commonly used to transition from hardwood to vinyl or carpet. |
End Caps
End caps, also called thresholds, finish the edges of your vinyl plank flooring. You use them at doorways, sliding doors, or where the floor meets an exterior threshold. End caps cover expansion gaps and exposed edges, giving your floor a neat look.
- End caps protect the edges from chipping.
- They help keep moisture out, which is important near doors.
- You can use end caps to finish the flooring at fireplaces or built-in cabinets.
Note: End caps are a smart choice for high-traffic areas and places where water might enter.
By choosing the right types of floor transition molding, you make your flooring project look professional and last longer.
Quarter Round and Shoe Molding
You can achieve a polished look for your clicking vinyl plank flooring by adding quarter round or shoe molding. These trim pieces hide the small gaps between your floor and the wall or baseboard. This not only makes your room look finished but also keeps dust from building up in those spaces.
- Shoe molding bridges the gap between the baseboard and the floor, especially if the floor is uneven. You get a neat and tidy finish.
- Quarter round has a chunkier profile. It covers larger gaps and works well in traditional spaces.
When you use these moldings, you make your floor look more refined and easier to clean.
Stair Nosing
Stair nosing is important when you install clicking vinyl plank flooring on stairs. It gives each step a safe, finished edge. You also protect the stair edges from damage caused by heavy foot traffic. The table below shows the main benefits of stair nosing:
| Benefit | Description |
|---|---|
| Slip-resistant edge | Provides a safe, slip-resistant finished edge on stair treads. |
| Protection from wear | Protects stair edges from wear and heavy foot traffic. |
| Professional finish | Ensures a code-conforming finish, important for safety and longevity. |
You should always use stair nosing to keep your stairs safe and looking professional.
Multi-Purpose and Custom Transition Strips
Some rooms have unique layouts or different flooring heights. Multi-purpose and custom transition strips help you handle these situations. These strips combine several functions in one piece. For example, a four-in-one transition strip can act as a T-bar, reducer, end cap, or carpet transition. The table below explains how these strips work:
| Type of Transition Strip | Functionality |
|---|---|
| Four-in-one Transition Strip | Combines T-bar, reducer, end cap, and carpet transition functions. |
| Multi-purpose Transition Strip | Accommodates different flooring materials and height differences. |
You can use these types of floor transition molding to solve complex flooring transitions and keep your space looking smooth and connected.
Planning Your Transitions with skspcflooring
Measuring and Mapping Transition Points
You need to plan your transitions before you start installing your flooring. Begin by walking through your space and looking for natural places where one type of flooring meets another. Doorways, room entries, and the edge of stairs are common spots. You can use rugs between transitions to connect different flooring materials. Painting rooms in different colors can also help you highlight the flow between spaces.
Follow these steps to measure and map your transition points:
- Continue laying planks across the room until you reach the end of the wall. The last piece will likely need to be cut.
- Measure and cut the last piece by flipping a full plank end-for-end. Place it on top of the last installed plank, with the tongue touching the wall. Mark where it lines up with the previous plank, remembering to leave a 1/4-inch expansion gap. Cut and click this piece into place.
- When you reach obstacles like pipes or vents, lay the plank next to the obstacle and mark the edges. Measure from the previous row to the obstacle to find the cut depth. Transfer these measurements to the plank and cut as needed.
- Use the right transition piece for each spot:
- T-molding connects two floors of the same height.
- Reducers work for different height floors.
- End caps finish flooring against vertical surfaces.
- Stair nosings provide a finished edge on steps.
Tip: Always follow the natural start and stop points in your home to decide where to place transitions. This helps your flooring look intentional and professional.
Choosing Materials and Finishes
Selecting the right materials and finishes for your transitions makes a big difference in both durability and appearance. You want your flooring to last and look great for years. Square edges create a nearly seamless surface, which works well in modern spaces. They are easy to clean and less likely to show wear. However, if your subfloor is not even, imperfections may become visible.
Here is a table to help you compare different trim materials:
| Trim Material | Durability | Appearance |
|---|---|---|
| PVC/Vinyl Trims | Economical, may wear quickly | Can look cheap if low quality |
| Metal Trims | Highly durable, good for busy areas | May look awkward if not matched properly |
| Matching Color Trims | Seamless look, harder to find | Can be more expensive |
- PVC trims work well for most homes but may wear out faster in high-traffic areas.
- Metal trims last a long time and suit busy spaces, but you need to match them carefully to your decor.
- Matching color trims give a seamless look, though they can be harder to find and may cost more.
Note: The right finish not only protects your flooring but also adds to the overall style of your home.
Matching Colors and Styles
Matching the colors and styles of your transitions to your flooring helps create a unified look. You want your space to feel connected and visually pleasing. Transition pieces like T-molding and surface reducers join different flooring types or heights. They protect the edges from damage and make your home safer by preventing tripping hazards.
Consider these options for edge styles:
- Square edges work best in modern interiors and give a seamless look.
- Beveled edges add character and realism, making them ideal for living rooms.
- Micro-beveled edges offer a subtle texture, perfect for premium spaces.
- Rounded edges suit traditional interiors or stone-look vinyl.
Here is a quick guide to help you choose:
| Material Type | Best Use Cases | Considerations |
|---|---|---|
| PVC/Vinyl Trims | Easy for DIY, budget-friendly | May wear out in busy areas |
| Metal Trims | Great for high-traffic spots | Must match style to avoid awkward appearance |
| Matching Color Trims | Seamless with flooring, premium look | Harder to find, can be more expensive |
Tip: Always try to match the color and style of your transitions to your flooring for the most cohesive result. This makes your home look well-designed and polished.
When you plan your transitions with skspcflooring, you set the stage for a high-end, professional finish. Careful measuring, smart material choices, and thoughtful color matching help your clicking vinyl plank flooring stand out in any space.
Installation Guide for Trim and Transitions
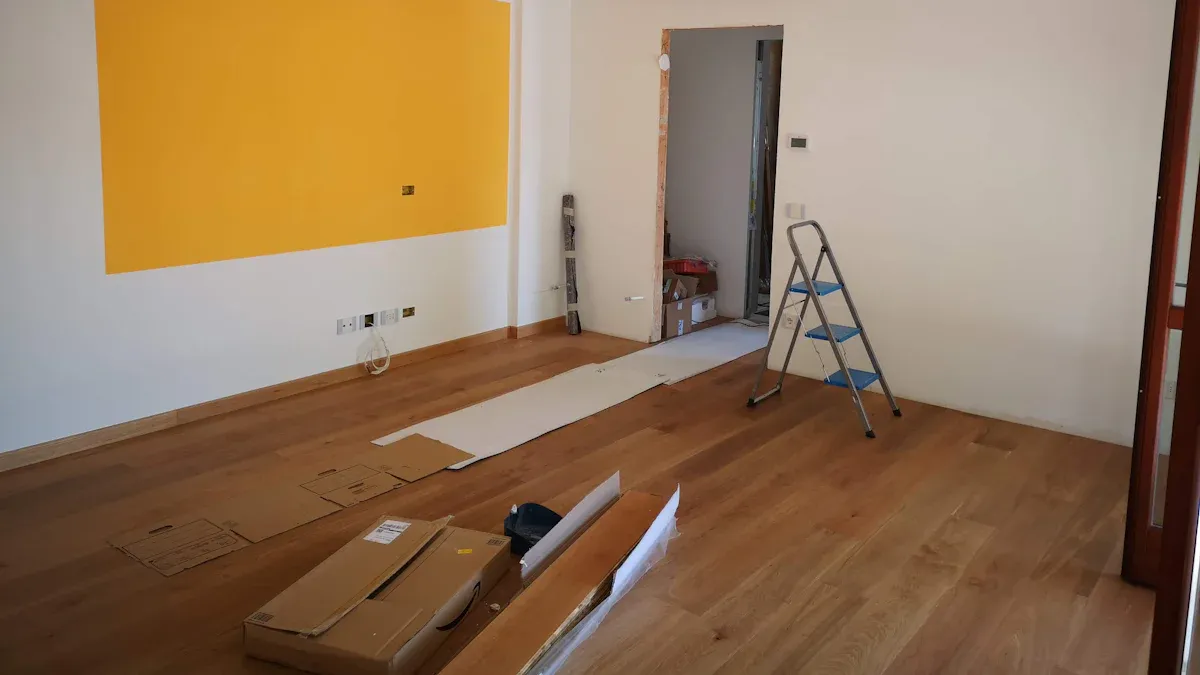
Cutting and Fitting Pieces Accurately
You want your clicking vinyl plank flooring to look professional. Accurate cutting and fitting of trim and transitions make a big difference. Start by planning your transitions during the layout phase. Walk through your space and decide where each transition will go. This step helps you avoid surprises later.
- Always measure each area where you need a transition. Use a tape measure for precise results.
- Mark your trim pieces before you cut. A pencil line gives you a clear guide.
- Use a miter saw or hand saw for straight, clean cuts. For corners, cut at a 45-degree angle to create a neat joint.
- Dry-fit each piece before attaching it. This lets you check the fit and make adjustments if needed.
- Follow the manufacturer’s instructions for each type of transition strip. Each piece may have special requirements.
You should use an end cap for transitions at the same height. For areas where your flooring meets a lower surface, choose a surface reducer. These choices help you create smooth, safe transitions between different types of flooring.
Tip: Take your time with measuring and cutting. Rushing can lead to gaps or uneven edges that stand out.
Securing Trim for a Seamless Finish
Securing trim correctly gives your flooring a seamless, high-end look. You want to attach baseboards, shoe moldings, and door trim with finishing nails or an electric brad nailer. Always nail the trim to the wall, not the flooring. This method keeps the expansion gap open, so your flooring can move naturally.
When you reinstall baseboards, make sure they sit snugly against the wall. Do not press them down onto the flooring. This practice allows your flooring to expand and contract without any problems. You cover the expansion gap and create a clean edge at the same time.
Completing your flooring installation with careful trim work hides small gaps and imperfections. The room looks neat and finished. You also protect the edges of your flooring from damage.
Note: Properly installed transitions and trim not only improve appearance but also help your flooring last longer.
Common Mistakes to Avoid
Many people make simple mistakes when installing transitions and trim. You can avoid these problems with a little planning and attention to detail.
- Skipping transition strips where your vinyl meets other types of flooring can create tripping hazards. It also leaves your project looking unfinished.
- Failing to measure transition areas carefully can lead to poor fits. Always double-check your measurements.
- Choosing the wrong transition piece for the job can cause uneven surfaces. Match each transition to the flooring heights and materials.
- Nailing trim to the flooring instead of the wall can stop your flooring from moving. This mistake may cause buckling or gaps over time.
Remember: Careful planning and the right tools help you avoid these common mistakes. Your flooring will look better and last longer.
You can achieve a high-end finish by following these steps. Accurate cutting, proper securing, and smart choices for transitions make your clicking vinyl plank flooring stand out in any room.
Design Tips for a Cohesive Look with Clicking Vinyl Plank Flooring
Blending Transitions with Room Decor
You can make your home look more stylish by blending transitions with your room decor. Start by using rugs to connect different types of flooring. Rugs add warmth and help tie spaces together. Paint your walls in colors that match your flooring. This creates a smooth look and makes transitions less noticeable. Place transitions at natural breaks, like doorways or where furniture divides a room. These steps help your flooring and transitions feel like part of the design.
- Use throw rugs to connect different flooring materials.
- Choose wall colors that complement your flooring.
- Align transitions with doorways or furniture for a natural look.
Tip: When you match your transitions to your decor, your flooring will look more expensive and well-planned.
Maximizing Visual Flow Between Spaces
You can use transitions to guide the eye and make your home feel bigger. The right transitions help your flooring flow smoothly from one room to another. Open-concept layouts work well with clicking vinyl plank flooring because you do not see choppy breaks. The waterproof core of this flooring also works in kitchens and entryways, so you can keep the same look throughout your home.
Here are some ways to maximize visual flow:
| Tip | Description |
|---|---|
| Choose Suitable Transition Strips | Pick the right transitions for a smooth flow between spaces. |
| Matching Finishes for Transition Strips | Match the color and finish of transitions to your flooring for unity. |
| Managing Seams and Height Differences | Handle seams and height changes for safe, attractive transitions. |
- Use ramped transitions for different flooring heights.
- Place seams along natural room dividers.
- Pick simple, neutral transitions for a modern style.
Selecting Trim Profiles for Style
You can choose trim profiles that match your style and make your flooring stand out. Square edges give a modern look and work well in new homes. Beveled edges add detail and suit living rooms. Micro-beveled edges offer a soft touch for premium spaces. Rounded edges fit traditional rooms or stone-look flooring. When you select the right trim, your transitions will blend with your flooring and decor.
- Square edges for a clean, modern look.
- Beveled or micro-beveled edges for extra detail.
- Rounded edges for classic or stone-look flooring.
Note: The right trim profile helps your transitions look seamless and stylish.
You can achieve a high-end look with careful planning and the right trim for your clicking vinyl plank flooring. When you follow expert steps, your flooring will last longer and look better. Using trim and molding covers gaps and joints, giving your flooring a polished finish. The table below shows how expert techniques help your flooring stay strong and beautiful over time.
| Installation Technique | Benefit |
|---|---|
| Proper acclimation | Reduces the risk of expansion and contraction, enhancing durability |
| Moisture management | Prevents damage from moisture, ensuring longevity |
| Layout planning | Improves structural integrity and aesthetic appeal |
| Transition installation | Bridges gaps effectively, maintaining a seamless look and function |
Start your project with confidence. You will enjoy flooring that stands out for its seamless style and lasting quality.
FAQ
What trim should you use for clicking vinyl plank flooring?
You should use quarter round or shoe molding to cover gaps at the wall. T-molding works well between rooms. Stair nosing is best for steps. Choose trim that matches your floor for a seamless look.
How do you measure for transition pieces?
Measure the width of the doorway or space where you need a transition. Add a small gap for expansion. Mark the spot with a pencil. Cut the transition piece to fit the measured area.
Can you install trim before laying vinyl plank flooring?
You should install trim after laying the vinyl plank flooring. This lets you cover expansion gaps and get a neat finish. Nail the trim to the wall, not the floor, for best results.
Do transitions affect the durability of your floor?
Transitions protect the edges of your flooring from damage. They help your floor last longer by allowing movement and preventing chips. Proper transitions also keep your floor safe and looking polished.




