
You control how long does it take to install vinyl plank flooring by focusing on preparation.
- Cleaning, leveling, moisture checks, and acclimation help you avoid mistakes during installation.
- Skipping preparation can cause delays, errors, or even damage to your new floors.
Careful preparation lets you plan each step and keeps your project running smoothly.
Why Preparation Affects How Long Does It Take to Install Vinyl Plank Flooring
The Connection Between Prep Work and Installation Time
You set the pace for your vinyl plank flooring installation by focusing on preparation. Each step you take before laying the planks shapes how long does it take to install vinyl plank flooring. When you clean, level, and check moisture, you build a solid foundation for proper installation. If you skip these steps, you face common pitfalls that slow down your project.
Careful preparation prevents issues like uneven planks, poor adhesive, or misaligned edges. These problems weaken the flooring and can cause peeling, warping, or even trip hazards.
You avoid many common pitfalls by testing, inspecting, and planning before you start. Moisture checks stop swelling, cupping, or warping. Leveling the subfloor keeps the planks stable and prevents cracks or movement. You save time by preventing early wear and costly repairs.
- Checking subfloor moisture levels with a moisture meter stops warping or loosening of the vinyl planks.
- Ensuring proper expansion gaps around walls avoids buckling or lifting.
- Following the manufacturer’s instructions helps you prevent installation errors.
- Acclimating the flooring in the installation room for at least 48 hours reduces the risk of expansion or contraction.
You see faster installation when you follow these steps. You avoid delays caused by rework or fixing mistakes. You also protect your investment and enjoy your new floors sooner.
Common Misunderstandings About Installation Speed
Many people think they can speed up installation by skipping preparation. This belief leads to common pitfalls that actually make the process longer. You might overlook the importance of acclimation or ignore subfloor issues. These mistakes cause gaps, buckling, or sagging.
- Skipping acclimation makes vinyl planks expand or contract, leading to gaps or buckling.
- Ignoring subfloor preparation results in an uneven surface, which causes cracking, buckling, or sagging.
- A poorly prepared subfloor gives inadequate support, leading to cracking and warping.
- Moisture in the subfloor can cause rot or mold growth, which requires repairs before installation.
You may also use improper adhesive, thinking it saves time. This shortcut often leads to poor bonding and early wear. Many common pitfalls happen before you lay the first board. You avoid these problems by taking time to prepare.
Remember, preparation is not wasted time. It is the key to a smooth installation and lasting results.
You control how long does it take to install vinyl plank flooring by avoiding common pitfalls and following each step. You get a better finish and fewer delays. You also protect your flooring from early damage and costly repairs.
Cleaning the Subfloor for Efficient Installation
Importance of a Clean Surface
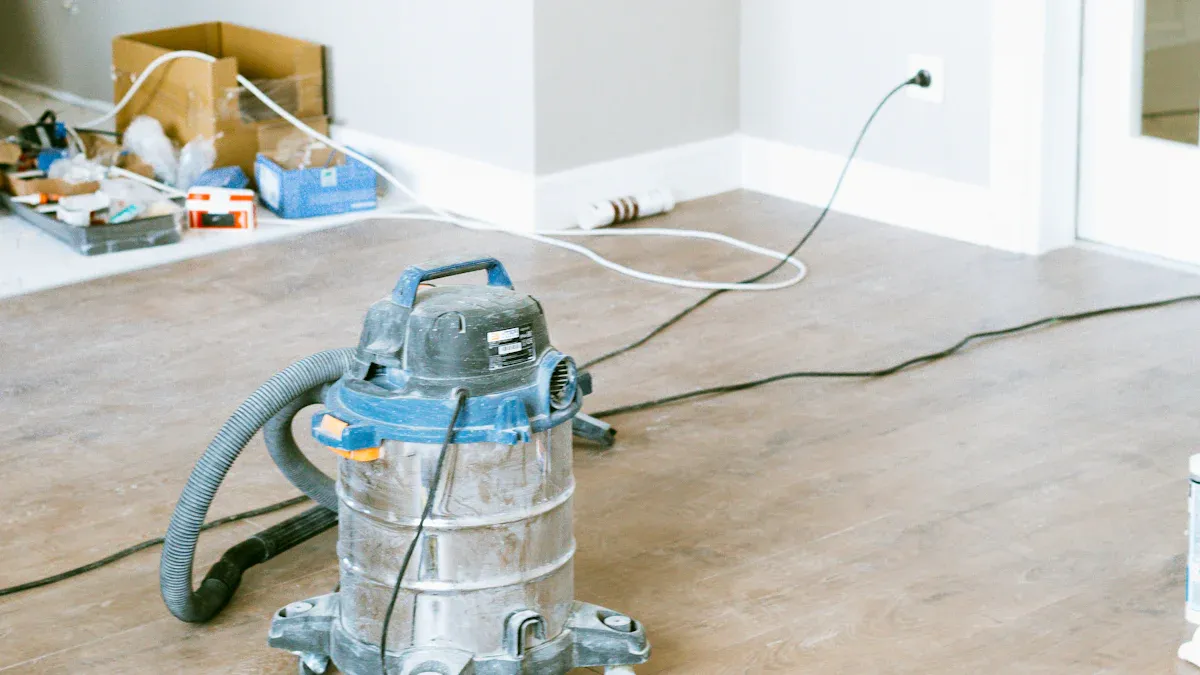
You start every successful vinyl plank flooring project with thorough subfloor preparation. Cleaning the subfloor is essential. Dirt, dust, and debris can cause uneven surfaces. These issues lead to poor click-lock connections and slow down installation. You avoid delays by making sure the subfloor is spotless.
A clean subfloor helps you achieve a smooth finish. You prevent complications by removing all debris. Dust can interfere with the locking mechanism of vinyl planks. Adhesives may not bond well if the subfloor is dirty. You protect your flooring investment by keeping the area clean.
Tip: Always sweep, mop, and vacuum the subfloor before you begin installation. This step ensures you avoid problems later.
You should scour the subfloor to remove stubborn dirt. A clean workspace makes subfloor preparation easier and faster. You reduce the risk of mistakes and save time.
How Cleaning Impacts the Timeline
Subfloor preparation affects how quickly you can install vinyl plank flooring. Cleaning the subfloor speeds up the process. You avoid delays caused by fixing uneven planks or redoing sections. Manufacturers recommend several cleaning methods to help you work efficiently:
| Cleaning Method | Recommendation |
|---|---|
| Daily Cleaning | Lightly clean daily to prevent dirt buildup and maintain durability. |
| Sweeping or Vacuuming | Remove loose dirt and debris daily using a soft bristle broom or gentle vacuum. |
| Mopping | Mop with a vinyl-friendly solution to remove grime and disinfect. |
| Deep Cleaning | Perform deep cleaning at least once a month. |
| Avoid | Do not use steel wool, ammonia-based products, wax, or excessive water. |
| Stain Management | Clean spills and stains immediately to prevent them from becoming harder to remove. |
You follow these steps to keep the subfloor ready for installation. Cleaning prevents delays and ensures proper subfloor preparation. You create a stable foundation for your new floors. You also avoid issues that can arise from dust or debris.
- A clean subfloor is crucial for a smooth installation.
- Debris can cause uneven surfaces and poor connections, leading to delays.
- Dust and debris can reduce the effectiveness of adhesives.
- A clean area is essential to avoid complications during installation.
You make subfloor preparation efficient by following these cleaning methods. You save time and achieve better results.
Leveling the Subfloor and Its Effect on Installation Time
Identifying and Fixing Uneven Areas
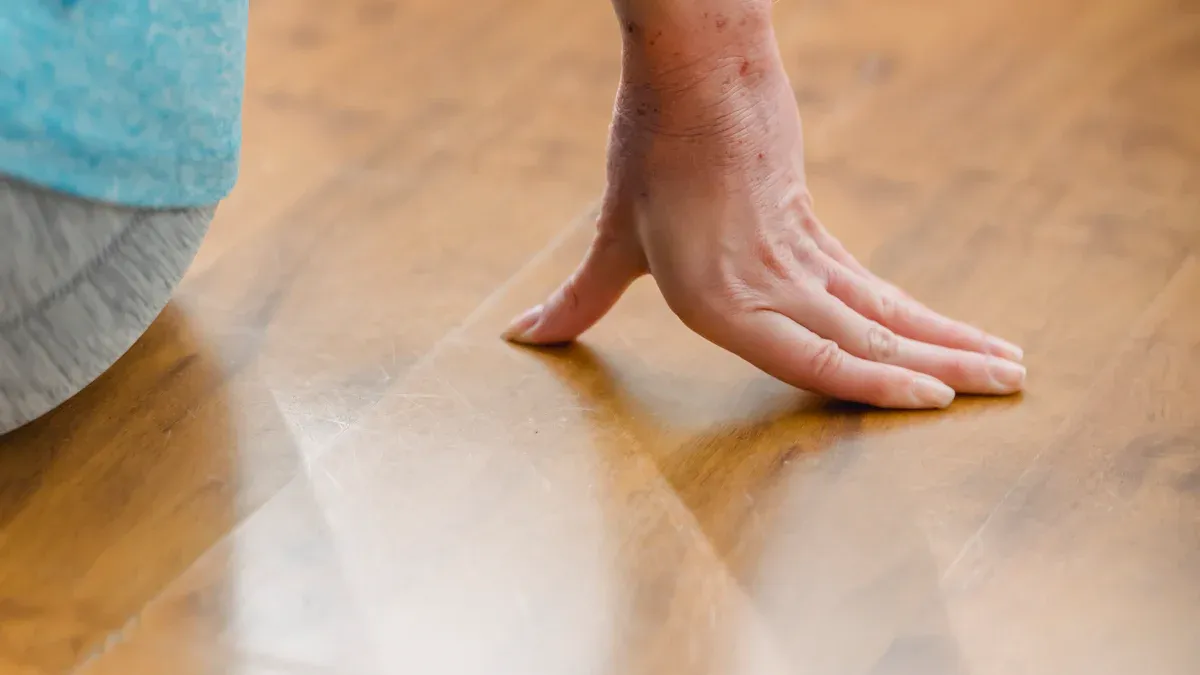
You need to check the subfloor before you start any subfloor preparation. Walk across the room and feel for bumps or dips. Look for cracks, holes, or raised spots. Use a straightedge or level to spot uneven areas. If you find gaps under the straightedge, you know the subfloor needs work. You must fix these issues to avoid problems during installation.
Uneven subfloor surfaces cause vinyl planks to shift or crack. You prevent these issues by making sure the subfloor is flat and stable. You save time later by fixing problems now. You avoid delays and mistakes that can happen if you skip this step. Subfloor preparation starts with careful inspection.
Tip: Mark trouble spots with chalk so you remember where to focus your repairs.
Leveling Methods and Time Estimates
You have several ways to level the subfloor. Each method helps you create a smooth surface for your vinyl plank flooring. You choose the best option based on the condition of your subfloor.
- Use sanders to smooth out bumps and high spots. Sanders work well for small areas and take less time.
- Apply self-leveling compounds to fill dents and low spots. These compounds spread easily and dry quickly. Most projects need a few hours for the compound to set.
- Consider using underlayment for extra leveling support. Underlayment covers minor imperfections and adds stability.
You finish subfloor preparation faster when you use the right tools. Sanders and self-leveling compounds help you fix uneven areas quickly. Underlayment speeds up the process if your subfloor has only minor flaws.
Most leveling jobs take one to two days, depending on the size of the room and the condition of the subfloor. You must let self-leveling compounds dry before you start installation. You avoid delays by planning ahead and following each step.
Note: Proper subfloor preparation ensures your vinyl plank flooring stays flat and lasts longer.
Checking Moisture Levels and Installing Moisture Barriers
Why Moisture Levels Matter for Vinyl Plank Flooring
You need to check moisture levels before you start any vinyl plank flooring installation. Moisture in the subfloor can cause many problems. If you ignore moisture control, you risk damaging your new floors. You protect your investment by measuring moisture levels and following industry standards.
You can use a moisture meter to test the subfloor. You compare your results to the standards in the table below:
| Subfloor Type | Acceptable Moisture Level |
|---|---|
| Concrete | ≤ 75% RH (ASTM F2170) |
| ≤ 3 lbs / 1000 sq ft / 24 hr (ASTM F1869) | |
| Wood | Subfloor moisture content should be ≤ 12% |
| Difference between subfloor and flooring ≤ 3% |
You avoid delays and mistakes by keeping moisture levels within these limits. Excess moisture can cause adhesive failure, bubbling, and mold growth. You see these issues in the table below:
| Issue | Description |
|---|---|
| Adhesive Failure | Adhesives can re-emulsify, causing tiles to shift, curl, or lift. |
| Subfloor Imperfections | Moisture can cause the vinyl to conform to underlying inconsistencies, leading to telegraphing. |
| Bubbling and Blistering | Trapped moisture can lead to bubbling and blistering, affecting aesthetics and durability. |
| Adhesive Bonding | Excess moisture can prevent proper bonding, leading to warping and bubble formation. |
| Surface Peeling | Moisture interferes with adhesive curing, causing the vinyl surface to peel. |
| Mold Growth | Long-term moisture can lead to mold growth and indoor air quality issues. |
Tip: Always check moisture levels in the subfloor before you begin. You prevent costly repairs and protect your flooring.
Installing Moisture Barriers: Steps and Time Needed
You install a vapor retarder to stop moisture from reaching your vinyl plank flooring. You choose the right vapor retarder for your subfloor type. You follow these steps for proper moisture control:
- Clean the subfloor and remove all debris.
- Measure moisture levels with a meter.
- Select a vapor retarder that matches your subfloor and flooring.
- Roll out the vapor retarder across the entire subfloor.
- Overlap seams by at least six inches.
- Tape seams to seal the vapor retarder.
- Trim excess vapor retarder along the walls.
- Inspect the vapor retarder for gaps or tears.
- Allow the vapor retarder to settle for a few hours.
- Begin vinyl plank flooring installation.
You spend one to two hours installing a vapor retarder in a standard room. You save time by preparing the subfloor and using the right tools. You avoid delays caused by moisture problems. You ensure your vinyl plank flooring lasts longer with proper moisture control.
Note: You must use a vapor retarder for every installation over concrete or in areas with high moisture levels. You protect your floors and keep your home safe.
Acclimating Vinyl Planks Before Installation
The Role of Acclimation in Installation Time
You need to acclimate vinyl planks before starting installation. This step helps the planks adjust to the temperature and moisture in your room. When you place the planks in the installation area, they adapt to the environment. You avoid problems like gaps or buckling by letting the planks settle. If you skip acclimation, you risk issues such as adhesive failure or peaking at the joints. You may spend extra time fixing these problems after installation.
Acclimation allows the flooring to stabilize. You prevent the vinyl from becoming stiff or too soft due to temperature changes. This step makes the planks easier to handle and ensures a smooth fit. You protect your investment by following the manufacturer’s recommendations. Each product may require a different acclimation period. You should always check the instructions for your specific flooring.
Tip: Place the vinyl planks in the installation room and leave them undisturbed. This helps them adjust to the room’s conditions.
You also need to consider the subfloor. The planks must acclimate to the moisture and temperature of the subfloor. If the subfloor is too cold or damp, the planks may not settle properly. You avoid delays by making sure the subfloor is ready and the planks have time to adjust.
How Long Acclimation Takes
You should acclimate vinyl plank flooring for at least 48 hours. Most manufacturers recommend this minimum period. Some suggest a longer acclimation time, up to 7 days, for the best results. The exact duration depends on the product and the conditions in your installation room. You must follow the manufacturer’s guidelines to ensure proper acclimation.
- A minimum acclimation period of 48 hours is common.
- Some products require up to 7 days for optimal results.
- Always follow the specific instructions for your flooring.
- The acclimation period may vary based on the subfloor and room conditions.
You place the planks on the subfloor in the installation room. Make sure the planks are not stacked tightly. Spread them out so air can circulate. This helps the planks adjust to the temperature and moisture of the subfloor. You avoid problems by giving the planks enough time to acclimate.
Note: Acclimation is a simple step that saves time and prevents costly repairs. You get a better finish and longer-lasting floors.
You ensure the subfloor is clean and dry before acclimating the planks. This step helps the planks settle properly and makes installation easier. You avoid delays and achieve a smooth, professional result.
Professional vs. DIY: How Preparation Impacts Installation Time with skspcflooring
How Professionals Handle Preparation
You see professionals approach vinyl plank flooring installation with careful planning. They check the subfloor for cleanliness, levelness, and dryness before starting. Professionals measure the room and create a detailed shopping list. They gather all tools and supplies in advance. You notice that they budget for unexpected expenses, which helps them avoid surprises. They develop a realistic timeline and adjust it if needed. These steps help professionals finish the job efficiently.
- Professionals take accurate measurements.
- They list every tool and supply needed.
- They plan for extra costs.
- They follow a flexible schedule.
- They inspect the subfloor and fix any issues.
Professionals at skspcflooring use these strategies to reduce delays and ensure a smooth installation. You benefit from their experience and attention to detail.
Common DIY Delays and How to Avoid Them
You may face delays if you try to install vinyl plank flooring yourself. Many DIY installers make mistakes during preparation. These errors increase installation time and cause frustration. You can avoid these problems by learning from common mistakes.
| Mistake | Explanation |
|---|---|
| Improper subfloor preparation | Failing to clean, level, and dry the subfloor can lead to warping or buckling of the vinyl planks. |
| Not acclimating the flooring | Skipping acclimation can cause expansion or contraction issues after installation. |
| Failing to leave expansion gaps | Not allowing space for expansion can result in buckling or warping of the planks. |
| Using the wrong adhesive | Incorrect adhesive can lead to poor adhesion and lifting of the planks. |
| Misaligning the planks | Misalignment can cause the entire floor to appear uneven, increasing installation time. |
You avoid these delays by following each step of preparation. Clean and level the subfloor. Acclimate the flooring before installation. Leave expansion gaps around the edges. Use the correct adhesive. Align the planks carefully. You save time and achieve a professional result.
Tip: If you feel unsure about any step, contact skspcflooring for guidance. You get expert advice and avoid costly mistakes.
Tips from skspcflooring to Speed Up Preparation and Reduce Delays
Planning and Scheduling Preparation Steps
You can save time by planning each step before you start. Create a checklist for cleaning, leveling, and acclimating the vinyl planks. Schedule your tasks based on the condition of your subfloor and the size of your room. Use the table below to see how each factor affects your timeline:
| Factor | Impact on Timeline |
|---|---|
| Subfloor Preparation | Takes 1-2 days if in good condition; longer if repairs are needed. |
| Acclimatization | Needed for certain flooring types; skipping can cause future problems. |
| Installer Expertise | Experienced installers finish faster and keep the project on schedule. |
Tip: Plan ahead and gather all materials before you begin. This helps you avoid last-minute delays.
Essential Tools and Materials Checklist
You need the right tools and materials for efficient preparation. Gather everything before you start to keep your project moving. Here is a checklist to help you:
- Measuring tape
- Utility knife
- Straightedge or T-square
- Chalk line
- Pry bar
- Rubber mallet
- Tapping block
- Pull bar
- Saw (miter saw or jigsaw for intricate cuts)
- Safety goggles and gloves
- Vinyl plank flooring
- Underlayment (if required)
- Adhesive (for glue-down installations)
- Flooring spacers
- Flooring trim or molding
Having these tools ready makes preparation easier and helps you avoid interruptions.
When to Call a Professional
You should consider hiring a professional if you face complex preparation tasks. Professionals use specialized equipment and pay attention to detail. They manage the timeline and reduce disruptions. The table below shows when calling a professional can help:
| Reason | Explanation |
|---|---|
| Proper Equipment | Professionals use tools for efficient and precise flooring installation. |
| Attention to Detail | They ensure accuracy and beauty in the finished floor. |
| Timeline Management | Contractors organize materials and schedules to avoid delays. |
| Minimizing Disruptions | Professionals reduce noise and mess during the process. |
| Safety and Code Compliance | Licensed installers follow safety protocols and building codes. |
Mistakes often happen in DIY projects. Incorrect installation can make floors look uneven. DIY jobs usually take longer than expected. You avoid these issues by contacting skspcflooring for expert help.
Note: Professional installers help you achieve a smooth finish and keep your project on track.
You set yourself up for success by investing time in preparation. Thorough steps help you avoid delays and answer how long does it take to install vinyl plank flooring. Industry studies show that proper subfloor preparation prevents joint separation and buckling. You also protect your floor by leaving expansion gaps and using furniture pads.
- Stability and longevity improve when you align planks and engage seams correctly.
- Rushed preparation increases stress at seams and leads to costly repairs.
| Outcome | Description |
|---|---|
| Structural Problems | Gaps, lifted edges, or stressed joints can appear. |
| Buckling of Planks | Planks press into walls and buckle if gaps are ignored. |
| Increased Repair Costs | Mistakes require extra material and labor. |
| Voiding Warranty | Skipping steps can void warranties and leave you unprotected. |
With guidance from skspcflooring, you minimize downtime and enjoy your new floors sooner. Careful planning answers how long does it take to install vinyl plank flooring and ensures lasting results.
FAQ
How long does preparation usually take before installing vinyl plank flooring?
You spend one to two days on preparation. Cleaning, leveling, moisture checks, and acclimation each add time. If your subfloor needs repairs, you may need extra hours. Careful planning helps you finish faster.
Can I install vinyl plank flooring without acclimating the planks?
You should not skip acclimation. Planks need at least 48 hours in the installation room. This step prevents gaps, buckling, or expansion problems. Always follow the manufacturer’s instructions for best results.
What tools do I need for subfloor preparation?
You need a broom, vacuum, level, moisture meter, utility knife, and straightedge. For leveling, use a sander or self-leveling compound. Safety goggles and gloves protect you during preparation.
How do I know if my subfloor is ready for vinyl plank flooring?
You check for cleanliness, flatness, and dryness. Use a level to spot bumps. Test moisture with a meter. If your subfloor passes these checks, you can start installation.




