
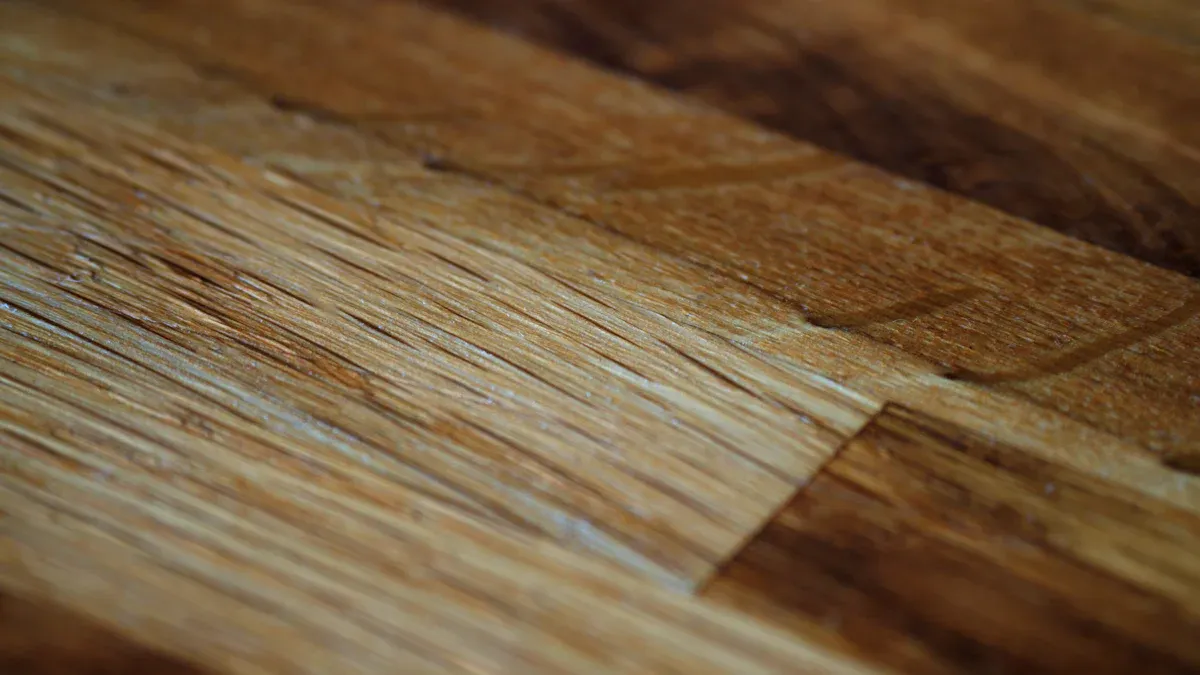
You may think installing vinyl plank flooring on concrete looks simple, but many people make preventable mistakes. Uneven or wet subfloors cause gaps, creaks, and early damage. Skipping proper preparation or using the wrong underlayment can lead to poor sound absorption and reduce the floor’s lifespan. Not planning for expansion gaps or making improper cuts often results in buckling, warping, and wasted material. Careful attention to each step helps you avoid these problems and achieve a smooth, lasting floor.
Installing Vinyl Plank Flooring on Concrete: Key Mistakes to Avoid
Overlooking Uneven or Wet Subflooring
You might think you can skip checking the subfloor, but this is one of the most common mistakes when installing vinyl plank flooring on concrete. An uneven or wet subflooring can cause loud creaks, dips, and soft spots. Over time, moisture from the concrete can rise and damage your new floor. You need a solid and dry base to make sure your vinyl plank flooring lasts.
Tip: Always check for signs of moisture, like dark spots or musty smells. Use a moisture meter or ask a professional to test the concrete before you start.
Here is a table of common mistakes and why they matter:
| Mistake | Explanation |
|---|---|
| Improper subfloor preparation | Neglecting to clean, level, and dry the subfloor can lead to warping or buckling of the vinyl planks. |
| Not acclimating the flooring | Failing to allow planks to adjust to room temperature can cause expansion or contraction issues post-installation. |
| Not leaving expansion gaps | Insufficient space for expansion can lead to buckling or warping of the planks. |
| Using incorrect adhesives | Using non-compatible adhesives can result in poor adhesion and lifting of the planks. |
| Misaligning the planks | Misalignment can cause the entire floor to appear uneven, affecting the overall aesthetic. |
| Skipping underlayment | Not using the right underlayment can lead to uneven surfaces and increased noise. |
| Ignoring manufacturer instructions | Not following specific installation guidelines can void warranties and lead to installation issues. |
Failing to Clean and Level the Concrete
Proper preparation is the foundation of a successful installation. If you do not clean and level the concrete, you will see bumps, gaps, and even squeaks in your floor. You may also face moisture problems, mold, or poor adhesion. These issues can shorten the life of your floor.
Follow these steps for effective subfloor preparation:
- Remove adhesives by scraping or using a machine.
- Level the surface with a grinder and apply a leveling compound where needed.
- Clean the floor by sweeping, vacuuming, and mopping.
- Prime the concrete with two coats of primer for better adhesion.
Note: Good subfloor preparation helps you avoid lumps, extend the life of your floor, and prevent moisture damage.
Moisture Barrier Essentials for Vinyl Plank Flooring
Why a Moisture Barrier Is Non-Negotiable
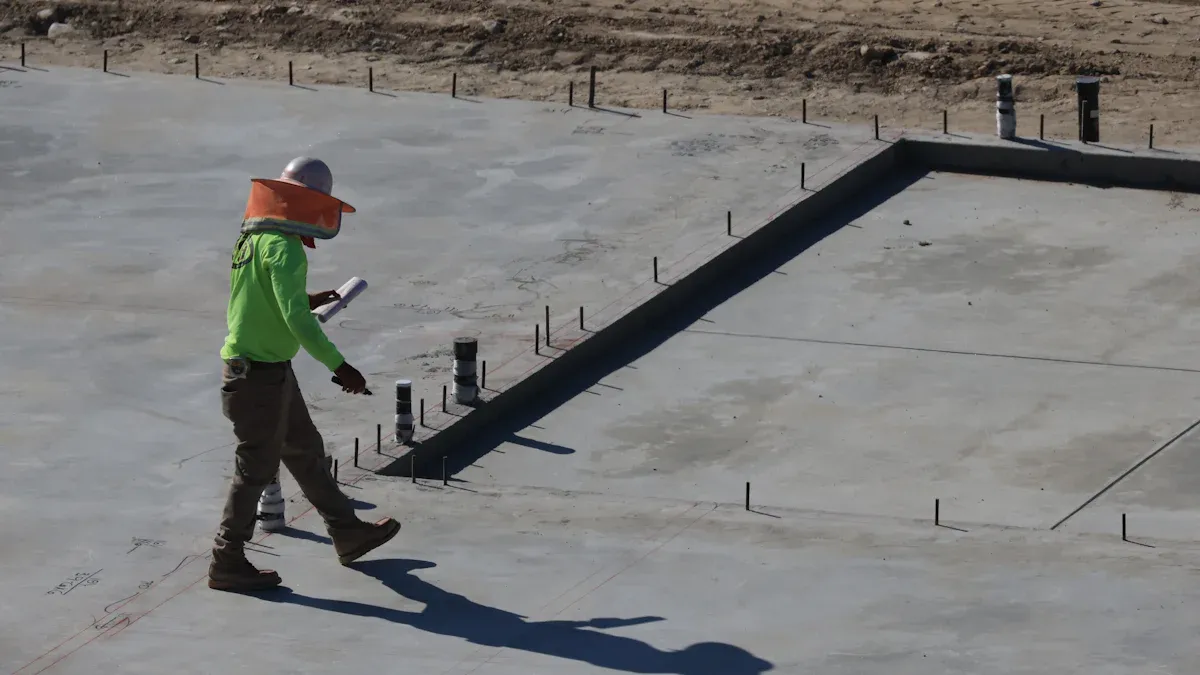
You need a moisture barrier when you install vinyl plank flooring on concrete. This step protects your floor from damage and helps your installation last longer. Here are the main reasons you cannot skip this step:
- You stop moisture from rising through the concrete. This prevents warping or buckling of your floor.
- You add a layer of protection that makes your floor last longer.
- You get better thermal insulation. This keeps your room comfortable in every season.
- You improve comfort underfoot and reduce noise.
Tip: Always use a moisture barrier, even if the concrete looks dry. Moisture can move up from below and cause problems you cannot see right away.
Common Myths About Moisture Barriers
Many people believe myths about moisture barriers. These common mistakes can lead to big problems later. Here are some myths you should not believe:
- If the concrete surface is dry, the slab is dry.
- All flooring products handle moisture the same way.
- Old concrete must be dry by now.
- You do not need to test for moisture if the slab is above ground.
- Surface tests give the best moisture readings.
- You can guess how long concrete takes to dry.
- All relative humidity tests are the same.
- The depth of the test hole does not matter.
- Concrete additives do not change drying time.
- Dust on the job site does not affect testing.
Note: You should always test for moisture, no matter how old or dry the concrete looks. Trust the results, not your eyes.
Choosing the Right Moisture Barrier for Concrete
You have a few choices when you pick a moisture barrier for your project. The right one depends on your subfloor and the type of installation you plan. Here is a simple table to help you decide:
| Moisture Barrier Type | Classification | Recommended Use |
|---|---|---|
| 6mil plastic | Class I | Over concrete |
| Whisper Step | Class II | Over wood subfloor |
For concrete, you should use a 6mil plastic barrier. This type gives you the best protection against moisture. Whisper Step works better for wood subfloors.
Tip: Always follow the manufacturer’s instructions for the moisture barrier. This helps you avoid common mistakes and keeps your warranty safe.
How to Install a Moisture Barrier Correctly
You want your vinyl plank flooring to last for years. The right moisture barrier protects your floor from damage and keeps your installation strong. Follow these steps to install a moisture barrier on concrete:
-
Prepare the Space
Start by removing baseboards and any old flooring. Sweep and mop the concrete slab. Look for cracks or holes. Fill and repair these spots so the surface is smooth. A clean and level base helps the barrier work well. -
Lay Out the Vapor Barrier
Unroll the moisture barrier across the concrete. Make sure each sheet overlaps the next by at least six inches. Use strong tape to seal the seams. This step blocks moisture from rising up and reaching your vinyl plank flooring. -
Seal Around Edges and Penetrations
Extend the barrier a few inches up the walls. Seal around pipes or other openings with tape. This keeps water from sneaking in at the edges or through gaps. -
Inspect Your Work
Walk over the entire area. Check for tears, holes, or missed spots. Fix any problems before you start the next part of your installation. A complete barrier gives you the best protection.
Tip: Take your time with each step. A careful moisture barrier installation helps prevent future problems like warping or mold.
Here is a quick checklist to help you remember each step:
| Step | What to Do | Why It Matters |
|---|---|---|
| Prepare the space | Clean, repair, and level the concrete | Ensures a smooth foundation |
| Lay out the vapor barrier | Overlap seams and tape securely | Blocks moisture effectively |
| Seal edges and penetrations | Extend up walls and seal around pipes | Prevents leaks and seepage |
| Inspect your work | Check for gaps or tears | Guarantees full protection |
You can now move forward with your vinyl plank flooring installation, knowing your floor is safe from moisture.
Skipping the Underlayment: Risks and Solutions
When Underlayment Is Needed for Vinyl Plank Flooring
You might wonder if you can skip underlayment when installing vinyl plank flooring on concrete. Concrete holds moisture, which can damage your floor over time. Underlayment helps protect your floor from this risk. It also adds comfort and reduces noise. If your vinyl planks already have built-in underlayment, you may not need an extra layer. Always check the product details before you start your preparation.
“Even a newly poured slab can emit 8 to 10 pounds of moisture per 1,000 square feet per day,” says Timothy Grant, a certified flooring inspector with 20+ years in the industry. “If you don’t put a barrier down, you’re just inviting problems.”
If you skip underlayment, you face several risks:
- Concrete is porous and lets moisture travel through, which can lead to mold and damage.
- The floor will feel hard and uncomfortable to walk on because it lacks cushioning.
- The floor can feel cold during winter since concrete keeps a low temperature.
Selecting the Proper Underlayment for Concrete
Choosing the right underlayment is important for a successful installation. The wrong underlayment can cause problems like poor sound absorption or moisture damage. You want to match your underlayment to your subfloor and room needs. For concrete, look for options that offer moisture protection, comfort, and sound reduction.
Here is a table to help you compare different types:
| Underlayment Type | Best For | Features & Benefits |
|---|---|---|
| High-Density Foam | Most floating vinyl plank floors | Affordable, smooths minor imperfections, basic sound reduction, may include moisture barrier |
| Felt or Recycled Fiber | Multi-story homes, high traffic areas | Excellent sound absorption, comfort, impact noise reduction |
| Cork | Eco-friendly, colder areas | Sustainable, sound absorption, thermal insulation, needs moisture barrier |
| Rubber | Basements, bathrooms | Moisture resistance, sound reduction, durable |
| Foam with Vapor Barrier | Concrete subfloors, moisture-prone | Cushioning and moisture protection, great for basements and bathrooms |
| Combination (Cork + Foam) | Eco-conscious, mixed needs | Comfort, sound absorption, thermal insulation, moderate moisture resistance |
Many installers use QuietWalk Luxury Vinyl underlayment. It gives sound absorption, moisture protection, and comfort. Its DriWick Technology helps wick away moisture from concrete. For full protection, install a 6-mil vapor barrier under the underlayment. Good leveling and careful installation help your vinyl plank flooring last longer and feel better underfoot.
Acclimating Vinyl Plank Flooring for Best Results
Importance of Acclimation
You want your vinyl plank flooring to look great and last for years. Acclimating the lvp flooring is a key step that many people overlook. This process lets the planks adjust to the room’s temperature and humidity before you start the installation. If you skip this step, you may see problems like warping, gapping, or buckling. These issues can make your floor look uneven and feel uncomfortable when you walk on it.
When you allow the planks to settle, you help them adapt to the environment. This adjustment keeps the flooring stable and prevents changes after you finish the installation. You also protect your warranty, since many manufacturers require proper acclimation. By taking this step, you make sure your floor stays strong and beautiful.
Tip: Acclimation helps avoid costly repairs and keeps your floor looking new.
How to Acclimate Vinyl Plank Flooring Properly
You can follow a few simple steps to acclimate your flooring the right way:
- Bring the unopened boxes of vinyl plank flooring into the room where you plan to install them.
- Place the boxes flat on the floor. Spread them out to allow air to move around each box.
- Keep the room at a steady temperature, usually between 65°F and 85°F. Check the manufacturer’s instructions for the best range.
- Let the planks sit for at least 48 hours. This gives them time to adjust to the room’s conditions.
A table can help you remember the key points:
| Step | What to Do |
|---|---|
| Bring in flooring | Move boxes into the installation room |
| Lay flat | Spread boxes out on the subfloor |
| Control temperature | Keep room within recommended range |
| Wait | Allow 48 hours for acclimation |
You should always check the subfloor and underlayment before you start leveling or acclimating the planks. Careful preparation leads to a smooth and durable floor.
Expansion Gaps and Layout Planning
Why Expansion Gaps Matter
You might think you can install your floor right up to the wall, but that is not a good idea. Leaving expansion gaps is a key part of any vinyl plank flooring installation. These small spaces let your floor move when the temperature or humidity changes. If you skip this step, you can run into big problems.
- The floor needs room to expand and contract as the seasons change.
- Without an expansion gap, the planks can buckle, warp, or even lift at the seams.
- You should always leave a small gap—about ¼ inch—around the edges of the room.
- Spacers help you keep this gap even while you work.
Tip: If you forget to leave expansion gaps, you may see your floor rise up or separate in the middle. Always check your work as you go.
Laying Out Vinyl Plank Flooring for a Professional Finish
Planning your layout before you start makes your floor look neat and last longer. You want to think about how the planks will look in the room and how they will fit together. Here are some best practices to follow:
| Best Practice | Description |
|---|---|
| Properly Executed Transitions | Make sure the flooring looks smooth where it meets other rooms or thresholds. |
| Consider Natural Light | Lay planks parallel to windows or main light sources. This makes the room feel bigger and hides seams. |
| Create a Mock Layout | Place planks on the floor without glue or clicks first. This helps you see the pattern and flow. |
| Stagger Joints | Do not line up the ends of the planks. Staggering them makes the floor stronger and better looking. |
| Finish with Trims and Moldings | Use trims to cover the expansion gap and give your floor a finished look. |
Note: Take your time with layout planning. Careful steps now will help you avoid mistakes and get a floor that looks like a pro did it.
By following these tips, you make sure your vinyl plank flooring fits well and stays beautiful for years.
Following Manufacturer Instructions with skspcflooring
Reading and Applying Installation Guidelines
You want your vinyl plank flooring to last for years. The best way to protect your investment is by following manufacturer’s guidelines from skspcflooring. These instructions help you avoid mistakes and keep your warranty valid. Each step matters, from cleaning the floor to letting the planks acclimate. You should read every guideline before you begin your installation.
Here is a table that shows the most important steps to follow for warranty compliance:
| Step | Instruction |
|---|---|
| 1 | Remove excess adhesive or spills immediately to prevent damage to the finish. |
| 2 | Use a dry or damp soft cloth for cleaning; avoid harsh chemicals. |
| 3 | Do not apply adhesive/masking tape directly to the floor surface. |
| 4 | Leave expansion space wedges in place for at least 8 hours. |
| 5 | Avoid foot traffic for a minimum of 8 hours and heavy furniture for 24 hours. |
| 6 | Clean the floor by dry dust mopping and vacuuming. |
| 7 | Ensure proper acclimation of the flooring before installation. |
Tip: Always keep the manufacturer’s instructions nearby during your project. This helps you check each step and avoid missing important details.
Using Approved Adhesives and Underlayment
You need to use the right products for a successful installation. Approved adhesives and underlayments protect your floor and help it perform well. For concrete subfloors, MoistureBlock™ 6-mil Vapor Barrier Flooring Underlayment works best. This product blocks moisture and keeps your floor safe.
Other common underlayments include:
- Cork for sound absorption and comfort.
- Foam for cushioning and minor leveling.
- Felt for noise reduction in busy areas.
- Rubber for moisture resistance in basements or bathrooms.
- Plywood and OSB for added stability.
You should always check the product label and manufacturer’s recommendations before you buy adhesives or underlayments. Using approved materials ensures your floor stays strong and your warranty remains valid.
Note: The right underlayment makes your vinyl plank flooring feel comfortable and last longer.
Cutting and Fitting Vinyl Plank Flooring
Avoiding Common Cutting Mistakes
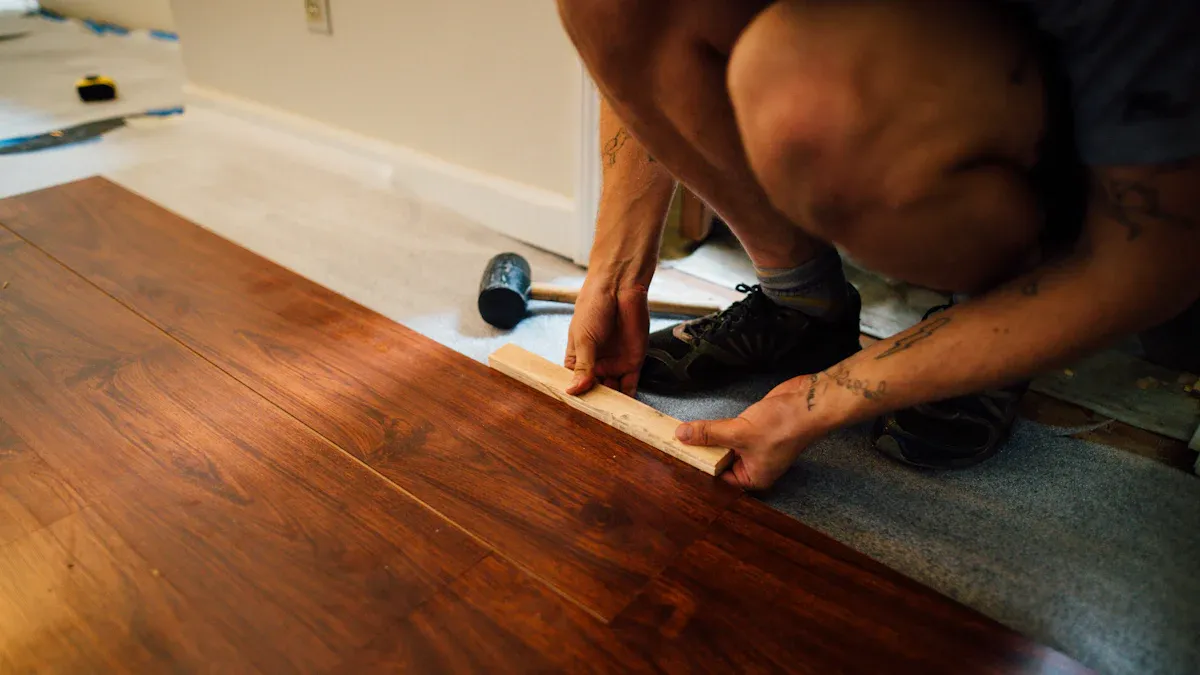
Cutting vinyl plank flooring may look easy, but small mistakes can lead to big problems. You want your installation to look smooth and last for years. Many people make errors because they rush or skip important steps. Always take your time and double-check your work.
Here is a table that shows common mistakes and how you can avoid them:
| Mistake | Solution |
|---|---|
| Ignoring subfloor preparation | Make sure the subfloor is clean, dry, and level. Remove all debris. |
| Not acclimating the planks | Let the planks sit in the room for at least 48 hours before cutting. |
| Incorrect measurements | Measure each cut carefully and double-check before you cut. |
| Skipping underlayment | Decide if you need underlayment and use a high-quality product. |
| Not staggering the planks | Start with a full plank, then use a half plank to stagger the joints. |
| Neglecting expansion gaps | Leave a ¼-inch gap around the edges for expansion. |
| Using the wrong cleaning products | Use pH-neutral cleaners made for vinyl flooring. |
Tip: Always use a sharp utility knife or saw for clean cuts. Dull blades can chip or crack the planks.
Fitting Around Obstacles and Finishing Edges
You will face obstacles like door frames, pipes, or vents during installation. Accurate measuring is key. Use a tape measure and mark your cuts clearly. For tricky shapes, make a template from cardboard or paper. This helps you trace the exact shape onto the plank before cutting.
When you reach a door frame, undercut it with a jamb saw or oscillating tool. This allows the plank to slide underneath for a neat look. For pipes or vents, cut the plank to fit snugly around the obstacle. Always plan your cuts so that seams do not land in high-traffic areas.
At the edges of the room, use transition strips where your floor meets another type of flooring. These strips cover gaps and create a smooth, finished edge. Add baseboards or quarter-round molding to hide expansion gaps and give your floor a professional appearance.
Note: Careful cutting and fitting make your vinyl plank flooring look seamless and help it last longer.
Final Installation Checklist from skspcflooring
Step-by-Step Guide to a Successful Installation
You want your new floor to look great and last for years. Use this checklist to make sure you follow every important step when installing vinyl plank flooring on concrete. Each action helps you avoid mistakes and get the best results.
- Check the concrete slab for quality. Make sure it meets density requirements and has no weak spots.
- Clean the slab. Remove all dust, dirt, and foreign materials.
- Protect the slab from ground moisture. Lay a vapor retarder under the concrete.
- Place the slab directly on the vapor retarder for extra protection.
- Wet cure the concrete using a moisture-retaining cover. This helps the slab dry evenly.
- Test for moisture, alkali, and bond strength before you start installing vinyl plank flooring on concrete.
- Use ASTM standards for moisture testing. This ensures accurate results.
- Measure the pH of the concrete. The surface should have a pH of 9 or less.
- Test the bond of your adhesive. Make sure it works well with your floor.
- Repair any cracks or construction joints with the right underlayment. Let these areas dry completely.
- Smooth out rough spots with a grinder or apply a cement-based underlayment.
- Do not install vinyl plank flooring across expansion joints. Use joint covers instead.
- Prime dusty slabs with S-185 Latex Primer for better adhesion.
- Keep the room at a steady temperature during installation. This helps the planks settle and fit well.
Tip: Double-check each step before moving on. Careful preparation leads to a smooth and strong floor.
You can use this checklist for every installation. It helps you avoid common problems and keeps your vinyl plank flooring looking beautiful.
You can avoid costly mistakes by preparing the subfloor, controlling moisture, and acclimating your vinyl planks.
- Uneven surfaces and excess moisture cause damage.
- Skipping acclimation leads to gaps or warping.
Follow these best practices:
- Clean and level the concrete.
- Let planks adjust to the room.
- Plan your layout before installing.
Choosing high-quality flooring from skspcflooring gives you waterproof, durable, and low-maintenance results. Expert advice helps you achieve a beautiful floor that lasts.
| Benefit | Description |
|---|---|
| Waterproof | No warping in kitchens or bathrooms |
| Durability | Handles heavy traffic and resists scratches |
| Low Maintenance | Easy to clean and care for |
FAQ
How long should you wait before walking on new vinyl plank flooring?
You should wait at least 8 hours before walking on your new floor. For heavy furniture, wait 24 hours. This gives the planks time to settle and helps prevent shifting.
Can you install vinyl plank flooring directly on concrete?
Yes, you can install vinyl plank flooring on concrete. You must clean, level, and dry the surface first. Always use a moisture barrier to protect your floor from damage.
What tools do you need for installation?
You need a tape measure, utility knife, spacers, straight edge, and tapping block. A saw helps with tricky cuts. Keep a vacuum or broom nearby for cleaning as you work.
Do you need to leave gaps around the edges?
Yes, you should leave a ¼-inch gap around all walls and obstacles. This gap lets the floor expand and contract with temperature changes. Use spacers to keep the gap even.




