
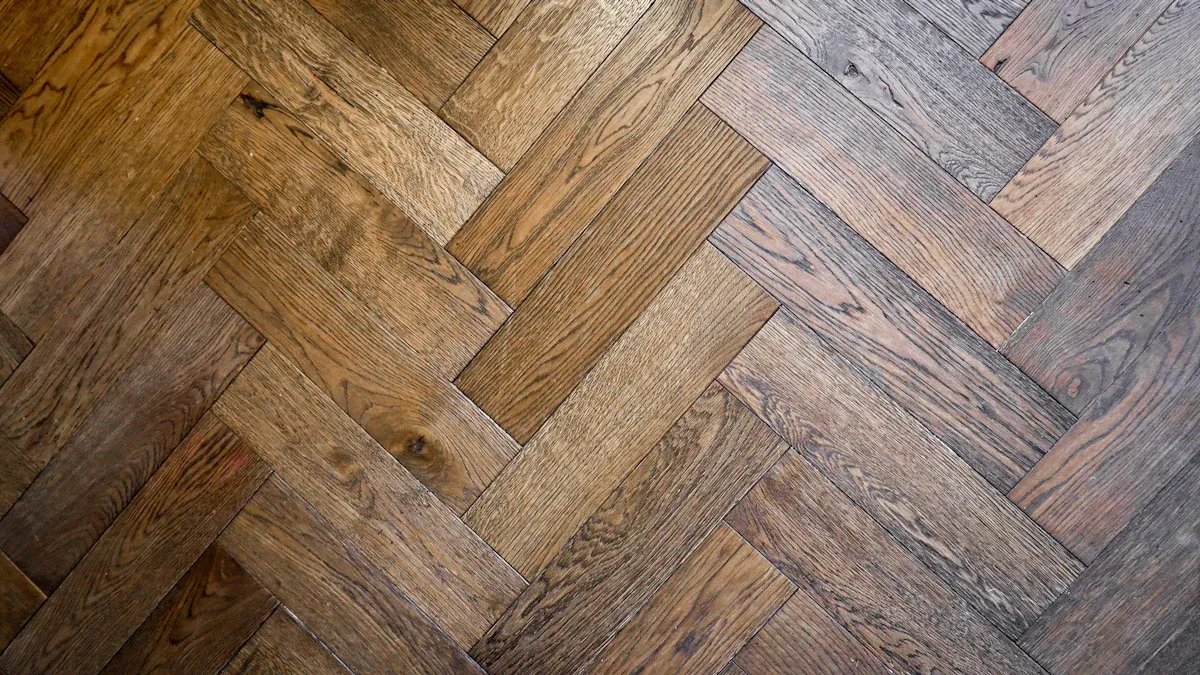
You can transform any room by installing herringbone vinyl sheet flooring. Start by looking at your space and decide how the new vinyl will fit your style. This type of vinyl brings a classic pattern to your floor and gives it a fresh look. You need to make sure the floor stays clean and flat. When you lay the vinyl, each floor section must line up to keep the herringbone design sharp. Many people choose herringbone vinyl sheet flooring because it is strong and easy to maintain.
Understanding Herringbone Vinyl Sheet Flooring
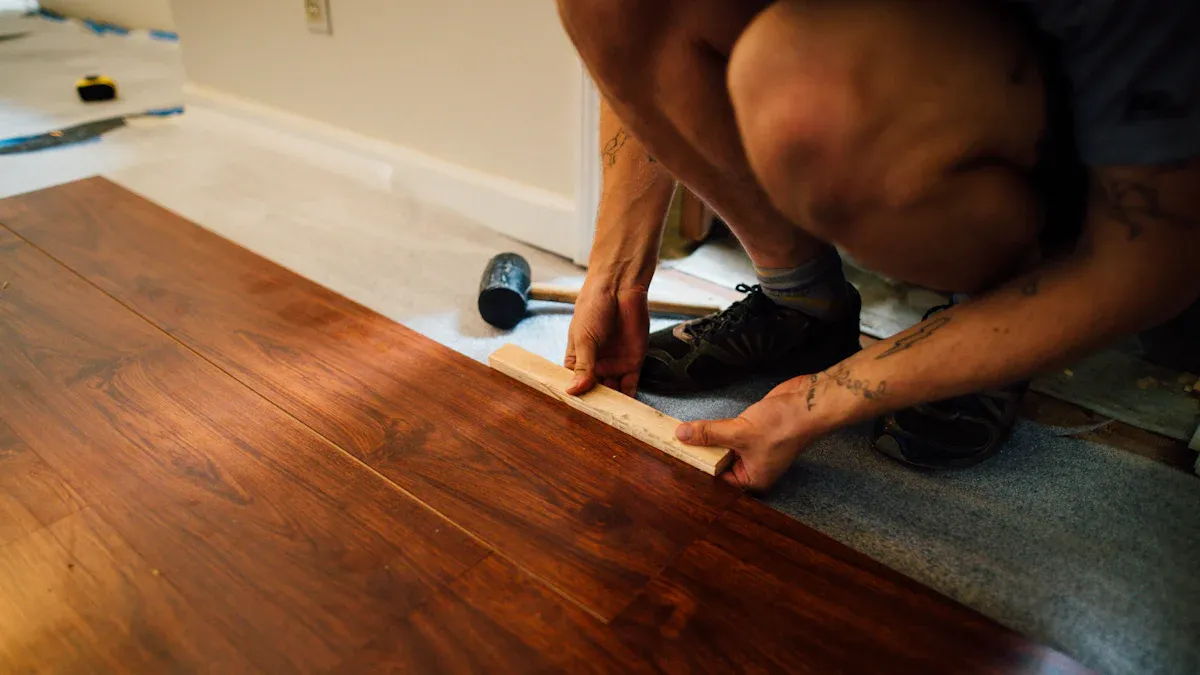
Herringbone Pattern and Design
When you choose a herringbone pattern for your floor, you add a classic and stylish look to your room. The zigzag layout of herringbone rigid click vinyl draws your eyes across the space. This pattern can make narrow rooms feel wider and short rooms seem longer. Interior design experts say the herringbone design brings movement and flow, making your space feel lively and elegant. You can use different colors in the pattern to create a bold or subtle effect. The angular lines and repeating shapes help your room look more organized and inviting.
- Vinyl planks or tiles let you create the herringbone pattern with ease.
- Vinyl sheets come in large rolls with printed patterns, so you have fewer design choices.
- Herringbone rigid click vinyl gives you more freedom to customize your floor.
Benefits of Herringbone Vinyl Sheet Flooring
Herringbone vinyl sheet flooring gives you many advantages over traditional hardwood. You do not need to refinish it, and it resists spills and moisture. Cleaning is simple—just sweep, vacuum, or mop with a vinyl-safe cleaner. The durable wear layer keeps your floor looking new for years. You can use this type of floor in kitchens, bathrooms, and busy areas because it stands up to water and heavy use.
| Feature | Hardwood Flooring | Luxury Vinyl Tile (LVT) |
|---|---|---|
| Durability | Needs refinishing | Lasts for years |
| Moisture Resistance | Poor | Excellent |
| Maintenance | More work | Easy |
| Practical Applications | Not for wet areas | Great for any room |
You also save money with herringbone vinyl sheet flooring. It costs less than ceramic tile and is easier to install, which lowers labor costs.
Herringbone Rigid Click Vinyl vs. Other Options
Herringbone rigid click vinyl stands out because of its strong, multi-layer build. You get a UV protective layer, a tough wear layer, and a waterproof core. This makes your floor last longer and resist damage. The click-lock system lets you snap planks together without glue. You lay a special underlay first, then connect A and B planks to start the herringbone pattern. Use a tapping block and mallet to fit the planks tightly. Spacers keep expansion gaps at the walls. You can finish corners with trimmed pieces.
Tip: Herringbone rigid click vinyl is 100% waterproof, so you can use it in kitchens, bathrooms, and even commercial spaces.
| Aspect | Herringbone Rigid Click Vinyl | Glue-Down Vinyl Sheet Flooring |
|---|---|---|
| Installation Method | Click-lock, floating floor | Adhesive, permanent bond |
| Underlay | Needed | Not needed |
| Thickness | 5-6mm | 2-3mm |
| Suitability | Easy install, light traffic | Heavy traffic, commercial |
| Replacement | Harder | Easier |
Herringbone rigid click vinyl gives you a durable, stylish, and easy-to-maintain floor that works in almost any room.
Planning Your Herringbone Vinyl Sheet Flooring Project
Room Assessment and Measuring
You need to start your herringbone vinyl sheet flooring project by measuring your room carefully. Use a tape measure to find the length and width of the space. Multiply these numbers to get the total square footage. For herringbone rigid click vinyl, always add a waste factor of 10-15%. This extra material helps you cover mistakes and tricky cuts, especially with the herringbone pattern. If your room has odd angles or many corners, you may need even more. Buying enough material at the start prevents delays and extra costs later.
Tip: Always round up your measurements and keep a little extra herringbone rigid click vinyl for future repairs.
Selecting the Right Herringbone Vinyl Sheet Flooring
Choosing the best herringbone rigid click vinyl for your floor means looking at several features. You want a product that stands up to heavy use and lasts for years. Look for a wear layer that is at least 20 mil thick. This layer protects your floor from scratches and dents. A polyurethane-based wear layer with ceramic beads or aluminum oxide gives even more strength. For busy rooms, pick a floor with an SPC (Stone Plastic Composite) core. This core makes your herringbone rigid click vinyl tough and stable. Some products come with an attached underlay, like cork, which adds comfort and reduces noise. Think about the installation method, too. Glue-down vinyl sheets may not last as long in high-traffic areas as herringbone rigid click vinyl.
| Criterion | Recommendation / Explanation |
|---|---|
| Wear Layer Thickness | 20 mil or thicker for high-traffic areas |
| Wear Layer Composition | Polyurethane with ceramic beads or aluminum oxide |
| Core Type | SPC core for strength and stability |
| Underlay | Attached underlay (like cork) for comfort and durability |
| Installation Method | Floating herringbone rigid click vinyl is easier and more durable than glue-down vinyl sheets |
Tools and Materials Checklist
Gather all your tools and materials before you start. This step makes your herringbone rigid click vinyl installation smoother and faster. You will need:
- Tape measure and ruler for accurate cuts
- Pencil for marking guidelines
- Utility knife or vinyl flooring cutter for trimming planks
- Rubber mallet and tapping block to lock planks together
- Spacers to keep expansion gaps at the walls
- Hoover or vacuum to keep the subfloor clean
- Rigid click vinyl underlay for extra support and comfort
- Aluminium underlay tape to seal underlay seams
- Floor moulding and trim for a neat finish
- Adhesive if your product requires it
| Tools | Materials |
|---|---|
| Trowel | Sheet vinyl |
| Floor roller | Underlay |
| Pry bar | Floor moulding & trim |
| Straight edge | Adhesive |
Note: Acclimate your herringbone rigid click vinyl and underlay in the room for at least 48 hours before installation. Keep the temperature between 65-85°F for best results.
Preparing for Installation
Acclimating Herringbone Vinyl Sheet Flooring
Before you begin the installation, you need to let your herringbone vinyl adjust to the room. Place the vinyl and underlay in the space for at least 48 hours. Keep the temperature steady between 65°F and 85°F. This step helps the vinyl expand or contract to match the room’s conditions. If you skip this, your floor might shift or buckle after installation. Acclimating the vinyl is one of the most important pre-installation essentials.
Cleaning and Leveling the Subfloor
Proper subfloor preparation ensures your floor lasts and looks great. Start by removing all dirt, dust, wax, paint, oil, and old adhesives. The subfloor must be flat and smooth. Use a straightedge to check for high or low spots. Sand down any bumps and fill dips with a cement-based leveling compound. Make sure the subfloor is dry and strong. Secure loose boards with nails or screws. Replace any damaged or swollen panels. If the surface is slick, roughen it with sandpaper. For dusty surfaces, apply a primer before you lay the underlay. The table below shows best practices for subfloor preparation:
| Subfloor Preparation Aspect | Best Practice Details |
|---|---|
| Cleanliness | Remove wax, paint, oil, sealers, adhesives, and debris. |
| Levelness | Flat within 3/16″ in 10′ or 1/8″ in 6′. Sand high spots, fill low areas. |
| Dryness | Check moisture content; concrete must be at least 30 days old. |
| Structural Soundness | Nail or screw loose areas; replace damaged panels. |
| Movement | Avoid excessive vertical movement. |
| Surface Condition | Sand smooth, roughen slick surfaces, remove sealers or paint. |
| Priming | Prime dusty surfaces. |
| Radiant Heating | Surface temperature must not exceed 85°F. |
A clean, level, and dry subfloor helps your vinyl floor stay flat and secure after installation.
Marking Guidelines and Layout Planning
Careful planning makes your herringbone vinyl installation easier and more accurate. Follow these steps to mark guidelines and plan your layout:
- Find the center of the room by measuring diagonally from corner to corner.
- Draw a centerline parallel to the main wall using chalk. Make sure lines are square with the 3-4-5 measuring method.
- Dry-fit a few vinyl planks along the starting line to see how the pattern will look.
- Mark where you need to cut planks for borders and note these measurements.
- Start the installation from the center and work outward. This keeps the pattern balanced.
- Use chalk lines, rafter squares, and other tools to keep lines straight.
- Double-check all measurements and adjust if needed.
Tip: Align the short side of one vinyl plank perpendicular to the long side of the next to create the classic herringbone V-shape. Use spacers to keep gaps even and allow for expansion.
Good layout planning helps you avoid mistakes and keeps your floor looking professional. Always check your guidelines before you start the installation.
Step-by-Step Guide to Lay Herringbone LVT Flooring
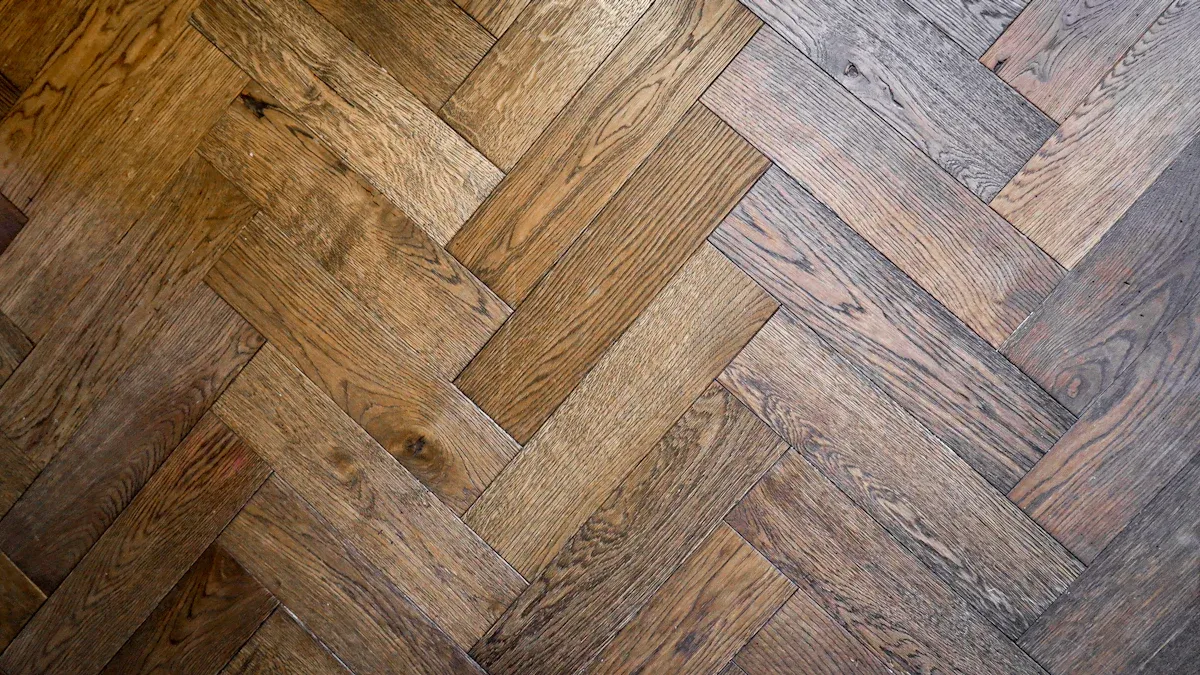
Cutting and Dry-Fitting the Floorboards
You need to start your installation by cutting and dry-fitting the floorboards. This step helps you avoid mistakes and keeps waste to a minimum. When you prepare each piece, you make sure the herringbone pattern lines up perfectly. Follow these steps for the best results:
- Take your time with the layout. Rushing can cause misaligned patterns and overlapping seams.
- Prepare the subfloor carefully. A clean and level surface prevents the planks from lifting or separating.
- Lay out the floorboards without adhesive first. This dry layout lets you check the fit and see how the pattern will look in your space.
- Measure each wall section separately. Adjust your cuts so the border pieces look balanced on all sides.
- Use a straight edge and utility knife to score and snap the vinyl for straight cuts along the walls.
- For corners, use a miter saw to make precise 45-degree cuts. This keeps the pattern flowing smoothly.
- Scribe around doorframes or built-ins for a snug fit. Relief cuts help you bend pieces around curves.
- Always keep your cutting tools sharp. Sharp blades make cleaner cuts and reduce waste.
- Measure twice and cut once. This simple rule helps you avoid costly errors.
Tip: Dry-fitting the floorboards before final installation helps you spot any problems early. You can adjust your cuts and layout for a professional finish.
Starting the Herringbone Pattern
After dry-fitting, you can begin laying a herringbone floor. The pattern starts at the center of the room and builds outward. This method keeps the design balanced and eye-catching. Here are the instructions you should follow:
- Find the center of your room by measuring the width and length. Mark the spot with chalk lines.
- Decide on the angle for your herringbone pattern. Most people use a 45° or 90° angle. Use a carpenter’s square to draw precise layout lines.
- Place the first two planks in an L-shape at the center point. Align them with your chalk lines.
- Build out the pattern row by row. Check the angles often to keep the pattern straight.
- Dry-fit the initial rows to make sure everything lines up. Adjust as needed before you start installing the floorboards permanently.
Note: When installing a patterned floor like herringbone, always check your layout lines. Small mistakes at the start can grow as you move across the room.
Installing the Floorboards and Securing the Pattern
Now you are ready to begin installing the floorboards. You can use either a floating method with a locking system or a glue-down method, depending on your vinyl product. Both methods require careful attention to detail.
- For floating installation, join the planks by inserting the tongue into the groove at an angle. Tap each plank gently with a hammer and tapping block to ensure a tight fit. This locking system keeps the floor secure without glue.
- For glue-down installation, use a recommended adhesive like Shaw 200. Spread the adhesive evenly with a notched trowel in small sections. Press each plank firmly into the adhesive.
- Always test the adhesive on your subfloor to make sure it bonds well.
- Keep an expansion gap of about 1/4 inch (6.35 mm) around the edges of the room. Use spacers to maintain this gap. This allows the floor to expand and contract with temperature changes.
- As you continue installing the floorboards, check the pattern alignment often. Use a rubber mallet and tapping block to close any gaps between planks.
- For obstacles like pipes or doorframes, use templates and relief cuts for a perfect fit. Undercut door casings if needed so the vinyl slides underneath.
- When you finish, apply sealant at the edges to keep out moisture. Install baseboards or trim, but do not pin them to the floor. This lets the floor move as needed.
Remember: Proper installation ensures your herringbone vinyl floor looks great and lasts for years. Take your time and follow each step in this step-by-step guide for the best results.
Working Around Obstacles and Edges
When you install herringbone vinyl sheet flooring, you will face obstacles like doorways, pipes, and corners. These areas need special attention to keep your installation looking neat and professional. You want every part of your floor to match the herringbone pattern, even around tricky spots.
Start by measuring the space around each obstacle. Use a tape measure to get the exact size. Mark the plank where you need to cut. For straight cuts, use a utility knife and a straight edge. For curves or odd shapes, trace the outline onto the plank with a pencil. Cut slowly and check the fit before you install the piece.
Doorways often need you to trim the bottom of the door frame. Use a handsaw to cut just enough so the plank can slide underneath. This gives your floor a clean look and helps the installation last longer. For pipes, measure the distance from the wall to the pipe and mark it on the plank. Drill a hole slightly larger than the pipe, then make a straight cut from the edge of the plank to the hole. After you fit the plank around the pipe, use a matching filler or trim to cover any gaps.
Corners and edges need careful planning. Dry-fit the planks before you glue or lock them in place. This step helps you see if the pattern lines up. If you need to trim a plank to fit against a wall, always leave a small gap for expansion. Use spacers to keep this gap even. When you finish the installation, cover the gap with baseboards or trim.
Tip: Always keep your cutting tools sharp. Sharp blades make cleaner cuts and help you avoid chipping the vinyl.
If you use a rigid click vinyl underlay, make sure it fits snugly around obstacles as well. Cut the underlay to match the shape of the room. Tape the seams with aluminum tape to keep the underlay in place during installation.
Ensuring Pattern Alignment
Keeping the herringbone pattern straight and even is one of the most important parts of your installation. If you start with a crooked pattern, the mistake will grow as you move across the floor. You need to check your work often and use the right tools to help you.
Follow these steps to keep your pattern aligned:
- Find the center of your room. Measure the width and length, then mark the midpoints. Use a square to make sure your lines are perpendicular. This center point will guide your whole installation.
- Snap two chalk lines that cross at the center. These lines act as your main guides. You will use them to keep the pattern straight.
- Dry-lay several rows of planks in a “V” shape from the center point. Step back and look at the pattern from different angles. Trust your eyes to spot any problems early.
- Use a speed square or miter saw to cut planks at a 45-degree angle. Practice on scrap pieces before you make final cuts.
- Check your measurements often. Compare the planks to your chalk lines and adjust as needed. Even a small mistake, like 1/16 inch, can throw off the whole pattern.
- Use spacers to keep the gaps even along the edges. This helps the floor expand and contract without breaking the pattern.
- If you see a plank out of place, remove it right away and reset it. Do not wait until later, or the problem will get worse.
- For large rooms, use a laser level or extra chalk lines to keep your reference points clear. This step helps you stay on track as you move outward from the center.
- Always prepare your subfloor before you start. Make sure it is clean, flat, and dry. A good base helps your pattern stay straight during installation.
Note: Patience and precision matter. Take your time with each step, and your herringbone floor will look beautiful and professional.
If you follow these steps, you will keep your installation on track. The herringbone pattern will stay sharp and even from wall to wall.
Finishing Touches and Maintenance
Trimming, Sealing, and Cleaning Up
After you finish installing your herringbone vinyl sheet flooring, focus on the final details. Trim the edges of your floor using a sharp utility knife or a vinyl cutter. This step helps you achieve a clean line along the walls and around corners. Install baseboards or quarter-round molding to cover the expansion gaps. Use a vinyl seam sealer on any exposed seams to prevent moisture from getting underneath the floor. Wipe away any adhesive residue with a damp cloth before it dries. Vacuum or sweep the entire area to remove dust and debris. A clean workspace makes your new floor look even better.
Tip: Always let the seam sealer dry for at least 24 hours before moving furniture back into the room.
Ongoing Care and Maintenance Tips
You can keep your herringbone vinyl sheet flooring looking new by following a simple care routine. Regular cleaning and a few preventive steps will help your floor last for many years. Here is a table with recommended maintenance tasks:
| Maintenance Task | Frequency | Purpose/Impact |
|---|---|---|
| Sweep or Vacuum | Daily | Removes grit and dirt, prevents scratches |
| Mop with pH-neutral cleaner | Weekly | Prevents buildup, maintains finish |
| Wipe spills immediately | As needed | Avoids stains and adhesive damage |
| Use furniture pads | Install once | Prevents scratches from furniture |
| Place non-rubber-backed rugs/mats | Permanent | Protects floor from dirt and wear |
| Block UV rays with blinds/curtains | Permanent | Prevents fading of colors |
| Apply vinyl polish | Every 2-3 years | Adds protective layer, extends lifespan |
Some extra flooring tips include using floor castors on chairs and tables, placing walk-off mats at entryways, and keeping extra planks for repairs. Avoid harsh chemicals and do not let water sit on the floor. If you see scuff marks, try removing them with a tennis ball or a red pad. Always check the manufacturer’s care instructions for best results.
Troubleshooting Common Installation Issues
Sometimes, you may face problems after installing your herringbone vinyl sheet flooring. Common issues include scratches, cuts, or tears from moving furniture or dropping objects. If you notice damage, you can patch the area using a double-cutting technique. This method helps you match the herringbone pattern. Apply mastic adhesive under the patch and let it dry for at least 24 hours. Finish with a liquid seam sealer to protect the repair. For fully glued floors, scrape away old adhesive before patching. Prevent future problems by using furniture pads, cleaning spills quickly, and never dragging heavy items across the floor.
Tip: Regular sweeping and using doormats will help prevent grit from scratching your floor. These simple flooring tips can make a big difference in how your floor looks over time.
You can achieve a professional herringbone vinyl sheet floor by following a few key steps:
- Acclimate the flooring for 24 to 48 hours before installation.
- Keep a 5 mm expansion gap around walls and fixed objects.
- Measure and mark your layout lines carefully for pattern accuracy.
- Use expansion wedges and segment large rooms with expansion joints.
- Prepare the subfloor and maintain the right temperature and humidity.
Herringbone vinyl sheet flooring offers style and easy care. However, vinyl tiles and planks provide better durability and simpler repairs, as shown below:
| Flooring Type | Durability & Stability | Maintenance & Repair |
|---|---|---|
| Herringbone Vinyl Sheet | Less durable, can curl with moisture | Harder to repair |
| Vinyl Tiles & Planks | More durable, stable, easy to repair | Simple patching possible |
Take your time with each step. Careful planning and patience will help you enjoy a beautiful, long-lasting floor.
FAQ
How do you keep the herringbone pattern straight during installation?
You should use chalk lines and a carpenter’s square to guide your layout. Check your pattern often as you work. If you see a mistake, fix it right away. This helps you keep the pattern even across the whole floor.
Can you install herringbone vinyl sheet flooring in bathrooms?
Yes, you can install herringbone vinyl sheet flooring in bathrooms. This flooring resists water and moisture. Always seal the seams and edges to stop water from getting underneath. Dry the floor after spills to keep it looking new.
What tools do you need for cutting vinyl planks?
You need a sharp utility knife, a straight edge, and a measuring tape. For corners or tricky cuts, use a miter saw or jigsaw. Always keep your blades sharp. This helps you make clean, safe cuts.
How long should you wait before moving furniture onto the new floor?
Wait at least 24 hours after installation before moving furniture onto your new floor. This gives the adhesive or seams time to set. Use furniture pads to protect the surface from scratches.
What should you do if a plank gets damaged?
You can replace a damaged plank by cutting it out and fitting a new one in its place. Keep extra planks from your original batch for repairs. Always follow the manufacturer’s instructions for best results.




