
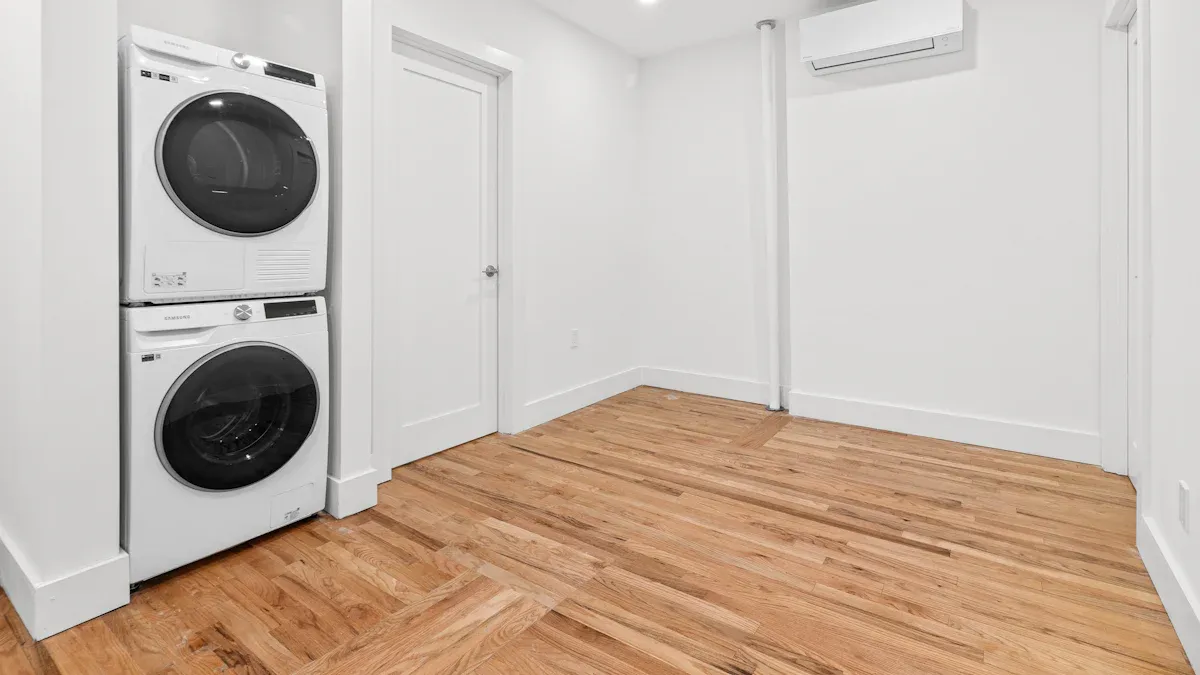
You can install bathroom timber flooring, but it is a high-risk choice. This project demands precision and careful maintenance. Success with wood floors in bathrooms depends on three key things. You need the right material, a perfect installation, and daily moisture management. This is not a standard flooring project. Failure to follow best practices will lead to costly damage. Repairing water-damaged wood flooring can cost thousands, especially if warping occurs from moisture.
Note: Even a small amount of moisture can cause significant issues like buckling in wood floors in bathrooms. Proper care is essential to protect your investment.
The Risks of Moisture on Timber
Understanding the risks of moisture is crucial before installing wood floors in bathrooms. Wood is a natural material that reacts strongly to water. This reaction can cause permanent damage to your flooring and create an unhealthy environment. You must know how water affects timber to protect your investment.
How Water Causes Warping and Rot
Water is the primary enemy of wood flooring. When wood absorbs moisture, its cells swell, much like a sponge. This process causes the boards to expand, leading to several problems.
- Swelling: Wood absorbs ‘bound water’ into its cell fibers. This absorption causes the wood to expand.
- Uneven Movement: Wood does not expand evenly. It moves significantly more across its grain than along its length. This uneven movement is what causes warping.
- Cupping: This common issue happens when the top surface of a board absorbs more moisture than the bottom. The edges of the board curl upward, creating a concave “cup” shape.
If moisture remains trapped, the wood will begin to rot. Rotting wood loses its structural integrity, becoming soft and weak. This damage is irreversible and requires complete replacement of the affected flooring.
The Danger of Mold and Mildew Growth
High-moisture environments are perfect breeding grounds for mold and mildew. These fungi thrive on damp, organic materials like wood. Once mold takes hold, it can be difficult to remove and poses serious health risks.
Health Alert: Mold produces allergens and sometimes toxic substances called mycotoxins. Exposure can cause allergic reactions and respiratory problems.
Common types of mold found on damp wood include:
- Aspergillus: Can cause allergic reactions and breathing issues.
- Penicillium: A blue or green mold that spreads quickly in water-prone areas.
- Stachybotrys (Black Mold): A hazardous mold that releases mycotoxins, leading to severe health problems.
Even minor exposure can lead to sneezing, coughing, eye irritation, and skin rashes.
Finish Degradation from Constant Dampness
The protective finish on your wood floors in bathrooms is your first line of defense against moisture. However, constant dampness and humidity will break down this finish over time. Puddles from a shower or consistent high humidity can cause the polyurethane or oil finish to peel, crack, or become cloudy. Once the finish is compromised, water can penetrate the wood directly, accelerating warping and rot. This damage ruins the floor’s appearance and leaves the wood vulnerable to more severe issues.
Weighing the Pros and Cons of Wood Floors in Bathrooms
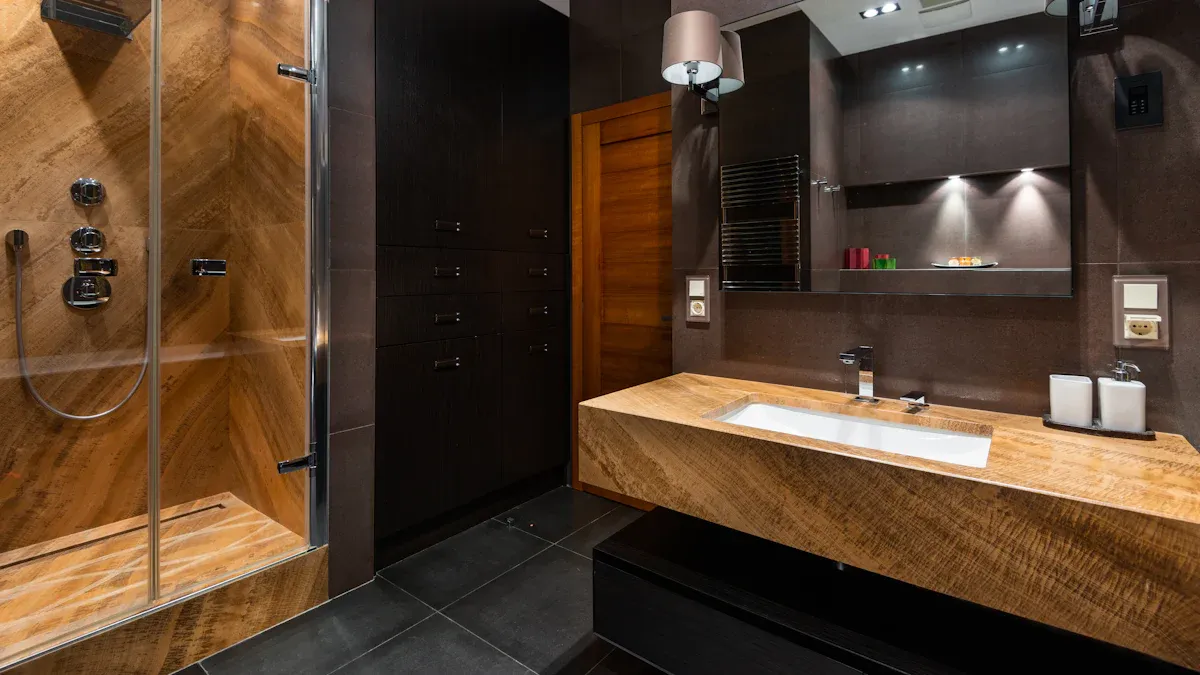
You must carefully consider the pros and cons of wood floors before making a final decision. This choice impacts your budget, your daily routine, and your home’s overall look. Understanding both sides helps you decide if wood floors in bathrooms are right for you.
The Pros: Unmatched Warmth and Aesthetics
The main appeal of wood flooring is its beautiful appearance. It brings a natural warmth and texture that tile or vinyl cannot replicate. The benefits of wood floors create a spa-like, luxurious feel in your bathroom.
- Visual Appeal: Wood offers a timeless and elegant look.
- Warmth Underfoot: Wood feels much warmer and more comfortable on bare feet than cold tile.
- Seamless Design: You can create a continuous flow of wood flooring from your hallway or bedroom directly into the bathroom.
This unique aesthetic is why many homeowners are drawn to wood floors in bathrooms despite the challenges.
The Cons: High Cost and Demanding Maintenance
The drawbacks of wood floors are significant. The cost of materials and specialized installation for bathroom timber flooring is high. You are paying for a premium product and the expert labor needed to protect it from moisture.
The biggest challenge is the required maintenance. You must be extremely diligent to prevent water damage. This is not a “set it and forget it” flooring option.
Constant vigilance is necessary for wood floors in bathrooms. This demanding upkeep includes immediate spill cleanup, ensuring proper ventilation, and regular finish inspections. If you are not prepared for this level of care, this wood flooring choice could lead to expensive repairs. The demanding maintenance makes wood floors in bathrooms a commitment.
The Best Material for Bathroom Timber Flooring
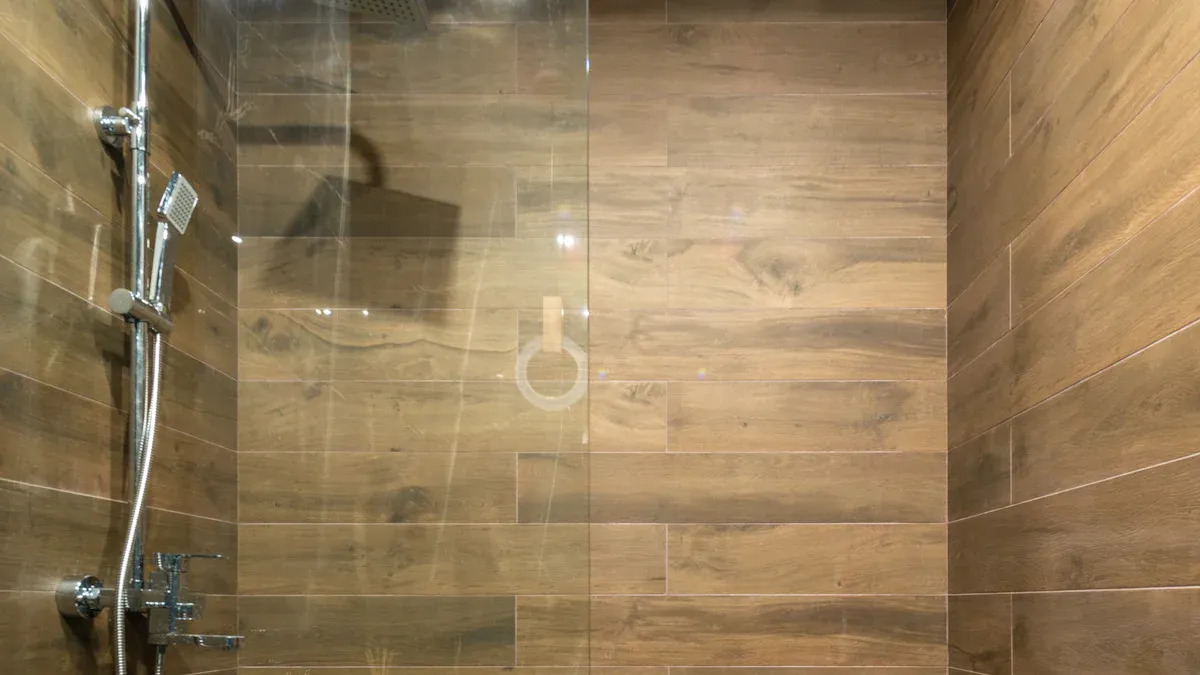
Choosing the right material is the most important decision for your bathroom timber flooring project. Your choice directly impacts the floor’s durability and lifespan. When it comes to wood in a wet area, there is a clear winner and a definite loser.
Why Engineered Hardwood is the Only Choice
You must use engineered wood for a successful installation. Engineered wood has a multi-layered construction. A top layer of genuine hardwood sits on core layers of plywood or fiberboard. This layered design gives the flooring excellent dimensional stability against humidity changes. The core layers absorb and release moisture more gradually than solid wood. This structure makes engineered wood highly resistant to warping and shrinking. Its superior water-resistant properties provide the durability needed for a bathroom environment.
Why Solid Hardwood is Unsuitable
You should never install solid hardwood flooring in a bathroom with a shower or tub. Solid wood is a single, solid piece of timber. This structure makes it extremely vulnerable to moisture. High humidity and direct water contact will cause serious, often irreversible, damage.
When solid wood absorbs moisture, it leads to several problems:
- Expansion and Warping: High humidity causes the wood planks to swell, leading to buckling, cupping, and cracking over time.
- Gaps: As the wood expands and contracts with temperature changes, ugly gaps can form between the planks.
- Mold and Mildew: The organic material provides a food source for mold, which thrives in damp, warm environments and can grow between or under the planks.
Your Guide to a Waterproof Installation
An excellent installation is the only way to protect your bathroom timber flooring from moisture. This process is far more complex than a standard flooring project. You must create a completely waterproof system from the subfloor up. Skipping any step will lead to failure. This guide provides essential installation tips to ensure your wood flooring lasts.
Critical Subfloor Preparation
A successful installation begins with the subfloor. You must ensure it is clean, level, and, most importantly, dry. Any existing moisture in the subfloor will become trapped under your new flooring, causing mold and rot from below.
First, you need to test the subfloor’s moisture content. Professionals use a moisture meter for this critical step.
- For plywood or OSB subfloors, the moisture content should be below 12%. Anything higher is a red flag and can cause problems later.
- Concrete subfloors have different requirements, but they must also be thoroughly dry before you proceed with the installation.
If the moisture levels are too high, you must find the source and fix it. You may need to run a dehumidifier for several days or weeks to bring the subfloor to an acceptable level. You should also check that the subfloor is perfectly flat and level. Grind down any high spots and use a self-leveling compound to fill in any low areas. A flat surface ensures the flooring planks lay evenly and prevents gaps from forming.
Applying a Waterproof Membrane
After preparing the subfloor, your next step is to apply a waterproof membrane. This layer acts as a robust moisture barrier, shielding your wood flooring from any water that might seep through. It is a non-negotiable part of a bathroom installation. Building codes often advise against wood in wet areas, so creating this impenetrable barrier is your best defense.
You have several options for a waterproof membrane, often called a moisture barrier.
- Sheet Membranes: These are large, flexible sheets, often made of PVC, that you roll out over the subfloor. Products meeting specific testing standards, like ASTM D4551 for PVC membranes, offer reliable protection.
- Liquid-Applied Membranes: You can paint or roll these products directly onto the subfloor. They create a seamless moisture barrier that bonds directly to the surface. Look for products with IAPMO approvals or ICC ES Evaluation Reports, as these have been tested for use in wet areas like shower pans.
When applying the membrane, you must ensure complete coverage. Overlap any seams in sheet membranes according to the manufacturer’s instructions and seal them with the recommended adhesive. For liquid products, apply at least two coats to guarantee a continuous, pinhole-free surface. This moisture barrier is the heart of your waterproof system.
Sealing Seams and Edges Perfectly
The final step of the installation is to seal every possible entry point for water. This includes the perimeter of the room, around the toilet and vanity, and any expansion gaps. Water is sneaky and will find any unsealed crack or seam. Perfect sealing is your final line of defense.
You must leave a small expansion gap around the perimeter of the room to allow the flooring to expand and contract naturally. However, you cannot leave this gap open. You must fill it with a flexible, high-quality sealant.
Pro Tip: Use a color-matched, 100% silicone sealant designed for kitchens and bathrooms. Silicone offers excellent flexibility and water resistance, moving with the floor while keeping moisture out.
Pay special attention to these areas:
- Perimeter: Fill the expansion gap along all walls.
- Fixtures: Carefully seal around the base of the toilet and any vanity cabinets.
- Doorways: Seal the transition between the bathroom floor and the adjoining room’s flooring.
Products like ColorSeal are specifically designed to seal these gaps in wood and laminate floors, providing a durable, water-resistant finish. Taking the time to seal every edge perfectly completes your waterproof installation and gives your beautiful wood floor the protection it needs to survive in a bathroom.
Daily Habits to Manage Moisture
Your installation is complete, but the daily maintenance has just begun. Protecting your wood floors in bathrooms requires consistent habits. Handling moisture issues proactively is the key to preventing damage. These simple daily actions will safeguard your beautiful wood flooring.
The Importance of Proper Ventilation
Proper ventilation is your most powerful tool against moisture. A typical shower releases a large amount of water vapor, which raises the humidity in the room. This humid air can damage your flooring over time. You must remove this damp air quickly.
An exhaust fan is essential for maintaining good ventilation. You should run the fan during every shower and for at least 30 minutes afterward. This practice helps pull the moist air out of the bathroom. Choosing the right fan is also important. The fan’s power is measured in Cubic Feet per Minute (CFM). A larger bathroom needs a more powerful fan.
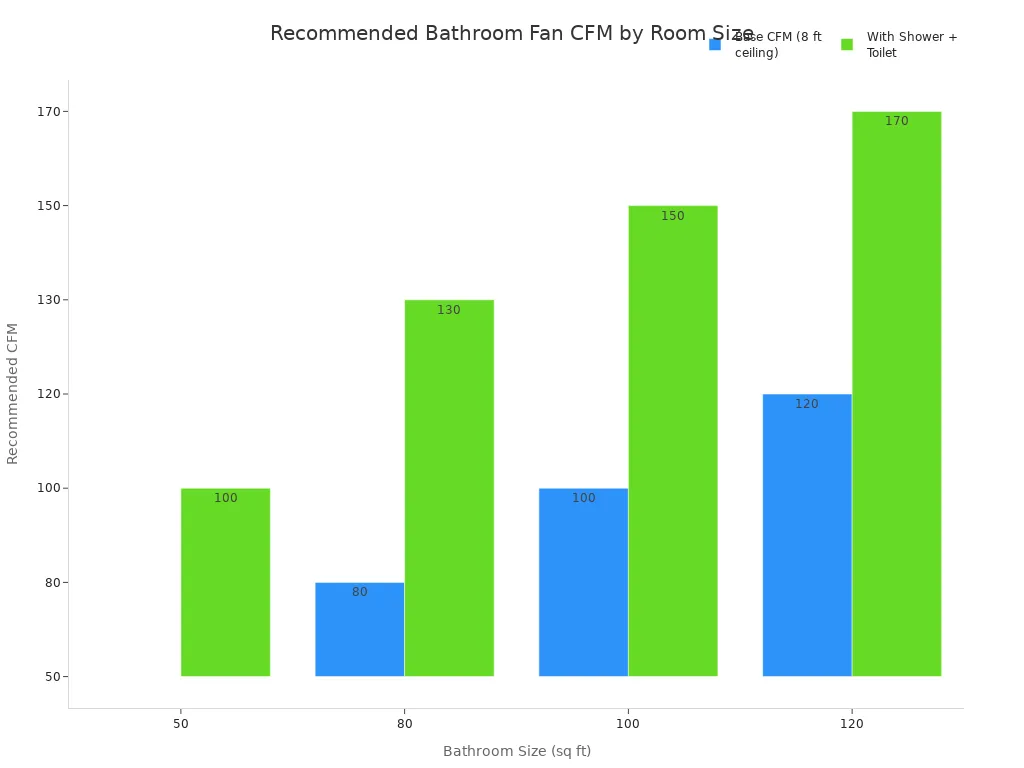
Good ventilation is a critical part of your daily routine.
Using High-Absorbency Bath Mats
Bath mats are a simple but effective defense. You should place high-absorbency mats outside the shower or tub and in front of the sink. These mats catch drips and splashes before they can reach your wood floors in bathrooms.
Pro Tip: Choose mats with a non-slip, breathable backing. Avoid rubber-backed mats, as they can trap moisture underneath and damage the floor’s finish.
You need to care for your mats properly.
- Hang them to dry after each use.
- Wash and dry them completely at least once a week. A damp mat left on the floor will cause more harm than good.
Wiping Spills Immediately
Water is the enemy of your wood flooring. The prompt cleanup of spills is a non-negotiable rule. You must wipe up any water, from small splashes to large puddles, as soon as you see it.
Keep a soft, absorbent cloth handy for quick cleanup. Pay close attention to the seams between planks, as water can easily seep into these gaps. A quick response prevents water from penetrating the wood and causing long-term damage. This constant vigilance is the most important part of your maintenance plan.
Long-Term Maintenance for Wood Floors in Bathrooms
Daily habits are important, but long-term maintenance ensures your wood floors in bathrooms last. A consistent care routine protects your investment from gradual wear and tear. This maintenance advice will help you keep your flooring in top condition for years.
Regular Inspection Checklist
You must perform a regular inspection for water damage. Catching problems early prevents costly repairs. Once a month, carefully check your wood floors in bathrooms for any warning signs.
Look for these issues:
- Dark or discolored areas: These spots show that moisture has penetrated the wood.
- Cupping or rippling: This happens when the edges of a board are higher than its center.
- Blistered or peeling finish: Bubbles or flakes in the finish mean your floor’s protection is failing.
- Musty odors: A persistent damp smell often signals hidden mold growth under the flooring.
Safe Cleaning Methods
Safe cleanup methods are essential for wood floors in bathrooms. You should never flood the floor with water. Use a microfiber mop that is only slightly damp. A pH-neutral cleaner designed for wood flooring is your best option.
Warning: Certain tools will destroy your wood flooring. You must avoid them.
- Steam Mops: The high heat and moisture can cause the finish to peel and damage the wood itself.
- Abrasive Scrubbers: These will scratch and dull your floor’s protective finish.
The Re-sealing Schedule
The protective finish on your bathroom timber flooring is not permanent. It wears down over time with traffic and cleaning. You will need to re-seal your floor to maintain its defense against water. This is a critical part of your long-term maintenance.
The timeline for re-sealing depends on the type of finish and how much you use the bathroom. Generally, you should plan to re-apply moisture-resistant finishes every few years. High-quality moisture-resistant finishes provide the best protection. Always check the manufacturer’s recommendations for your specific product. A strong finish is the best defense for wood floors in bathrooms.
Bathroom timber flooring is a beautiful luxury, but it is not a low-maintenance solution. Your success with wood floors in bathrooms depends on the right material, a perfect installation, and daily maintenance. This wood flooring demands commitment. If you are not ready for the upkeep, consider other flooring options with excellent durability.
Here is how top alternatives for a bathroom compare:
| Feature | LVP | Tile |
|---|---|---|
| Waterproof | ✔️ | ✔️ |
| Pet & Kid Resistant | ✔️ | ✔️ |
| Lifespan | 15–25 years | 30+ years |
| Suitability for Wet Areas | Best | Best |
These choices offer the look of wood flooring without the risks for wood floors in bathrooms.
FAQ
Can I use a steam mop on my bathroom wood floor?
No, you must avoid steam mops. 🚫 The intense heat and moisture will damage the floor’s protective finish. This allows water to seep into the wood, causing permanent harm like warping. Using one will likely void your flooring warranty.
Is solid wood okay for a powder room without a shower?
A powder room is less risky than a full bathroom. You still face risks from sink splashes and toilet overflows. Engineered hardwood remains the safer choice because it handles humidity changes much better than solid wood.
How much more does a bathroom wood floor cost?
You should expect to pay significantly more than for a standard installation. The total cost includes premium engineered wood, a waterproof membrane, and expert labor. These necessary steps for a wet area add considerable expense to the project.
Can I install a bathroom wood floor myself?
We strongly advise against a DIY installation. This project requires expert skills in waterproofing. A professional installer has the tools and experience to create a fully sealed system. Mistakes can lead to catastrophic and costly floor failure.




