
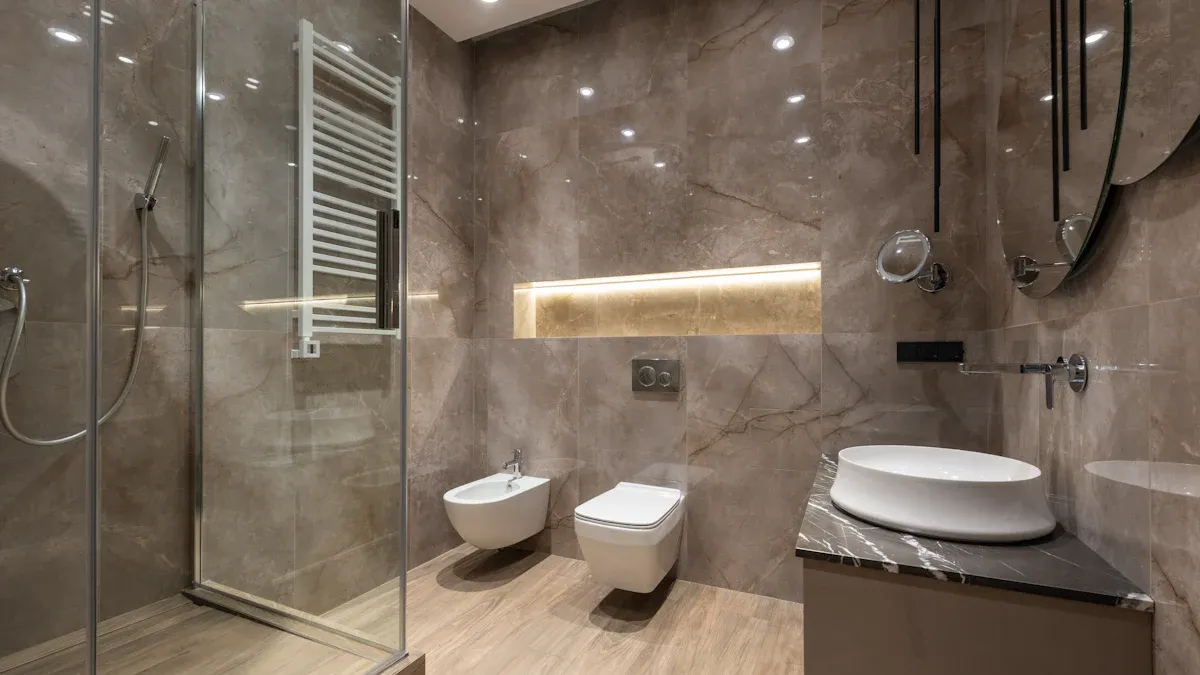
You can absolutely enjoy beautiful bathroom wood flooring. The market for this flooring is growing, valued at around $9.2 billion in 2025 as more homeowners seek this look. Many people now want the warmth of wood flooring in bathroom spaces.
💡 Your success depends on three key factors. You need the right material, an expert installation, and consistent care.
With these elements, your new flooring will last for years and look incredible in your bathroom.
The Timeless Appeal of Wood Flooring in a Bathroom
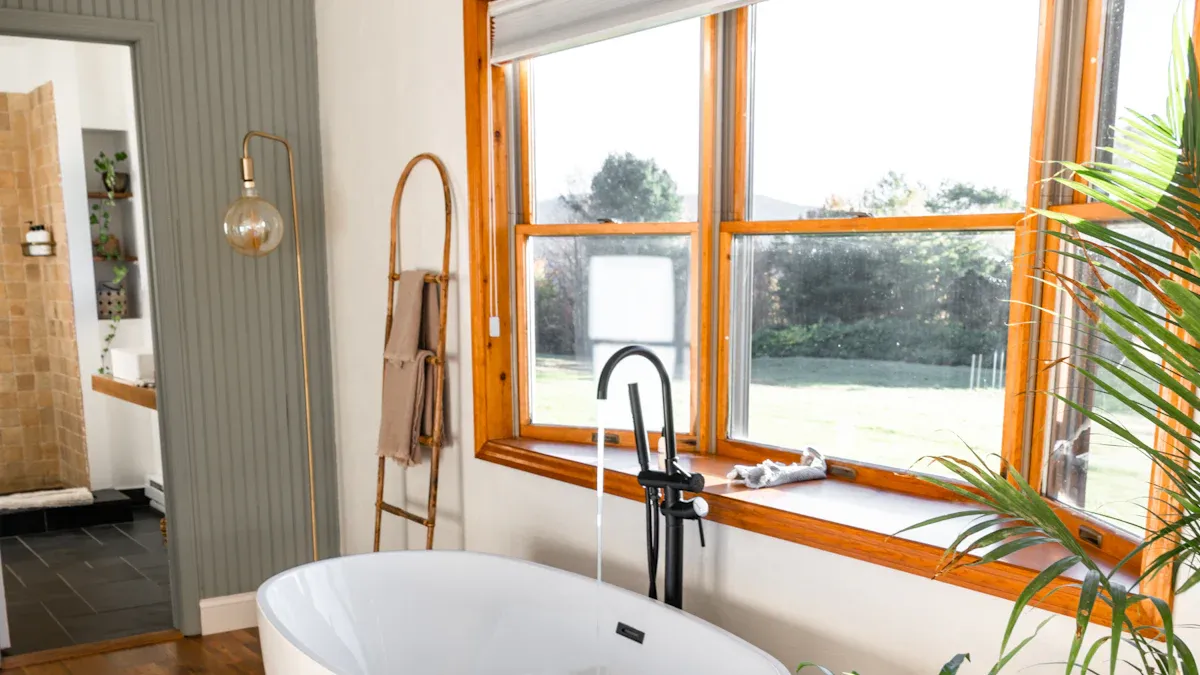
Wood brings a special character to a room that other materials cannot replicate. Its natural beauty and warmth create an inviting atmosphere. Understanding the benefits of wood flooring helps you see why it is a top choice for designers and homeowners in 2025.
Unmatched Warmth and Comfort
Imagine stepping out of a warm shower. Your feet will appreciate the gentle warmth of wood over the cold shock of tile. Wood is a natural insulator and does not conduct heat away from your body as quickly as stone or ceramic. This is one of the key benefits of wood flooring in a bathroom.
💡 Did You Know? A material’s thermal conductivity shows how fast it transfers heat. Lower conductivity means the flooring feels warmer to the touch.
| Flooring Type | Thermal Conductivity | Notes |
|---|---|---|
| Ceramic Tile & Stone | High | Feels cold; best for underfloor heating systems. |
| Luxury Vinyl Tile | Good | Heats up and cools down quickly. |
| Wood Flooring | Varies | A natural insulator; feels warmer underfoot. |
Creating a Unique, High-End Look
Bathroom wood flooring elevates your space from purely functional to a personal spa. Each plank has a unique grain and color, so no two floors are exactly alike. This flooring choice creates a seamless, elegant flow from your hallway or bedroom into the bathroom. The visual continuity makes your entire home feel more connected and luxurious. These aesthetic benefits of wood flooring help you design a truly custom and high-end room.
Boosting Your Home’s Resale Value
Investing in your home should add to its long-term value. A professionally installed wood floor is a major selling point for potential buyers. Many people see wood flooring as a premium feature and are willing to pay more for a home that has it. This upgrade shows attention to detail and quality. The long-lasting appeal is one of the most practical benefits of wood flooring, making it a smart financial decision for your property.
Best Bathroom Wood Flooring Options
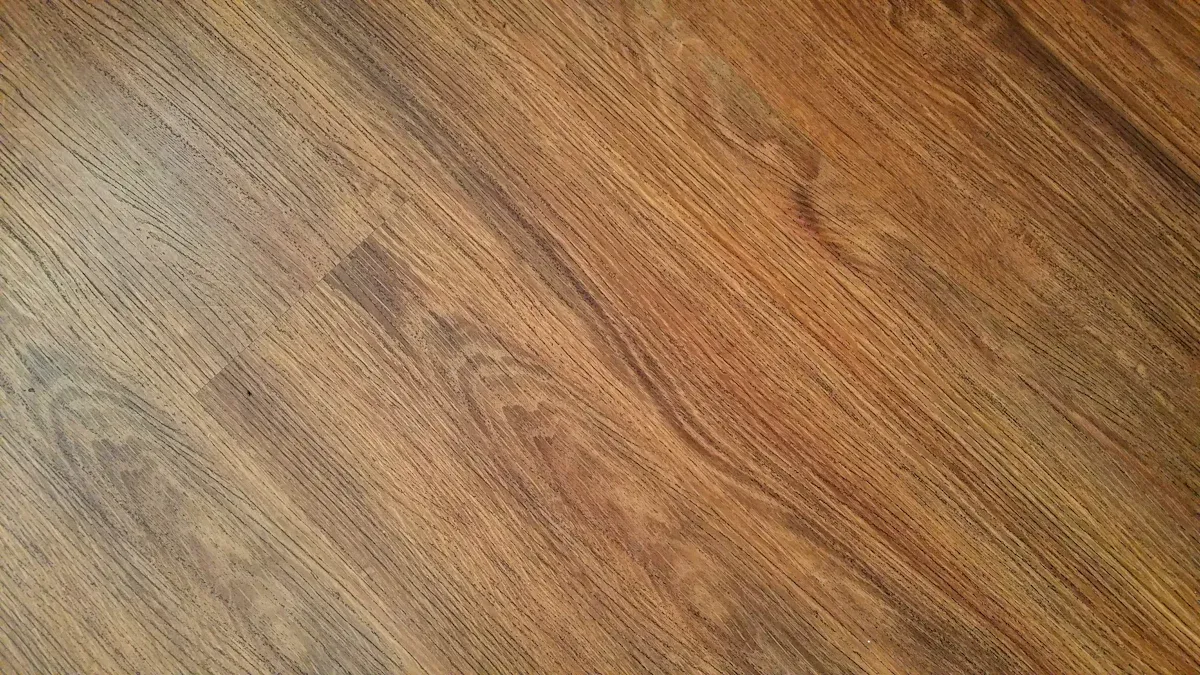
Choosing the right material is the most important step for a successful project. Your choice will determine your floor’s durability, look, and long-term performance. In 2025, you have excellent options that blend the beauty of wood with modern technology.
Engineered Hardwood: The Top Choice for Moisture Resistance
You will find engineered hardwood is the best choice for a bathroom. It gives you the authentic look of real wood with superior stability. Its special construction makes it a champion against humidity and splashes. This design improves its performance by helping the material resist warping from moisture fluctuations.
The secret is in its layers. Engineered wood flooring is not a solid piece of wood. It has a smart, multi-layer build that provides strength.
- Top Veneer: This is a thin slice of real hardwood. It gives your floor its beautiful, natural appearance.
- Core Layers: Below the veneer, you find multiple layers of plywood or high-density fiberboard (HDF). The wood grains in these layers run in opposite directions. This cross-plied design stops the planks from expanding or contracting.
- Backing Layer: A final layer on the bottom adds more stability.
This layered structure makes high-quality engineered flooring much better at handling water than solid wood. The core absorbs and releases moisture slowly. This process reduces the risk of damage in a damp environment like a bathroom.
Many top brands now offer excellent moisture-resistant features. When shopping, you can look for products from trusted names known for their durable cores and tight locking systems.
| Recommended Brands for Bathrooms | Key Features |
|---|---|
| Shaw Floorte | High water resistance, durable core, tight locking system. |
| COREtec | Waterproof core, attached cork underlayment, excellent stability. |
Solid Hardwood: Know the Risks and Rewards
You might love the classic appeal of solid hardwood. It is beautiful and timeless. However, you must understand the significant risks of putting it in a bathroom. Solid wood is a single piece of lumber. It naturally expands and contracts with changes in humidity. This movement can cause serious problems in a high-moisture space.
The main risk is water damage. Even small amounts of moisture can cause your floorboards to change shape.
- Cupping: This happens when the edges of a plank rise higher than its center. It means the bottom of the wood is absorbing more moisture than the top.
- Warping and Buckling: If you install boards too tightly without an expansion gap, they can push against each other and buckle when humidity rises.
- Gaps: In dry conditions, the wood will shrink. This can create unsightly gaps between your floorboards.
If your heart is set on solid wood, you can take steps to protect your investment. Proper installation is not just recommended; it is essential. You must hire a professional who has experience with bathroom installations. Key techniques include:
- Applying wood putty in all cracks to seal out water.
- Using multiple coats of an oil-based polyurethane finish for a watertight surface.
- Leaving a proper expansion gap around the room’s perimeter.
- Ensuring watertight seams between planks with a quality wood sealant.
Water-Resistant Laminate: A Budget-Friendly Wood Look
Perhaps you want the look of bathroom wood flooring without the high price tag. Water-resistant laminate is an excellent and affordable alternative. Laminate flooring has improved dramatically over the years. Forget the laminates of the past that would swell at the first sign of water.
Modern laminate products offer incredible performance. Many now come with sealed edges and waterproof cores, making them 100% waterproof. Brands like Robbins® offer laminate collections that are specifically designed for wet areas. While engineered hardwood’s top layer is real wood, laminate has a high-definition image layer. This image realistically mimics wood grain and texture.
Here is a quick comparison to help you decide:
| Feature | Water-Resistant Laminate | Engineered Hardwood |
|---|---|---|
| Core Material | High-density fiberboard with water-repellent tech. | Plywood or HDF core with a real wood top layer. |
| Appearance | A realistic photo of wood. | Authentic, unique wood grain. |
| Cost | More budget-friendly. | Higher initial investment. |
| Durability | Extremely scratch-resistant top layer. | Can be scratched; can be refinished. |
Laminate gives you peace of mind in a busy bathroom. Its tough wear layer resists scratches from dropped items and daily foot traffic, making it a practical and stylish choice for your home.
Top Water-Resistant Wood Species
Your choice of wood species is just as important as the type of flooring you select. Some woods have natural properties that make them better suited for damp environments. You should focus on species known for their density, natural oils, and tight grain structure. These features provide a built-in defense against moisture.
Teak
You will find Teak is a top-tier choice for bathroom flooring, long prized for its use in shipbuilding and outdoor furniture. Its reputation for water resistance is well-earned. Teak contains a high concentration of natural oils and has a very dense structure. These qualities give it an incredible ability to repel water, rot, and insects.
💡 Why is Teak so effective? Its natural oils act as a protective barrier. This prevents moisture from penetrating the wood, which reduces the risk of warping or decay.
Teak’s inherent properties make it exceptionally durable in a bathroom:
- High Rot Resistance: It naturally fights off fungi and mildew, even in damp conditions.
- Pest-Proof: The oils make the wood unappealing to termites and other wood-boring pests.
- Excellent Stability: Teak’s high density means it does not expand or contract much with changes in humidity, keeping your floor stable.
This wood brings a warm, golden-brown color to your bathroom, creating a luxurious and spa-like feel.
White Oak
You can choose White Oak for a beautiful and highly durable domestic hardwood option. It is a popular choice for furniture and flooring because of its strength and appealing grain. Do not confuse it with Red Oak, which is not suitable for bathrooms. White Oak has a key structural advantage that gives it a strong natural resistance to water damage.
White Oak has a closed-grain cellular structure. This means its pores are plugged with microscopic growths called tyloses. Think of these as tiny, natural plugs that make the wood almost impermeable to water. Red Oak has an open-grain structure, which acts more like a bundle of straws and soaks up moisture easily.
| Wood Type | Grain Structure | Water Resistance |
|---|---|---|
| White Oak | Closed-grain with tyloses | High |
| Red Oak | Open-grain | Low |
This unique structure makes White Oak an excellent choice for your bathroom flooring. It resists moisture penetration far better than many other hardwoods. You still need to apply a quality sealant, but you start with a wood that is naturally built to handle a damp environment.
Ipe (Brazilian Walnut)
If you want one of the hardest and most durable woods on the planet, look no further than Ipe. Also known as Brazilian Walnut, this exotic hardwood is so dense that it has a fire rating similar to concrete and steel. Its extreme density and tight grain make it an outstanding choice for a bathroom.
The Janka Hardness Test measures how well wood resists dents and wear. Ipe has a Janka rating of around 3,680 lbf, making it over twice as hard as White Oak.
This incredible density is the key to its water resistance. Water has a very difficult time penetrating Ipe’s surface. This quality, combined with its natural oils, helps the wood repel water effectively. As a result, this flooring is highly resistant to:
- Warping and swelling
- Cracking from humidity changes
- Scratches and dents
Ipe has a rich, dark brown color that adds a touch of dramatic elegance to any bathroom. Its durability ensures your floor will look beautiful for decades with proper care.
Red Cedar
You can bring a wonderfully aromatic and rustic charm to your bathroom with Red Cedar. This wood is famous for its distinct, pleasant scent. That signature smell is more than just an air freshener; it is a sign of the wood’s powerful natural defenses.
The scent comes from special compounds inside the wood. These natural oils and acids are called polyoxyphenols. They give Red Cedar its built-in protection against common bathroom problems.
- Moisture Resistance: The polyoxyphenols help the wood repel water. This reduces the chances of swelling or warping in a damp space.
- Decay Resistance: These compounds make the wood naturally resistant to rot and mildew.
- Insect Resistance: The oils also keep wood-boring insects away.
💡 Red Cedar is a softwood. This makes it feel comfortable and warm underfoot, but it can be more prone to dents than hardwoods like Oak or Ipe. A good sealant is important to protect its surface.
This wood species offers a beautiful mix of red and pink tones with a straight grain. It creates a warm, cabin-like feel that can make your bathroom feel like a cozy retreat. The combination of its natural durability and unique look makes Red Cedar an excellent flooring choice for a distinctive and inviting bathroom design.
Crucial Installation Steps for Bathroom Wood Flooring
Proper installation is the most critical factor for a long-lasting floor. You cannot skip steps when working in a high-humidity area like a bathroom. Following these essential installation tips for wood flooring will protect your investment and prevent water damage from the start.
Why Professional Installation is Worth It
You should seriously consider hiring a professional for your bathroom wood flooring project. This type of installation is not a typical DIY job. A specialist experienced with bathrooms knows how to create a fully sealed, watertight surface. They understand the unique challenges of a wet environment and have the right tools and techniques to ensure your flooring performs correctly for years. Their expertise is your best defense against future problems.
Subfloor Inspection and Preparation
Your new flooring is only as good as the subfloor beneath it. You must ensure your subfloor is clean, level, and completely dry. A professional will use a moisture meter to get an accurate reading. For a wood subfloor, the moisture content should be between 6% and 12%. Your new flooring should be within four percentage points of that number. In some cases, a subfloor with long-term water exposure can show a moisture reading near 99%. A subfloor this wet must be replaced, as it will ruin any new flooring you install over it.
Acclimating Your Wood Flooring
You must let your new flooring get used to its new home before installation. This process is called acclimation. You should place the unopened boxes of flooring in the bathroom for several days. This allows the wood to adjust to the room’s specific temperature and humidity levels.
💡 Skipping acclimation is a major mistake. If you install the wood too soon, it can expand or shrink dramatically after installation, causing gaps or buckling. This is one of the most vital installation tips for wood flooring.
Installing a High-Quality Moisture Barrier
You must install a high-quality moisture barrier between the subfloor and your new wood flooring. This barrier acts as a protective shield. It stops ground moisture from seeping up and damaging the wood from below. This step is essential for any bathroom installation, even when you use engineered hardwood. The extra layer provides critical protection in a damp environment.
A professional will choose the right type of barrier for your project. Common options include:
- Sheet Underlayments: These are thin layers that roll out over the subfloor to block moisture. Many also offer sound-dampening benefits.
- Liquid Coatings: A professional can apply these sealants directly to the subfloor. They create a seamless, waterproof membrane when they dry.
- Adhesives with Built-in Protection: Some modern flooring adhesives are formulated to act as a moisture barrier and bonding agent all in one.
Ensuring a Proper Expansion Gap
One of the most important installation tips for wood flooring is leaving an expansion gap. Wood is a natural material that breathes. It expands when humidity is high and shrinks when the air is dry. You must leave a small space, typically 1/4 to 1/2 inch wide, around the entire perimeter of the room. This gap gives the flooring room to move without buckling or warping.
💡 Don’t worry, you won’t see the gap! This space is hidden from view after the project is complete. Your installer will cover it with baseboards or quarter-round molding for a clean, finished look.
Skipping this step can ruin your beautiful new floor. Without a proper gap, the expanding planks will push against the walls and each other. This pressure can cause the boards to cup, lift, or crack. A professional installer understands how to calculate the correct gap size for your specific room and flooring type.
Sealing and Waterproofing Your New Floor
Installation is only half the battle. You must create a completely waterproof surface to protect your bathroom wood flooring. This final sealing process locks out moisture and ensures your floor lasts for years. It is a critical step for any wood flooring in a wet environment.
Choosing a Marine-Grade Polyurethane Finish
You should choose a marine-grade, oil-based polyurethane finish for your floor. This type of finish is designed for boats and docks. It offers the best possible protection against water. The oil-based formula creates a durable, flexible layer. This layer expands and contracts with your wood, preventing cracks where water could seep in. It is a powerful waterproof sealant that shields your flooring from daily splashes and humidity.
Applying Multiple Coats for a Watertight Seal
You cannot rely on a single coat of finish. A truly watertight seal requires multiple layers. Your installer should apply at least three to four coats. The process is simple but requires patience.
- Apply the first coat and let it dry completely.
- Lightly sand the surface to help the next coat stick.
- Wipe away all dust and apply the next coat.
- Repeat this process for each layer.
This method builds a thick, impenetrable barrier over the entire surface of your flooring. It is your best defense against moisture damage in the bathroom.
Sealing All Seams and Edges with Silicone Caulk
Your final waterproofing step is to seal every gap and edge. You must use a 100% silicone caulk around the perimeter of the bathroom. This includes the space along walls, the toilet base, and the tub or shower. Silicone is flexible and will not crack as the floor moves. It also resists mold and mildew growth.
💡 Pro Tip: Look for high-quality, 100% silicone products designed for kitchens and baths. Many top brands offer excellent options that are waterproof, mold-resistant, and dry in as little as 30 minutes.
- Gorilla Silicone Sealant Caulk
- GE Advanced Silicone 2 Kitchen & Bath Sealant
- Mold Armor Silicone Mold Free Caulk & Sealant
This final seal stops water from getting under your floorboards, protecting your subfloor and the wood itself.
Long-Term Maintenance and Care
Your beautiful wood floor needs consistent care. This long-term maintenance ensures it stays waterproof and looks great for years. Following a simple routine protects your investment and preserves the wood’s natural beauty.
Daily Spill and Splash Management
You must manage daily spills and splashes immediately. Water is the biggest enemy of your wood flooring. Wipe up any puddles or drips from the tub or sink right away with a soft, absorbent cloth. Quick action is the easiest form of maintenance for longevity.
💡 A dry floor is a happy floor. Make wiping up spills a quick, automatic habit to prevent moisture from ever having a chance to seep in.
The Correct Way to Clean
You should clean your floor correctly to protect its finish. Never use a steam mop, a soaking wet mop, or harsh cleaners like ammonia. These can strip the sealant and damage the wood. You need a pH-neutral cleaner designed for sealed hardwood flooring. This gentle maintenance keeps the protective finish intact. Here are some top-rated options that are safe and effective:
| Product Name | Type | Compatible Flooring Types | pH-Neutral | Notes |
|---|---|---|---|---|
| Rejuvenate All Floors Cleaner | Spray | Hardwood, tile, vinyl, linoleum, and laminate floors | Yes (pH-balanced) | Ready-to-use, water-based, removes dirt, grease, grime without residue. Rated 5/5 for effectiveness. |
| Bona Hardwood Floor Cleaner | Liquid | All unwaxed, unoiled, polyurethane-finished wood floors | Yes (water-based formula) | Residue-free, safe for people, pets, and environment. Rated 4/5 for effectiveness. |
| Better Life Naturally Dirt-Destroying Floor Cleaner | Liquid | Hardwoods, ceramic tile, stone, marble, bamboo, vinyl, laminate and other sealed floors | Yes (plant-derived cleaning agents) | Made with 100% plant-derived cleaning agents, no VOCs. Dries streak- and residue-free. Rated 4.5/5 for effectiveness. |
Protecting Floors from Furniture and Scratches
You can protect your flooring from scratches. Place soft felt pads on the legs of any furniture in your bathroom. This includes vanity stools or rolling storage carts. Remember to lift furniture instead of dragging it across the floor. This simple step is a key part of maintenance for longevity and keeps your bathroom surface looking new.
Knowing When to Refinish
Even with perfect care, the protective finish on your wood flooring will wear down over time. Refinishing is a crucial part of your long-term maintenance plan. It restores the waterproof barrier and makes your floor look brand new. You should watch for specific signs that tell you it is time to refinish. Acting quickly prevents small issues from turning into major damage.
💡 Pay close attention to your floor’s condition. Addressing wear and tear early is the best maintenance for longevity and protects your investment.
Look for these clear visual clues that your floor needs attention:
- Visible Scratches and Dents: Deep scratches are more than just ugly marks. They break the protective seal, leaving the raw wood open to dirt and moisture. This can lead to stains and further damage.
- Water Damage or Stains: You might see dark stains, cloudy patches in the finish, or slightly warped boards. These signs mean water has already started to get into the wood fibers.
- Fading and Discoloration: If areas of your floor look dull or have lost their color, the finish is wearing thin. This often happens in high-traffic spots or areas exposed to sunlight.
- Splintering or Rough Texture: When the top layer of finish is gone, the wood surface can feel rough or even start to splinter. This makes the floor uncomfortable and unsafe to walk on.
- Warping or Buckling: If you notice floorboards lifting or separating, it points to a serious moisture problem. This can be a safety hazard and may signal deeper issues with your subfloor that need immediate attention.
When you see these signs, it is time to call a professional. Refinishing involves sanding away the old, damaged layer and applying fresh coats of marine-grade sealant. This process fully restores your floor’s protection and beauty.
Essential Bathroom Habits to Protect Your Floor
Your daily habits play a huge role in protecting your new floor. You can prevent most water-related issues with a few simple routines. These habits help manage moisture and keep your wood looking its best. Making them part of your daily life is the key to long-term success.
Ensuring Proper Bathroom Ventilation
You must control the air in your bathroom. Hot showers and baths release a lot of steam into the air. This steam is moisture that can settle on your floor and walls. You should always use your exhaust fan during a shower. Keep the fan running for at least 20-30 minutes after you finish. This simple action pulls the damp air out of the room.
💡 No Fan? No Problem. If your bathroom does not have an exhaust fan, you can open a window. Cracking a window during and after your shower helps the moisture escape.
Using High-Quality Bath Mats
You should use high-quality bath mats as your first line of defense. Place an absorbent mat outside your shower or tub. A good mat soaks up water when you step out. Look for mats with a waterproof backing. This prevents water from seeping through to the wood underneath. It is also important to pick up your mats regularly. Letting a wet mat sit on the floor can trap moisture and damage the finish.
Performing Regular Leak Checks
You need to be proactive about finding leaks. Small, slow drips can cause major damage to your wood flooring over time. You should perform a quick inspection once a month. Check these common problem areas in your bathroom:
- The base of your toilet
- The water supply lines to the toilet and sink
- Under the sink vanity for any drips
- The caulking around your tub or shower
Catching a small leak early can save you from expensive repairs down the road.
You can confidently choose bathroom wood flooring for your home in 2025. This flooring choice adds style and warmth to any bathroom. Your project’s success rests on a few important pillars.
Your success depends on three key factors:
- Smart material selection
- Expert installation
- Consistent maintenance
This guide gives you the knowledge to enjoy the beauty of a wood floor in your bathroom for years to come.
FAQ
What is the best wood flooring for a bathroom?
You should choose engineered hardwood for its superior moisture resistance. Its layered construction handles humidity better than solid wood. You can also select water-resistant laminate. It provides a great wood look at a more budget-friendly price point, offering excellent durability for a busy bathroom.
Can I use a steam mop on my bathroom wood floor?
You must never use a steam mop on your wood floor. The intense heat and moisture can strip away the protective polyurethane finish. This damage leaves the wood vulnerable to water. You should always use a pH-neutral cleaner with a lightly dampened mop instead.
How much does bathroom wood flooring cost?
Your cost depends on the material you choose. Water-resistant laminate is the most affordable option. Engineered hardwood falls in the mid-to-high price range. Exotic solid hardwoods like Teak or Ipe represent a premium investment with the highest cost but offer exceptional natural durability.
How long will a wood floor last in a bathroom?
A professionally installed wood floor can last for decades. Its lifespan depends on three things: the right material, expert installation, and your daily care. You must wipe up spills immediately and refinish the floor when it shows wear to ensure its longevity and beauty.




