
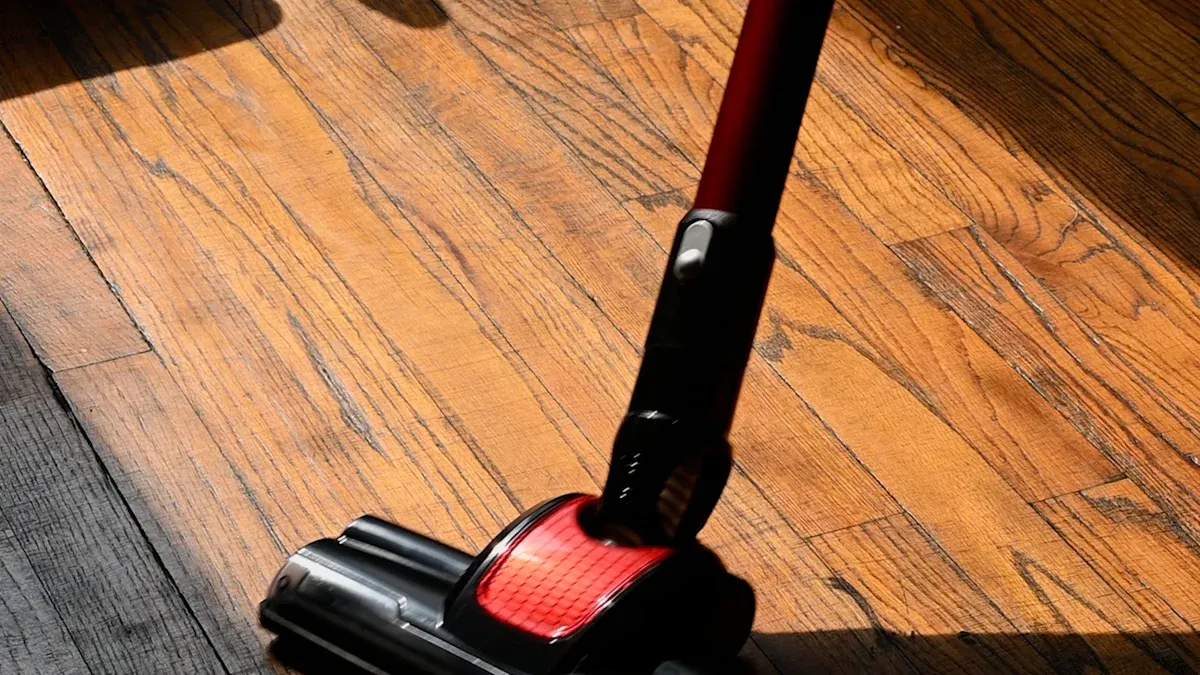
You can prevent hollow sound in hybrid vinyl flooring by following a few simple steps. Careful installation and proper preparation make your floor feel solid and quiet. Check the surface before you lay the planks. Use quality materials to improve sound.
Care and attention during installation help you enjoy a comfortable floor that lasts.
Preventing Hollow Sound in Hybrid Vinyl Flooring
Immediate Steps for a Solid, Quiet Floor
You can create a solid and quiet floor by following a few important steps. These steps help you avoid hollow sound and make your hybrid vinyl flooring feel sturdy under your feet. Flooring experts recommend the following actions:
-
Floor Preparation
You need to check the surface before you start. Repair any cracks and make sure the area is clean. Dirt and debris can cause gaps and let sound travel through the floor. A smooth surface helps reduce noise and keeps footstep sounds from echoing. -
Install the Soundproofing Material
Roll out the underlayment evenly. Secure it so it stays flat. Cut around obstacles like pipes or corners to keep the barrier continuous. This step blocks sound and improves vinyl floor soundproofing. -
Install the Finished Flooring
Follow the manufacturer’s guidelines for installation. Align the planks carefully. Avoid creating sound bridges, which can let noise pass through. Proper alignment stops hollow sound and makes the floor feel strong. -
Post-Installation Care and Maintenance
Allow adhesives to cure fully. Inspect the floor regularly for signs of wear or moisture. Quick action keeps your hybrid vinyl flooring quiet and prevents new hollow spots.
Tip: Take your time with each step. Careful preparation and installation help you achieve the best results.
Why Proper Installation Matters
Proper installation plays a key role in preventing hollow sound. When you install hybrid vinyl flooring correctly, you create a tight fit between planks. This fit stops sound from bouncing around and keeps the floor stable. You also avoid gaps that can make footstep sounds louder.
You need to follow the instructions from the flooring manufacturer. Each product may have special requirements. If you skip steps or rush the process, you risk creating spaces where sound can travel. These spaces make the floor feel hollow and noisy.
You should use the right tools and materials. Quality underlayment and careful installation reduce noise and improve the feel of your floor. You also protect your investment by making sure the floor lasts longer.
Note: Good installation prevents problems before they start. You enjoy a quiet, comfortable floor every day.
Why Does Hybrid Vinyl Flooring Sound Hollow?
Common Causes of Hollow Sound
You may notice a hollow sound when you walk on hybrid vinyl flooring. This happens for several reasons. Professional installers point out that the way you prepare and install your floor affects how it sounds. If you skip important steps, you can create spaces where sound travels easily.
Here is a table that shows the most common causes of hollow sound:
| Installation Step | Impact on Sound | Importance |
|---|---|---|
| Subfloor Leveling | Prevents “clacking” noises | Critical |
| Expansion Gaps | Decouples floor from walls | High |
| Perimeter Sealing | Stops flanking noise | Medium |
You need to check the subfloor for levelness. Uneven spots cause the planks to move and make noise. Expansion gaps help the floor expand and contract, but if you leave too much space, sound can bounce between the planks and the wall. Perimeter sealing stops sound from escaping around the edges. If you miss this step, you may hear extra noise.
Tip: Always follow each installation step carefully. You can prevent hollow sound and enjoy a quieter floor.
How Sound Travels in Floating Floors
Floating floors sit on top of the subfloor without glue or nails. This design lets the floor move slightly. Acoustic studies show that floating floors reduce impact noise better than glued-down floors. You hear less sound from footsteps because the floor absorbs some of the energy. Glued or nailed floors can make sound louder because the materials connect directly to the subfloor.
You need to understand how sound moves in your floor. Floating floors block some noise, but gaps or poor installation let sound travel. If you want a quiet room, you must pay attention to how you install hybrid vinyl flooring. You can use underlayment and seal gaps to keep sound from spreading.
Note: Good installation and the right materials help you control sound in your home.
The Importance of Underlayment for Soundproof Vinyl Flooring
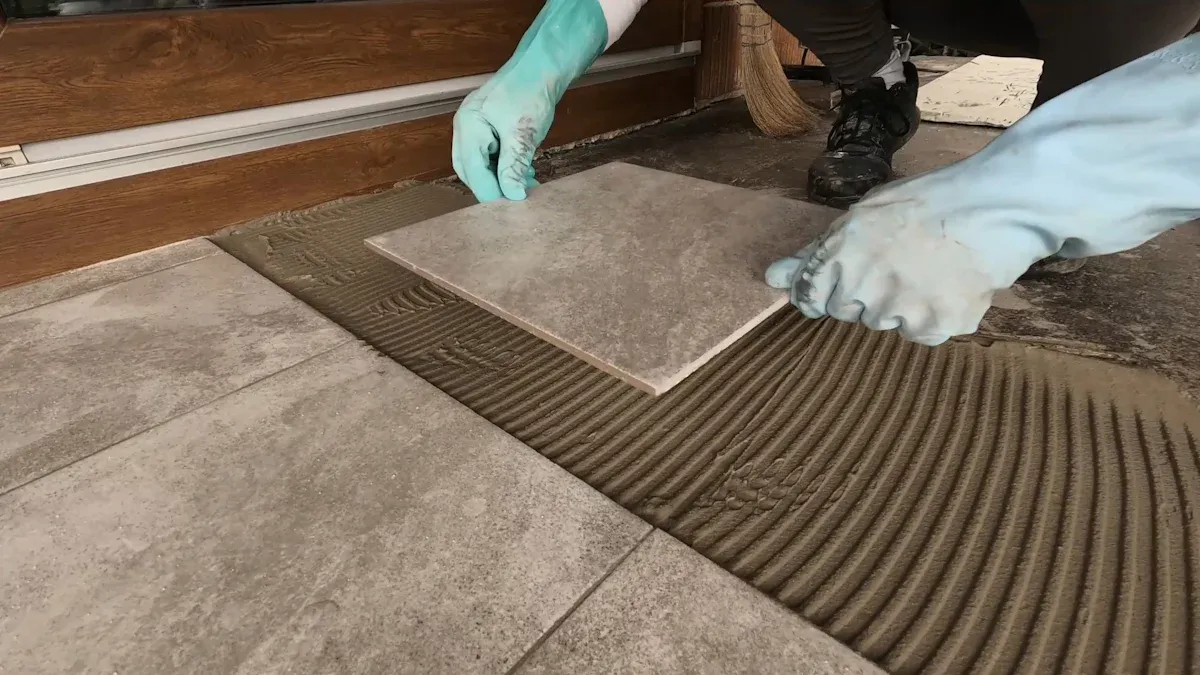
Choosing the Right Underlayment
You need the right underlayment to achieve true soundproof vinyl flooring. Underlayment acts as a barrier that helps absorb sound and reduce noise from footsteps or dropped items. When you select a product, look for features that boost sound absorption and improve the impact insulation class. The table below shows some popular underlayment options and their tested soundproofing abilities:
| Underlayment Product | Key Features | Acoustical Testing Standards |
|---|---|---|
| Ardex V 1200 | Cementitious underlayment that reduces sound transfer between spaces. | ASTM E90, ASTM E492, ASTM E2179 |
| OmniChoice | High-density polyurethane foam for sound absorption and moisture protection. | Approved for use under vinyl rigid core >3.5mm |
| Whisper Step | IIC Rating of 73, ideal for absorbing airborne and impact noise. | Not specified |
| GenieMat RST | High-performing acoustic underlayment with extensive testing. | Backed by over 1,000 ASTM tests |
You should choose an underlayment pad that matches your flooring type and thickness. This step ensures your soundproof vinyl flooring performs well and feels comfortable.
Underlayment Thickness and Material
The thickness and material of your underlayment play a big role in soundproofing. Thicker underlayment absorbs more sound and increases the noise reduction coefficient. Dense materials like rubber or high-density foam provide better sound absorption and boost the impact insulation class. Cork underlayment offers both sound and thermal insulation, making it a good choice for sound-absorbing flooring. Foam is lightweight and easy to install, while rubber gives you superior impact resistance. You want your underlayment to absorb sound and stop noise from traveling through the floor. Padding also helps with comfort and adds another layer of soundproofing.
- Thicker underlays provide better sound insulation by absorbing more sound vibrations.
- Denser underlays are more effective at reducing impact noise.
- Different materials (foam, rubber, cork) offer unique benefits: foam is lightweight, rubber has superior impact resistance, and cork provides both sound and thermal insulation.
Mistakes to Avoid with Underlayment
You can avoid common mistakes by preparing your subfloor and choosing the right underlayment. Skipping floor preparation leads to bumps and poor sound absorption. Using the wrong underlayment type can affect your soundproof vinyl flooring and may even void warranties. Always check for moisture before installing underlayment, as moisture can damage your floor and reduce soundproofing. Overlapping underlayment incorrectly creates lumps and gaps, which lower the noise reduction coefficient and impact insulation class. If you install underlayment too thick, you may have trouble with door clearance or locking the planks. Rushing the installation process can leave wrinkles or loose seams, which reduce the effectiveness of your sound-absorbing flooring.
Tip: Take your time with each step. Careful installation and the right materials help you absorb sound and achieve the best soundproofing results.
Preparing the Subfloor for Hybrid Vinyl Flooring
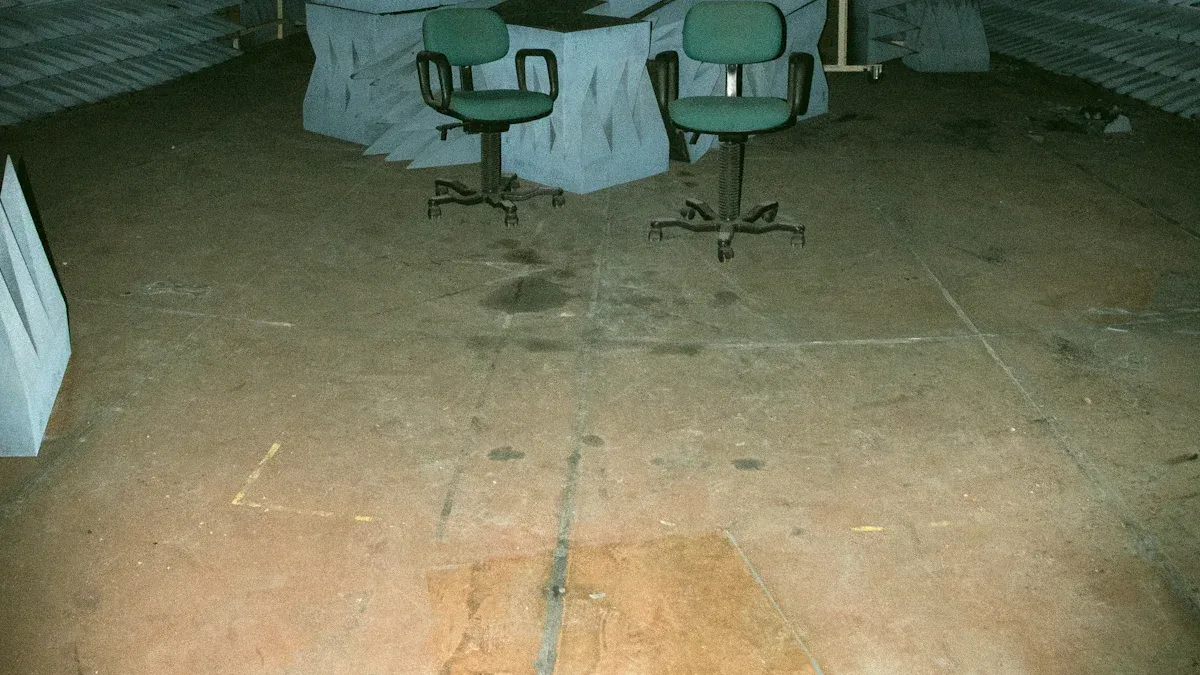
Checking for Level and Cleanliness
You need to start with a clean and level subfloor. Dust and debris can cause subfloor noises and make your hybrid vinyl flooring sound hollow. Sweep the area and remove any protrusions. A smooth surface helps block unwanted sound. You should check for bumps or dips. Use a straightedge or level tool to find uneven spots. If you see any, fix them before you continue. A clean subfloor also keeps adhesives strong and helps your floor last longer.
Tip: A clean and level subfloor prevents sound from bouncing and keeps your floor quiet.
Here are important steps to follow:
- Remove dust and debris from the subfloor.
- Make sure the subfloor is level.
- Keep the surface dry and free of protrusions.
- Apply a primer to stabilize the surface and improve adhesion.
Moisture and Dampness Issues
Moisture can cause problems with sound and damage your floor. You should check the subfloor for dampness before you install hybrid vinyl flooring. Use a humidity meter to test moisture levels. If you have a concrete slab, treat it with a resinous or epoxy coating. This step reduces moisture vapor emissions and protects your floor. Moisture issues may not show up right away, so always follow proper instructions for moisture mitigation. Clean and texture the concrete surface before you install any moisture barrier.
Note: Moisture can lead to hollow sound and shorten the life of your floor. Take time to check and treat the subfloor.
Repairing Cracks and Uneven Spots
Cracks and uneven spots let sound travel through the floor. You need to repair these areas to stop noise and make your floor feel solid. Fill cracks with a leveling compound. Smooth out bumps and dips. Use a primer to seal porous spots and stabilize the surface. This step improves adhesion and reduces dust. When you fix imperfections, you block sound and extend the life of your hybrid vinyl flooring.
- Fill cracks with a leveling compound.
- Smooth out uneven spots.
- Seal porous substrates with primer.
- Check your work before you install the flooring.
Callout: Careful subfloor preparation stops sound problems and helps you enjoy a quiet, comfortable floor.
Installation Techniques to Avoid Gaps and Hollow Sound
Proper Expansion Gaps
You need to leave expansion gaps around the perimeter of your hybrid vinyl flooring. These gaps allow the floor to expand and contract with changes in temperature. If you skip this step, the planks may press against the wall and create unwanted sound. Use spacers to measure the correct distance. Most experts recommend a gap of 1/4 inch. This space prevents buckling and keeps the floor stable. You avoid extra noise by letting the floor move freely.
Tip: Expansion gaps help you control sound and protect your flooring from damage.
Staggering Planks Correctly
Staggering planks is a key technique to reduce hollow sound. You start by preparing the subfloor. Make sure it is clean, dry, and level. Plan your layout before you begin. Avoid placing seams in the same spot in adjacent rows. Cut the first plank of the second row to a random length. Aim for at least 6 inches between seams. Continue to offset seams in a random pattern for each new row. This method stops sound from traveling in straight lines and prevents gaps from forming.
- Prepare the subfloor.
- Plan your layout.
- Stagger the seams by cutting the first plank of the second row to a random length.
- Offset seams in each new row.
Callout: Staggered seams break up sound paths and make your floor feel solid.
Securing the First Row
You must secure the first row of planks to prevent gaps and hollow sound. Place the first row along a straight wall. Use spacers to keep the expansion gap consistent. Check each plank for proper alignment. Press the planks firmly together. A tight first row sets the foundation for the rest of the floor. You stop sound from echoing and keep the floor stable.
| Step | Action | Result |
|---|---|---|
| Place first row | Along straight wall | Prevents gaps |
| Use spacers | Maintain expansion gap | Reduces sound issues |
| Align planks | Press firmly together | Stops hollow sound |
Note: A secure first row helps you avoid gaps and keeps your floor quiet.
Avoiding Gaps Between Planks
You can prevent gaps between planks by following a few simple steps during hybrid vinyl flooring installation. Gaps let sound travel through the floor, making rooms noisy and less comfortable. You need to pay attention to each stage of the process to keep your floor solid and quiet.
Start by acclimating the planks. Bring them into the room at least two days before installation. This step helps the planks adjust to the temperature and humidity. If you skip acclimation, you may see gaps or buckling later. You want the planks to settle before you install them so they fit tightly.
Prepare the subfloor carefully. Clean the surface and make sure it is level. A smooth subfloor stops planks from shifting and creating gaps. You also reduce unwanted sound by blocking places where noise can escape.
Stagger the seams as you lay the planks. Place seams at least 6–8 inches apart. This pattern creates a natural look and stops visible seams. Staggering also helps break up sound paths, making your floor quieter.
Check the expansion gaps around the perimeter. Use spacers to keep the distance consistent. Expansion gaps let the floor move with changes in temperature. If you neglect this step, the planks may press against the wall and create extra sound.
Here is a table showing best practices for avoiding gaps:
| Best Practice | Description |
|---|---|
| Proper Acclimation | Bring planks into the job site two days before installation. |
| Subfloor Preparation | Prepare the subfloor to prevent gaps and buckling. |
| Staggering Seams | Stagger seams by at least 6–8 inches for a natural look and less sound. |
You can avoid common mistakes by remembering these points:
- Skipping acclimation leads to gaps or buckling.
- Improper staggering creates visible seams and lets sound travel.
- Neglecting expansion gaps causes issues as the floor expands and contracts.
Tip: Careful planning and attention to detail help you avoid gaps and keep your hybrid vinyl flooring quiet.
How to Seal Perimeter Gaps for Better Soundproofing
Why Sealing Perimeter Gaps Matters
You can improve the acoustic performance of your hybrid vinyl flooring by sealing perimeter gaps. These gaps often appear along the edges of the room where the flooring meets the wall. If you leave them open, sound can escape and bounce around, making your floor feel hollow. Sealing these spaces helps block unwanted noise and keeps your room quieter.
Take a look at how different installation elements affect sound control:
| Critical Installation Elements | Description |
|---|---|
| Subfloor Preparation | Moisture testing and leveling to 1/8″ per 6 feet |
| Acoustic Underlayment | Proper overlap and sealing techniques |
| Perimeter Isolation | Expansion gaps with acoustic sealants |
| Transition Management | Specialized trim systems for sound isolation |
You create a barrier that stops sound from traveling through the floor and walls. This step makes your hybrid vinyl flooring feel more solid and comfortable. You also protect your investment by keeping the floor stable and reducing noise.
Tip: Sealing perimeter gaps is a simple way to boost soundproofing and enjoy a quieter space.
Best Practices for Sealing
You can use several methods to seal perimeter gaps and improve soundproofing. Acoustic caulk works well because it fills gaps and cracks with materials that absorb sound, such as latex or silicone compounds. You apply it along the edges of the floor to create a flexible seal that blocks noise.
Mass loaded vinyl (MLV) is another option. You install MLV along the edges and joints of your hybrid vinyl flooring. It adds mass to the floor, which helps reduce sound vibrations and keeps noise from spreading.
Here are some best practices:
- Clean the area before applying any sealant.
- Use acoustic caulk for a flexible, sound-dampening seal.
- Install MLV along edges for extra sound control.
- Check for gaps after installation and reseal if needed.
You can achieve better soundproofing by following these steps. Your floor will feel more solid, and you will notice less noise in your room.
Callout: Careful sealing of perimeter gaps helps you create a peaceful and comfortable environment.
Post-Installation Tips from skspcflooring
Checking for Problem Areas
You need to check your hybrid vinyl flooring after installation to make sure it stays quiet and solid. Look for signs that show problem areas. Gaps between planks can let sound travel and make your floor feel hollow. Cupping and crowning often mean moisture has affected the floor. Bubbles or lifting edges may point to improper installation. Scratches and dents can change how sound moves across the surface. These issues usually come from moisture, mistakes during installation, or changes in the environment.
Walk across the floor and listen for unusual sound. If you hear hollow spots, stop and inspect the area. Use a flashlight to check for uneven seams or raised edges. You can also tap gently on the planks. If you notice a sharp sound, you may have a loose plank or a gap underneath. Keep a checklist to track any spots that need attention.
Tip: Regular checks help you catch problems early and keep your floor sounding solid.
Quick Fixes for Minor Hollow Spots
You can fix minor hollow spots in hybrid vinyl flooring with simple tools and steps. If you find a small area where sound echoes, try these solutions:
- Inject adhesive under the loose plank. Use a syringe or a small nozzle to reach the gap. Press the plank down and let the adhesive dry.
- Place a heavy object, like a stack of books, on the spot. This helps the plank settle and reduces sound.
- Fill small gaps with acoustic caulk. This blocks sound and keeps the floor stable.
- If you see bubbles or lifting edges, press them down firmly. Sometimes, heat from a hair dryer helps the plank relax and stick better.
You can use these quick fixes to stop sound from spreading and make your floor feel more comfortable. Always follow the manufacturer’s instructions for repairs. If you notice larger issues, contact a flooring professional for help.
Callout: Small repairs keep your hybrid vinyl flooring quiet and extend its life.
You can prevent hollow sound in hybrid vinyl flooring by preparing the subfloor, choosing the right underlayment, and installing planks with care.
“All of our carpet cushion products are designed for easy installation from being correct side up when unrolled, to ease of cutting and seaming. For underlayments, we offer the most versatility in the fewest SKUs as the result of using the very best material available in the construction of our acoustical underlayments.”
A thick acoustic pad adds comfort and blocks noise. Regular cleaning and quick repairs keep your floor quiet for years. For the best results, trust skspcflooring for quality flooring solutions.
FAQ
What causes hollow sound in hybrid vinyl flooring?
You hear hollow sound when gaps form under the planks or the subfloor is uneven. Poor installation and missing underlayment also let sound travel. Careful preparation stops this problem.
How can you fix minor hollow spots after installation?
You inject adhesive under loose planks or fill small gaps with acoustic caulk. Place a heavy object on the spot to help the plank settle. Quick repairs keep your floor quiet.
Do you need underlayment for hybrid vinyl flooring?
You need underlayment to absorb sound and add comfort. It blocks noise and protects your floor from moisture. Choose the right thickness and material for best results.
Can moisture cause hollow sound?
Moisture weakens the subfloor and creates gaps. You must check for dampness before installation. Use a moisture barrier to protect your floor and prevent hollow sound.
How often should you check your floor for sound issues?
You should check your floor every few months. Walk across the surface and listen for hollow spots. Early detection helps you fix problems quickly and keeps your floor solid.




