

You can achieve a peaceful apartment with the right soundproof vinyl flooring. Vinyl plank flooring is a smart flooring choice for quiet flooring in multifamily buildings. Many people notice the soundproofing benefits of acoustic flooring, especially when you use quality underlayment. This combination blocks noise and creates a soundproof floor that absorbs impact noise. When you look for acoustic benefits, you gain both a sound absorbing solution and impact soundproofing. Acoustic flooring and soundproofing solutions work together to make your home comfortable. If you wonder how do you lay vinyl plank flooring for soundproof results, you will find that soundproofing is simple with the right materials.
How Do You Lay Vinyl Plank Flooring for Noise Reduction?
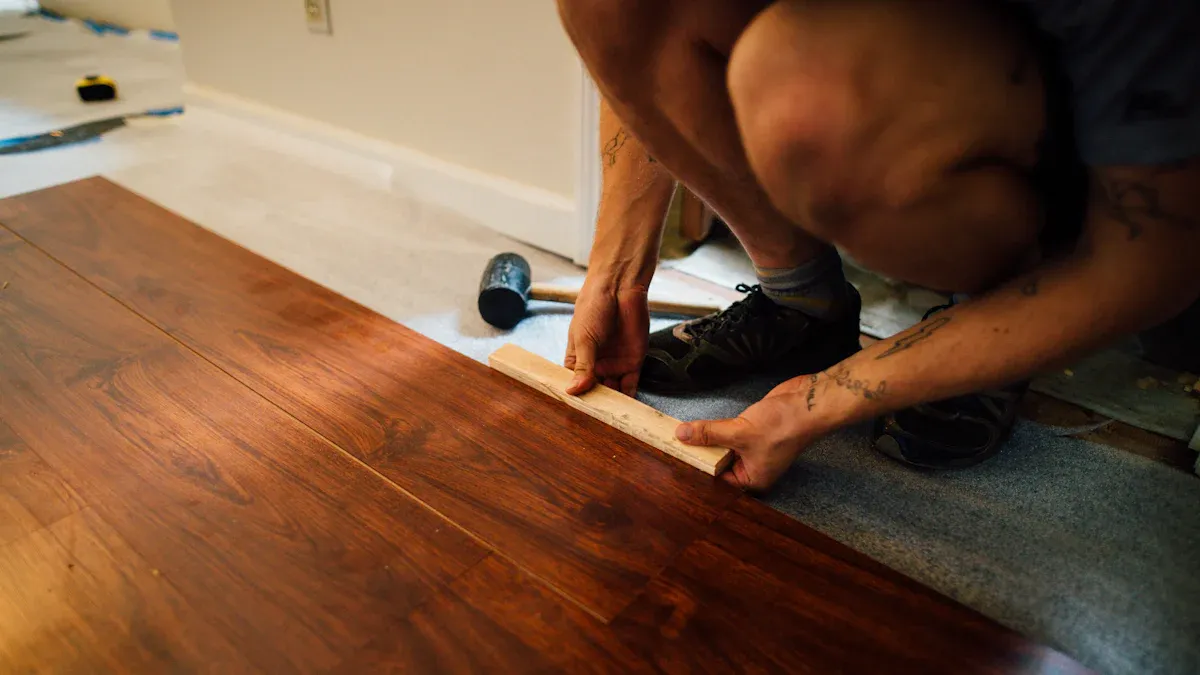
Step-by-Step Overview
When you want to create a soundproof apartment, you need to know how do you lay vinyl plank flooring the right way. You start by choosing the best underlayment for soundproof results. Acoustic underlayment works as a barrier that absorbs impact and blocks noise from footsteps or dropped items. This layer sits directly on your subfloor and helps you achieve noise reduction in your living space.
You can follow these steps to get the best soundproof flooring:
- Select the right underlayment. Look for options like cork, foam, felt, or rubber. These materials help with soundproof and noise reduction.
- Lay the acoustic underlayment on your subfloor. Cut it to fit the room. You do not need to secure it with glue or nails.
- Place the vinyl planks on top of the underlayment. Make sure you align the planks and lock them together tightly. This step is important for a soundproof floor.
- Leave a small gap around the edges of the room. This gap allows the flooring to expand and prevents buckling, which keeps your soundproof flooring in good shape.
You may wonder, how do you lay vinyl plank flooring so it stays quiet? The answer is simple. Use a quality underlayment and lock the planks together well. This method creates a soundproof barrier that blocks noise from moving between floors. You will notice less noise from footsteps and voices. The underlayment also makes walking more comfortable and softens the impact of dropped objects.
Tip: Always check that your subfloor is clean and level before you start. A smooth surface helps your soundproof flooring last longer.
Common Mistakes to Avoid
Many people ask, how do you lay vinyl plank flooring without making mistakes that hurt soundproof results? You need to avoid some common errors that can reduce the noise reduction benefits of your new floor. Here is a table to help you understand what to watch out for:
| Mistake | Impact on Soundproofing Effectiveness | Solution |
|---|---|---|
| Ignoring subfloor preparation | Uneven surfaces cause wear and reduce sound insulation. | Clean, dry, and level the subfloor before starting. |
| Not acclimating the planks | Gaps or buckling can appear, hurting soundproof quality. | Let planks sit in the room for at least 48 hours before laying. |
| Skipping underlayment | Floors become noisy and lose soundproof benefits. | Always use a high-quality acoustic underlayment. |
| Neglecting expansion gaps | Buckling can happen, which affects soundproofing and durability. | Leave a ¼-inch gap around the room’s perimeter. |
If you skip the underlayment, you lose the soundproof effect. If you forget to level the subfloor, you may hear more noise. When you do not let the planks adjust to the room, gaps can form, and your soundproof flooring will not work as well. Always remember, how do you lay vinyl plank flooring for the best soundproof results? You follow each step carefully and avoid these mistakes.
When you use these tips, you get a peaceful, soundproof apartment. You enjoy less noise and more comfort every day.
Essential Tools and Materials for Acoustic Flooring
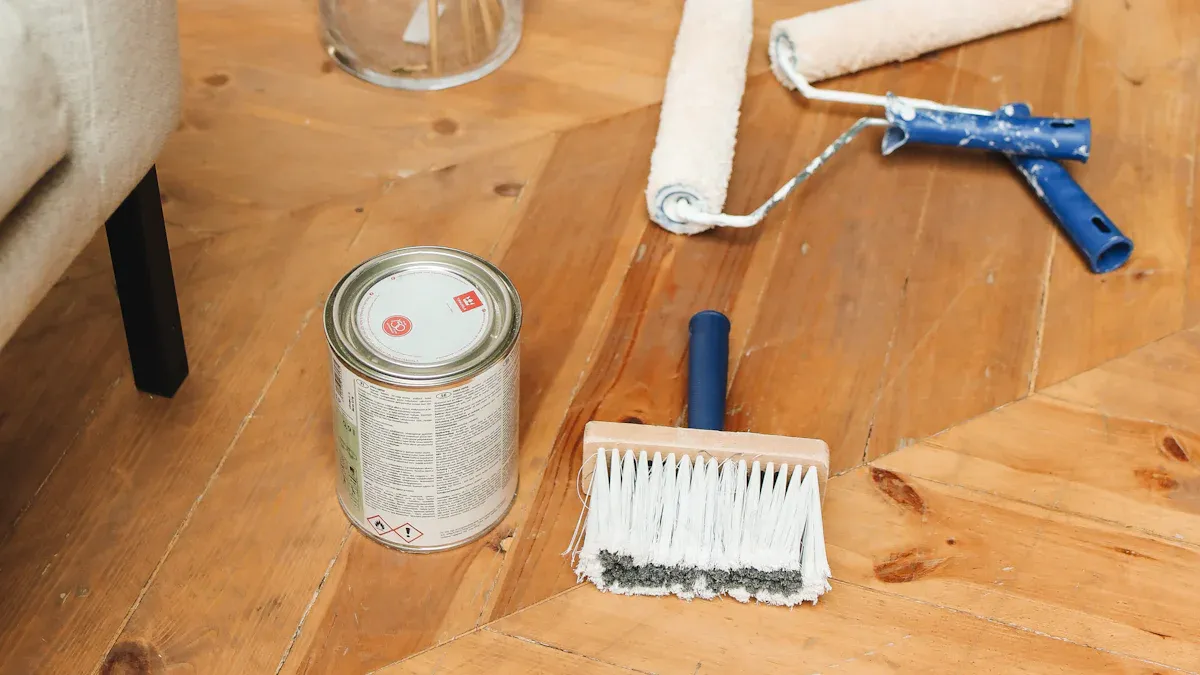
Choosing the Right Underlayment
You need to select the best underlayment for your apartment. Underlayment plays a key role in blocking noise and making your home quieter. Acoustic underlayment options like QuietWalk, DuraPad 2mm, Duraquiet 3mm, cork, and rubber underlayment help reduce both footfall and airborne noise. QuietWalk underlayment stands out with an IIC rating of 70 and an STC rating of 62. Cork underlayment dampens impact and airborne sounds, and thicker cork improves performance. Rubber underlayment also provides strong sound dampening. You should look for underlayment that matches your needs and budget.
| Underlayment Type | Sound Absorption Ratings (IIC/STC) |
|---|---|
| QuietWalk | IIC 70, STC 62 |
| DuraPad 2mm | High sound absorption |
| Duraquiet 3mm | High sound absorption |
| Cork | Effective for airborne and impact noise |
| Rubber | Effective for sound dampening |
Tip: Always check the thickness and density of your underlayment. Thicker acoustic underlayment absorbs more noise.
Selecting Quality Vinyl Plank Flooring
You want vinyl plank flooring that improves soundproofing. Thicker vinyl flooring gives you better sound insulation. Standard thicknesses include 4mm to 5mm for moderate absorption, 6mm to 8mm for improved soundproofing, and 8mm to 12mm for the best insulation. Vinyl flooring with a rigid core, like SPC or WPC, offers durability and water resistance. WPC flooring absorbs more noise than SPC flooring. Choose vinyl planks that fit your apartment’s needs and style.
Note: Thicker vinyl planks and quality underlayment work together to create a peaceful apartment.
Must-Have Installation Tools
You need the right tools for a smooth installation. These tools help you prepare the floor and lay vinyl planks accurately.
- Scraper: Removes old flooring and clears the subfloor.
- Utility knife: Cuts carpet and underlayment.
- Acoustic underlayment: Essential for soundproofing.
- Vinyl installation kit: Includes a rubber mallet and spacers for locking planks.
- Tape measure: Ensures precise plank placement.
- Pencil: Marks cutting lines on vinyl planks.
You can achieve a quiet apartment with the right underlayment, quality vinyl flooring, and proper installation tools. Each step helps you build a soundproof space that feels comfortable and peaceful.
Preparing Your Apartment Floor for Soundproof Vinyl Flooring
Removing Old Flooring and Debris
You need to start by removing any old flooring before you install soundproof vinyl flooring. Old carpet, laminate, or tile can trap dust and make your new floor uneven. Use a scraper to lift up carpet or tiles. Pull up any nails or staples that remain in the subfloor. Sweep the area to clear away loose debris. If you see sticky residue, use a damp cloth to wipe it away. You want a clean surface so your soundproof vinyl flooring sits flat and blocks noise effectively.
Tip: Wear gloves and a mask when you remove old flooring. This protects you from dust and sharp objects.
Here is a simple checklist to help you:
- Remove carpet, tiles, or laminate.
- Pull up nails, staples, or glue.
- Sweep and vacuum the floor.
- Wipe away sticky spots.
Cleaning and Leveling the Subfloor
You must clean and level the subfloor to get the best results. Dirt and bumps can cause gaps in your soundproof vinyl flooring. These gaps let noise pass through and reduce the quiet effect. Use a broom to sweep the floor. Vacuum to pick up fine dust. Check for uneven spots. If you find bumps, sand them down. Fill holes or cracks with floor patch compound. Let the patch dry before you continue.
Note: A level subfloor helps your vinyl planks lock together tightly. This stops noise from moving between rooms.
You can use a straightedge to check for level areas. If you see a gap under the straightedge, add patch compound. If the floor feels rough, sand it until smooth. You want a flat surface for easy installation.
| Step | Purpose |
|---|---|
| Sweep and vacuum | Remove dust and debris |
| Sand bumps | Create a smooth surface |
| Fill holes/cracks | Prevent gaps and noise |
| Check for level | Ensure tight plank fit |
When you prepare your floor well, you create a strong base for soundproof vinyl flooring. This helps block noise and keeps your apartment peaceful.
Installing Underlayment for Maximum Noise Reduction
Laying Acoustic Underlayment Properly
You can create a soundproof apartment by adding underlayment beneath your vinyl plank flooring. Underlayment acts as a sound barrier under vinyl plank flooring, absorbing and dampening vibrations. You need to lay the underlayment flat without wrinkles. Wrinkles reduce the effectiveness of the soundproof layer. Secure the seams with adhesive or tape. This prevents movement and keeps the sound barrier under vinyl plank flooring strong.
You should follow these steps for laying acoustic underlayment:
- Prepare the subfloor. Make sure it is clean, dry, and level.
- Choose the right underlayment. Options include cork, foam, felt, rubber, plywood, or OSB.
- Roll out the underlayment. Cut it to fit the room.
- Lay the underlayment flat. Smooth out any wrinkles.
- Tape or glue the seams. This stops the underlayment from shifting.
- Leave a small gap around the edges. This allows for expansion and prevents buckling.
Tip: Underlayment not only reduces noise but also adds warmth and moisture protection. It cushions your floor and helps maintain the locking mechanism of your vinyl planks.
Tips for Seamless Installation
You want your soundproof flooring to last. Experts recommend several tips for a seamless underlayment installation. Always acclimate your vinyl planks for at least 48 hours before installation. Use the right tools, such as a utility knife, straight edge, tape measure, and spacers. Invest in high-quality underlayment and durable vinyl plank flooring. Maintain an expansion gap between the floor and walls.
Here is a table showing common errors and their consequences:
| Common Error | Consequence |
|---|---|
| Poor subfloor prep | Warping or cracking |
| Skipping acclimation | Gapping or curling |
| Wrong adhesive | Bubbling or lifting |
| Ignoring gaps/layout | Buckling or misalignment |
| Early installation | Dust or finish damage |
| Neglecting care | Shorter lifespan |
A smooth and stable subfloor is essential for flawless installation. Underlayment serves as a sound barrier under vinyl plank flooring, blocking noise and creating a peaceful apartment. You achieve maximum noise reduction by following each step carefully and using acoustic materials.
Laying Vinyl Plank Flooring with skspcflooring Products
Planning Your Layout
You need a smart plan before you start laying vinyl plank flooring. Begin by measuring your room and deciding the direction for your planks. Most people choose to lay vinyl planks parallel to the longest wall. This makes the room look bigger and helps with sound reduction. Use foam-backed quality vinyl flooring for extra comfort and noise control. Top quality vinyl flooring from skspcflooring gives you a nearly soundless surface, which makes your apartment peaceful.
Tip: Always install acoustic flooring underlay or soundproofing underlayment panels first. These layers help block noise and improve the soundproofing of your vinyl floor.
Here is a table to help you choose the right skspcflooring product for noise reduction:
| Flooring Type | Composition | Sound Absorption | Noise Reduction Effectiveness |
|---|---|---|---|
| SPC | Plastic composite and limestone | Minimal | Less effective for soundproofing |
| WPC | Plastic and wood fiber mixture | Better | Superior for reducing airborne and impact sound |
Cutting and Fitting Planks
You want your vinyl planks to fit tightly for the best soundproofing. Always leave a small gap between the wall and the vinyl planks. This gap lets the floor expand and contract. Stagger the seams by at least six inches from the previous row. This pattern stops noise from traveling through straight lines. Avoid H-joints by making sure four corners never meet at one spot. Check your alignment often to keep your vinyl rows straight.
- Measure and mark your vinyl planks before cutting.
- Use a utility knife or jigsaw for clean cuts.
- Dry-fit each piece before locking it in place.
Note: For tricky spots, like around pipes, trace the shape on cardboard first. Then, transfer the outline to your vinyl plank and cut carefully.
Locking Planks Securely
You must lock your vinyl planks tightly to stop movement and vibration. This step boosts the soundproofing of your floor. Use a dense, closed-cell rubber underlayment like Duraquiet 3mm for even better sound absorption. When you lock each vinyl plank, press down firmly and use a rubber mallet if needed. This keeps your floor stable and quiet.
- Proper locking reduces noise transmission.
- Quality underlayment supports your vinyl flooring for years.
- Your apartment stays peaceful and comfortable.
Remember: A secure vinyl floor means less noise and more comfort for everyone in your home.
Extra Tips for Apartment Noise Reduction
Sealing Gaps and Edges
You can improve soundproof results by sealing gaps and edges around your vinyl plank flooring. Sealing perimeter gaps stops sound from leaking through small spaces at the wall or door frames. Modern acoustic sealants and edge treatments absorb sound and reduce both impact and airborne noise. You should check for any visible gaps after installation. Fill these spaces with an acoustic sealant. This step helps you achieve better floor noise control and keeps your apartment quieter.
Tip: Sealing gaps and edges also protects your floor from moisture and dust.
Using Rugs and Foam Mats
You can add rugs and foam mats on top of your vinyl plank flooring for extra soundproof benefits. These soft layers absorb footsteps and block noise from moving between rooms. Choose dense foam mats like SoundStep LV for excellent sound reduction and moisture protection. You can also use carpet underlays for more comfort and quiet. Here are some options:
- Performance Carpet Underlay: Thin and lightweight, works well under low-pile carpets.
- Ultimate Carpet Underlay: Heavier, gives better noise reduction between rooms.
- Plus Carpet Underlay: Maximum soundproofing, great for home theaters or busy spaces.
Placing these products in high-traffic areas helps you enjoy a peaceful home.
Maintaining Your Soundproof Vinyl Flooring
You need to care for your soundproof vinyl plank flooring to keep it working well. Use an underlayment that matches your soundproofing needs. Choose the right thickness for your underlayment—soft and absorbent layers cushion footsteps and reduce noise disturbance. Clean your floors often to prevent dirt from getting into the seams. Check the edges and reseal if you see gaps. Replace worn rugs or mats to keep your soundproof system strong.
Note: Regular maintenance helps your acoustic underlayment last longer and keeps your apartment quiet.
You can create a peaceful apartment when you choose vinyl plank flooring with acoustic underlayment. Vinyl floors from skspcflooring give you strong durability and help reduce noise. Many apartments use vinyl with underlayment to meet building codes and keep tenants happy. You will notice that vinyl makes your home more comfortable and quiet. Vinyl also feels soft under your feet and keeps your floor warm. When you install vinyl the right way, you enjoy a better living space for years.
Remember: Vinyl plank flooring with acoustic underlayment is a smart choice for a quiet and cozy apartment.
FAQ
How do you clean vinyl plank flooring in your apartment?
You can sweep or vacuum vinyl floors every few days. Use a damp mop with mild soap for deeper cleaning. Avoid harsh chemicals. Vinyl resists stains, so you do not need strong cleaners. Always dry the floor after mopping to keep your vinyl looking new.
Can you install vinyl flooring over existing tile or wood?
You can install vinyl over tile or wood if the surface is flat and clean. Remove debris and fill any gaps. Vinyl needs a smooth base for best results. If the old floor is uneven, level it first. This helps your vinyl flooring last longer.
Does vinyl plank flooring help reduce noise in apartments?
Vinyl plank flooring with acoustic underlayment absorbs sound. You will notice less noise from footsteps and dropped items. Vinyl blocks both impact and airborne noise. Many apartment owners choose vinyl for its soundproofing benefits. You can enjoy a quieter home with quality vinyl flooring.
Is vinyl flooring waterproof and suitable for kitchens or bathrooms?
Vinyl flooring resists water and works well in kitchens or bathrooms. You do not need to worry about spills. Vinyl does not swell or warp when wet. You can wipe up water easily. Many people use vinyl in areas with high moisture for this reason.
How long does vinyl plank flooring last in an apartment?
Vinyl plank flooring lasts many years with proper care. You can expect your vinyl to stay strong and beautiful for over a decade. Regular cleaning and quick spill cleanup help. Vinyl resists scratches and dents, making it a smart choice for busy apartments.




