
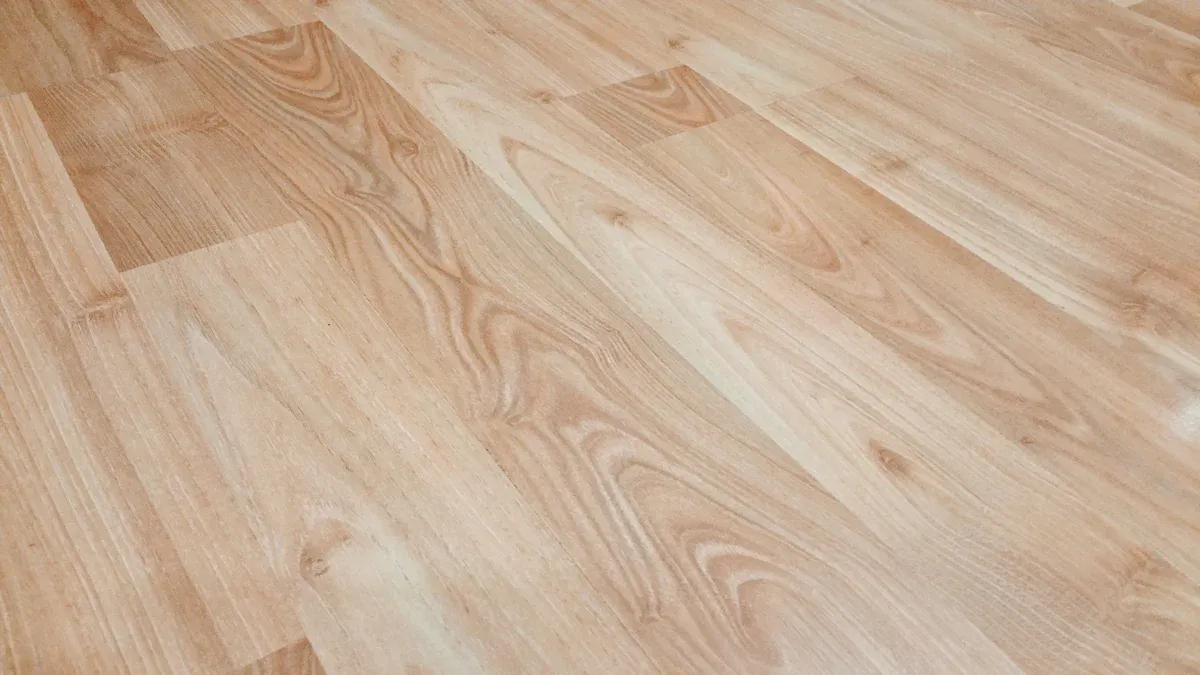
You want your vinyl loose lay flooring to last. To achieve this, you need to think like a professional flooring installer. Many installations fail early because of problems such as moisture in the subfloor, missing expansion gaps, or poor workmanship. Common issues include:
- Moisture under the vinyl loose lay flooring causing bubbling or lifting
- Temperature changes making planks expand or contract
- Uneven surfaces leading to gaps or curling
By following the right steps, you help your loose lay flooring look great and perform well for years.
Subfloor Preparation for Vinyl Loose Lay Flooring
Cleanliness and Debris Removal in Vinyl Flooring Installation
You must start with a spotless subfloor for a successful vinyl flooring installation. Any dust, dirt, or leftover adhesive can cause problems. Loose lay vinyl flooring depends on friction and weight to stay in place. If you leave debris behind, the planks may shift or lift over time. This can lead to uneven surfaces or even damage.
Tip: Sweep and vacuum the subfloor carefully. Remove all dust, paint, wax, oil, grease, and any old adhesive. If you find stubborn spots, use mechanical methods to get rid of them. For metal subfloors, clean with mineral spirits and sand lightly if needed.
A clean subfloor helps your luxury vinyl flooring grip the surface. This step protects your investment and keeps your floor looking great for years.
Industry Standards for Subfloor Cleanliness:
- The subfloor must be free of dust, solvents, varnish, paint, wax, oil, grease, sealers, curing compounds, and adhesive removers.
- Remove all contaminants mechanically before installation.
- Expose 100% of the original substrate by removing old adhesive residues.
- Concrete subfloors should be cured, dry, clean, smooth, and structurally sound, following ASTM F710 standards.
- Always test for moisture and alkalinity.
- The subfloor must be flat and free of irregularities.
- For metal substrates, clean, dry, and sand as needed. Perform a bond test before installation.
Ensuring Dryness and Moisture Control for Installation Best Practices
Moisture is one of the biggest threats to vinyl loose lay flooring. If the subfloor is damp, you risk bubbling, lifting, or mold growth. Before you begin installation, check the moisture level of your subfloor. For concrete, the maximum allowed is 75% relative humidity or 8 lbs. per 1,000 square feet over 24 hours using the Calcium Chloride test. These standards help prevent future flooring failures.
You should always test in several spots. Hidden damp areas can cause problems later. Use the right method for your subfloor type:
| Subfloor Type | Recommended Testing Method | Recommended Moisture Barrier |
|---|---|---|
| Concrete | Calcium Chloride Test | 6-mil Polyethylene Sheet |
| Wood | Pin Moisture Meter | Rosin Paper |
| Particle Board | Electronic Moisture Meter | Vapor Retarder |
For concrete, in situ probes like the Rapid RH® L6 give accurate readings inside the slab. This method follows ASTM F2170 standards. Always use a moisture barrier if you find high moisture levels. This step is a key part of installation best practices and protects your luxury vinyl tile from damage.
Checking Flatness and Leveling Before Vinyl Flooring Installation
A flat subfloor is critical for a smooth and long-lasting vinyl flooring installation. If the floor has bumps or dips, the planks may not sit evenly. This can cause soft spots, creaking, or visible lumps. Even though luxury vinyl flooring is flexible, it cannot hide major flaws.
You should check the flatness before you start. The industry standard allows no more than 3/16 inch deviation over 10 feet or 1/8 inch over 6 feet. Use a long straightedge or level to find any high or low spots. If you find uneven areas, use patching materials to fix them. Portland cement or gypsum-based patches work well for concrete or plywood.
- Subfloor flatness must not exceed 3/16 inch over 10 feet or 1/8 inch over 6 feet.
- The slope should not be more than 1/2 inch over 6 feet.
- Subfloors must be structurally sound, clean, and dry.
- Use patching materials to level the surface as needed.
Note: Proper subfloor leveling prevents telegraphing of imperfections and keeps your vinyl loose lay flooring stable. This step ensures your floor feels solid and looks professional.
Repairing Cracks and Protrusions in the Subfloor
Cracks and bumps in your subfloor can ruin your vinyl loose lay flooring. If you skip repairs, you risk uneven floors, squeaks, or even damage to your new vinyl. You want a flat, stable surface before you start laying planks.
Why Repair Matters
Unrepaired cracks or protrusions cause several problems:
- Damaged or weak subfloors can sag or collapse, making your floor unsafe.
- Moisture can seep through cracks, leading to mold or water damage.
- Vinyl planks may crack, warp, or shift if the subfloor is not smooth.
- Uneven surfaces reduce the lifespan and performance of your flooring.
Tip: Always fix cracks and bumps before installing vinyl. This step protects your investment and keeps your floor looking great.
Step-by-Step: How to Repair Cracks and Protrusions
Follow these steps to prepare your subfloor for vinyl loose lay flooring:
-
Inspect the Subfloor
- Look for cracks, holes, rot, or sagging spots.
- Check for moisture damage or weak areas.
- Tap the floor with a hammer to find hollow or soft spots.
-
Clean the Surface
- Remove all dust, debris, and old adhesive.
- Sweep and vacuum the area.
- A clean surface helps repair materials stick better.
-
Fill Cracks and Low Spots
- Use self-leveling compounds like Henry 549 feather finish.
- For large dips, pour self-leveling underlayment (SLC).
- Spread the compound with a trowel or squeegee.
- Use a spiked roller to remove air bubbles.
-
Sand Down High Spots
- Sand any bumps or protrusions until the surface feels flat.
- For stubborn high spots, use a floor grinder or heavy-duty sander.
-
Reinforce and Replace Damaged Areas
- Replace rotten or broken sections with APA-rated plywood underlayment.
- Make sure the plywood has a smooth, sanded surface and no gaps.
- Secure loose boards with screws to stop squeaks.
-
Check for Flatness
- Place a long straightedge on the floor.
- The surface should not vary more than 1/8 inch over 10 feet.
- Fill or sand again if you find uneven spots.
-
Control Moisture
- Test for moisture with a meter, especially on concrete.
- Install a vapor barrier if needed.
Note: For big drops, you can combine plywood and self-leveling compound. However, pure self-leveling compound often works best because it avoids cracks where materials meet.
Recommended Materials and Tools
- Self-leveling compound (Henry 549 feather finish)
- Self-leveling underlayment (SLC)
- APA-rated plywood underlayment
- Trowel, squeegee, spiked roller, spike shoes
- Floor grinder or sander
- Screws and drill
A smooth, flat subfloor gives your vinyl loose lay flooring the best chance to last. Take your time with repairs. You will see the difference in how your floor looks and feels.
Acclimation and Material Handling for Vinyl Loose Lay Flooring
Acclimating Vinyl Flooring to Room Conditions
You want your luxury vinyl flooring to last and look its best. Acclimating the flooring to the room’s conditions is a key step. This process helps the planks adjust to the temperature and humidity of your home. If you skip this step, you may see problems like buckling, gapping, or curling after installation.
Here is what most major manufacturers recommend:
- Place the vinyl loose lay flooring in the room where you plan to install it for at least 24 to 48 hours.
- If you are unsure, let the flooring acclimate for up to 7 days for the best results.
- Acclimation allows the flooring to adjust to the room’s temperature and humidity.
- Different types of vinyl may need different acclimation times.
- Always check the manufacturer’s instructions for the exact time needed.
- Keep the room between 60°F and 80°F, with humidity between 30% and 50%.
- Store the flooring flat and in its packaging during acclimation.
- When in doubt, a full week of acclimation is a safe choice.
Tip: Proper acclimation is one of the most important installation best practices. It helps prevent future problems and keeps your flooring stable.
Following Manufacturer Guidelines for Installation Best Practices
You should always follow the manufacturer’s guidelines for installation. These instructions help you avoid common mistakes and protect your warranty. Here are some of the most common steps:
- Roll out the vinyl squarely in the room, letting extra material run up the wall.
- Use a sharp utility knife to cut around obstacles, leaving a small gap between the vinyl and the subfloor.
- Leave an expansion gap along the walls to prevent buckling.
- In high-traffic or wet areas, use double-sided vinyl tape around the edges for extra hold.
- Apply silicone sealant at the edges in bathrooms or kitchens to stop water from getting under the flooring.
- Use a heavy roller to press the flooring down and make sure it bonds well.
These installation methods help prevent shifting, buckling, and moisture damage. They also make your luxury vinyl flooring last longer and look more professional.
Proper Storage and Handling of Vinyl Loose Lay Flooring
You need to handle and store your vinyl loose lay flooring with care before installation. Keep the flooring flat and in its original packaging until you are ready to install it. Unroll the flooring before installation to let it relax and flatten out. This step helps the material adjust to the room and reduces the risk of damage. If your home has extreme temperatures, give the flooring more time to acclimate. Careful storage and handling protect your investment and make installation easier.
Step-by-Step Vinyl Flooring Installation Guide
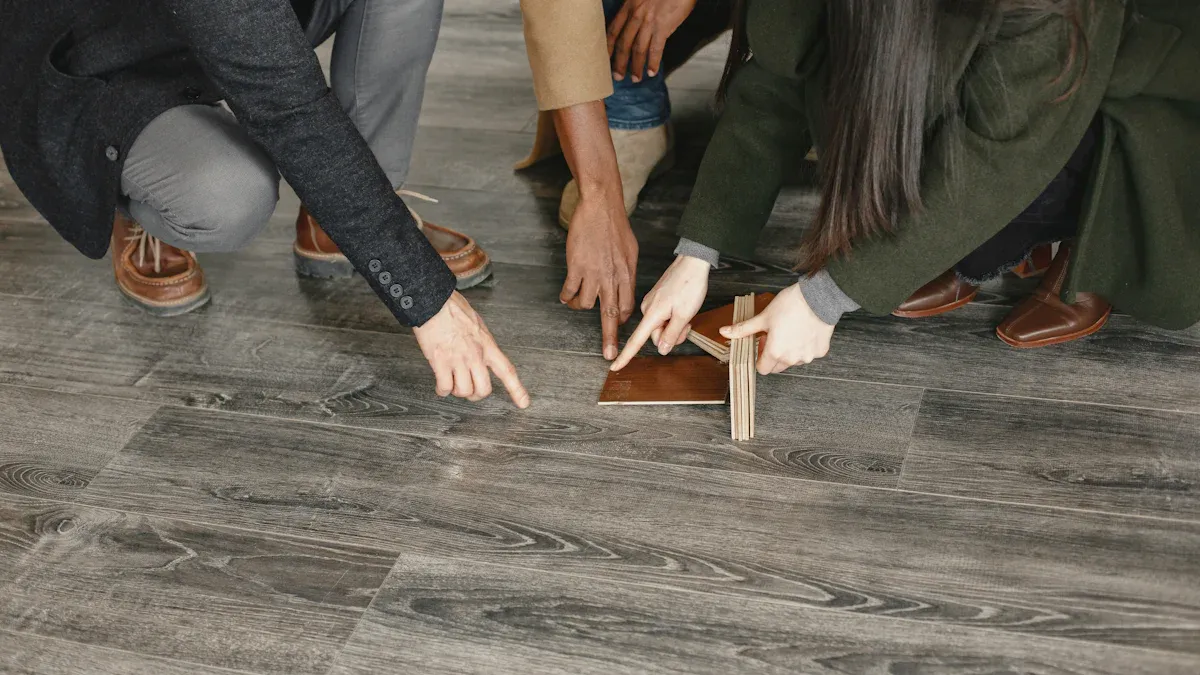
Measuring the Room and Planning Vinyl Flooring Layout
Accurate measurement is the foundation of a successful vinyl flooring installation. You want your luxury vinyl flooring to look balanced and professional. Start by measuring the length and width of your room. Write down these numbers. Include any nooks, closets, or alcoves in your measurements.
To plan your layout, follow these steps:
- Snap a chalk line between the centers of opposite walls. This marks the center line of your room.
- Use the 3-4-5 triangle method to check that your center lines meet at a true right angle. This ensures your layout is square.
- For plank layouts, decide which direction you want the planks to run. Mark the center points on the end walls and snap a chalk line.
- Dry-lay a few planks from the center line to the walls. Check the width of the border pieces. If the border is less than half a plank wide, shift your starting line by half a plank. This adjustment avoids small, awkward cuts at the edges.
- For tile layouts, measure from the center line to the walls. Adjust the starting line to avoid thin border pieces.
Proper measurement and layout planning help you fit the flooring tightly together. You reduce errors and save time during installation. You also improve the appearance and durability of your vinyl loose lay flooring.
Tip: Always pre-lay a few rows before starting the full installation. This step helps you see how the planks will fit and lets you make adjustments before cutting.
Cutting Vinyl Planks for a Custom Fit
You need to cut luxury vinyl planks to fit your room’s unique shape. Use the right tools and techniques to avoid damaging the material. For straight cuts, score the plank with a utility knife and snap it for a clean edge. For curved or complex cuts, use a jigsaw or circular saw with a fine-toothed blade made for vinyl or plastic. Apply painter’s tape along the cut line to prevent chipping.
Follow these steps for precise cuts:
- Measure the area carefully, including around obstacles like pipes or door frames.
- Mark your cuts clearly using a square for straight lines or a flexible ruler for curves.
- Create templates from cardboard for tricky shapes. Trace the template onto the plank.
- Cut along the marked lines with your chosen tool. Always wear gloves and goggles for safety.
- Dry-fit each cut piece before final installation. Make sure it fits snugly with no gaps.
- Smooth rough edges with a fine file or sandpaper for a professional finish.
- Remember to leave expansion gaps when cutting around irregular shapes.
Note: Practice on scrap pieces if you are new to cutting vinyl planks. This step helps you perfect your technique and avoid costly mistakes.
Laying Out the First Row of Vinyl Loose Lay Flooring
The first row sets the tone for your entire installation. Start with a straight wall. Place spacers between the planks and the wall to maintain a consistent expansion gap, usually 1/4 inch. Lay the first plank along your guideline. Make sure it is perfectly aligned.
Continue placing planks end to end. Drop the next plank in place and gently tap the end with a rubber mallet. This action locks the planks together and keeps them level. Check the alignment after each plank. If you see any misalignment, adjust before moving on.
When you reach the end of the row, measure and cut the last plank to fit. Leave an expansion gap at the wall. Use a utility knife and ruler for straight cuts. For the next row, stagger the seams by at least 6 inches. This pattern adds stability and a natural look to your luxury vinyl flooring.
After installing two or three rows, check the alignment with a string line. If the rows are not straight, trim the starting row to correct the issue. Use a tapping block and rubber mallet to ensure tight seams. Avoid gaps between planks.
Tip: Always keep the workspace clean. Remove any debris that could affect the lock between planks. A clean surface helps your loose lay flooring stay flat and secure.
By following these installation methods, you create a stable, attractive floor that will last for years. Careful planning, precise cutting, and proper alignment are the keys to a professional vinyl flooring installation.
Maintaining Expansion Gaps During Installation
You need to leave expansion gaps when you install vinyl loose lay flooring. These gaps give your flooring space to expand and contract as the temperature and humidity in your home change. If you skip this step, the planks will push against the walls or each other. This pressure can cause buckling or warping. The floor may lift or become uneven, and you might have to redo the entire installation.
You can use spacers to keep the right size gap along every wall. Most experts recommend a 1/4-inch gap, but you should always check the manufacturer’s instructions. Spacers help you keep the gap even and make the job easier. When you finish the installation, you can remove the spacers and cover the gap with baseboards or shoe molding.
Tip: Never install luxury vinyl planks tight against the wall. Always leave a breathing space. This small step protects your flooring and keeps it looking flat and smooth for years.
Staggering Seams for Vinyl Flooring Stability
You want your vinyl flooring to look natural and stay strong. Staggering the seams is one of the most important installation methods. When you stagger the seams, you avoid having the ends of the planks line up in a straight row. This pattern makes the floor more stable and gives it a better appearance.
Here are some best practices for staggering seams:
- Start each new row with a plank cut to a different length. This creates a random pattern and avoids repeating seams.
- Do not let seams from one row line up with seams in the next row. This prevents weak spots and keeps the floor strong.
- Use leftover pieces from the previous row to start the next row. This method saves material and helps keep the seams staggered.
- Make sure each piece is at least 8 inches long. Very short pieces can make the floor less stable.
- If you have trouble making a random pattern, try using a dice or spinner to pick starting lengths.
You should always check your work as you go. If you see seams lining up, stop and adjust the layout. A well-staggered floor will last longer and look more like real wood.
Securing Edges and Doorways with Installation Best Practices
You need to pay special attention to the edges and doorways when you install vinyl loose lay flooring. These areas often see the most movement and wear. If you do not secure them properly, the flooring can shift or lift over time.
Follow these steps for the best results:
- Cut the bottom of door frames and moldings so the flooring can slide underneath. This step helps the floor fit snugly and allows for expansion.
- Use templates or masking paper to trace the shape of door jambs and casings. Leave a 1/8-inch expansion gap between the flooring and the wall.
- Slide the vinyl under the door jambs and casings carefully. Avoid bending or creasing the planks.
- Trim the edges along the walls with a straight edge, leaving a small expansion gap.
- Reattach shoe moldings and baseboards by nailing them to the wall, not the floor. This method lets the floor move as needed.
- In high-traffic areas or near doorways, use adhesive on the subfloor as the manufacturer recommends. Apply it with a notched trowel for a strong bond.
- Use a floor roller to press the flooring down firmly. This step helps the planks stick well and keeps seams tight.
Note: Always follow installation best practices for securing edges and doorways. These steps help prevent shifting and keep your flooring looking great.
Pro Tips for a Flawless Vinyl Flooring Finish
Using the Right Tools for Vinyl Flooring Installation
You do not need many specialized tools to install vinyl loose lay flooring. Professionals often use basic items that you may already have at home. The most important tool is a sharp utility knife. You use it to cut planks to fit around walls and obstacles. Loose lay flooring does not require adhesives or complicated equipment, which makes the process easier for you.
Here are the main tools you will need:
- Utility knife for cutting planks
- Tape measure for accurate measurements
- Straight edge or ruler for marking lines
- Pencil for marking cuts
- Spacers to keep expansion gaps even
If you want extra stability in high-traffic areas, you can use double-sided tape around the edges. However, this step is optional. Always make sure your subfloor is smooth, clean, and dry before you start.
Checking Alignment Throughout the Installation
Keeping your planks straight and even is key to a professional-looking floor. You should check the alignment as you work. Start by planning your layout and measuring the room. Mark chalk lines to guide your first row. Dry-lay several planks to see how they fit.
Follow these steps to keep your flooring aligned:
- Inspect each row to make sure the planks are straight.
- Use spacers to maintain a 1/4-inch expansion gap around the room.
- Stagger the seams by at least 6 inches for a natural look.
- Tap planks gently with a rubber mallet if you see any gaps.
- Adjust or trim planks if you notice uneven edges.
- Clean the floor surface before you finish to remove dust or debris.
Tip: Regularly check your work as you go. This habit helps you catch mistakes early and keeps your floor looking neat.
Handling Irregular Walls and Obstacles in Vinyl Loose Lay Flooring
Rooms often have uneven walls or tricky corners. You can handle these challenges with a few smart strategies. Avoid using narrow strips of vinyl that are less than half the width of a plank. These pieces may lift or pop out over time. If you must use a narrow strip, glue it to a full plank to keep it secure.
Consider back-cutting baseboards so you can fit wider planks near uneven walls. Use shoe molding or slightly thicker baseboards to cover small gaps. This approach looks more professional than using oversized trim. For small pieces near obstacles, test the fit and glue them if needed. Place a weight on glued pieces until they dry to keep them flat.
Note: Take your time when working around obstacles. Careful fitting and finishing will help your floor last longer and look its best.
Common Mistakes to Avoid in Vinyl Loose Lay Flooring Installation
Skipping Subfloor Preparation for Vinyl Flooring
You might feel tempted to skip subfloor preparation to save time or money. This mistake can lead to big problems later. If you do not clean, level, and dry the subfloor, your flooring can warp, buckle, or develop gaps. Uneven or unstable subfloors cause planks to shift, making your floor look messy and unsafe. Water can seep through gaps, leading to mold or damage underneath.
- Warping and buckling often happen when the subfloor is not flat.
- Gaps form if the subfloor is unstable or dirty.
- Moisture trapped under the flooring can cause mold or bad smells.
- You may need to remove and reinstall the flooring, which costs more in the long run.
Tip: Always make sure your subfloor is clean, level, and dry before you start. This step is one of the most important installation best practices.
Ignoring Acclimation Time Before Installation
You need to let your vinyl flooring adjust to the room before you install it. If you skip this step, the planks may expand or shrink after installation. This can cause buckling or gaps between planks. Most manufacturers recommend letting the flooring sit in the room for at least 48 hours. The temperature and humidity in the room help the planks settle to their final size.
- Place the unopened boxes of flooring in the room where you will install them.
- Wait at least two days before starting installation.
- Keep the room at a steady temperature and humidity.
If you ignore acclimation, your new floor may not last as long or look as good.
Overlapping or Gapping Vinyl Planks
You want your floor to look smooth and even. Overlapping planks or leaving gaps between them can ruin the appearance and stability of your flooring. These mistakes often happen when you rush or do not measure carefully. Always use a tape measure and a carpenter’s square to cut planks to the right size. Make sure each plank fits snugly against the next without overlapping or leaving spaces.
- Overlapping planks create bumps and uneven surfaces.
- Gaps let dirt and water get under the flooring.
- Poor alignment makes the floor look unprofessional.
Take your time to measure, cut, and fit each plank. Careful work helps your flooring last longer and look its best.
Forgetting Expansion Gaps in Vinyl Flooring Installation
You might think that pushing your vinyl loose lay flooring tight against the wall will make it look better. This is a common mistake. You need to leave expansion gaps around the edges of your room. These small spaces let your flooring expand and contract as the temperature and humidity change.
If you forget to leave expansion gaps, your floor can buckle or lift. The planks may press against the wall and have nowhere to go. This pressure can cause the flooring to warp or even pop out of place. You may see bumps or waves in your floor. Sometimes, you will need to remove and reinstall the flooring to fix the problem.
Tip: Always use spacers when you install your flooring. Place them between the planks and the wall to keep the gap even. Most manufacturers recommend a 1/4-inch gap, but you should check the instructions for your product.
Here are some signs that you forgot expansion gaps:
- The floor feels tight or hard against the wall.
- You see buckling or raised areas in the middle of the room.
- The planks shift or make noise when you walk on them.
- The baseboards look pushed out or uneven.
How to avoid this mistake:
- Read the manufacturer’s guidelines before you start.
- Use spacers along every wall during installation.
- Double-check the gap before you finish each row.
- Remove the spacers after you finish and cover the gap with baseboards or trim.
Leaving expansion gaps helps your vinyl flooring last longer. You protect your investment and keep your floor looking smooth and professional. Remember, a little space goes a long way!
Troubleshooting and Quick Fixes for Vinyl Loose Lay Flooring
Addressing Lifting or Shifting Vinyl Planks
If you notice your vinyl planks lifting or shifting, you can often fix the problem with a few simple steps. Start by checking the area for dirt or debris. Clean the surface with a soft broom or vacuum and use a manufacturer-recommended cleaner. Place mats at entryways to reduce dirt and moisture. Use felt pads under furniture legs to prevent scratches and stress.
When you see minor lifting, follow these steps:
- Clean the area under the plank.
- Reapply adhesive as recommended by the manufacturer.
- Press the plank down firmly and place a heavy object on top for 24 hours.
If the problem continues, inspect the subfloor for uneven spots. Level the subfloor with a self-leveling compound if needed. Always make sure the subfloor is dry and smooth before reinstalling planks. Monitor humidity levels and use a dehumidifier in humid rooms to prevent future issues.
Tip: If you see widespread lifting or cannot find the cause, call a professional flooring installer.
Fixing Minor Gaps or Seams in Vinyl Flooring
Small gaps or open seams can appear over time. You can fix these quickly with the right products. Use a pressure-sensitive adhesive that dries to a tacky state to close seam gaps. Always follow the manufacturer’s instructions for application and drying times. Make sure the area is clean and dry before you start.
For seams, avoid rigid fillers like wood filler. Instead, use a flexible caulk or a vinyl floor seam sealer. Clean the area, apply the sealer, and let it dry as directed. Maintain proper expansion gaps around fixed objects to prevent gaps from coming back.
Note: Flexible sealers move with your floor, so they last longer and look better.
Managing Moisture Issues After Installation
Moisture can damage your vinyl flooring if you do not act quickly. Clean up spills right away with a microfiber cloth, paying special attention to seams and edges. Use a damp mop with a pH-neutral cleaner, but avoid soaking the floor. Dry the area after mopping to remove any leftover moisture.
Keep indoor humidity between 35% and 55%. Use dehumidifiers if needed. Place area rugs and mats at entrances to trap dirt and water. Check baseboards and seams every few months for signs of water damage or swelling. If you find serious water damage, contact a professional for help.
Tip: Good air circulation and regular cleaning help prevent future moisture problems and keep your vinyl flooring looking new.
You can achieve long-lasting results with vinyl loose lay flooring by following a few key steps. Focus on subfloor preparation, acclimation, and careful installation. Avoid shortcuts to keep your flooring looking great. Use these tips to create a professional finish that stands up to daily life. Luxury vinyl flooring gives you style and durability. Take your time with each step. Enjoy your new loose lay floor for years to come!
FAQ
How do you clean vinyl loose lay flooring?
You can sweep or vacuum your floor daily. Use a damp mop with a pH-neutral cleaner for deeper cleaning. Avoid harsh chemicals and do not soak the floor.
Tip: Place mats at doors to keep dirt away.
Can you install vinyl loose lay flooring over old flooring?
Yes, you can install it over many types of old flooring, like tile or vinyl. The old floor must be flat, clean, and dry. Remove any loose or damaged sections first.
What should you do if a plank gets damaged?
You can lift and replace a damaged plank easily.
- Remove the damaged piece.
- Clean the area.
- Lay a new plank in its place.
Does vinyl loose lay flooring need glue or nails?
No, you do not need glue or nails for most rooms. The weight and friction keep the planks in place.
In high-traffic areas, you can use double-sided tape for extra hold.




