
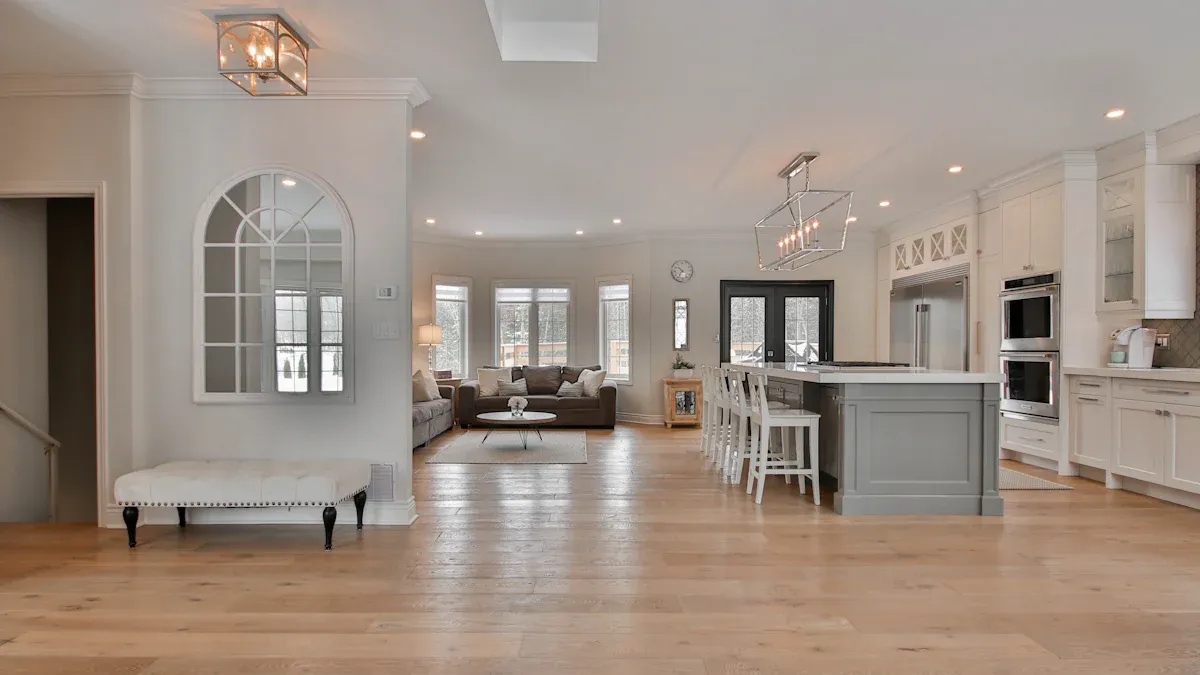
When you decide which direction to lay vinyl plank flooring, you shape how your room feels. Most experts agree that you should lay vinyl plank flooring parallel to the longest wall or main light source to make the space look bigger and brighter. Choosing the best direction to lay can highlight focal points and improve durability. The table below shows how choosing the best direction affects your home’s look and function:
| Aspect | Expert Analysis Summary |
|---|---|
| Aesthetics & Spatial Perception | Flooring direction changes how large or cozy a room feels. Vertical layouts add openness, while horizontal layouts make rooms feel wider. |
| Structural Integrity | Laying planks parallel to joists prevents sagging or buckling. |
| Light & Visual Effects | The right layout guides eyes and light, making spaces feel longer or more inviting. |
| Room-Specific Recommendations | Each room benefits from different layouts, like horizontal in bedrooms for coziness or diagonal in living rooms for spaciousness. |
| Directional Layout Options | Vertical, horizontal, diagonal, and creative patterns each offer unique style and function. |
When you ask which direction to install vinyl plank flooring, remember that choosing the best direction depends on your space and your goals.
Which Direction to Install Vinyl Plank Flooring: Key Factors
Room Shape and Size
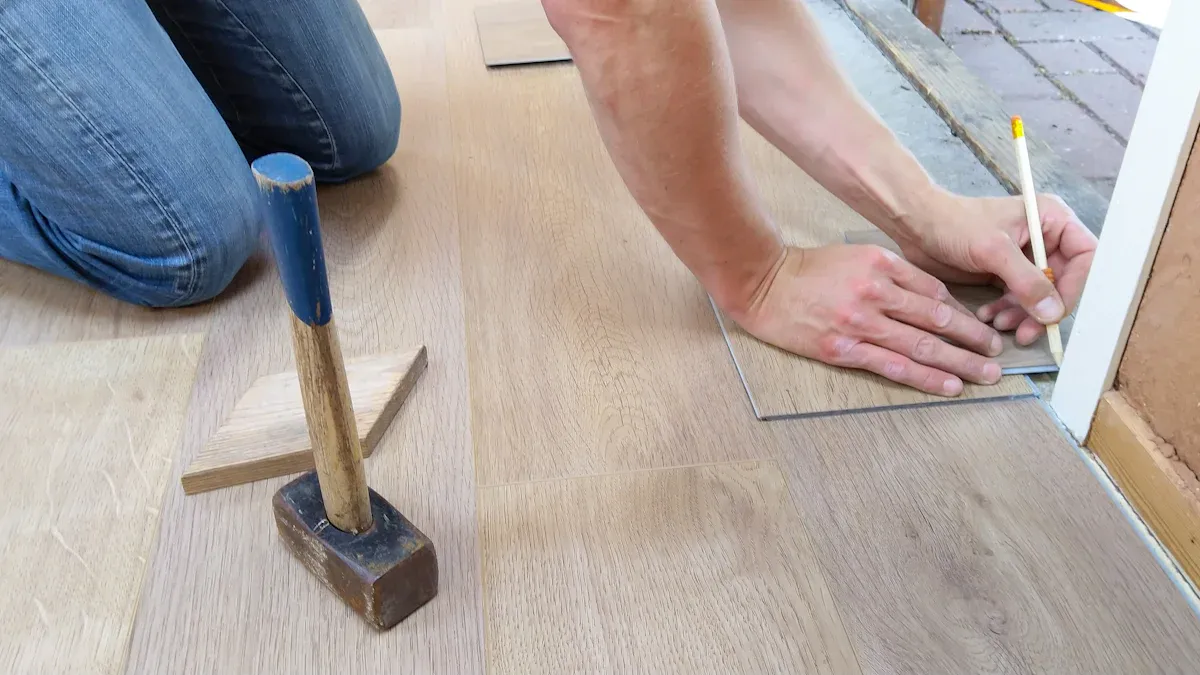
When you decide which direction to install vinyl plank flooring, you should always look at the shape and size of your room first. The way you lay the planks can change how big or small your space feels. For example, if you have a long, narrow room like a hallway, laying the planks parallel to the longest wall can make the room look much longer. A recent home design study in 2025 found that this method can visually stretch a narrow room by up to 30%. Square rooms give you more options. You can lay the planks diagonally to add energy and prevent the space from feeling boxy. In large or open-plan spaces, most designers prefer to lay the planks parallel to the main wall or light source. This helps unify different zones and makes the space flow seamlessly from room to room.
Here is a quick guide to help you choose the optimal direction based on your room’s shape:
| Room Shape | Recommended Direction | Visual/Functional Effect | Example Spaces |
|---|---|---|---|
| Narrow/Rectangular | Parallel to longest wall | Visually elongates the room | Hallways, long bedrooms |
| Square | Diagonal or parallel | Adds energy or balances space | Offices, dining rooms |
| Open-Plan/Large | Parallel to main wall or light | Unifies zones and creates flow | Kitchen-living combos |
| Odd-Shaped (L-shaped) | Parallel to dominant wall | Simplifies flow, avoids chaos | L-shaped living areas |
Tip: Diagonal layouts look great in square rooms but require about 10-15% more material and can be harder to install. If you want a simple project, stick with parallel layouts.
Light Sources and Windows
Light plays a big role in how your floor looks. When you think about which direction to install vinyl plank flooring, look at where the natural light comes from. Laying the planks parallel to the main window or light source helps the seams blend in and makes the floor look smooth. About 70% of homeowners choose this method because it reduces seam visibility and gives the floor a more polished look. If your room has large windows or glass doors, follow the direction of the light. This trick works well in living rooms, bedrooms, and open spaces. It also helps highlight the natural beauty of the vinyl planks.
- Natural light can hide seams and make your floor look seamless.
- Planks laid in the direction of the light make the room feel brighter and more open.
- If you have several windows, pick the one that brings in the most light and use it as your guide.
Focal Points and Room Flow
You want your flooring installation to support your room’s main features and the way people move through the space. Look for focal points like fireplaces, large windows, or built-in shelves. Laying the planks toward these features draws the eye and makes the room feel balanced. In smaller rooms, you can lay the planks perpendicular to the longest wall to make the space feel wider. This method directs the eye across the room and improves flow. In high-traffic areas, such as hallways and entryways, laying the planks parallel to the main traffic path keeps the floor looking good and reduces visible wear. This approach links the key factors in determining flooring direction to both your aesthetic and design goals and the practical needs of your home.
- Align planks with the main traffic flow for durability and a neat look.
- Use the flooring direction to highlight important features and guide movement.
- Good planning helps your floors look great and last longer.
Traffic Patterns
You need to think about how people move through your space before you decide which direction to install vinyl plank flooring. The way you lay your planks can change how your floor looks and how long it lasts. In busy areas, the direction of your flooring installation matters even more.
- In high-traffic areas like hallways and entryways, lay vinyl planks parallel to the main traffic flow. This method helps your floor look neat and organized.
- Laying planks in the same direction as the traffic flow reduces visible wear and tear over time. Your floor will stay looking new for longer.
- For rooms with odd shapes or several doors, keep the plank direction consistent. This creates a balanced and cohesive look throughout your home.
- When you follow the main path people walk, you make cleaning and maintenance easier.
If you wonder which direction to install vinyl plank flooring, always watch how people move in and out of each room. This simple step can help you avoid uneven wear and keep your flooring installation looking beautiful for years.
Tip: Stand at the main entrance and watch the natural path people take. Use this as your guide for plank direction.
Subfloor and Structural Considerations
Before you start your flooring installation, you must check the subfloor. The subfloor is the surface under your vinyl planks. If you skip this step, you might face problems later. A good subfloor keeps your floor smooth, strong, and long-lasting.
| Subfloor Condition | Assessment Criteria | Impact on Vinyl Plank Flooring Installation |
|---|---|---|
| Flatness | Must not deviate more than 3/16” over 10’ (ASTM F-710) | Ensures ease of locking planks, prevents springboard effect and installation difficulties |
| Cleanliness | Free from debris, dirt, oils, and loose materials | Prevents adhesion failure and ensures proper bonding |
| Smoothness | Concrete Surface Profile (CSP) of 1, soft to touch | Provides comfortable under-foot feel and proper finish adherence |
| Dryness | Tested for RH%, MVER, and pH; must meet manufacturer specs | Prevents adhesive failure and flooring damage due to moisture |
| Structural Soundness | No cracking, instability, or excessive deflection | Ensures stable substrate to avoid flooring failure |
| Removal of Old Adhesives | Complete removal down to concrete | Avoids weak layers that cause future failures |
| Treatment of Expansion Joints | Proper handling of saw cut control joints | Prevents weak points and potential flooring damage |
You should always test for moisture before you install vinyl plank flooring. Use tools like moisture meters and probes to check if the subfloor is dry enough. If you skip this test, you risk adhesive failure and damage to your new floor. Manufacturers and industry standards require you to check moisture levels before and during installation. This step helps you avoid problems caused by moisture changes in the room.
When you decide which direction to install vinyl plank flooring, remember that a strong and level subfloor supports your choice. A well-prepared subfloor makes your flooring installation easier and helps your planks lock together smoothly. You get a floor that looks great and lasts longer.
Which Direction to Lay Vinyl Plank Flooring in Every Room
Living Rooms
When you decide which direction to lay vinyl plank flooring in your living room, you shape how the space feels and functions. Most homeowners choose to run planks along the longest wall. This method makes the room look bigger and reduces the number of cuts you need. You save time and material. If your living room has large windows, align the planks with the direction of natural light. This approach lets sunlight follow the seams, creating a smooth and inviting look. You can also direct planks toward a fireplace or a unique feature. This draws attention and adds style to your decor.
- Running planks along the longest wall increases the sense of space.
- Aligning with natural light highlights the floor’s grain and color.
- Directing planks toward focal points enhances your room’s aesthetics.
Tip: Dry-lay a few planks before you start. This helps you see how different directions affect your living room’s decor.
Bedrooms
Bedrooms feel more comfortable when you choose the right flooring direction. If your bedroom is long and narrow, lay vinyl plank flooring along the longest wall. This makes the room look larger. For a wider bedroom, lay planks across the width. This creates a cozy and balanced feel. Diagonal layouts add energy and hide small imperfections in the floor. You can also match the plank direction with the main light source to boost visual flow and comfort.
| Layout Style | Effect on Bedroom | Best For |
|---|---|---|
| Lengthwise | Makes room look longer | Narrow bedrooms |
| Widthwise | Adds width, feels cozy | Wide bedrooms |
| Diagonal | Adds energy, hides flaws | Square or small rooms |
Bedrooms benefit from flooring that guides the eye and supports restful decor. Consistent direction with nearby rooms creates a smooth transition and a unified look.
Kitchens
Kitchens often connect to other rooms, so you should think about flow and cleaning. Lay vinyl plank flooring parallel to the main work area or the longest wall. This makes the kitchen look organized and easy to clean. If your kitchen has a lot of natural light, follow the light’s direction to make the space feel open. You can also use patterned layouts, like herringbone, for a bold decor statement. Always check the manufacturer’s instructions for the best results.
- Parallel layouts make kitchens look neat and easy to maintain.
- Patterned planks add style but may require more planning.
- Consistent direction with adjoining rooms keeps your home feeling connected.
Note: There are no strict rules for which direction to lay vinyl plank flooring in each room. Practical advice and your own decor style guide the best choice.
Hallways and Entryways
Hallways and entryways set the first impression for your home. You want these spaces to feel open and welcoming. When you decide which direction to lay vinyl plank flooring, look at the length of the hallway or entry. Laying planks parallel to the longest wall helps the space look longer and less crowded. This method also makes cleaning easier because dirt and dust follow the plank lines.
You should also think about how people move through these areas. Most people walk straight from one end to the other. Placing the planks in the same direction as the main path keeps the floor looking neat and reduces wear. If your hallway connects to other rooms, try to match the plank direction for a smooth transition.
Tip: Stand at the entrance and imagine the path people take. Lay the planks in that direction for the best effect.
Here is a quick guide for hallways and entryways:
| Space Type | Best Plank Direction | Why It Works |
|---|---|---|
| Long Hallway | Parallel to hallway length | Makes space look longer |
| Entryway | Follows main traffic path | Looks organized and clean |
| Connecting Rooms | Match adjoining room layout | Creates visual flow |
Bathrooms
Bathrooms often have unique shapes and lighting. When you choose which direction to lay vinyl plank flooring, look at the longest wall and the main light source. Experts suggest laying planks parallel to the longest wall or floor joists. This helps the room feel larger and supports the floor’s strength. If your bathroom has a window, align the planks with the light. This highlights the texture of the vinyl and makes the space feel brighter.
Some bathrooms have odd shapes or angles. In these cases, a diagonal layout can soften sharp corners and add style. You can also match the plank direction with nearby rooms for a unified look. Spatial and lighting factors matter most in bathrooms, even though there are no formal studies on this topic. Practical experience shows that these choices improve both appearance and function.
- Lay planks parallel to the longest wall for a bigger look.
- Align with light sources to highlight the floor’s design.
- Use diagonal layouts for irregular spaces.
Note: Always check for moisture before installing vinyl plank flooring in bathrooms. A dry, level subfloor keeps your floor safe and long-lasting.
Best Direction to Lay Vinyl Plank Flooring for Special Patterns
Diagonal Layouts
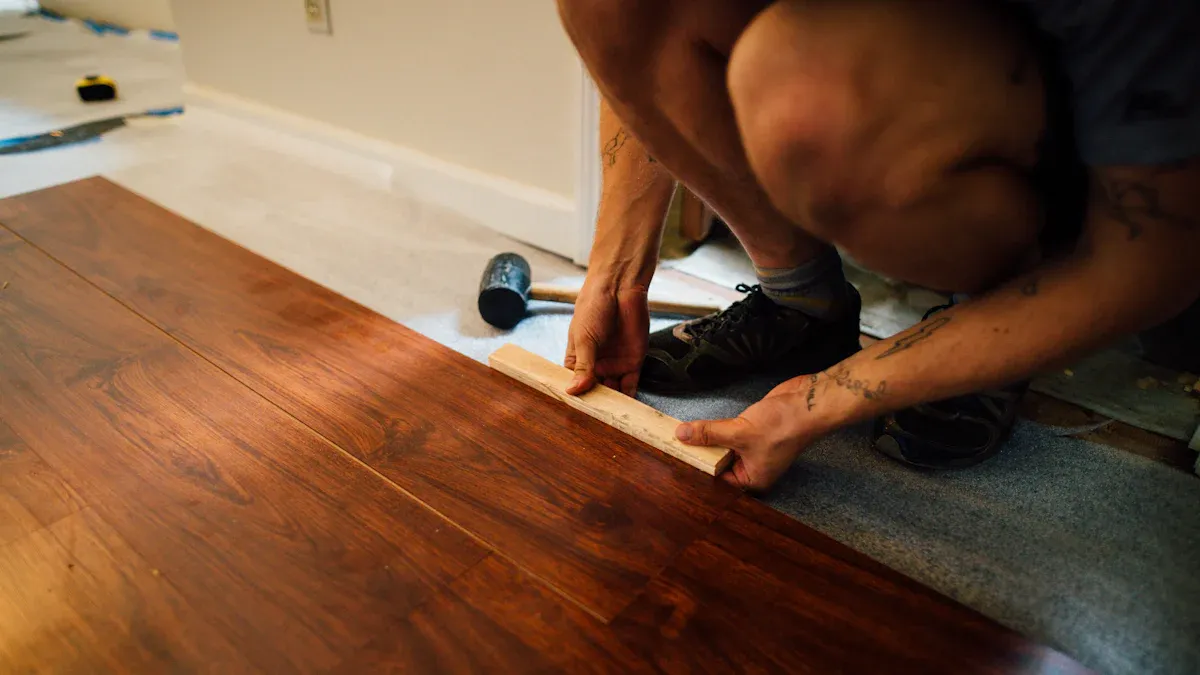
Diagonal layouts can transform a plain room into a lively space. When you wonder which direction to lay vinyl plank flooring for a bold look, try placing the planks at a 45-degree angle to the walls. This method draws your eyes outward, making small rooms feel bigger and more open. You often see this effect in hallways or bathrooms, where the diagonal lines create movement and soften sharp corners. The best direction to lay for a diagonal pattern depends on the room’s shape and the main light source. Diagonal layouts guide your eyes across the floor, helping you notice the whole space instead of just the walls.
Tip: Diagonal patterns need more material because of extra cuts, but the dramatic effect can make the extra effort worth it.
Herringbone and Chevron
Herringbone and chevron patterns add energy and style to any room. If you want to know the best direction to lay these patterns, start by looking at the longest wall or the main light source. Herringbone creates a zigzag effect that makes rooms feel longer and more dynamic. Chevron patterns offer a modern twist and work well in creative spaces. Both patterns help guide movement and add structure, so your room never feels dull. You can use these designs in high-traffic areas because they are durable and keep their shape. The best direction to lay herringbone or chevron is usually along the main axis of the room, which helps the pattern stand out and makes the space feel balanced.
- Herringbone brings elegance and works well in offices or living rooms.
- Chevron adds a modern touch and fits creative spaces.
- Both patterns help divide large rooms into zones.
Parquet and Other Patterns
Parquet flooring uses repeated geometric shapes, like checkerboards or basketweave, to add sophistication. When you decide which direction to lay vinyl plank flooring in a parquet pattern, focus on the room’s main features. A well-installed parquet floor can make your space feel unified and stylish. Complex patterns like parquet, chevron, or herringbone often need professional installation to look seamless. The best direction to lay these patterns depends on your room’s shape and the effect you want. Basketweave patterns can make rooms look larger, while custom touches like medallions or special borders tie the whole design together.
- Use a dominant color to anchor your design.
- Limit bold patterns to about 30% of the space for balance.
- Odd numbers of patterns create visual interest and avoid symmetry.
Note: Always step back and look at your pattern from different angles. This helps you see how the design changes with distance and light.
Common Mistakes When You Lay Vinyl Plank Flooring
Ignoring Room Proportions
You might feel eager to start laying your vinyl plank flooring, but skipping a careful look at your room’s proportions can lead to disappointment. If you ignore the shape and size of your space, the floor may look awkward or cramped. For example, laying planks across a narrow room can make it feel even tighter. Placing them the wrong way in a large room can break up the space and ruin the flow. Always match the plank direction to the longest wall or main feature. This simple step helps your room look balanced and inviting.
Tip: Stand in the doorway and imagine how the floor will look from different angles. This helps you choose the best direction for your planks.
Overlooking Light Direction
Light changes how your floor looks every day. If you do not consider where the sunlight enters, seams and joints may stand out more. Laying planks against the main light source can highlight every small gap or uneven edge. When you follow the direction of the light, the floor appears smoother and more natural. Many homeowners forget this detail and end up with a floor that looks patchy or uneven. You want your floor to shine, not show off its flaws.
One of the most common mistakes during installation is failing to prepare and level the subfloor. This can cause uneven surfaces and costly repairs later. Water resistance also matters. Some types of vinyl, like loose lay, are not fully waterproof. Gaps between planks can let water seep through and damage the subfloor. Even waterproof vinyl needs proper sealing at seams and edges to prevent water problems.
Not Considering Transitions Between Rooms
Transitions between rooms often get overlooked. If you do not plan for these areas, you may see gaps or uneven boards where rooms meet. Problems like squeaky floors, moisture issues, and visible defects often start at transitions. You need to leave enough expansion gaps, especially around doorways. Without these gaps, your floor can buckle or separate over time.
- Insufficient expansion gaps can cause gaps between floorboards.
- Improper spacing at transitions leads to uneven floors and creaky sounds.
- Moisture problems often begin at poorly planned transitions.
- Fixing these mistakes may require removing and reinstalling boards.
Remember: Careful planning at transitions keeps your floors looking smooth and lasting longer.
Quick Checklist for Choosing Which Direction to Lay Vinyl Plank Flooring
Step-by-Step Guide
You can make your vinyl plank flooring project easier by following a clear checklist. This step-by-step guide helps you avoid mistakes and ensures a beautiful result.
-
Clear the Room
Move all furniture out. Remove old flooring, thresholds, and baseboards. This gives you a clean space to work. -
Inspect and Prepare the Subfloor
Check the subfloor for cracks, holes, or bumps. Fill any gaps with patching compound. Make sure the surface is smooth and dry. A level subfloor prevents future problems. -
Measure and Plan
Measure your room. Add about 10% extra material for trimming and mistakes. Mark the center line and decide on your plank layout. Planning helps you with choosing the best direction for your space. -
Check Lighting and Room Shape
Stand in the doorway and look at the main light source. Lay planks parallel to the longest wall or toward the light. This makes your room look bigger and brighter. -
Allow for Expansion Gaps
Leave a small gap around the edges of the room. This lets the floor expand and contract with temperature changes. -
Follow Manufacturer Instructions
Read the product guide for your vinyl planks. Some brands have special steps or tools. Always follow these directions for the best results. -
Install the Planks
Start at your chosen wall. Lay the first plank carefully. Stagger the seams in each row by at least 8 inches. Use a floor roller to press the planks down firmly. -
Finish with Moldings and Transitions
Install quarter rounds and transition strips. These protect the edges and give your floor a finished look.
Tip: Keep your room between 65-85°F and humidity between 40-50% during and after installation. This helps your floor last longer.
Choosing the best direction for your vinyl plank flooring depends on your room’s shape, light, and flow. Use this checklist to guide your decisions and create a space you love.
Choosing the right direction for your vinyl plank flooring shapes your room’s look and feel. You should always think about your room’s shape, the way light enters, and how people move through the space. Your personal style matters, too. Use the checklist to guide your project.
Tip: Trust your instincts. If a layout feels right to you, it will likely look great in your home.
- Consider room shape and size
- Follow the main light source
- Plan for smooth flow between spaces
FAQ
What tools do you need to install vinyl plank flooring?
You need a tape measure, utility knife, straight edge, spacers, tapping block, pull bar, and a rubber mallet. A floor roller helps press planks down. Always check the manufacturer’s guide for any special tools.
Can you lay vinyl plank flooring over existing floors?
Yes, you can lay vinyl planks over many types of floors, like tile or hardwood. The surface must be clean, dry, and level. Remove carpet and fix any bumps or dips before you start.
How do you keep vinyl plank flooring from shifting?
Use spacers along the walls to hold planks in place during installation. After you finish, install baseboards or quarter rounds. These hold the edges and prevent movement.
Do you need underlayment for vinyl plank flooring?
Some vinyl planks have built-in underlayment. If yours do not, use a thin underlayment for extra comfort and sound reduction. Always follow the product instructions for best results.
How soon can you walk on new vinyl plank flooring?
You can walk on most vinyl plank floors right after installation. If you use glue-down planks, wait 24 hours for the adhesive to set. Always check your product’s instructions.
Tip: Always read the manufacturer’s guide before you start your project. This helps you avoid mistakes and get the best results.




