
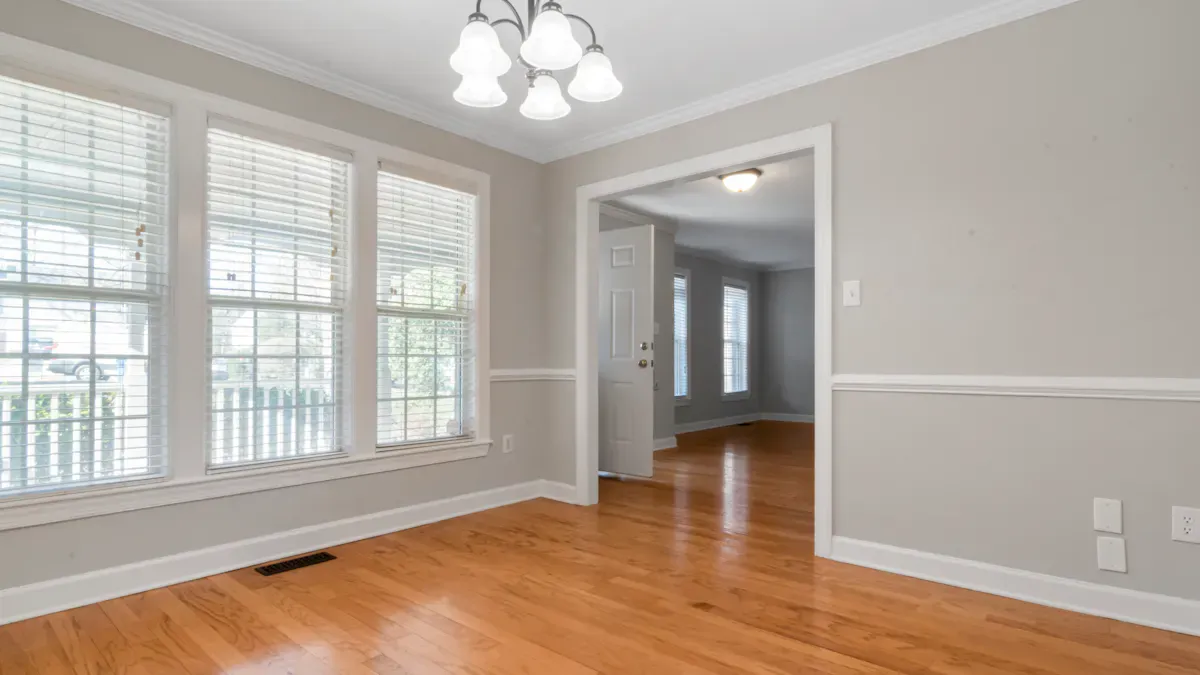
When you select and install the right trim for your click tile flooring, you create a smooth, polished look throughout your space. Matching trim and transitions help your floors look consistent and high-quality. Many buyers notice these details when they walk through a home.
- Clean, even transitions show careful craftsmanship.
- Mismatched or poorly installed pieces can make rooms feel less valuable.
- Consistent color and style attract more positive attention from visitors.
With the right tools and steps, you can achieve a professional finish that lasts.
Why Trim and Transitions Matter for Click Tile Flooring
Enhancing Appearance and Cohesion
Trim and transitions give your floors a finished look. You can use them to hide small gaps or uneven edges, which helps your space look neat and tidy. When you install trim, you create a seamless flow between rooms. This makes your home feel more connected and stylish. Many decorative trim options let you match the color and style of your click tile flooring, so everything looks like it belongs together.
Tip: Consistent trim and transitions can make your flooring look more expensive and professional.
Here is a quick overview of how trim improves appearance:
| Benefit | Description |
|---|---|
| Conceal gaps and irregular edges | Helps to create a neat appearance by hiding imperfections. |
| Create a seamless flow | Facilitates a smooth transition between different flooring. |
| Add a polished, professional finish | Enhances the overall aesthetic of the flooring installation. |
Protecting Edges and Flooring Longevity
Trim does more than just improve looks. It protects the edges of your click tile flooring from damage. When you walk across the floor, the edges can chip or crack if left exposed. Trim acts as a barrier, keeping your flooring safe from daily wear and tear. It also covers cut edges, which helps prevent moisture from getting underneath the tiles. This protection extends the life of your floors and reduces the need for repairs.
You can see how trim helps in the table below:
| Evidence Description | Benefit |
|---|---|
| Transition trims act as protective barriers, shielding exposed edges from damage. | Protects tile edges from chipping, cracking, and wear due to foot traffic and impacts. |
| Covers cut tile edges, preventing moisture penetration. | Reduces risk of structural damage and extends the lifespan of the flooring installation. |
| Protects delicate materials like porcelain and glass tiles. | Enhances durability and reduces long-term maintenance costs. |
Creating Seamless Transition Between Flooring Types
Transitions help you connect different types of flooring, such as carpet to hard surface transitions or connecting hard surface floors. If you do not use the right transition, you might see uneven spots or even trip hazards. A good transition between flooring types keeps your home safe and makes each room flow into the next. You avoid awkward seams and mismatched colors, which can make your space look messy.
- Transitions bridge the gap between different flooring heights.
- They create a smooth, trip-free path from one room to another.
- Proper transitions keep your floors stable and looking great.
When you use the right trim and transitions, you make sure your click tile flooring lasts longer and looks its best.
Assessing Your Flooring Layout and Transition Points
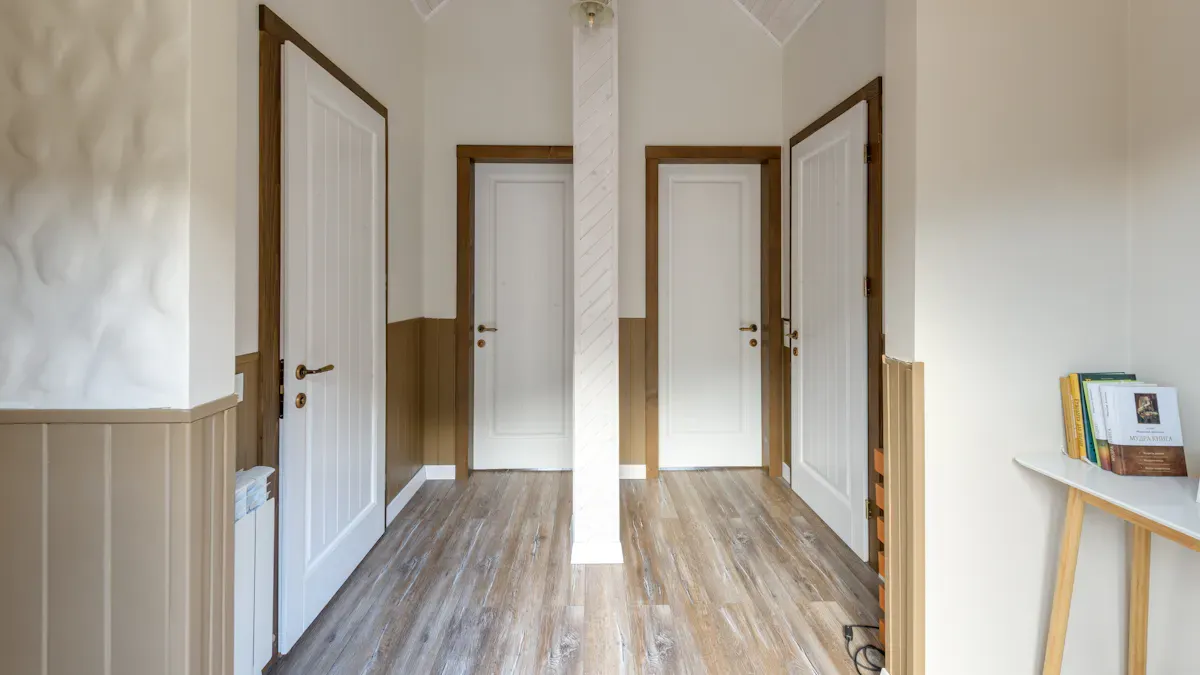
Identifying Transition Areas in Your Home
You need to spot where your flooring changes from one type to another. These spots are called transition areas. Doorways, hallways, and places where carpet meets tile often require special attention. You can use throw rugs to connect different flooring materials. Rugs help make the change look smooth and feel comfortable underfoot. Painting rooms with different colors also highlights transitions and adds style.
Tip: Look for natural start and stop points in your home. Furniture placement and room boundaries often show where transitions should go.
Transition strips play a key role. They connect flooring types and reduce tripping hazards. You can choose from 4-in-1 transition strips, carpet-to-vinyl strips, or wood strips that match your floor. These strips give your home a polished finish and keep your floors safe.
- Place rugs between transitions for comfort.
- Paint rooms different colors to enhance visual transitions.
- Follow natural flow points like doorways and furniture lines.
- Use transition strips to connect flooring types and prevent trips.
Measuring for Transitions and Trim
Accurate measurements help you achieve a seamless look. Start by removing any old transition strips carefully. Clean the area between flooring materials so your new trim lasts longer. Make sure the channel for the transition strip fits the new piece.
- Use a measuring tape to find the length of the transition area. Measure from wall to wall or between flooring types.
- Mark the transition strip at the measured length. Cut it with a miter saw or hand saw for a precise fit.
- Dry-fit the strip before installing. Place it in position to check for gaps or uneven edges.
- Install the strip according to the manufacturer’s instructions. Use adhesive or fasteners as needed.
Note: Clean surfaces and accurate measurements help your trim stay secure and look professional.
You can use a table to organize your measurements:
| Step | Action |
|---|---|
| Measure Length | Use tape to measure transition area |
| Mark and Cut | Mark strip and cut with saw |
| Dry-Fit | Place strip to check fit |
| Install | Secure strip with adhesive or fasteners |
Careful planning and measuring make your click tile flooring look polished and last longer.
Types of Transitions and Trim for Click Tile Flooring
When you install click tile flooring, you need the right transition strips and trim to connect different areas and finish the edges. Each type of transition serves a special purpose. You can use them to create a smooth flow from one room to another and protect your floors.
T-Molding for Level Transitions
T-molding works best when you have two floors of the same height. You often see this in places where laminate meets tile or where two rooms have click tile flooring. T-molding creates a clean transition and protects the edges of your flooring. You also lower the risk of tripping because the surface stays even.
- T-molding connects flat or level flooring.
- It gives a neat look and covers the gap between floors.
- You can use T-molding for a safe transition between flooring types.
Reducer Strips for Height Differences
Sometimes, you need to connect floors with different heights. Reducer strips help you do this. They slope gently from a higher floor, like tile, down to a lower floor, such as vinyl. This makes walking from one surface to another safe and comfortable.
- Reducer strips bridge the gap between different thicknesses.
- They prevent tripping hazards in your home.
- You can use reducer strips in doorways or where tile meets thinner flooring.
Using transition strips like reducers and T-molding helps your floors last longer and look better. These strips also allow for expansion and contraction, which keeps your flooring stable over time.
Quarter Round and Baseboards for Perimeter Finishing
Quarter round and baseboards finish the edges of your room. They cover the expansion gap between the floor and the wall. You get a polished look, and your floor appears built-in.
- Quarter round hides small gaps and wall imperfections.
- Baseboards add style and protect the bottom of your walls.
- Both options help your flooring look complete and upscale.
The quarter round or base molding plays a key role in covering the expansion gap around your flooring. Some products even offer waterproofing solutions that go under the base molding for extra protection.
When you choose the right transition strips and trim, you make your click tile flooring safer, more attractive, and longer-lasting. Using transition strips ensures a smooth transition between flooring types and keeps your home looking its best.
End Caps and Stair Nosing for Special Areas
When you install click tile flooring, you often find areas that need special attention. End caps and stair nosing help you finish these spots with a safe and polished look. You use end caps where your flooring meets a door, fireplace, or sliding glass door. These pieces cover the exposed edge and give your floor a clean stop.
End caps work best when your click tile flooring ends at a vertical surface. You can also use them where the floor meets a raised edge. This keeps the edge from chipping or wearing down. End caps come in many styles and colors, so you can match them to your floor for a seamless finish.
Stair nosing is important for steps. It covers the edge of each stair and makes the step safer. Stair nosing adds grip, which helps prevent slips and falls. It also protects the edge of your flooring from damage. You can find stair nosing that matches your click tile flooring, so your stairs look just as good as the rest of your home.
Tip: Always measure your stairs and end points carefully before you buy end caps or stair nosing. This helps you get the right fit and avoid mistakes.
You should use transition strips in these special areas to connect your flooring to other surfaces. Transition strips help you move smoothly from one type of flooring to another, even at tricky spots like stairs or doorways. They also protect the edges and keep your floors looking new.
Here is a quick checklist for special areas:
- Use end caps at doorways, fireplaces, or sliding doors.
- Install stair nosing on each step for safety and durability.
- Add transition strips where your flooring meets other surfaces.
When you pay attention to these details, you create a safe, beautiful, and long-lasting floor.
Choosing the Right Transition for Your Floors with skspcflooring
When you start choosing the right transition for your floors, you need to think about how each option will perform in your space. You want your click tile flooring to look great and last a long time. SK-Floor offers many solutions that help you achieve a seamless and durable finish.
Material Options and Durability
You can select from several materials for your transition strips and trim. Each material has unique strengths. Some work better in busy areas, while others suit quiet rooms. The table below shows how different materials compare in durability:
| Material | Durability Characteristics |
|---|---|
| Aluminum | Highly durable, resistant to moisture and wear. |
| Wood | Aesthetic but can be less durable in humid areas. |
| Vinyl | Moisture-resistant, suitable for spill-prone areas. |
| Rubber | Durable and flexible, ideal for high-traffic areas. |
| Laminate | Good durability but may not be as moisture-resistant. |
Aluminum transition strips resist moisture and wear. You can use them in entryways or kitchens. Wood looks warm and natural, but it may not last as long in humid places. Vinyl works well in bathrooms and laundry rooms because it resists spills. Rubber is flexible and strong, so it fits high-traffic spots like hallways. Laminate offers good durability, but it does not handle water as well as vinyl or aluminum.
In busy spaces, you need transition strips that stand up to heavy use. Johnsonite Wheeled Traffic Transitions work well in high-traffic areas. They create a smooth path between surfaces and meet ADA standards. Armstrong trims and moldings resist stains and heavy rolling loads. They recover from indentations, making them a smart choice for places with lots of movement.
Tip: Choose transition materials based on where you plan to install them. High-traffic areas need strong, moisture-resistant options.
Color and Finish Matching to Click Tile Flooring
You want your transition strips to match the color and finish of your click tile flooring. This helps your floors look unified and stylish. You can use several methods to achieve a good match:
- Use a border to separate materials. Borders create a clean edge and enhance visual appeal.
- Opt for a seamless transition when materials contrast in color or texture. Let them meet directly for a modern look.
- Implement a transition border at angles. This keeps the visual definition clear between materials.
- Incorporate decorative profiles or wide strips. These add interest and serve both functional and aesthetic purposes.
SK-Floor offers a wide range of finishes and colors. You can find transition strips that blend with your flooring or stand out as a design feature. When you match the finish, your floors look more professional and polished.
Note: Always compare samples in natural light. This helps you see how the colors and finishes will look in your home.
Profile, Height, and Compatibility Considerations
You need to select the right profile and height for your transition strips. This ensures a safe and smooth connection between surfaces. Follow these steps to make the best choice:
- Profile Selection: Choose the profile type based on the height difference between your floors. T-mold works for equal heights. Reducer strips fit floors with different levels. Threshold and stair nose profiles suit special areas.
- Consider Material Compatibility: Each flooring material has unique thickness and behavior. Select transition strips that match the specific types of flooring you are joining.
- Check Material Types: Laminate and hardwood expand and contract. Tile stays rigid. Make sure your transition strip fits both materials.
- Measure Height Difference: Measure both sides of the transition area. Some strips work for equal heights, while others bridge gaps.
SK-Floor transition strips are designed for compatibility. You can find options that fit your click tile flooring and other surfaces. Accurate measurements and careful selection help you avoid gaps and uneven edges.
Tip: Always dry-fit your transition strips before final installation. This helps you check for proper height and fit.
When you pay attention to material, color, profile, and compatibility, you create a seamless transition that protects your floors and enhances their look. SK-Floor provides durable and stylish solutions for every space.
Tools and Materials Needed for Installing Transitions
Before you start installing trim and transitions for your click tile flooring, you need the right tools and materials. Having the proper equipment helps you measure, cut, and secure each piece with accuracy. This step ensures your finished floor looks neat and lasts for years.
Essential Tools for Measuring and Cutting
You want to make sure every cut fits perfectly. The right tools help you measure and cut trim or transition strips to the exact size you need. Here are some tools you should have on hand:
- Tape Measure (25-foot): Use this to measure long distances across rooms. A magnetic tip makes it easier to hook onto metal surfaces.
- Chalk Line: Snap straight lines on the floor to guide your cuts and placement.
- Speed Square: Mark straight and square lines for accurate cuts.
- Combination Square: Check corners and measure small distances.
- Miter Saw: Make straight or angled cuts for a precise fit.
- Jigsaw: Cut curves or shapes around obstacles like door frames.
- Oscillating Multi-Tool: Reach tight spots and make undercuts.
- Circular Saw: Rip long planks or trim pieces.
- Manual Tile Cutter: Score and snap smaller tiles.
- Wet Tile Saw: Cut large or thick tiles with clean edges.
- Tile Nippers: Trim small notches or curves in tile.
- Angle Grinder with Diamond Blade: Shape tiles for custom fits.
Tip: Always double-check your measurements before making any cuts. This helps you avoid mistakes and wasted materials.
Recommended Materials for Securing Trim
Choosing the right material for your trim and transitions makes a big difference. Each material has unique strengths and works best in certain areas. The table below shows common options and where you might use them:
| Material | Characteristics | Applications |
|---|---|---|
| Ceramic | Affordable, versatile, compatible with ceramic and porcelain tiles. | Residential bathrooms, kitchens, light commercial spaces. |
| Porcelain | Superior strength, minimal water absorption, mimics natural finishes. | Wet environments, high-traffic commercial spaces. |
| Vinyl | Lightweight, flexible, cost-effective, easy to install. | Residential settings, low-traffic commercial areas. |
| Aluminum | Durable, corrosion-resistant, sleek appearance. | Moisture-prone areas like bathrooms and kitchens. |
| Brass | Premium finish, adds elegance, develops a patina over time. | Upscale residential projects, boutique hotels. |
You can match the material to your flooring and the room’s needs. For example, aluminum works well in bathrooms because it resists moisture. Vinyl is easy to install and fits most home projects. Brass adds a touch of luxury to special spaces.
Note: Select materials that match both your flooring and the function of each room for the best results.
Step-by-Step Guide to Installing Trim and Transitions
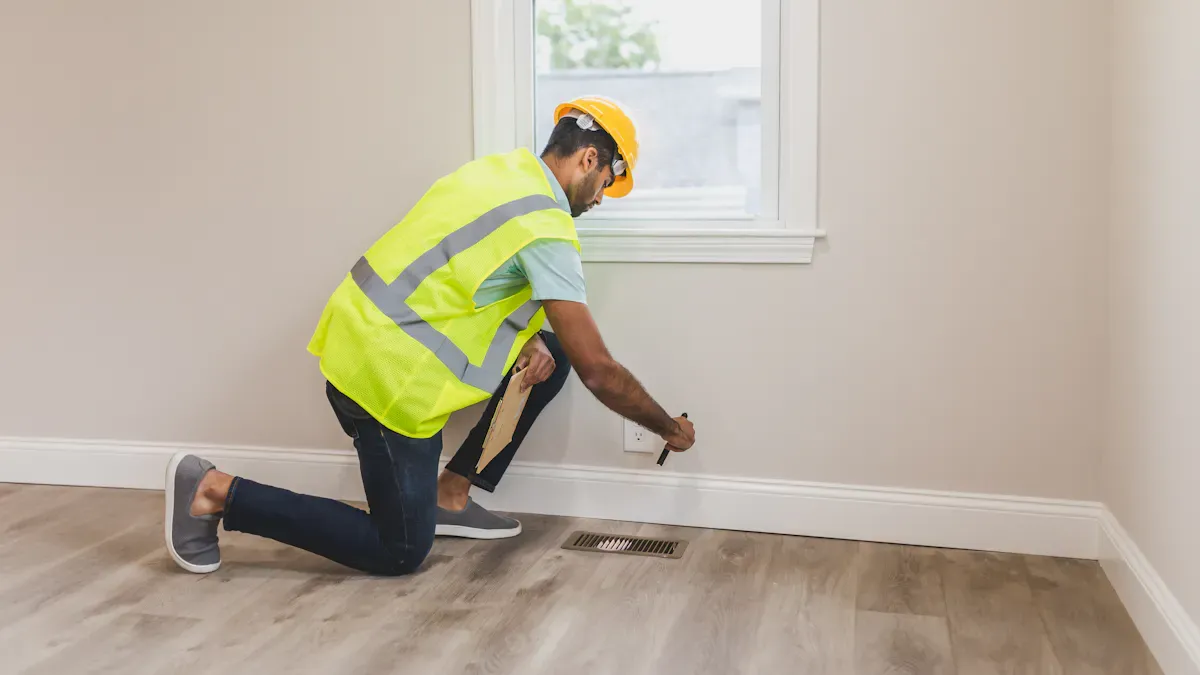
Preparing the Area and Gathering Supplies
You need to start with a clean and smooth surface before you begin installing flooring trim. Make sure the subfloor is flat and dry. Sweep away dust and debris. If you see any bumps or dips, fix them so your trim sits flush.
Gather all the tools and materials you need. You should have a tape measure, saws, adhesive, and fasteners ready. Check your list and make sure nothing is missing. Planning ahead saves time and prevents mistakes.
You can follow these steps to prepare your area:
- Inspect the subfloor. Look for high spots or low areas and fix them.
- Clean the surface. Remove dirt and moisture.
- Collect your tools. Include saws, tape measure, adhesive, and fasteners.
- Dry-fit your transition pieces. Place them where you plan to install them and check the height.
- Plan your layout. Make sure your transitions will create a smooth path between rooms.
Tip: Careful preparation helps you achieve flush transitions for a clean look.
Measuring and Cutting Trim Accurately
Accurate measurements make your transition pieces fit perfectly. Use a tape measure to find the length of each area. Mark your trim with a pencil. Double-check your measurements before you cut.
Choose the right saw for your material. A miter saw works well for straight cuts. If you need to cut curves, use a jigsaw. Always wear safety goggles when you cut trim.
You can use a table to organize your steps:
| Step | Action |
|---|---|
| Measure | Use tape measure for length |
| Mark | Draw cut lines with pencil |
| Cut | Use saw for straight or curved cuts |
| Dry-Fit | Place trim to check fit |
Try to dry-fit each piece before you secure it. This technique helps you spot any gaps or uneven edges. If you see a problem, trim a little more until the piece fits snugly.
Note: Double-check your measurements to avoid wasting materials.
Fitting and Securing Transitions for a Seamless Look
You want your transition pieces to sit tight and look smooth. Place each piece in its spot and check for gaps. If the fit is good, apply adhesive or use fasteners to secure the trim. Press down firmly so the transition stays in place.
For doorways and room boundaries, use transition strips that match the height of your floors. If you need to bridge a gap, choose a reducer strip. For equal heights, use T-molding. End caps work well at edges near doors or fireplaces.
Stair nosing helps you finish steps safely. Place the nosing on the edge of each stair and secure it with adhesive or screws. Make sure the nosing sits flush with the tile.
You can use transitions to connect different flooring types. Try to match the color and finish to your click tile flooring. This creates a seamless look and makes your space feel unified.
Tip: Dry-fit all transition pieces before final installation. This step helps you achieve a professional finish.
If you follow these steps, you can install transitions that protect your floors and enhance their appearance. Careful fitting and securing make your flooring last longer and look polished.
Tips for a Professional Finish
You want your click tile flooring to stand out and impress anyone who enters your space. A professional finish makes your project look complete and well-crafted. Here are some tips to help you achieve the best results:
-
Plan Each Step
Start with a clear plan. Lay out all your trim and transitions before you begin. This helps you see how each piece will fit and ensures a smooth flow from room to room. -
Use Consistent Materials
Choose trim and transition pieces that match your flooring in both color and texture. This creates a unified look and avoids awkward contrasts. -
Cut with Precision
Measure twice before you cut. Use the right tools for each material. A clean cut helps your trim fit tightly against the wall or other flooring. -
Dry-Fit Before Securing
Place each piece in its spot before you use glue or nails. Check for gaps or uneven edges. Adjust as needed to get a perfect fit. -
Secure Properly
Use the recommended adhesive or fasteners for your trim. Press down firmly so each piece stays in place. Wipe away any extra glue right away. -
Check for Level and Alignment
Use a level to make sure your trim sits flat. Align each piece with the edge of your flooring. This step keeps your transitions safe and neat. -
Fill Small Gaps
If you see tiny gaps, use color-matched caulk or filler. This makes the transition look seamless and keeps dirt out. -
Clean Up as You Go
Wipe away dust, glue, or fingerprints right after you finish each section. Clean trim and transitions help your floor look polished.
Tip: Take your time with each step. Rushing can lead to mistakes that are hard to fix later.
Here is a quick checklist to help you remember each step:
| Step | What to Do |
|---|---|
| Plan | Lay out trim and transitions |
| Match | Choose consistent materials |
| Cut | Measure and cut carefully |
| Dry-Fit | Test fit before securing |
| Secure | Use proper adhesive or fasteners |
| Align | Check level and alignment |
| Fill | Seal small gaps |
| Clean | Wipe away dust and glue |
You can create a professional finish by following these tips. Your flooring will have a smooth flow and a high-quality look that lasts for years.
Common Mistakes and Troubleshooting Transitions
Avoiding Gaps and Uneven Edges
You want your click tile flooring to look smooth and professional. Gaps and uneven edges can ruin the appearance and cause problems later. To prevent these issues, follow these steps:
- Inspect the subfloor before installing flooring. Make sure it is clean, smooth, and free of debris.
- Level any tile joints that are wider than 5-6 mm. Use filler materials to create an even surface.
- Start laying the first plank in the top left corner. Place it snug against spacers to keep expansion gaps consistent.
- Fit each plank tightly together. If you see gaps, check the alignment and remove any debris that might block the locking system.
- Use spacers throughout the installation to maintain even gaps.
Tip: Consistent gaps and tight joints help your transition strips fit perfectly and keep your floor looking neat.
Fixing Loose or Misaligned Trim
Loose or misaligned trim can make your transition look unfinished. You can fix this by checking each piece before securing it. Dry-fit the trim to see if it sits flat and lines up with the flooring. If it feels loose, add more adhesive or use longer fasteners. For misaligned pieces, remove them and adjust the placement. Always press down firmly when you secure the trim. This step helps your transition strips stay in place and prevents movement over time.
Dealing with Difficult Transition Areas
Some areas, like doorways or where two different floors meet, can be tricky. You can use these strategies to handle difficult spots:
- Choose neutral transition strips to blend different flooring styles and colors.
- Place rugs between transitions to connect flooring materials and add comfort.
- Change wall paint colors to complement the transition between flooring types.
- Follow natural start and stop points, such as doorways or furniture lines, to decide where to place each transition.
- Use transition strips to create safe gradients and protect flooring edges from wear.
A proper transition in these areas keeps your home safe and your floors looking great. You also help your flooring last longer by protecting the edges and allowing for expansion and contraction.
You can achieve a seamless finish for your click tile flooring by following these expert steps:
- Remove old transition strips with care.
- Clean the area between floor materials.
- Check the channel size and secure the transition strip.
- Use the right adhesive and wipe away excess.
Remember these checklist items:
- Plan transitions for doorways and openings.
- Research underlayment for your flooring type.
- Prepare the subfloor by cleaning and leveling.
Take your time, double-check measurements, and explore skspcflooring for quality flooring solutions.
FAQ
What type of trim works best for click tile flooring?
You should use T-molding for level transitions, reducer strips for height changes, and quarter round or baseboards for edges. End caps and stair nosing help finish special areas. Always match the trim to your flooring for the best look.
How do I match trim color to my click tile flooring?
Compare samples in natural light. Choose trim from the same manufacturer or select a color that closely matches your flooring. If you want a bold look, pick a contrasting color for a decorative effect.
Can I install trim and transitions myself?
Yes, you can install trim and transitions yourself. Gather the right tools, measure carefully, and follow step-by-step instructions. Dry-fit each piece before securing it. Take your time for a professional finish.
What should I do if my trim does not fit perfectly?
Tip: If your trim does not fit, re-measure the area and trim small amounts until it fits snugly. Use color-matched caulk to fill tiny gaps. Always dry-fit before final installation.
How do I maintain trim and transitions on click tile flooring?
Clean trim and transitions with a damp cloth. Avoid harsh chemicals. Check for loose pieces and secure them if needed. Regular cleaning keeps your flooring looking fresh and extends its life.




