
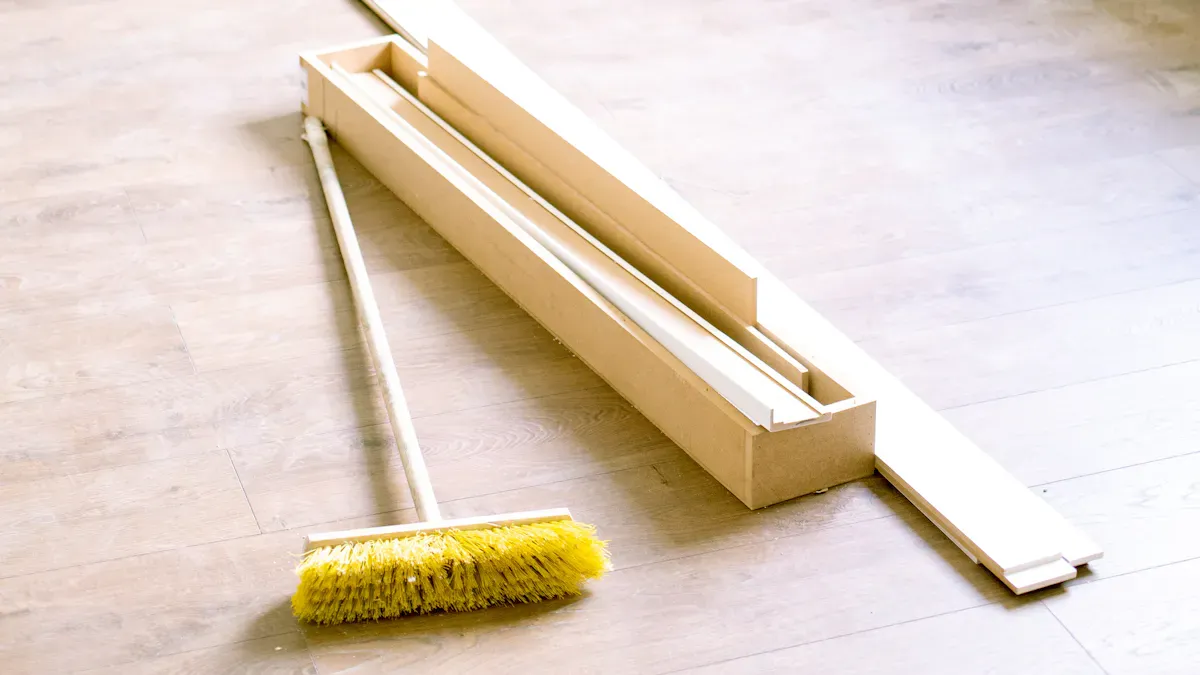
You can start laying vinyl flooring with confidence when you use the right tools and follow clear steps. Many people make mistakes during installation, such as skipping subfloor preparation or not allowing planks to acclimate. Other errors include incorrect measurements and neglecting expansion gaps. Learning how to lay click lock vinyl flooring helps you avoid these problems and achieve a professional finish.
Tools and Materials for Laying Vinyl Flooring
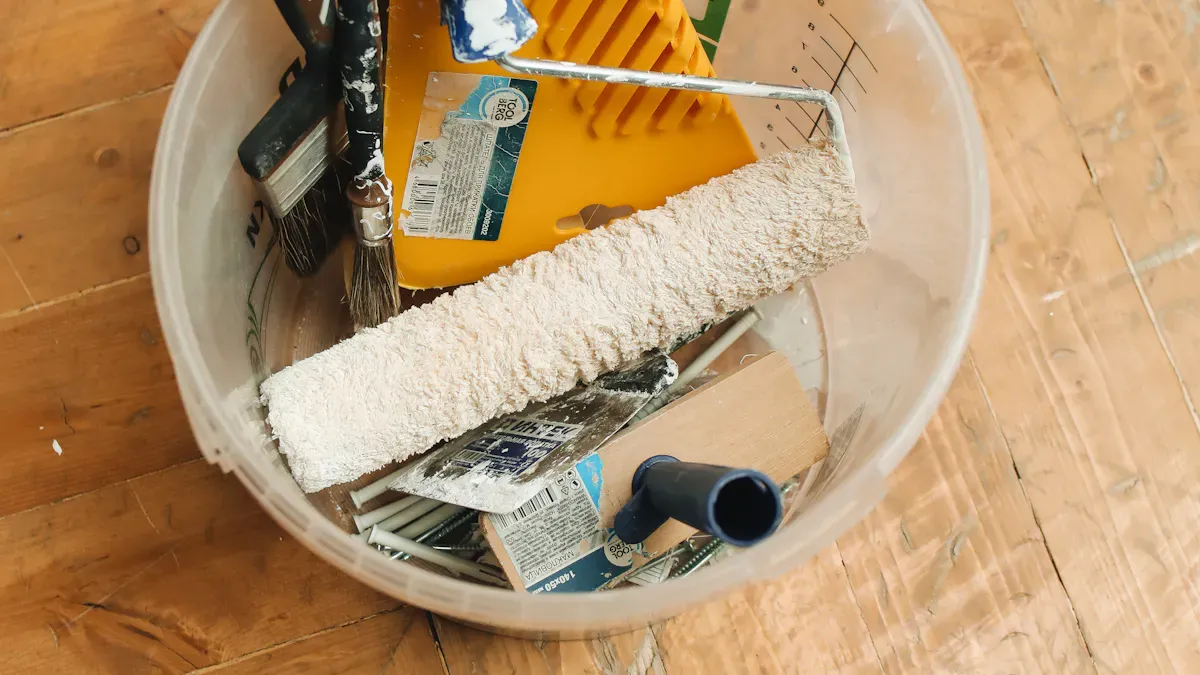
Essential Tools for Click Lock Flooring Installation
You need the right tools to install vinyl plank flooring smoothly. These tools help you measure, cut, and fit each plank with precision. Here is a list of essential tools:
- Tape measure and pencil for marking measurements
- Utility knife for cutting planks
- Miter saw for trimming edges
- Spacers to keep expansion gaps along walls
- Rubber mallet for locking planks together
- Straightedge for guiding cuts
- Pry bar for removing old flooring or adjusting planks
- Carpenter’s square for checking corners
- Safety glasses to protect your eyes
- Broom and vacuum for cleaning the subfloor
- Tapping block for securing planks without damage
Tip: Always wear safety glasses when cutting planks. Clean the subfloor before you start to prevent bumps and uneven spots.
Types of Moisture Barriers for Vinyl Flooring
Moisture barriers protect your flooring from water damage. You should choose the right barrier based on your subfloor and climate. Here are common types:
- 6-mil or thicker polyethylene vapor barrier for concrete subfloors
- High-density underlayment with attached moisture barrier for floating floors
- Vapor barrier underlayment for basements or areas with high humidity
You must tape seams to create a continuous barrier. This step keeps moisture from seeping through and damaging your floor.
Note: Vapor barrier underlayment blocks moisture but does not add much comfort or noise reduction.
Choosing Quality Click Lock Vinyl Flooring from skspcflooring
When you select click lock vinyl flooring from skspcflooring, you get products that meet high standards. Look for these quality indicators:
- Wear layer clarity and thickness between 0.3 mm and 0.7 mm for strong protection
- Dense, uniform core to prevent cracking and deformation
- Reliable manufacturer with certifications like ISO9001, ISO14001, EN, ASTM, and GB
SK-Floor offers durable, eco-friendly flooring with modern designs. You can trust their products to last and look great in your space.
Preparing the Subfloor for Click Lock Vinyl Flooring
Cleaning and Drying the Subfloor
You must start with a clean and dry subfloor to get the best results. Remove old flooring materials like carpet, nails, or staples. Sweep the area to clear away dust and debris. Mop the surface to pick up any remaining dirt. Use a vacuum to make sure all particles are gone. If you see oily spots, use a degreaser to clean them. Always check that the subfloor is completely dry before you move to the next step. Moisture can cause problems later, so take your time here.
Tip: A clean subfloor helps your vinyl planks lock together tightly and last longer.
Leveling and Smoothing the Surface
A flat surface is important for click lock vinyl flooring. Use a long straightedge or level to check for high or low spots. The floor should be flat within 3/16 inch over a 10-foot span or 1/8 inch over 6 feet. If you find high spots, sand them down. For low spots, use a self-leveling compound. Fill any cracks, holes, or imperfections. You can use tools like a sander, self-leveler, or underlayment to help with this process.
- Repair cracks and holes before you install flooring.
- Use a leveling compound for dips or uneven spots.
- Make sure the surface is smooth and ready for planks.
Checking for Moisture Issues
Moisture can damage your new floor if you do not check for it. Test the subfloor for moisture, especially if you have a concrete base. Moisture vapor emissions should not exceed 5 pounds per 1,000 square feet, and relative humidity should stay below 95%. If you find moisture, fix the problem before you continue. Remove any contaminants like paint, wax, or old adhesive. This step protects your floor and keeps it looking good for years.
| Requirement | Specification |
|---|---|
| Substrate condition | Structurally sound, dry, clean, flat, and smooth |
| Flatness tolerance | Flat within 3/16˝ in 10´ or 1/8˝ in 6´ |
| Moisture testing | ≤ 5lbs/1,000 ft², RH ≤ 95% |
| High spots | Level them |
| Contaminants | Remove all foreign matter |
Note: Careful subfloor preparation helps your click lock vinyl flooring perform at its best.
How to Lay a Moisture Barrier for Click Lock Flooring
Laying Out and Positioning the Moisture Barrier
You start by rolling out the vapor barrier across your clean and dry subfloor. Place the vapor barrier flat, making sure it covers the entire area where you plan to install click lock vinyl flooring. If you work with moisture barriers for concrete floors, you need to use a thicker vapor barrier, like a 6-mil polyethylene sheet. This protects your floor from water coming up through the concrete.
Check the manufacturer’s warranty before you select an underlayment. Some warranties require a specific type of vapor barrier or underlayment for moisture protection. You can ask a flooring specialist if you are unsure which vapor barrier works best for your space.
Tip: Lay the vapor barrier in the same direction as your vinyl planks. This makes installation easier and helps you avoid wrinkles or folds.
Overlapping Seams and Securing Edges
You must overlap the seams of the vapor barrier to keep moisture from seeping through. Place each sheet so it overlaps the next by at least 6 inches. This creates a strong shield against water. Smooth out the seams with your hands to remove air pockets.
Secure the edges of the vapor barrier along the walls. Use tape or adhesive to keep the barrier in place. Make sure the vapor barrier stays flat and does not bunch up. If you see gaps, adjust the sheets until you have full coverage.
Here is a simple checklist for overlapping and securing:
- Overlap each sheet by at least 6 inches
- Smooth out seams and remove air pockets
- Tape or secure edges along walls
- Adjust sheets for full coverage
Note: Overlapping seams and securing edges prevents water from reaching your vinyl flooring. This step is important for learning how to lay click lock vinyl flooring correctly.
Using Seam Tape for a Complete Barrier
You finish the moisture barrier installation by sealing all seams with seam tape. Use a high-quality tape made for vapor barrier applications. Press the tape firmly over each seam. Make sure the tape sticks well and covers the entire seam.
Seam tape creates a continuous vapor barrier. This stops moisture from passing through the seams. If you use a vapor barrier underlayment, check that the tape matches the material. Some underlayments come with built-in tape strips.
Tip: Consult with a flooring specialist to choose the best seam tape for your vapor barrier. This helps you meet warranty requirements and keeps your floor safe.
A complete vapor barrier protects your click lock vinyl flooring from water damage. You can now move on to the next step in how to lay click lock vinyl flooring.
Planning Your Click Lock Vinyl Flooring Layout
Measuring the Room and Calculating Materials
You need to measure your room carefully before you start laying click lock vinyl flooring. Grab a tape measure and record the length and width of each area. Multiply these numbers to get the total square footage. Add extra flooring for waste, usually about 10%. This helps cover mistakes or tricky cuts. For underlayment, calculate the same square footage as the flooring and add 5% for waste. If you use a moisture barrier, add 10% to your total for overlapping seams.
- Measure the total area in square feet.
- Add 10% extra for flooring waste.
- Add 5% extra for underlayment waste.
- Add 10% extra for moisture barrier overlap.
Tip: Double-check your measurements to avoid running out of materials during installation.
Deciding Plank Direction for Best Appearance
Choosing the right direction for your vinyl planks changes the look of your room. You can lay planks in several patterns. Each pattern creates a unique effect. Use the table below to compare options:
| Installation Pattern | Description |
|---|---|
| Straight Lay | Planks run parallel to walls for a clean, uniform look. |
| Diagonal | Planks run at a 45-degree angle, adding movement and depth. |
| Herringbone | Planks zigzag for texture and sophistication. |
| Chevron | Continuous zigzag pattern for a modern touch. |
| Parquet | Geometric designs add visual interest and elegance. |
| Mixed Patterns | Combine patterns for a personalized style. |
| Transition Direction | Keep direction consistent across spaces for visual continuity. |
Note: Most people choose straight lay for simplicity, but diagonal or herringbone patterns can make your space feel larger and more stylish.
Staggering Seams for a Natural Look
You want your floor to look natural and professional. Staggering seams is the key. Start with a full plank, then use a half plank for the next row. Make sure the end joints of adjacent planks are at least six inches apart for narrow planks. For wider planks, keep seams eight to ten inches apart. This prevents repetitive patterns and strengthens your floor. Avoid lining up seams, as this can make the floor look cheap and cause problems later.
Staggering planks creates a visually appealing layout. It also improves the quality and durability of your installation. Always follow the manufacturer’s guidelines for spacing seams.
Tip: Careful planning and staggered seams help your click lock vinyl flooring look natural and last longer.
How to Lay the First Row of Click Lock Vinyl Flooring
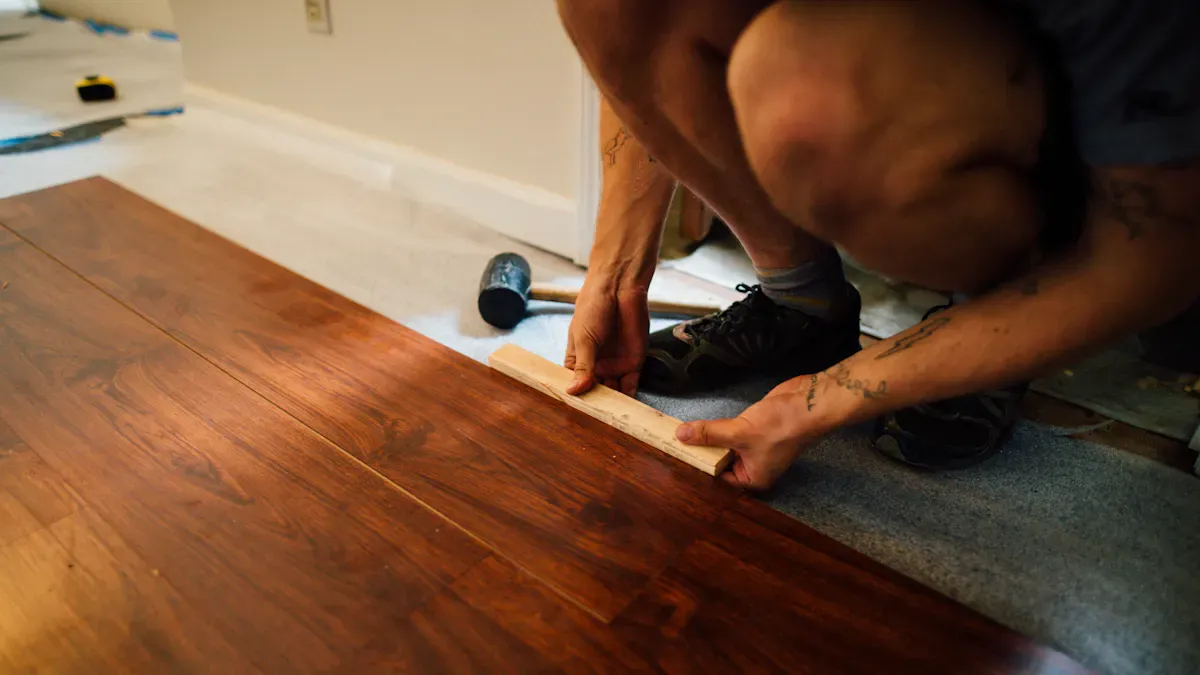
Using Spacers for Expansion Gaps
You need to leave space between your flooring and the walls. This space lets your floor expand and contract with changes in temperature and humidity. Place spacers along the perimeter of the room before you start laying planks. Spacers keep the planks from touching the wall and help you maintain a consistent gap.
- The recommended expansion gap size for click lock vinyl flooring is 1/4 inch (6.35 mm) around the perimeter.
- Spacers come in different shapes and sizes. Choose ones that fit snugly and stay in place.
- Check the gap as you lay each plank. Make sure the spacers do not move.
Tip: Expansion gaps prevent buckling and keep your floor looking smooth for years.
Cutting Planks to Fit Walls and Corners
You often need to cut planks to fit along walls or around corners. Start by measuring the space where the plank will go. Mark the plank with a pencil. Use the right tool for the job. For straight cuts, score the plank with a utility knife and snap it along the line. For irregular shapes, use a jigsaw or flooring saw.
Here are some tools and techniques you can use:
| Tool/Technique | Description |
|---|---|
| Score and Snap | Use a utility knife to score the plank and snap it along the line for a clean break. |
| Tile Cutter | Mark the area to be trimmed and use a lever to cut the plank/tile. |
| Circular Saw | Requires training; work slowly for clean cuts. |
| Jigsaw | Ideal for making irregular cuts around obstacles like door frames or pipes. |
| Flooring Saw | Recommended for cutting across or ripping vinyl planks; worth the investment for multiple rooms. |
- Utility knife: Score and snap planks for straight cuts.
- Jigsaw: Cut around pipes, corners, or door frames.
- Flooring saw: Cut across planks quickly and cleanly.
Note: Always wear safety glasses when cutting planks. Double-check your measurements before making any cuts.
Ensuring a Straight and Secure Start
You want your first row to be straight and secure. This row sets the foundation for the rest of your floor. Begin by planning your layout. Measure the room and use a chalk line to mark a straight line where your first row will go. Start in the left corner with the tongue side facing the wall. Place spacers to keep your expansion gap.
Follow these steps to lay the first row:
- Measure and mark a straight line with a chalk line.
- Place spacers along the wall for a 1/4 inch gap.
- Lay the first plank in the corner with the tongue side facing the wall.
- Click and lock the next plank into place at a slight angle. Press down until you hear a click.
- Stagger seams between rows by at least 8 inches for stability.
- Trim the last plank in the row as needed using a chop saw or flooring saw.
Tip: A straight first row makes the rest of your installation easier. Take your time and check your alignment often.
You now have a strong and straight foundation for your click lock vinyl flooring. The first row is the most important step. When you follow these steps, you set yourself up for a smooth and professional installation.
Installing Remaining Rows of Click Lock Vinyl Flooring
Using the Click Lock Mechanism Properly
You need to use the click-lock installation method correctly to get a strong and lasting floor. Always keep the tongues and grooves clean. Dust or debris can stop the planks from locking together tightly. Cut planks away from your work area to keep the space clean. When you install each plank, slide the tongue into the groove at a steep angle. Drop the plank down flat so it clicks into place. For longer sides, slide the plank along the groove, then press it down. In the last row, glue the butt joints to keep them from popping up. This process helps you avoid gaps and keeps your floor secure.
Fitting Planks Together Seamlessly
You want your floor to look smooth and even. Stagger the planks as you go. Start each new row with a plank that is at least eight inches shorter or longer than the plank in the previous row. This pattern spreads weight evenly and helps the floor handle changes in temperature. Click-lock joints fit tightly, so you do not need glue or special tools. The planks lock together and create a seamless finish. This makes your floor look professional and helps it last longer.
Tip: Check each joint as you go. If you see a gap, tap the plank gently with a rubber mallet and a tapping block.
Working Around Pipes, Stairs, and Obstacles
You may find pipes, stairs, or other obstacles in your room. Measure these areas carefully before you cut any planks. For pipes, mark the spot and drill a hole in the plank so it fits around the pipe. If you need to fit planks under door trim, remove the trim first. This lets you slide the flooring underneath for a neat look. Use a contour gauge to trace and cut around odd shapes. Take your time with these cuts to make sure your floor fits perfectly everywhere.
Finishing Touches for Laying Vinyl Flooring
Installing the Last Row and Trimming Planks
You reach the last row and need to measure the space carefully. Always account for the expansion gap when you measure the width for the final plank. Score the plank with a utility knife and snap it to the right length. Trim the last-row planks so they align with the first row. If the planks do not match perfectly, adjust them for a precise fit. Use a pull bar to lock the last row tightly against the previous row. This tool helps you secure the planks without damaging them. Keep the expansion gap consistent along the wall.
- Measure the space for the last plank, including the expansion gap.
- Score and snap the plank to the correct length.
- Trim planks for precise alignment.
- Use a pull bar to lock the last row tightly.
Tip: Double-check your measurements before cutting the last planks. This step ensures a neat finish.
Removing Spacers and Adding Baseboards or Trim
After you finish laying vinyl flooring, remove all spacers from the room perimeter. Make sure the expansion gaps are clear and consistent. Install baseboards next. Measure the gap height and trim the bottom of the baseboard if needed. Use tools like a coping saw for curves or a jam saw for straight cuts. Plan for extra trim pieces, such as quarter round or reducers, to match the baseboard height. Fasten baseboards to wall studs or use adhesive if nailing is not possible. Set nails slightly proud, then countersink and fill them. Leave a small reveal or caulk joint at the floor line to allow for movement and create a watertight seal. In wet areas, use flexible caulk. Finish by painting or sealing the baseboard.
- Remove spacers and check expansion gaps.
- Measure and trim baseboards as needed.
- Install baseboards and additional trim.
- Fasten baseboards securely.
- Caulk joints for a watertight seal.
- Paint or seal baseboards.
Note: Proper baseboard installation protects your floor and gives your room a polished look.
Final Inspection and Clean-Up
Inspect your new floor for imperfections. Look for gaps, uneven edges, or misalignment. Fix any small issues right away to prevent future problems. Clean the flooring thoroughly to remove dust, debris, or adhesive residue. Use cleaning methods that match your flooring material. Avoid harsh chemicals that could damage the surface. A clean floor shows off your hard work and keeps your space looking fresh.
- Check for gaps and uneven edges.
- Address small issues early.
- Clean the floor with safe methods.
Callout: A careful final inspection and clean-up help your floor last longer and look its best.
Maintenance Tips for Click Lock Vinyl Flooring
Cleaning and Caring for Your New Floor
You want your vinyl flooring to look great every day. Start by sweeping the floor regularly. Dust and dirt can scratch the surface if you leave them. Use a soft broom or a vacuum with a hard floor setting. For deeper cleaning, choose a damp mop and a cleaner made for vinyl floors. Avoid using abrasive cleaners because they can dull the finish. Pick a pH-neutral solution to keep the floor shiny and safe.
- Use products designed for vinyl flooring.
- Avoid abrasive cleaners.
- Choose a pH-neutral solution.
- Sweep often and damp mop with proper products.
Tip: Always wring out your mop so it is damp, not wet. Too much water can seep into seams and cause damage.
Preventing Damage and Extending Floor Life
You can protect your floor and make it last longer with simple steps. Keep the subfloor clean, flat, and dry during installation. Use a moisture barrier over concrete to stop water from reaching your vinyl planks. Follow the manufacturer’s guidelines for expansion gaps to prevent buckling. Place doormats at entryways to trap dirt and moisture before it gets inside. Sweep or vacuum often to remove debris that can scratch the surface.
- Use protective pads under furniture legs.
- Rotate rugs and rearrange furniture to spread out traffic and weight.
- Lift heavy items instead of dragging them across the floor.
- Maintain steady indoor temperature and humidity.
- Mop with a vinyl-specific cleaner for deep cleaning.
| Preventive Measure | Benefit |
|---|---|
| Doormats at entryways | Traps dirt and moisture |
| Furniture pads | Prevents indentations |
| Rotating rugs | Distributes weight and traffic |
| Lifting heavy items | Avoids scratches |
Callout: Consistent care and smart habits help your click lock vinyl flooring stay beautiful and strong for years.
You can see that how to lay click lock vinyl flooring becomes easy when you follow clear steps. Using a moisture barrier gives you lasting protection.
- It prevents warping in laminate floors.
- It stops moisture buildup on concrete subfloors.
- It protects wood subfloors in high-moisture areas.
You achieve a professional finish and enjoy your floor for years. Trust skspcflooring for quality products and support on your next flooring project. Learn how to lay click lock vinyl flooring with confidence.
FAQ
How long should I let click lock vinyl flooring acclimate before installation?
You should let your vinyl planks acclimate for at least 48 hours in the room where you plan to install them. This helps the material adjust to the temperature and humidity.
Can I install click lock vinyl flooring over existing tile or hardwood?
Yes, you can install click lock vinyl flooring over most flat, stable surfaces like tile or hardwood. Make sure the surface is clean, dry, and level before you start.
Do I need a moisture barrier on a wooden subfloor?
You usually do not need a moisture barrier on a wooden subfloor in dry areas. In basements or rooms with high humidity, use a moisture barrier for extra protection.
What tools do I need for a successful installation?
You need a tape measure, utility knife, spacers, rubber mallet, straightedge, and a tapping block. These tools help you measure, cut, and fit the planks securely.
How do I clean and maintain my new vinyl floor?
Sweep or vacuum your floor regularly. Use a damp mop with a pH-neutral cleaner for deeper cleaning. Avoid harsh chemicals and too much water to keep your floor looking new.




