
You can install and learn how to cut vinyl plank flooring over existing tile with ease. Many homeowners pick this method because it saves time and keeps the subfloor safe. Vinyl flooring makes cleaning simpler, since there are no grout lines to trap dirt. It also costs less, resists impacts better than tile, and lets you transform your space quickly. Follow step-by-step instructions to avoid demolition and enjoy a smooth finish.
Assessing Your Tile Surface for Vinyl Plank Flooring
Checking for Flatness and Stability
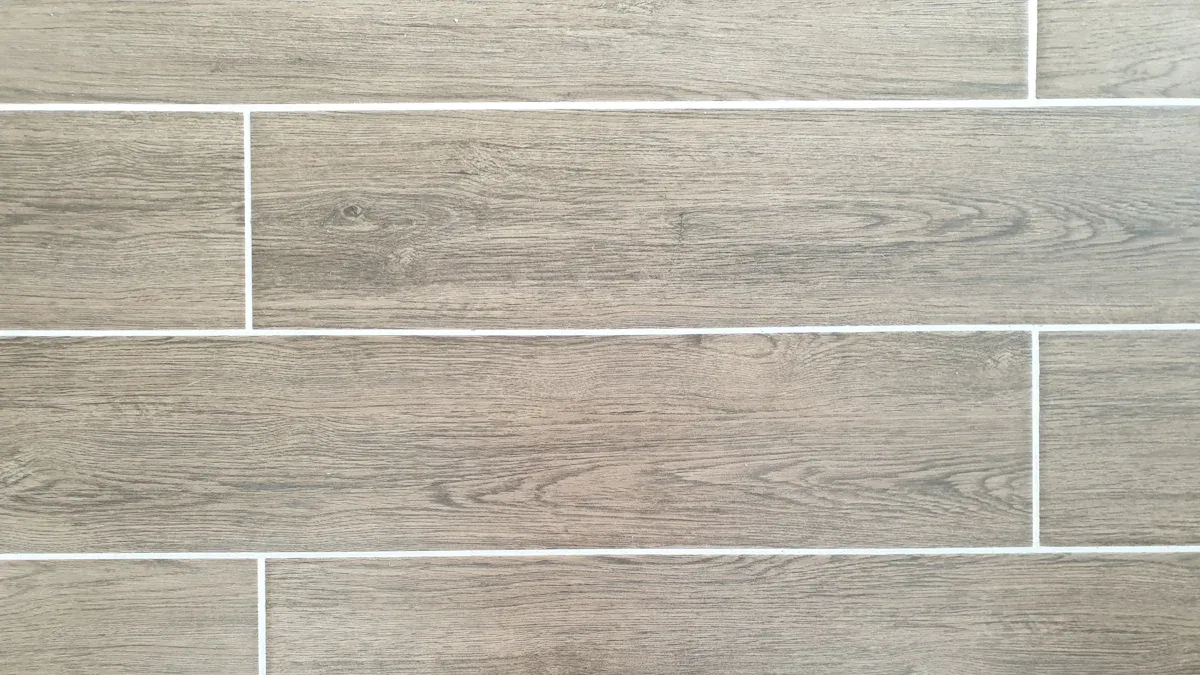
Before you install vinyl plank flooring, you need to check if your tile surface is flat and stable. A flat foundation is important because even small dips, like 1/8 inch, can cause problems. If the surface is not smooth, the vinyl planks may not stick well. You might hear hollow sounds or see the planks lift over time. Uneven tile can also lead to cracks in the tile or grout below.
You can use several tools to check for flatness and stability. Here is a helpful table:
| Tool/Device | Purpose |
|---|---|
| Tape Measure | Measures the flatness of the surface. |
| Level | Checks for evenness across the surface. |
| Straight 2×4 | Finds low spots over longer distances. |
A 4-foot or 6-foot aluminum level works well for most rooms. Place the level or straightedge on the tile and look for gaps underneath. If you see gaps, you have low spots that need fixing. You can use a subfloor leveler to create a smooth transition between the tile and the vinyl. Sometimes, you may need to raise the subfloor with plywood to match the height of the tile.
Identifying Problem Areas
When you prepare your tile surface, you may find some common problem areas. These issues can affect how well your new floor lasts. Here are some areas to watch for:
- Site assessment: Make sure everyone involved, like installers and designers, agrees on the best way to prepare the site.
- Manufacturer’s installation guidelines: Always follow the latest instructions for adhesives and installation methods. This helps prevent flooring failure.
- Acclimation and fit: Let your vinyl planks adjust to the room’s temperature before installing. This step stops gaps or buckling later.
- Proper training: Skilled installers know the best practices. Good training leads to better results and fewer mistakes.
Tip: Take your time during this step. Careful assessment now will save you time and trouble later.
Preparing Tile for Install Luxury Vinyl Flooring
Cleaning and Removing Debris
Start by making sure your tile surface is clean. Sweep the area to remove dust and loose dirt. Use a vacuum to pick up small particles from the grout lines. Mop the floor with a mild cleaner and let it dry completely. Any leftover debris can affect how well you install luxury vinyl flooring. Sticky spots or oily residue can prevent the underlayment from sticking. Always check for level after cleaning, since dirt can hide low spots.
Tip: Pay extra attention to corners and edges. Dirt often collects in these areas and can cause problems later.
Leveling Uneven Spots and Filling Grout Lines
You need a flat surface before you install luxury vinyl flooring. Check for level using a long level or straightedge. Look for dips, bumps, or uneven tiles. Grout lines can also create small valleys that make the floor uneven. Fill these areas to create a smooth base.
Here are some effective ways to level and fill:
- Use a self-levelling product for a smooth surface.
- Apply floor patch as a skim coat to fill grout lines.
- Re-grout over existing grout for a quick fix.
For the best results, use a self-levelling product. This creates a flat surface and helps the underlayment sit evenly. A floor patch works well for shallow grout lines. It acts as a skim coat and does not raise the floor height much. Always check for level again after filling and smoothing the surface.
| Component | Function |
|---|---|
| Clips/Posts | Reduce lippage and warpage, ensuring tiles are level with adjacent tiles. |
| Wedges | Apply pressure to align tiles, minimizing height variations. |
| Caps | Distribute pressure evenly across the tile surface, preventing movement. |
Using Floor Leveler or Patching Compound
Choose the right floor leveler or patching compound for your project. These products help you create a flat and stable subfloor. They also make sure the underlayment and vinyl planks stay in place. Here are some recommended options:
| Product Name | Description |
|---|---|
| Sika® Level-325 | Cementitious, self-leveling underlayment for interior and exterior. |
| Sika® Level SkimCoat | Fast setting, cement based smoothing and finishing compound. |
| Sika® Level-01 Primer Plus | Acrylic primer for porous substrates. |
| Sika® MB | Solvent-free, epoxy moisture barrier. |
Follow the instructions on the product label. Mix the compound and pour it over the tile. Spread it with a trowel to cover low spots and grout lines. Let it dry fully before you install luxury vinyl flooring. Check for level one last time to make sure the subfloor is ready. A smooth, even surface helps the underlayment and vinyl planks last longer.
Note: Using a quality underlayment adds comfort and reduces noise. It also protects your new floor from moisture and damage.
How to Cut Vinyl Plank Flooring: Tools and Materials by skspcflooring
Essential Tools for Cutting Vinyl Plank Flooring
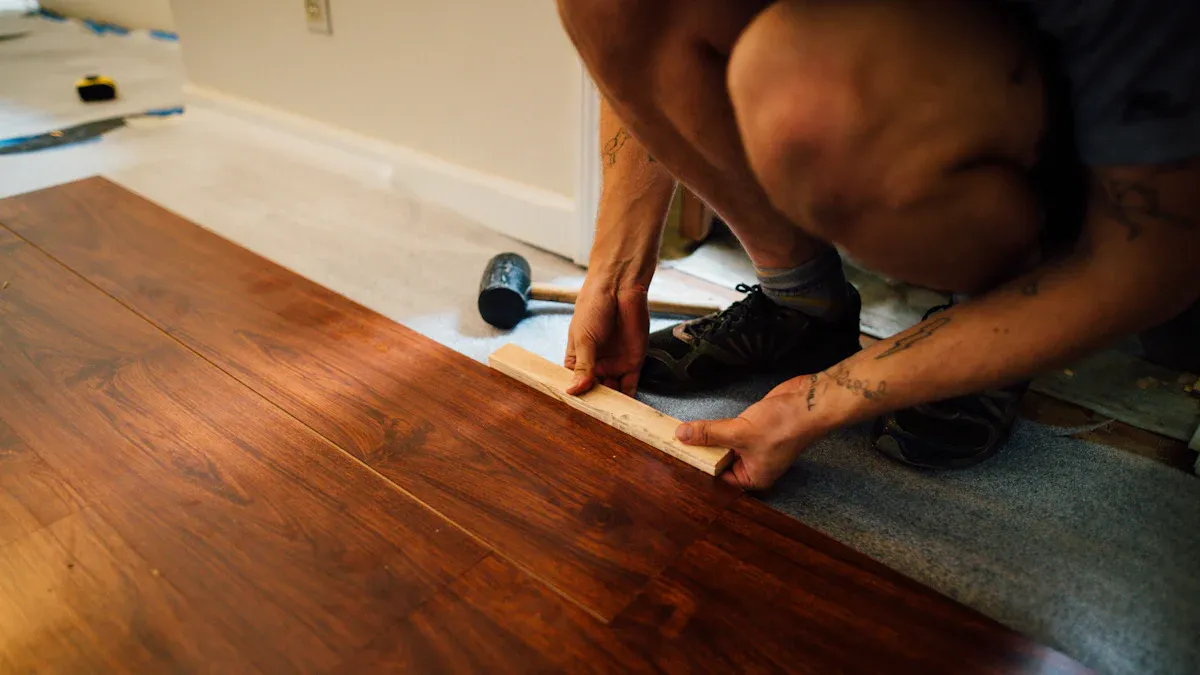
You need the right tools to cut vinyl plank flooring over tile. These tools help you get clean, straight cuts and make the job easier. Here are the main tools you should have ready:
- Cutters: Use a sharp utility knife or a vinyl plank cutter for straight cuts.
- Rollers: Press the planks down firmly to ensure a tight fit.
- Scribers: Mark your cut lines clearly for accuracy.
- Heat tools: Soften the vinyl for tricky cuts around corners or pipes.
Tip: Always measure twice before you cut. This helps you avoid mistakes and wasted material.
Safety is important when you work with cutting tools. Protect yourself by wearing safety goggles and a dust mask. These keep dust and small pieces out of your eyes and lungs. Work in a well-ventilated area to reduce dust in the air. Take your time and keep your workspace clean to prevent accidents.
Choosing the Right Vinyl Plank Flooring from skspcflooring
Picking the best vinyl plank flooring from skspcflooring makes a big difference in your project’s success. Consider these factors before you buy:
- Type of Vinyl Flooring: Choose from sheet vinyl, luxury vinyl tile (LVT), or luxury vinyl plank (LVP). Each type works best for different spaces.
- Wear Layer Thickness: Thicker wear layers last longer, especially in busy areas.
- Installation Method: Decide between glue-down, click-lock, or loose lay. Some methods are easier for DIY projects.
- Design & Aesthetics: Match the color and pattern to your room’s style.
- Subfloor Condition: Make sure your tile is flat, smooth, clean, and dry.
- Budget: Balance cost and quality to get the best value.
skspcflooring offers a wide range of options that meet international standards for quality and durability. You can find the right product for any room in your home.
Cut and Fit: Measuring, Marking, and Cutting Vinyl Plank Flooring
Measuring Room Dimensions and Planning Layout
You need to measure your room before you start any diy project. Accurate measurements help you know how much material you need and make your install lvp flooring process easier. Gather a tape measure, paper, pencil, and calculator. Sketch your room on graph paper. Include closets and doorways in your drawing. Measure in feet and inches for the best results.
Add 10% to your total square footage. This extra amount covers mistakes and damage. For rectangular rooms, measure one long wall and one short wall. Round up to the next foot. Multiply the lengths to find the area. For rooms with odd shapes, divide the space into rectangles or squares. Measure each section and add the areas together. If you measure in inches, convert the total to square feet.
Tip: Careful planning helps you minimize waste and avoid thin strips at the edges when you lay the planks.
When you plan your layout, choose a pattern that fits your space. Consistent direction works well for narrow rooms or multiple spaces. Stagger seams in a random pattern to make your floor stronger. Straight lay and brick bond patterns are easy to install and help reduce waste. Accurate measurement can lower material waste by up to 10% compared to rough estimates.
- Sketch your room layout.
- Measure each section.
- Add 10% for mistakes.
- Choose a layout pattern.
- Avoid thin strips at the edges.
Marking Planks for Accurate Cuts
You must mark each plank before you cut and fit it. This step ensures your diy project looks professional. Use a measuring tape to check the space where you want to lay the planks. Mark the plank with a pencil or marker. Use a straight edge or T-square to draw a clear line.
- Measure the space for each plank.
- Mark the plank where you need to cut.
- Draw a straight line using a T-square.
This method only requires you to use an ordinary flat washer as a guide. Place the plank close to the wall. Rest a large flat washer on top. Insert a pencil into the hole. Run the edge of the washer along the wall, following its contours. This technique helps you mark planks for tricky cuts around corners.
Careful marking helps you avoid mistakes and wasted material. You get clean lines and accurate cuts every time.
Cutting Techniques for Clean Edges
You need to know how to cut vinyl plank flooring for a clean finish. Use the right tools and methods to get smooth edges. Here is a table showing common cutting techniques:
| Cutting Technique | Description |
|---|---|
| Score and Snap | Use a T-square to draw straight lines. Make light cuts with a utility knife. Bend the plank along the score line. |
| Tile Cutter | Mark the area to be trimmed. Use the lever of the cutter for a clean cut. |
| Circular Saw | Requires training. Work slowly for a clean edge. |
Score and snap works well for most diy projects. Use a utility knife to score the plank. Snap it along the line for a straight edge. Tile cutters help you trim planks quickly. Circular saws work best for thick planks or tricky cuts. Always work slowly and carefully.
Tip: Wear safety goggles and keep your workspace clean. This protects you and helps you focus on how to cut vinyl plank flooring with precision.
When you cut and fit vinyl planks, check each piece before you lay the planks. Clean edges make your install lvp flooring look professional. Take your time and follow each step for the best results.
Install LVP Flooring: Handling Transitions and Elevation Differences
Managing Height Changes Between Rooms
When you install LVP flooring over tile, you often face changes in floor height between rooms. This happens because the new flooring adds thickness to your existing surface. You need to plan for these changes to keep your installation smooth and safe. If you ignore height differences, you might have trouble opening doors or moving furniture.
Here is a table showing the most common challenges you may encounter during installation:
| Challenge | Description |
|---|---|
| Ensuring a flat surface | LVP requires a flat, stable, and solid surface to prevent issues like flexing or premature wear. |
| Managing height differences | Adding LVP over tile raises the floor height, necessitating adjustments for clearance under doors and appliances. |
| Addressing unevenness | Uneven tile surfaces can lead to visible dips, humps, and separation of click-lock joints over time. |
You can solve these problems with a few simple solutions:
- Use transition strips. Ramped strips connect floors of different heights, while flat strips work for surfaces that are level.
- Adjust underlayment. Place underlayment under thinner flooring to match the height of adjoining rooms.
- Apply self-leveling compounds. These help create an even surface when you have subfloor discrepancies.
Tip: Always check door clearance before you begin installation. Trim doors if needed to prevent scraping.
Installing Transition Strips for a Seamless Look
Transition strips help you create a smooth and safe connection between rooms. They also give your installation a finished appearance. You can choose from several types of transition strips, each designed for specific situations:
- T-molding works best when both floors are the same height. It gives a stylish and clean look.
- Surface reducers bridge the gap between floors of different heights. They make walking from one room to another safer.
- End caps fit well at doorways where the edge of your LVP flooring meets another surface.
You should select the right transition strip based on your installation needs. Measure the height difference and pick the strip that fits best. Secure the strip according to the manufacturer’s instructions for a long-lasting result.
Note: Proper transition strips not only improve safety but also enhance the overall look of your flooring installation.
Tips for a Professional Finish with skspcflooring Vinyl Plank Flooring
Staggering Plank Joints for Strength and Appearance
When you install luxury vinyl flooring over existing floors, you want your project to last. Staggering plank joints gives your floor extra strength. This method spreads weight and stress across the entire surface. You avoid weak spots that could lead to damage. Staggered joints also help your luxury vinyl flooring handle changes in temperature and humidity. The floor stays flat and strong, even when the weather shifts.
A staggered pattern looks like real wood. This design adds character and beauty to your space. You also prevent warping or buckling because you do not line up the joints in straight rows. Staggering joints helps reduce noise, making your luxury vinyl flooring quieter underfoot.
- Distributes weight and stress evenly
- Handles temperature and humidity changes
- Mimics natural wood for a realistic look
- Prevents warping and buckling
- Improves sound insulation
Maintaining Expansion Gaps
You must leave an expansion gap when installing luxury vinyl flooring over existing floors. This gap lets the planks expand and contract as the room’s temperature changes. If you skip this step, your luxury vinyl flooring may buckle or lift. The recommended expansion gap size is 1/4 inch. Use spacers along the walls to keep this gap even on all sides.
Tip: Always check the gap before you finish each section. Consistent gaps help your luxury vinyl flooring stay smooth and secure over existing floors.
Final Inspection and Touch-Ups
After you finish laying your luxury vinyl flooring, inspect every plank. Look for gaps, uneven edges, or raised spots. Press down any loose planks. Trim edges for a neat fit against walls and transitions. Clean the surface to remove dust from the installation. If you see any small scratches, use a repair kit made for luxury vinyl flooring.
Walk across your new floor. Listen for hollow sounds that might mean a plank did not settle well over the existing floors. Fix any issues right away. A careful inspection ensures your luxury vinyl flooring looks great and lasts for years.
You can install vinyl plank flooring over existing tile floors without demolition. This method saves money and time, as vinyl flooring installation does not require removing the existing surface. Experts agree that installing luxury vinyl tile over existing floors is practical and quick. You should always assess your existing flooring, install underlayment, and follow installation tips for the best results. Avoid common mistakes:
- Rushing acclimation
- Neglecting subfloor preparation
- Ignoring expansion gaps
- Creating a ladder pattern
- Using excessive force
Maintain your new vinyl flooring by sweeping, using damp mops, and inspecting seams. Regular care keeps your vinyl plank flooring looking great for years. Here is what experts say:
| Expert Source | Key Insights |
|---|---|
| Bailey’s Quality Homes | Installation is quick, typically taking 1-2 days for average projects. |
| Columbia SC flooring pros | Vinyl plank flooring is more cost-effective and comfortable compared to alternatives like hardwood. |
| Luxury vinyl can be installed over existing tile, minimizing demolition costs. |
Remember to install underlayment and choose quality luxury vinyl tile for a professional finish.
FAQ
Can you install vinyl plank flooring over any type of tile?
You can install vinyl plank flooring over most tile surfaces. Make sure the tile is flat, clean, and stable. Avoid installing over loose or damaged tiles. Always check for moisture issues before starting your project.
Do you need underlayment when installing over tile?
Yes, you should use underlayment. It helps smooth out minor imperfections, adds comfort, and reduces noise. Some vinyl planks come with attached underlayment. Always follow the manufacturer’s recommendations for the best results.
What tools work best for cutting vinyl plank flooring?
You can use a sharp utility knife for most straight cuts. For complex shapes, try a jigsaw or a vinyl plank cutter. Always measure and mark your cuts carefully for a clean finish.
How do you handle doorways and transitions between rooms?
Install transition strips at doorways or where two types of flooring meet. These strips create a smooth, safe edge and help hide height differences. Measure the gap and choose the right strip for your needs.




