
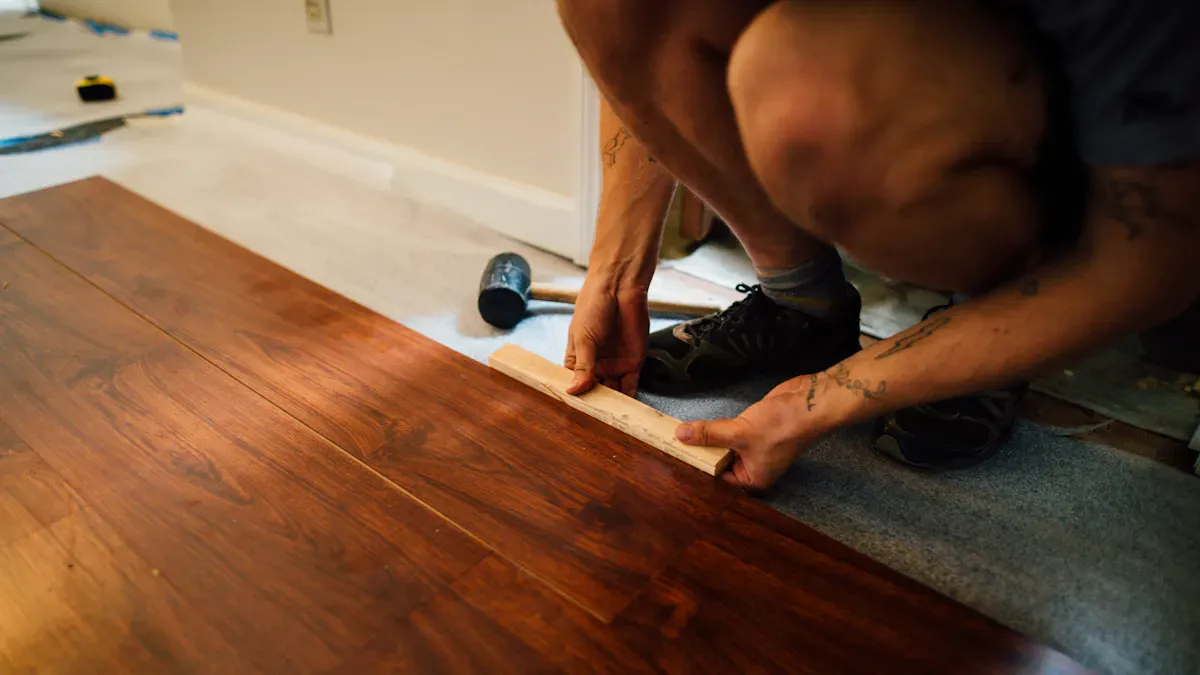
You may wonder if underlayment is needed for luxury vinyl flooring in 2026. The answer depends on your subfloor and the product you choose. Always check the manufacturer’s guidelines before you start. Many installation failures happen because people skip instructions, use the wrong adhesive, or forget expansion gaps.
| Common Reasons for Installation Failures | Description |
|---|---|
| Ignoring Manufacturer Guidelines | Skipping the review of installation instructions can lead to costly mistakes, as specifications may change. |
| Using Wrong Adhesive | Applying the incorrect adhesive can cause improper adhesion, leading to flooring failure. |
| Improper Acclimation | Installing flooring without proper acclimation can result in gaps or buckling due to temperature changes. |
| Not Allowing for Expansion Gaps | Failing to leave proper gaps can lead to buckling, warping, or separation of the planks over time. |
| Lack of Proper Training | Insufficient training can result in poor installation practices, leading to rework and client dissatisfaction. |
You should also learn how to cut luxury vinyl flooring for a clean look. The right tools and techniques give you the best results and help your new floor last longer.
Underlayment Requirements for Luxury Vinyl Flooring in 2026
2026 Standards and Recommendations
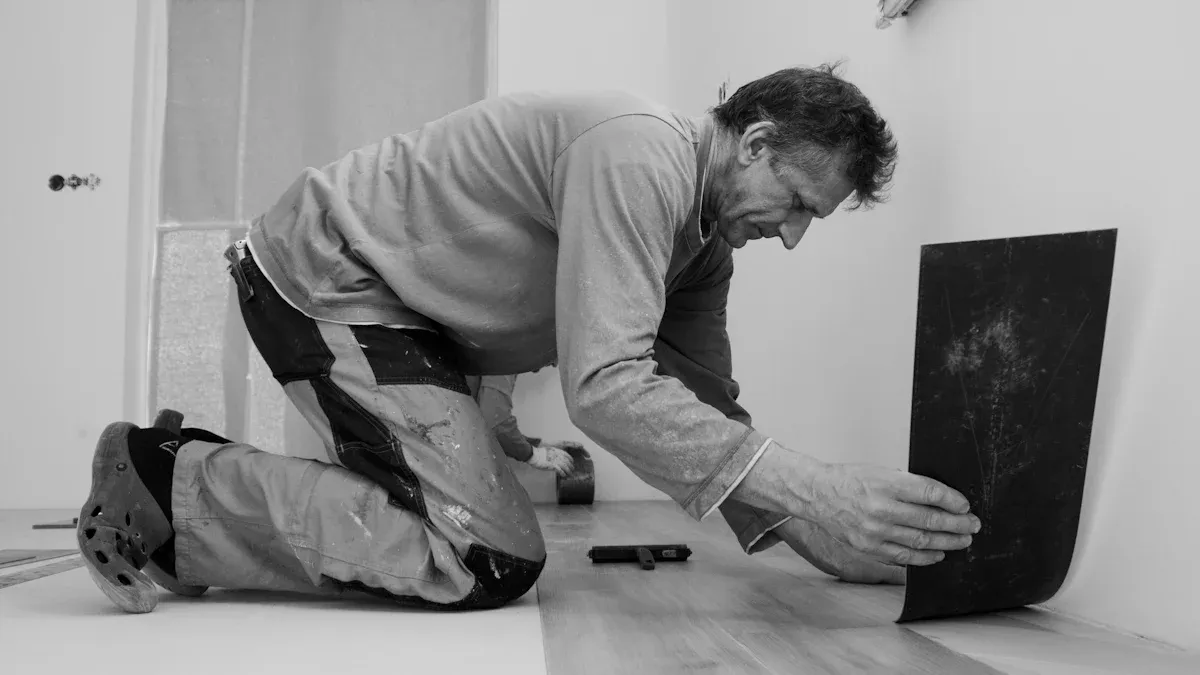
You need to follow the latest standards when you install luxury vinyl flooring in 2026. These standards help you get the best results and protect your investment. You should always check the guidelines from your flooring manufacturer. Many brands update their instructions each year to match new building codes and technology.
You must pay attention to the type of subfloor in your space. The subfloor is the surface under your flooring. It can be concrete, plywood, or tile. Each subfloor has different needs. You should make sure your subfloor is clean, dry, and level before you start. If you skip these steps, you may have problems later.
You should use underlayment when the manufacturer recommends it. Underlayment can help with noise, comfort, and moisture. Some types of luxury vinyl flooring have attached underlayment, but others do not. You should read the product label and instructions to know what is best for your project.
Types of Subfloors and Their Impact on Underlayment
You will find that the type of subfloor in your home or business affects your installation. Here are some things you should know:
- Concrete subfloors need special care. You should check for moisture. If you see water or feel dampness, you must fix it before you install your flooring.
- Plywood subfloors must be flat and secure. You should attach loose boards and fill any gaps. If the surface is not smooth, you can add a thin layer of high-quality plywood.
- Tile subfloors need to be even. You should fill in grout lines and cracks. This helps your luxury vinyl flooring sit flat.
You can use different materials for underlayment. Some common types are:
- Cork
- Foam
- Felt
- Rubber
- Plywood
- OSB
Each material has its own benefits. For example, cork and foam can help with sound and warmth. Felt is good for moisture. Rubber gives extra comfort.
Here is a table to help you choose the right underlayment for your subfloor:
| Subfloor Type | Recommended Underlayment | Benefits |
|---|---|---|
| Concrete Subfloors | Felt | Good moisture resistance |
| Cork | Extra thermal insulation and soundproofing | |
| Foam | Excellent moisture resistance and soundproofing | |
| Plywood or OSB Subfloors | Felt | Affordable option |
| Cork | Extra cushioning and soundproofing | |
| Foam | Excellent noise reduction and moisture resistance |
When Underlayment Is Essential for Luxury Vinyl Flooring
You must use underlayment in some cases. Here are times when it is essential:
- Your subfloor is concrete and you need moisture protection.
- You want to reduce noise between floors.
- You need extra warmth or comfort underfoot.
- Your subfloor is not perfectly smooth and you want to hide small flaws.
If you skip underlayment when it is needed, you may face problems. These can include damage to your flooring, less comfort, or even voiding your warranty. You may also see warping or separation in your luxury vinyl flooring.
Tip: Always check your subfloor before you start. Fix any problems first. This will help your new floor last longer and look better.
When You Can Skip Underlayment
You might wonder if you can skip underlayment when installing your new floor. In some cases, you do not need to use it. You should always check the product instructions first. Some types of luxury vinyl flooring come with a built-in pad. This built-in layer gives you comfort and helps reduce noise. If your product has this feature, you do not need to add another underlayment.
You can also skip underlayment if your subfloor meets certain conditions. Here are the main points to consider:
- Your subfloor is clean, smooth, and dry.
- The surface does not have cracks or bumps.
- The floor does not need extra soundproofing or warmth.
If your subfloor is in good shape, you can install the flooring directly on top. This saves you time and money. However, you should know that skipping underlayment can make your floor a little louder and less soft underfoot.
Manufacturers often require a vapor barrier, especially over concrete. A vapor barrier is a thin plastic sheet that stops moisture from coming up into your floor. If you skip this step, you risk damaging your floor. Always use a minimum 6-mil vapor barrier on concrete to protect your investment.
Tip: Always read the instructions from your flooring manufacturer. They know what works best for their products.
Types of Luxury Vinyl Flooring and Their Installation Needs
Luxury vinyl flooring comes in several types. Each type has its own installation method and underlayment needs. You should know these differences before you start your project.
| Installation Method | Description |
|---|---|
| Floating (Click-and-Lock) | Planks click-and-lock together, forming a floating surface without adhesives. |
| Glue-Down | Planks are secured to the subfloor with adhesive, providing extra stability. |
| Loose Lay | Planks are pressed into place without glue, often featuring a pre-applied adhesive backing. |
Click-Lock (Floating) Luxury Vinyl Flooring
Click-lock luxury vinyl flooring uses a special locking system. You snap the planks together, and they stay in place without glue. This method creates a floating floor. You do not attach the planks to the subfloor. You can install this type quickly, and you can remove it easily if you need to. Many homeowners like this style for DIY projects.
Tip: If your click-lock flooring does not have a built-in pad, you can add underlayment for extra comfort and noise reduction. Underlayment also helps if you install over concrete or want a warmer floor.
Glue-Down Luxury Vinyl Flooring
Glue-down luxury vinyl flooring uses adhesive to stick each plank to the subfloor. This method gives your floor extra stability. You should use glue-down flooring in busy areas or commercial spaces. The glue keeps the planks from moving, even with heavy foot traffic.
You may not need underlayment with glue-down flooring, but it can help with sound and comfort. If your subfloor is uneven, you should fix it before you start. A smooth surface helps the glue work better.
Loose Lay Luxury Vinyl Flooring
Loose lay luxury vinyl flooring is easy to install. You do not need glue or a locking system. You just press the planks into place. Some loose lay products have a special backing that grips the floor. This makes them stay put without sliding.
Loose lay flooring works well for quick projects or rooms where you may want to change the floor later. You can lift and replace planks without much effort. Underlayment is not required, but it can make the floor softer and quieter.
Note: If your flooring does not have an attached pad, underlayment can improve warmth, moisture protection, and noise control.
How to Cut Luxury Vinyl Flooring: Step-by-Step Guide
Learning how to cut luxury vinyl flooring helps you achieve a professional finish and ensures your installation goes smoothly. You need the right tools, careful preparation, and the best cutting technique to get clean, accurate results. Follow these steps to make your project easier and more successful.
Essential Tools for Cutting Luxury Vinyl Flooring
You need the right tools to make precise cuts in luxury vinyl flooring. Using the correct equipment improves your accuracy and makes the job faster. Professional installers recommend these tools for the cutting process:
- Square or speed square – This tool helps you draw straight lines and measure angles.
- A well-suited knife, preferably a box knife – A sharp blade allows you to score the vinyl cleanly.
- A hammer – You use this to help snap the plank after scoring.
Tool choices matter. Handheld cutters work well for small projects and detailed cuts. Stationary cutters suit larger jobs and repeated cuts. The tools you select affect the quality of your cuts and the overall look of your floor. Precision marking and sharp blades help you avoid rough edges and wasted material.
Tip: Always keep your blades sharp. Dull blades can tear the vinyl and leave jagged edges.
Preparing and Marking Your Cuts
Preparation is key when you want to know how to cut luxury vinyl flooring. Start by making sure your subfloor is smooth, clean, dry, and flat. Sweep or vacuum the area to remove dust and debris. Check for loose boards, nails, or screws that could affect your installation.
Before you cut, plan your layout. Measure each plank and mark your cutting lines with a pen or sharpie. Use a square or speed square to ensure your lines are straight. Good planning helps you avoid narrow pieces at the walls and gives your floor a balanced look.
Common mistakes during this phase include skipping subfloor preparation, not allowing the planks to acclimate to the room, and ignoring the need for an expansion gap around the perimeter. Failing to remove fasteners or not planning your layout can lead to uneven surfaces and wasted material. Always test fit your pieces after cutting. Adjust as needed to avoid gaps and ensure a snug fit.
Note: Order extra material to account for mistakes and tricky cuts around corners, fixtures, or vents.
Scoring and Snapping Techniques for Clean Edges
You can achieve clean edges by following a simple scoring and snapping method. This cutting technique works well for most luxury vinyl flooring planks. Here is a step-by-step guide:
| Step | Description |
|---|---|
| 1 | Mark the cut line with a pencil and place a straight edge on top. |
| 2 | Score the surface several times with a utility knife. |
| 3 | Bend the plank gently until it snaps apart. |
| 4 | For thicker planks, use a table edge for support while snapping. |
Start by marking your cut line clearly. Place a straight edge along the line to guide your knife. Score the plank with firm, even pressure. Repeat the scoring to deepen the groove. Once you have a deep enough line, bend the plank along the score. The plank should snap cleanly. For thicker planks, use the edge of a table to help you break the board.
After cutting, test fit the piece in its intended spot. Make minor adjustments if needed. This step ensures your luxury vinyl flooring fits perfectly and looks seamless.
Callout: Practice on a scrap piece first if you are new to how to cut luxury vinyl flooring. This helps you get comfortable with the process and avoid mistakes on your main planks.
By following these steps, you can master how to cut luxury vinyl flooring and achieve a clean, professional result every time.
Cutting Around Obstacles and Irregular Shapes
You will often face obstacles like pipes, door frames, or vents when installing luxury vinyl flooring. These areas require careful planning and precise cutting. You can achieve a perfect fit by using a few simple techniques.
Start by making a template. Use cardboard or heavy paper for this step. Place the template material over the obstacle and trace its outline. For example, if you need to cut around a pipe, press the paper against the pipe and draw the shape. Cut out the template with scissors. This template will help you transfer the exact shape to your vinyl plank.
Next, place the template on the vinyl plank. Trace around the template with a pencil. Make sure your lines are clear and easy to follow. Use a utility knife to score along the traced lines. For complex shapes, take your time and make several light passes with the knife. This method helps you avoid mistakes and keeps the edges clean.
After scoring, carefully cut out the shape. Test the fit by placing the plank around the obstacle. If the fit is not perfect, trim small amounts until it sits snugly. Repeat this process for each obstacle in your room.
Tip: Always test the fit before gluing or locking the plank in place. Small adjustments now will save you time later.
You can use these steps for any irregular shape. Templates work well for corners, door jambs, and even curved edges. This approach ensures your luxury vinyl flooring looks neat and professional, even in tricky spots.
Finishing Edges for a Professional Look
You want your new floor to look polished and complete. The edges of your luxury vinyl flooring play a big role in the final appearance. You can use several methods to finish these edges and create a seamless transition between rooms or surfaces.
- Add finishing pieces like transition strips and coordinating trim. These pieces cover the gaps between your flooring and walls or other types of flooring. They also protect the edges from damage.
- Use an overlapping or flush stair nose when your flooring meets stairs. This creates a smooth, safe transition and enhances the overall look.
- Choose an end cap or surface reducer for areas where your luxury vinyl meets carpet or a floor of a different height. These pieces help bridge the gap and prevent tripping.
You should always select finishing pieces that match the color and style of your flooring. This attention to detail gives your project a unified and professional appearance.
Note: Take your time when installing trim and transitions. Careful installation ensures a secure fit and a clean finish.
By following these steps, you can achieve a high-quality result that stands out. Your luxury vinyl flooring will not only look great but also last longer with proper finishing.
Best Practices for Cutting and Underlayment Decisions with skspcflooring
Tips for Accurate and Clean Cuts
You can achieve precise cuts in luxury vinyl flooring by following these best practices. Start with the right tools. Use a square or speed square, a sharp box knife, and a hammer. Mark your cut lines carefully with a pen or sharpie. Score the plank along the marked line using even pressure. Score again to deepen the groove. Place the plank on a stable surface and snap it cleanly. Always double-check measurements before cutting. Replace dull blades often to prevent tearing. Wear gloves and safety glasses to protect yourself. Use a straight edge to guide your cuts. Score multiple times instead of forcing the plank to snap. Test cuts on scrap pieces to adjust blade depth and pressure. Plan your layout in advance to minimize waste and tricky cuts.
Choosing the Right Underlayment for Your Project
Selecting the correct underlayment helps your luxury vinyl flooring perform well and last longer. Consider the material, installation method, and environment. Floating floors may need a separate underlayment unless the planks have a pad attached. Glue-down floors require a solid surface for proper adhesion. In humid climates, a vapor barrier is essential. Use this table to compare underlayment options:
| Material Type | Key Benefit | Best For | Sound Reduction | Moisture Barrier |
|---|---|---|---|---|
| Foam | Affordability & Cushion | Budget projects, upper floors | Good | No |
| Cork | Sound & Thermal Insulation | Condos, multi-level homes | Excellent | No |
| Felt | Hides Imperfections | Uneven subfloors, high-traffic | Very Good | No |
| Combination | Moisture Protection | Concrete slabs, basements | Good-Very Good | Yes |
Common Mistakes to Avoid During Installation
You can avoid costly errors by preparing your subfloor and planning your layout. Remove all fasteners from the floor to prevent uneven surfaces. Align planks before installation to avoid gaps. Leave a 1/4 inch expansion gap around the room. Do not use too much or too little adhesive. Make sure trims are cut properly. Avoid investing in unnecessary tools. Follow the recommended guide from your manufacturer. Pay attention to transitions between rooms and patterns to ensure compatibility.
Tip: Careful preparation and attention to detail help you achieve a professional result with skspcflooring products.
You should use underlayment for luxury vinyl flooring when you need moisture protection, sound absorption, comfort, or to cover subfloor imperfections. For efficient and clean cuts, always measure carefully, use sharp tools, and test fit pieces before final placement.
| Final Advice | Why It Matters |
|---|---|
| Let flooring acclimate | Prevents shifting and gaps |
| Prepare the subfloor well | Ensures smooth installation |
| Review installation guides | Avoids costly mistakes |
Recent advances make installation easier and improve durability for every space.
FAQ
Do you need to let luxury vinyl flooring acclimate before installation?
Yes, you should let the flooring acclimate for at least 48 hours in the room where you plan to install it. This helps prevent gaps or buckling after installation.
Can you install luxury vinyl flooring over existing tile?
You can install luxury vinyl flooring over tile if the surface is clean, dry, and level. Fill any deep grout lines or cracks first for the best results.
What is the best tool for cutting luxury vinyl planks?
A sharp utility knife works best for most straight cuts. For curves or detailed shapes, you can use heavy-duty scissors or a jigsaw.
How do you know if your subfloor needs a vapor barrier?
If you have a concrete subfloor, you should always use a vapor barrier. This protects your flooring from moisture and helps it last longer.
Can you reuse cut pieces of luxury vinyl flooring?
You can reuse leftover pieces for smaller areas or to start new rows. Always check that the cut edges fit tightly and look neat.




