
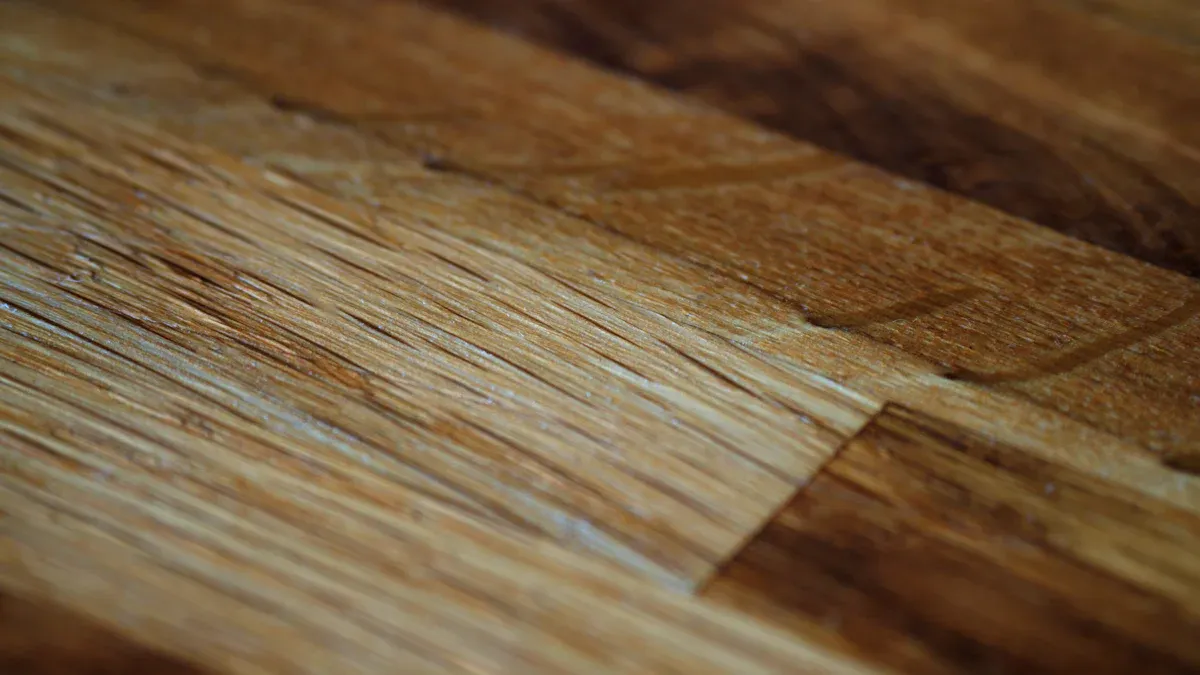
You want your home to look great and last for years. Many families choose vinyl flooring because it stays strong, looks like wood or stone, and costs less than other options. You may wonder how do you cut vinyl flooring or fix scratches from pets or kids. With the right tools and a few simple steps, you can keep your flooring looking new and beautiful.
How do you cut vinyl flooring: Tools, Safety, and Steps
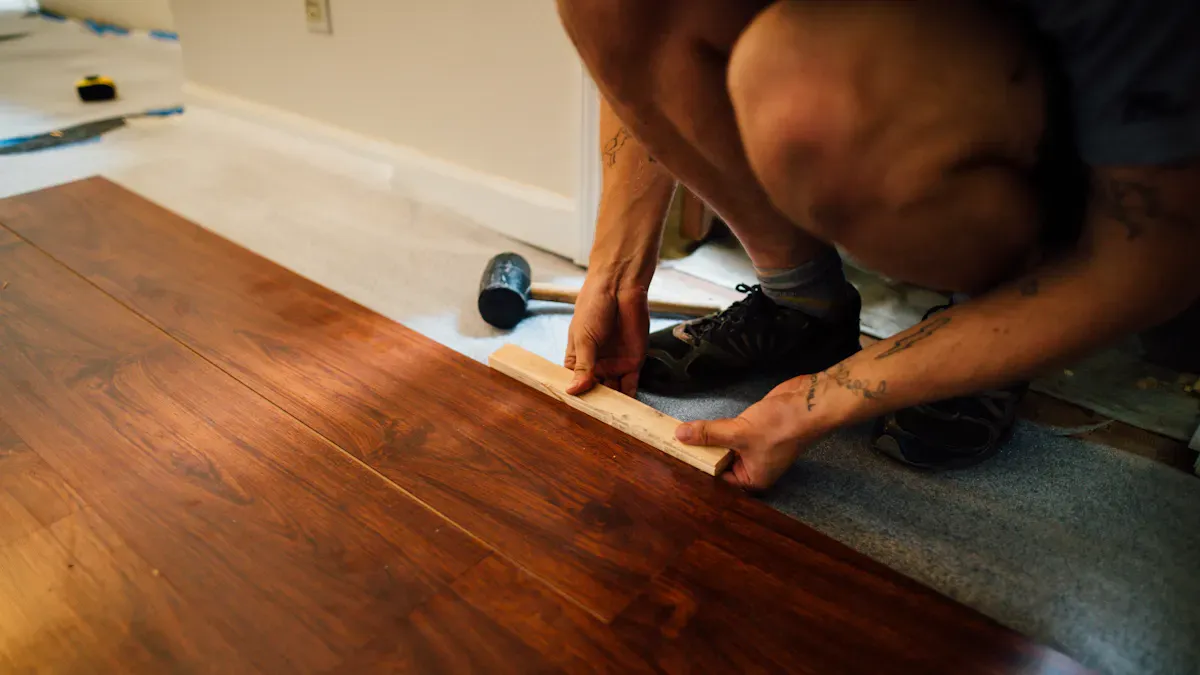
Essential tools for cutting vinyl flooring
You need the right tools to make clean and accurate cuts when working with vinyl flooring. These tools help you finish your diy project faster and with better results. Here is a list of what you should have before you start:
- Utility knife with sharp blades
- Straight edge or metal ruler
- Measuring tape
- Pencil or marker for marking lines
- Carpenter’s square for right angles
- Jigsaw for detailed or curved cuts
- Safety gloves and goggles
A utility knife works best for straight cuts. You can use a jigsaw when you need to cut around corners or vents. Always keep extra blades handy because dull blades can tear the vinyl and make your diy job harder.
Safety tips for cutting
Safety matters when you cut vinyl flooring. You want to protect your hands and eyes from sharp tools and flying debris. Here are some important safety tips:
Tip: Always cut away from your body and keep your fingers clear of the blade.
- Wear safety gloves to protect your hands from cuts.
- Use safety goggles to shield your eyes from small pieces.
- Work on a stable surface to prevent slips.
- Keep your work area clean and free of clutter.
- Change blades often to avoid forcing the knife.
If you use a jigsaw, make sure you follow the manufacturer’s instructions. Unplug the tool when changing blades. Never rush the process. Taking your time helps you avoid accidents and get better results.
Step-by-step guide to cutting vinyl flooring
Many people ask, how do you cut vinyl flooring for a diy project? You can follow these simple steps to get a perfect fit every time. Major flooring manufacturers recommend this process:
- Prep the Vinyl Sheet: Clean the area where you will install the flooring. Unroll the vinyl sheet and let it lay flat for at least 24 hours. This step helps the material adjust to the room.
- Acclimate the Vinyl Sheet: Let the vinyl sit in the room so it can expand or contract as needed. This prevents gaps or buckling later.
- Relief the Corners: Measure and mark the corners of the room. Cut small reliefs so the vinyl lays flat against the walls.
- Cut Around Objects: Mark and cut around fixed objects like pipes or cabinets. Use a jigsaw for tricky shapes.
- Cut the Perimeter: Measure the room’s length and width. Mark these on the vinyl. Use a straight edge and utility knife to score along the lines. Snap the vinyl along the scored line for a clean cut.
- Cut Out the Floor Vents: Find the vent locations. Mark them on the vinyl and cut out the shapes carefully.
For straight cuts, use the scoring and snapping method. Place the straight edge along your line, score the vinyl with your utility knife, then bend and snap it apart. For curves or detailed cuts, a jigsaw gives you more control.
Many diy homeowners find that planning each cut before starting saves time and reduces mistakes. Always double-check your measurements. If you wonder how do you cut vinyl flooring in tight spaces, try making a template from cardboard first. This helps you trace the exact shape onto the vinyl.
Note: Practice on a scrap piece of vinyl before making your final cuts. This builds your confidence and helps you master the technique.
When you follow these steps, you can handle any diy vinyl flooring project with ease. You will see that learning how do you cut vinyl flooring is simple when you use the right tools and methods.
Why Scratches Happen on Vinyl Flooring
Common causes of scratches
You may notice scratches on your vinyl flooring even when you try to be careful. Many things in your daily routine can lead to these marks. Dirt and grit from outside often get trapped under shoes or furniture. When you walk across the floor, these tiny particles act like sandpaper. Over time, they create scratches that can dull the surface.
Dragging furniture is another common reason for scratches. If you move a chair or table without lifting it, the legs can scrape the floor. Heavy items can leave deep marks if you do not use sliders or lift them. Using the wrong cleaning products can also damage the protective layer. Some cleaners contain harsh chemicals that break down the finish, making it easier for scratches to appear.
Letting dirt build up in high-traffic areas increases the risk. Each step grinds small stones and sand into the vinyl. You may not see the damage right away, but scratches add up quickly. Keeping your floors clean and using gentle products helps prevent these problems.
Tip: Place mats at entryways to catch dirt before it reaches your vinyl flooring.
How pets and kids contribute to scratches
Pets and kids bring energy and fun into your home, but they also add to the challenge of keeping your floors scratch-free. Dogs often scratch the surface when they jump onto the couch or run across the room. Excited pawing at doors can leave visible scratches. Some dogs scratch because they feel bored, anxious, or want attention. Certain breeds have a natural instinct to dig or scratch, which can show up on your floors.
Kids love to play and move around. Toys with hard edges, ride-on cars, and dropped objects can all cause scratches. When kids run or slide across the floor, their shoes or toys may leave marks. You may see more scratches in play areas or near doors where kids and pets spend the most time.
You can reduce scratches by trimming your pets’ nails and teaching kids to play gently on the floor. Rugs and mats in busy spots also help protect your vinyl flooring from daily wear.
Repair Scratches on Vinyl Flooring with skspcflooring Solutions
Repairing minor scratches
You can repair most minor scratches on your vinyl flooring with simple tools and products you already have at home. Small dents and scuffs often look worse than they are. You do not need to panic when you see these marks. You can fix scratches quickly if you act early.
Here is a table that shows the best ways to repair different types of scratches and dents:
| Severity of Scratch | Method | Description |
|---|---|---|
| Surface Scratches | Rubbing Alcohol/Mineral Spirits | Apply to a cloth and rub gently to remove scuffs. |
| Pencil Eraser | Use a clean white eraser to remove minor scuffs. | |
| Jojoba Oil/WD-40 | Buff out faint scratches with a small amount on a soft cloth. | |
| Shallow Scratches | Vinyl Floor Polish/Sealer | Fill in scratches and restore shine with specific products. |
| Clear Nail Polish | Apply a thin coat to small scratches for protection. | |
| DIY Repair Kits | Use kits with colored fillers to fix scratches. | |
| Deep Scratches | Vinyl Seam Sealer | Fill deep scratches with a liquid seam sealer. |
| Heat Gun/Hair Dryer | Warm minor dents to help them expand and fill. | |
| Filler Kits | Use colored fillers to match and repair gouges. | |
| Replacement of a Plank/Tile | Replace damaged pieces for a seamless fix. |
You can start by cleaning the area around the scratches. Use a soft cloth and gentle cleaner. For surface marks, try rubbing alcohol or a pencil eraser. These methods often remove scuffs and make your flooring look new again. If you see shallow dents, use a vinyl floor polish or sealer. This fills in the dents and brings back the shine. For deeper dents, a heat gun or hair dryer can help the vinyl expand and fill the space.
Tip: Always test any product on a small hidden spot before you use it on the main area.
Using vinyl repair kits
You can use a floor repair kit for scratches and dents that do not go away with simple cleaning. These kits work well for dents that are too deep for polish but not bad enough to need a full replacement. A floor repair kit usually comes with colored fillers, a spatula, and sometimes a sealer. You can match the color of your flooring and fill in the dents so they blend in.
To use a floor repair kit, clean the area first. Mix the filler to match your floor color. Use the spatula to press the filler into the dents and scratches. Let it dry, then smooth the surface with a soft cloth. Some kits include a sealer to protect the repair. You can repeat the process if the dents are still visible.
You can also use clear nail polish for very small scratches. Apply a thin layer and let it dry. This protects the spot and keeps dirt out. For larger dents, use a colored filler from your floor repair kit. This gives you a smooth and even finish.
Note: You can find floor repair kits at most hardware stores or online. Choose a kit that matches your flooring color for the best results.
When to call a professional
Sometimes, scratches and dents are too deep or wide for a simple repair. You may see a large gouge or a damaged plank. You should call a professional in these cases. Professionals know how to fix scratches and dents without making the problem worse. They can replace a single plank or tile if needed.
You should call a professional if:
- You see significant damage, such as deep gouges in your vinyl planks.
- You need to repair complex patterns or seams that must align perfectly.
- You want to avoid mismatched colors or uneven surfaces.
The cost of professional vinyl flooring repair can vary. Most repairs cost between $50 and $350 for small jobs. If you need to replace a section, the price can go up to $500 or more. The normal range for larger repairs is $440 to $630. You can save money by fixing small dents and scratches yourself, but you should not try to repair large areas without help.
Tip: If you have skspcflooring products, you can contact their support team for advice on the best repair method. Their flooring is designed to resist dents and scratches, but professional help ensures a perfect finish if you need it.
You can keep your vinyl flooring looking great by repairing scratches and dents as soon as you see them. Use a floor repair kit for small problems and call a professional for bigger jobs. This keeps your floors strong and beautiful for years.
Prevent Scratches: Tips for Pet and Kid-Proof Floors
Maintain pet nails and claws
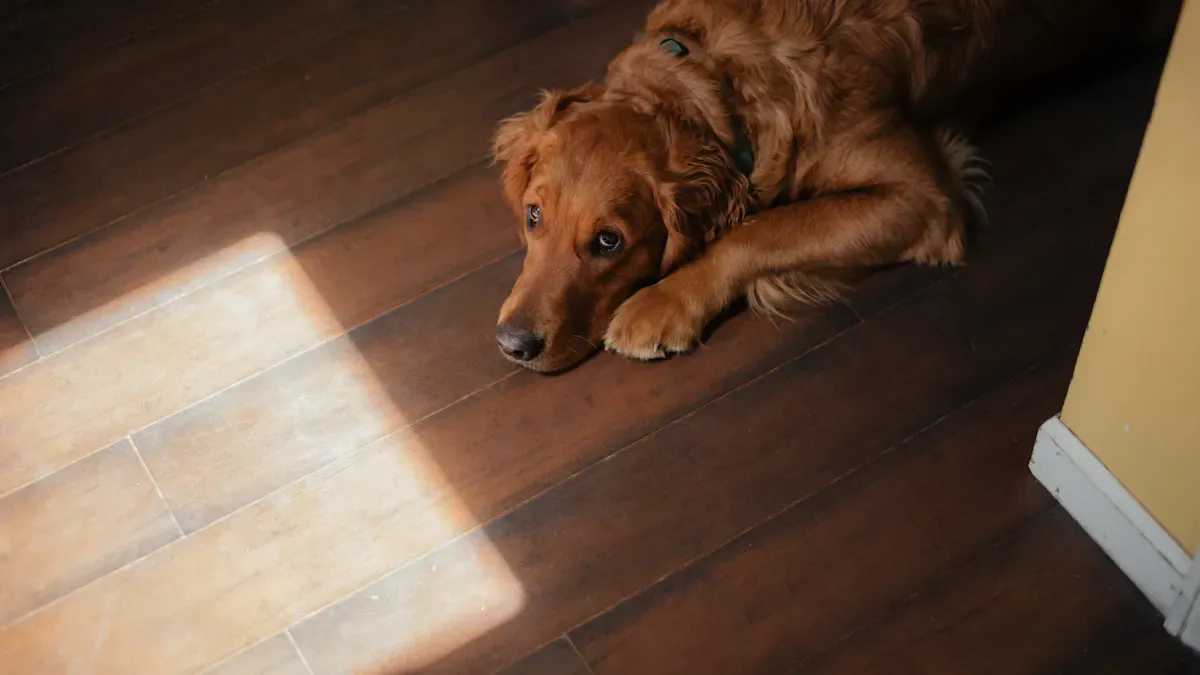
You can prevent scratches from pets by keeping their nails trimmed. Long nails can dig into your vinyl flooring and leave marks, especially in high-traffic areas. Regular trimming helps you protect high-impact zones where your pets like to play or rest.
Having properly trimmed nails means your floors and furniture are spared from scratches, too.
You should check your pet’s nails every week. If you hear clicking sounds when your pet walks, it is time for a trim. This simple habit helps you keep your pet-proof flooring looking new and reduces the risk of deep scratches.
Use rugs, mats, and felt pads
You can prevent scratches in high-traffic spaces by using rugs and mats. These items act as a barrier between shoes, toys, and your vinyl flooring. Place rugs in entryways, hallways, and play areas to protect high-impact zones. Make sure the rug has a backing that is safe for vinyl floors.
- A well-placed rug can prevent scratches, especially in high-traffic areas like entryways and hallways.
- Ensure the rug has a backing that is safe for vinyl floors to avoid damage.
- Felt pads under furniture can significantly reduce the risk of scratches from moving chairs and tables.
- For heavier furniture, using sliders or coasters can help distribute weight and protect the flooring.
You should add felt pads to the bottom of chairs and tables. When you move furniture, use protective pads or floor protectors to avoid scratches. For heavy items, sliders help you move them without causing damage. Remember to add felt pads and use protective pads in all high-traffic rooms.
Cleaning routines to prevent scratches
You can prevent scratches by following a simple cleaning routine. Dirt and grit in high-traffic areas can scratch your floor if you do not clean often. Sweep or vacuum daily to remove loose dirt. Use a damp microfiber mop with a pH-neutral cleaner for deeper cleaning. Dry the surface right away to prevent moisture from seeping into seams.
- Remove loose dirt with a soft broom or vacuum.
- Use a damp microfiber mop with a pH-neutral cleaner.
- Dry the surface promptly to prevent moisture exposure.
For best results, use warm water with a vinyl-approved cleaner. Avoid abrasive scrubbers and never flood the surface. Too much water can loosen the adhesive and make your floor more likely to get scratches. Always wipe spills immediately to prevent damage.
By following these steps, you can prevent scratches and keep your vinyl flooring looking beautiful, even in busy, high-traffic homes with kids and pets.
Make Vinyl Flooring Scratch Resistant with skspcflooring
Choosing the right wear layer thickness
You want your floors to stand up to daily life. The wear layer is the top surface of your vinyl flooring. This layer protects the design and adds durability. If you have pets or children, you need a strong wear layer to make vinyl flooring scratch resistant. Experts recommend a wear layer thickness of at least 12 mil for homes with pets and kids. This thickness helps protect vinyl flooring from scratches, dents, and scuffs. You can enjoy a beautiful floor that lasts longer and looks new even in busy spaces.
When you choose skspcflooring, you get access to a range of scratch-resistant flooring options. These products come with wear layers designed for high-traffic areas. You can select the right thickness for your needs. A thicker wear layer means better protection and less worry about damage from claws, toys, or moving furniture.
Tip: Always check the product specifications before you buy. A thicker wear layer gives you more scratch-resistant flooring for your home.
Protective coatings and sealers
You can add another level of protection with coatings and sealers. These products help make vinyl flooring scratch resistant and keep your floors looking their best. Different types of sealers offer different benefits. The table below shows common options and how well they protect vinyl flooring from scratches.
| Type of Sealer | Characteristics | Effectiveness in Preventing Scratches |
|---|---|---|
| Acrylic-Based Sealers | Water-based, low-VOC, clear, durable, easy to apply | Provides a protective layer against scratches |
| Polyurethane Sealers | Long-lasting, scratch, chemical, and moisture resistant | Highly effective for high-traffic areas |
| Wax-Based Sealers | Natural shine, temporary protection, requires reapplication | Less durable, offers limited scratch protection |
| Epoxy Sealers | Highly durable, chemical resistant, typically for industrial use | Very effective but more complex to apply |
You can use polyurethane sealers for the best scratch-resistant flooring in busy rooms. Acrylic-based sealers also help protect vinyl flooring and are easy to apply. Wax-based sealers give a nice shine but need frequent reapplication. Epoxy sealers work well in tough environments but are harder to use at home.
You can combine a thick wear layer with the right sealer to make vinyl flooring scratch resistant. This approach gives you long-lasting protection and peace of mind. Your floors will stay beautiful, even with pets and kids running around.
You can manage cutting vinyl flooring and handling scratches with the right approach. Choose luxury vinyl flooring for scratch and water resistance. Sweep or vacuum regularly to keep dirt away. Mop with vinyl-safe cleaners. Place mats at entry points and wipe spills quickly. Use furniture pads to prevent scratches from heavy items. Keep pets’ nails trimmed. Schedule routine checks for wear and damage. skspcflooring offers durable, scratch-resistant flooring solutions for families who want lasting beauty and easy maintenance.
FAQ
How do you cut vinyl flooring without chipping the edges?
You should use a sharp utility knife and a straight edge. Score the vinyl deeply, then snap it along the line. This method gives you clean edges and prevents chipping.
What is the best way to prevent scratches from pets?
You should trim your pet’s nails regularly. Place rugs in high-traffic areas. Add felt pads under furniture. These steps help protect your vinyl flooring from scratches.
Can you repair deep scratches on vinyl flooring yourself?
You can fix small scratches with a repair kit. For deep scratches or damaged planks, you should contact a professional. This ensures your floor looks smooth and matches the rest.
How do you choose the right SPC flooring for homes with kids and pets?
You should look for SPC flooring with a thick wear layer. Check for scratch-resistant coatings. Choose products from trusted brands like skspcflooring for extra durability and peace of mind.




