
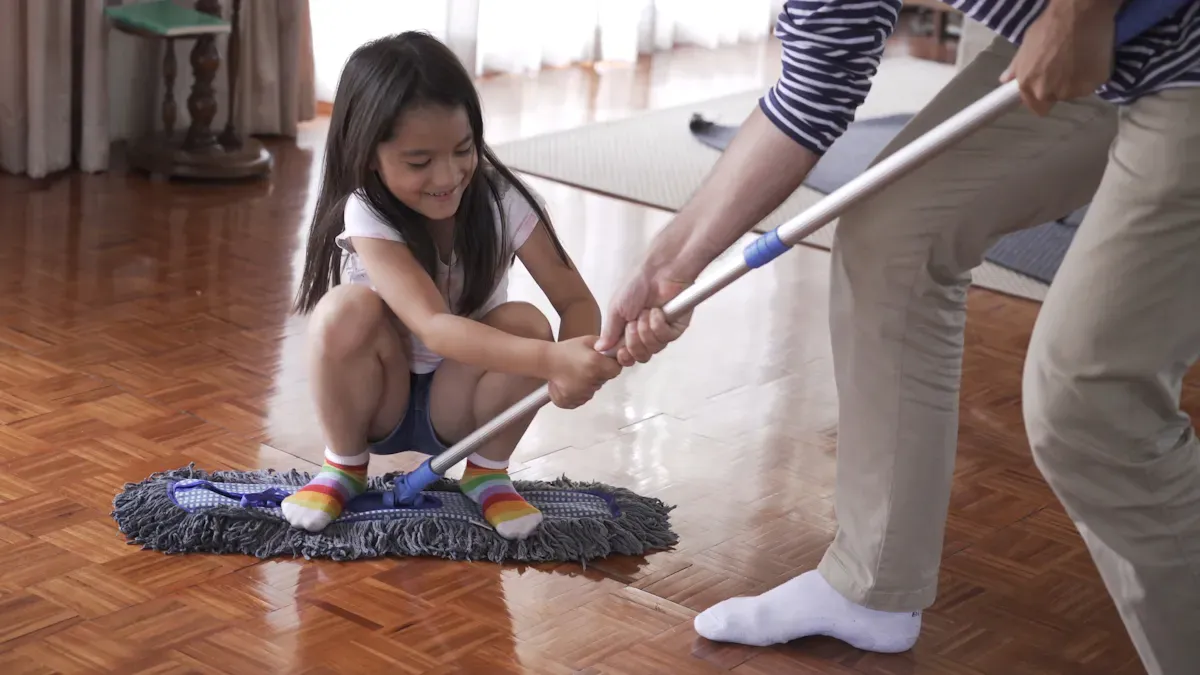
After you finish cutting vinyl floors, you need to clean up fast. Here are the top dos and don’ts:
- Do sweep away dust and debris right away.
- Do use a damp mop with a mild cleaner.
- Do dry the floor after cleaning.
- Don’t use harsh chemicals or abrasive tools.
- Don’t let water sit on the surface.
Act quickly after learning how to cut vinyl floor. Gentle cleaning keeps your floors looking new and protects them from scratches and moisture.
Why Cleaning and Maintaining Vinyl Floors After Cutting Matters
Preventing Residue and Debris
You need to clean up after cutting vinyl flooring. Dust and scraps can settle on the surface. If you leave debris, it can scratch the floors and cause damage. Sweeping and vacuuming right away removes grit and keeps the floor safe. You protect the wear layer and avoid problems that can build up over time. Cleaning and maintaining your vinyl flooring helps you keep the surface smooth and free from trouble.
Protecting Floor Appearance
When you clean vinyl floors after cutting, you keep them looking new. Dirt and residue can dull the shine and make the floor look worn. You want your vinyl flooring to stay bright and attractive. The right cleaning steps help you maintain the protective layer and prevent scratches. Timely repairs stop small issues from getting worse. Here is a table showing how different maintenance practices impact the appearance of vinyl floors:
| Maintenance Practice | Impact on Appearance |
|---|---|
| Proper cleaning | Keeps the surface free from residue and prevents wear |
| Regular sweeping/vacuuming | Prevents dirt and grit from scratching the surface |
| Using a damp mop with vinyl-safe cleaner | Maintains the protective wear layer |
| Timely repairs | Addresses issues before they worsen, preserving appearance |
Ensuring Longevity
You want your vinyl flooring to last as long as possible. Regular cleaning, including deep cleaning, stops grime from building up. It also helps you fix minor damage before it becomes a big problem. When you take care of your floors, you extend their lifespan and keep them strong. Cleaning and maintaining vinyl floors after cutting is a smart habit. You protect your investment and enjoy beautiful floors for years.
Tip: Quick action after cutting prevents damage and keeps your vinyl flooring in top shape.
Dos for Cleaning Vinyl Floors After Cutting
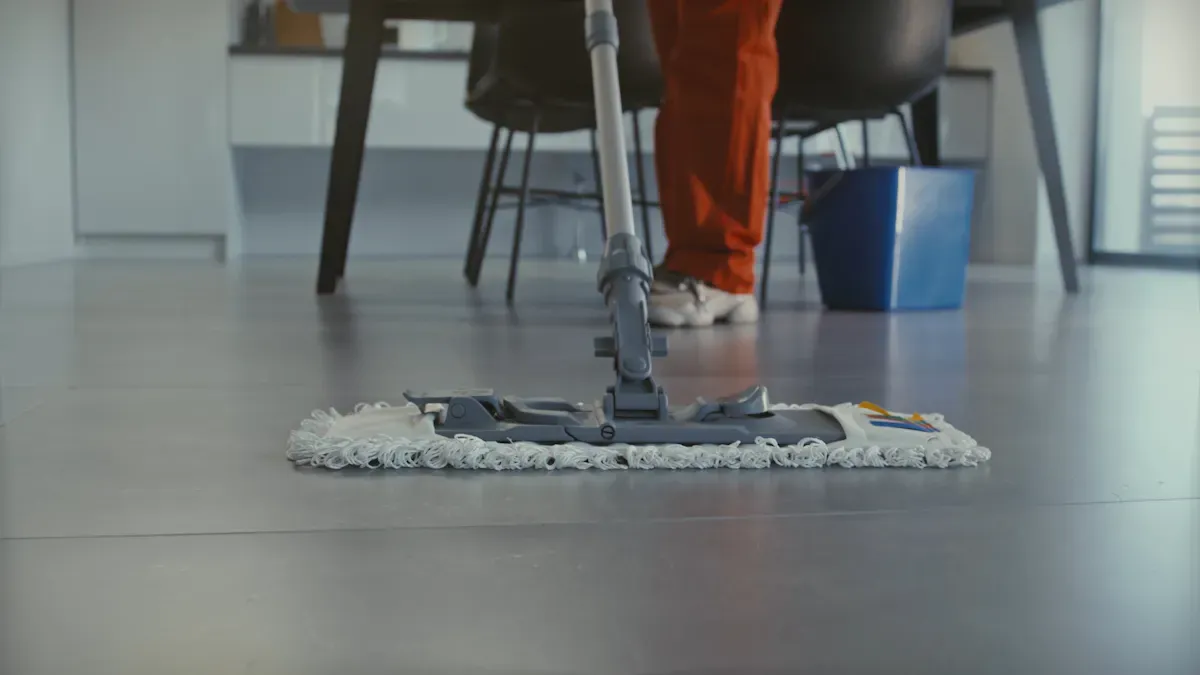
Sweep Up Dust and Debris
You need to start sweeping right after you finish cutting vinyl plank floors. Dust and debris can scratch the surface if you leave them behind. Sweeping keeps your vinyl plank floors safe and clean. You should use the right tools for sweeping. A soft-bristled broom works well for corners and large debris. Dry microfiber dust mops trap dust and fine particles without streaking. Avoid using vacuums because they can damage vinyl floors. Sweeping every day helps you clean your floors and keeps them looking new.
- Soft-bristled broom for corners and large debris
- Dry microfiber dust mop for fine particles
- Avoid vacuums on vinyl floors
Tip: Sweeping often prevents scratches and protects the finish of your vinyl plank flooring.
Use a Damp Mop with Mild Cleaner
After sweeping, you should use a damp mop with a mild cleaner. This step removes any leftover dust and keeps your vinyl plank floors shiny. Choose a cleaner made for vinyl flooring. Avoid harsh chemicals because they can damage the surface. Make sure the mop is only damp, not wet. Too much water can cause problems for vinyl floors. Cleaning with a damp mop helps you maintain the protective layer and keeps your floors strong.
Note: Always follow the instructions on the cleaner. Test it in a small area before you clean your floors.
Wipe Spills Immediately
You must wipe up spills immediately to protect your vinyl plank floors. If you leave a spill, it can cause discoloration, bubbling, or peeling. Paint and other chemicals can ruin the finish of vinyl flooring. Cleaning up spillages right away stops damage before it starts. Use a soft cloth or paper towel to wipe spillages. Make sure you dry the area after you clean it. If you use improper cleaning methods, you can make the damage worse.
- Immediate spill removal prevents discoloration and bubbling
- Chemicals in paints can harm the finish
- Proper cleaning stops damage from spills
Alert: Quick action keeps your vinyl floors safe and helps them last longer.
Protect from Scratches and Scuffs
You want your vinyl plank floors to look new for a long time. Scratches can make your floors look old and worn. You can prevent most scratches if you follow a few simple steps.
- Place felt pads under the legs of chairs and tables. These pads help protect your floors when you move furniture.
- Use rugs or mats in high-traffic areas. Mats catch dirt and small rocks that can scratch the surface.
- Take off your shoes before walking on vinyl plank floors. Small stones or grit stuck to shoes can leave marks.
- Move heavy furniture with care. Lift items instead of dragging them across the floor.
Tip: Check your furniture pads often. Replace them if they wear out or fall off.
You should also keep your pet’s nails trimmed. Long nails can leave scratches on vinyl plank flooring. If you have children, remind them not to drag toys or sharp objects across the floors. These habits help you keep your floors smooth and shiny.
Dry the Floor Thoroughly
After you clean, you need to dry the floor completely. Water left on the surface can seep into seams and cause problems. You can use a soft, dry towel or a microfiber mop to remove any leftover moisture.
Here is a simple routine you can follow:
- Mop with a damp cloth or mop.
- Go over the area with a dry towel right away.
- Open windows or use a fan to speed up drying if needed.
You should regularly dry mop your floors to remove dust and keep them looking bright. This habit also helps prevent water spots and streaks. Drying your floors after every cleaning keeps them in top condition.
Remember: A dry floor is a safe floor. You lower the risk of slips and keep your vinyl plank floors looking their best.
Don’ts for Cleaning Vinyl Floors After Cutting
Avoid Excess Water
You need to keep water away from your vinyl floors after cutting. Water can seep into the seams and cause trouble. If you use too much water during cleaning, you risk damaging the flooring. Moisture can get trapped under the surface and lead to bigger problems. Here are some risks you should watch out for:
- Excess water can cause water damage and weaken the flooring.
- Mold and mildew may grow where moisture collects, especially if there are gaps.
- Long exposure to water can break down the flooring material.
You should always use a damp mop, not a wet one. Dry the floors right after cleaning. If you see a spill, wipe it up quickly. This habit keeps your vinyl flooring safe and strong.
Don’t Use Abrasive Tools
You want your floors to stay smooth and shiny. Abrasive tools can scratch the surface and ruin the finish. Steel wool, hard-bristled brushes, and rough pads can leave marks that never go away. You should choose soft cleaning tools like microfiber mops or soft cloths. These tools protect the surface and help you keep your floors looking new. If you need to remove tough dirt, use gentle pressure and a mild cleaner. Avoid scrubbing too hard. You protect your investment when you use the right tools.
Skip Harsh Chemicals
You need to avoid harsh chemicals when cleaning vinyl floors. Some chemicals can cause serious health problems and damage the flooring. Here are some chemicals you should never use:
- Polybrominated diphenyl ethers (PBDEs) are flame retardants that can cause neurodevelopmental delays, obesity, thyroid disruption, and cancer.
- Phthalates like benzyl butyl phthalate (BBP) are linked to asthma, eczema, reproductive disorders, and multiple myeloma.
- Children living in homes with vinyl flooring may have higher levels of these chemicals, which can cause respiratory problems, skin irritation, and neurological issues.
You should always check the label before using any cleaning product. Choose cleaners made for vinyl floors. If you use the wrong chemicals, you risk harming your family and damaging your floors.
One common mistake happens when you ignore small cuts or gaps after cutting. If you cut the plank too tight against the wall, the floor cannot expand and may buckle later.
You protect your floors and your health when you use safe cleaning methods. Always follow the manufacturer’s instructions and avoid products that contain harsh chemicals.
Don’t Ignore Small Cuts or Gaps
Small cuts or gaps may seem harmless, but they can cause big problems for your vinyl floors. When you cut vinyl planks, you might leave tiny spaces or nicks along the edges. If you ignore these, dirt and moisture can get inside. Over time, this can damage the floor and make it look old.
You should check your floor after every cut. Look for any small gaps or rough edges. If you find a gap, fill it with a vinyl floor seam sealer or a matching filler. This keeps water and dust out. You can also use a color-matched caulk for a neat finish.
Tip: Always inspect the edges after cutting. Fix small problems right away to avoid bigger repairs later.
Here are some steps you can follow:
- Examine the seams and edges after each cut.
- Clean out any dust or debris from the gaps.
- Apply a vinyl seam sealer or filler to close the gap.
- Wipe away extra sealer with a soft cloth.
- Let the area dry before walking on it.
If you see a cut that is too large to fix with filler, you may need to replace the plank. Taking care of small issues now helps your floor last longer and look better.
Avoid Dragging Furniture
Dragging furniture across vinyl floors can leave deep scratches and dents. Even lightweight chairs or tables can cause damage if you slide them. You want to keep your floor smooth and free from marks.
You should always lift furniture when you move it. Ask someone to help if the item is heavy. Place felt pads or furniture sliders under the legs of chairs, tables, and sofas. These pads make it easy to move furniture without scratching the floor.
Alert: Never drag heavy items like refrigerators or couches. Use a dolly or sliders to protect your vinyl flooring.
Here is a quick checklist to help you move furniture safely:
- Lift, don’t drag, every time you move furniture.
- Use felt pads or sliders under all furniture legs.
- Check pads often and replace them if they wear out.
- Clean the floor before moving furniture to remove grit and dust.
If you follow these steps, you protect your vinyl floor from damage. Your floor will stay beautiful and last for many years.
Daily and Weekly Cleaning and Maintaining Habits for Vinyl Floors
Quick Daily Cleaning Habits
You can keep your vinyl floors looking new with a few simple habits. Start each day with daily sweeping. This step removes grit and dust that can scratch the surface. Use a soft broom or a dry microfiber mop. If you see a spill, clean it up right away. Liquids can seep into seams and cause damage. In kitchens, spills happen often, so stay alert. Wipe up water, juice, or food as soon as you notice it. These small actions help you avoid stains and protect your floors from damage.
Tip: Place a mat at the entrance to catch dirt before it reaches your vinyl flooring.
Weekly Deep Cleaning Routine
You should give your vinyl floors a deeper cleaning once a week. Start by sweeping or vacuuming to remove loose dirt. Next, use a damp microfiber mop with a mild, alcohol-based cleaner. This method lifts away buildup without harming the surface. Do not use too much water. Too much moisture can cause damage, especially near seams or edges. Dry the floor with a towel after mopping. Weekly cleaning keeps your floors bright and helps prevent long-term damage. If you have a kitchen, pay extra attention to sticky spots or grease.
Note: Always check the label on your cleaner to make sure it is safe for vinyl.
Preventive Measures for High-Traffic Areas
High-traffic areas need extra care. Place rugs or runners in hallways, entryways, and kitchens. These protect the floor from dirt and grit. Use felt pads under furniture legs to stop scratches. Move heavy items with care. Lift them instead of dragging to avoid damage. In kitchens, use a mat near the sink and stove. This step catches spills and reduces wear. Check these areas often for signs of damage. Fix small problems before they get worse. Cleaning and maintaining your vinyl floors helps them last longer and look great.
Alert: Regular care in high-traffic areas prevents costly repairs and keeps your home safe.
Cleaning Spills and Troubleshooting Common Post-Cutting Issues
Removing Scuffs and Marks
You often see scuffs after cutting vinyl floors. These marks can make your floor look dull. You can get rid of scuffs without harsh chemicals. Try rubbing a clean tennis ball over the mark. This method works well for most vinyl floors. If you have many scuffs, use a floor buffer with a tan, white, or melamine pad. These pads polish the floor and remove marks. For tough scuffs, a blue pad can help, but use it gently to avoid removing the finish. A floor burnisher with a natural fiber pad can also erase scuffs, but you must use it carefully.
Tip: Always start with the gentlest method to protect your floor’s shine.
Dealing with Sticky Residue
Sticky residue can appear after cutting or from food spills in the kitchen. You need to act fast when you notice sticky spots. Use a pH-neutral cleaner like Quick Shine Multi-Surface Floor Cleaner. This product works well for general sticky residue. If you have pets, Quick Shine Hard Surface Pet Floor Cleaner is safe and effective. For older or tougher sticky stains, try Quick Shine Deep Cleaner + Wax Remover. After cleaning spills, you can restore shine with Quick Shine Floor Finish.
| Cleaner Type | Best Use |
|---|---|
| Multi-Surface Floor Cleaner | Everyday sticky residue |
| Pet Floor Cleaner | Homes with pets |
| Deep Cleaner + Wax Remover | Tough, old sticky stains |
| Floor Finish | Restoring shine after cleaning |
Note: Always test cleaners in a small area before using them on the whole floor.
Fixing Minor Scratches
Minor scratches can happen during installation or from moving furniture. You can fix these scratches with simple tools. For surface scratches, rub gently with rubbing alcohol or mineral spirits on a soft cloth. A clean pencil eraser can also remove scuffs. Buff faint scratches with jojoba oil or WD-40. For shallow scratches, use vinyl floor polish or sealer to fill and restore shine. Clear nail polish works for small scratches. If you see deeper scratches, use a vinyl seam sealer or a filler kit that matches your floor color. Sometimes, warming minor dents with a hair dryer helps them expand and disappear.
Alert: Fix scratches quickly to prevent dirt from settling and making repairs harder.
How to Cut Vinyl Floor and Care for skspcflooring Products
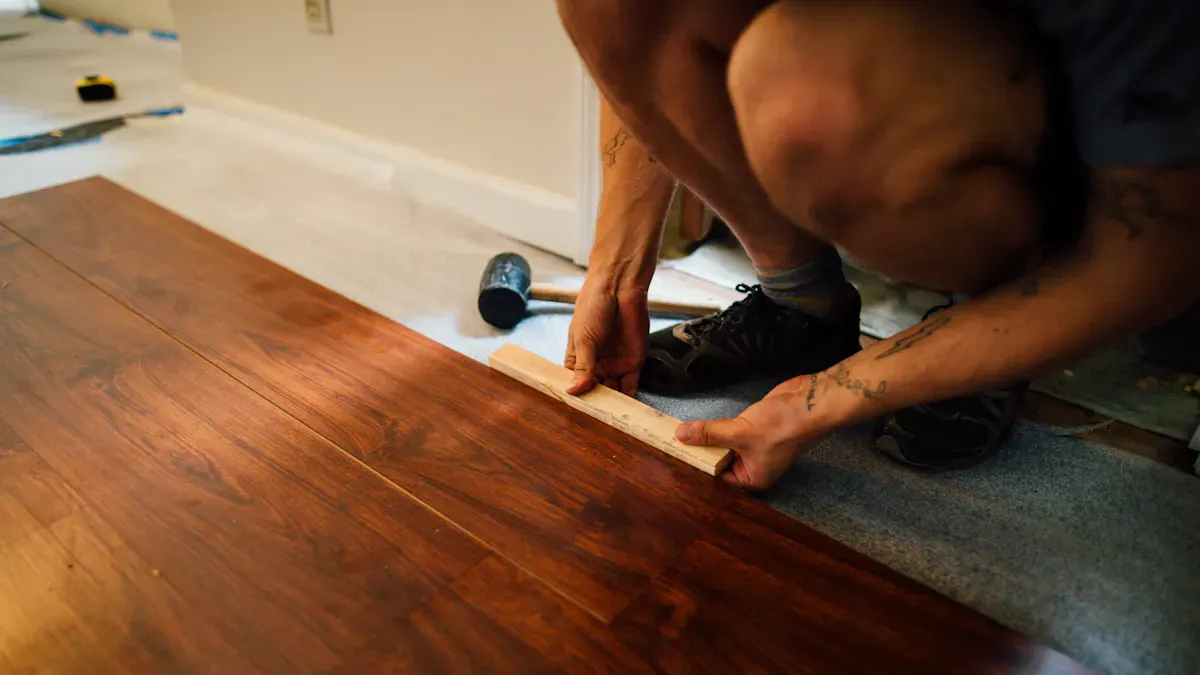
Best Practices for Cutting Vinyl Floor
You need to follow clear steps when learning how to cut vinyl floor. Start by measuring the area where you want to install the flooring. Mark the cutting lines with a pencil. Use a straight edge to guide your utility knife. Press firmly and score the surface. Bend the plank to snap it along the line. Always wear safety gloves to protect your hands. Keep your workspace clean to avoid accidents. You can use a cutting mat to protect the floor underneath. If you need to cut curves or corners, use a fine-toothed saw. Remember, knowing how to cut vinyl floor helps you achieve a neat finish and prevents mistakes.
Tip: Double-check your measurements before you cut. Accurate cuts make installation easier.
Cleaning After Cutting skspcflooring Vinyl Floors
After you finish cutting, you must clean the area. Sweep up dust and scraps right away. Use a soft broom or a dry microfiber mop. Avoid using vacuums with beater bars. Wipe the surface with a damp mop and a mild cleaner. Make sure you do not leave water on the floor. Dry the area with a towel. Cleaning after you learn how to cut vinyl floor keeps your skspcflooring products looking new. You protect the wear layer and prevent scratches. If you see small gaps or cuts, fill them with a vinyl seam sealer.
Alert: Quick cleaning stops debris from causing damage.
Maintaining skspcflooring SPC Flooring
You want your skspcflooring SPC flooring to last. Sweep daily to remove grit. Mop weekly with a pH-neutral cleaner. Place mats at entrances to catch dirt. Use felt pads under furniture legs. Lift furniture instead of dragging it. If you spill something, wipe it up right away. Regular care helps you avoid scratches and stains. Knowing how to cut vinyl floor and maintain it ensures your vinyl plank floor stays beautiful. You can enjoy durable, eco-friendly flooring for years.
| Maintenance Task | Frequency | Tool Needed |
|---|---|---|
| Sweeping | Daily | Soft broom/mop |
| Mopping | Weekly | Damp mop/cleaner |
| Checking for gaps | After cutting | Seam sealer/filler |
| Protecting from scratches | Ongoing | Felt pads/rugs |
Quick-Reference Checklist for Cleaning and Maintaining Vinyl Floors
Dos Summary
- Sweep or dust mop your floors every day to remove dirt and grit.
- Wipe up spills right away with a clean, absorbent cloth to prevent stains and slipperiness.
- Use a soft brush or microfiber mop for daily cleaning.
- Place walk-off mats at entrances to catch dirt and moisture.
- Wear soft-soled shoes indoors to avoid scuffing.
- Trim your pets’ nails to protect the surface from scratches.
- Use two mops when cleaning: one for washing, one for rinsing.
- Choose a neutral pH cleaner made for vinyl plank flooring.
- Fit felt pads or protective feet on furniture and appliances.
- Sweep lightly before mopping to prevent scratches.
- Clean high-traffic areas more often for best results.
Tip: Consistent cleaning and maintaining habits help your vinyl floors look new and last longer.
Don’ts Summary
- Do not use abrasive tools, steel wool, or harsh brushes.
- Avoid ammonia-based, vinegar-based, or strong chemical cleaners.
- Never drench the floor with water or use steam mops.
- Do not drag furniture or heavy items across the surface.
- Skip wax on no-wax vinyl plank floors.
- Do not use mats with latex or rubber backing, as they can cause discoloration.
- Avoid vacuuming with a beater bar to prevent scratches.
Alert: Following these don’ts protects your floors from damage and keeps them safe for your family.
Maintenance Reminders
- Sweep or vacuum daily to remove loose debris and grit.
- Mop weekly with warm water and a pH-neutral cleaner.
- Wipe up spills immediately to prevent water damage.
- Check for scuffs and marks; remove them with Jojoba Oil or WD-40 on a soft cloth.
- Inspect furniture pads and replace them if worn.
- Review the care guide for your specific vinyl plank flooring for more tips.
Note: Using a checklist for cleaning and maintaining vinyl plank floors helps you stay consistent and extends the life of your investment.
To keep your vinyl floors looking new after cutting, remember these key steps:
- Sweep or dry mop often to remove dirt.
- Wipe up spills right away to stop damage.
- Use felt pads under furniture to prevent scratches.
- Place mats at entrances to catch grit and moisture.
- Avoid harsh cleaners and never let water sit on the floor.
Consistent, gentle cleaning and quick action protect your floors and help them last for years.
FAQ
How soon should you clean vinyl floors after cutting?
You should clean vinyl floors right after cutting. Quick cleaning removes dust and debris before they scratch the surface. This step helps keep your floors looking new.
Can you use a steam mop on vinyl floors?
You should not use a steam mop on vinyl floors. Steam can force moisture into seams and cause damage. Use a damp mop with a mild cleaner instead.
What is the best way to remove sticky residue?
You can remove sticky residue with a pH-neutral cleaner and a soft cloth. Test the cleaner in a small area first. Wipe gently to avoid scratching the surface.
How do you protect vinyl floors from scratches after installation?
You can place felt pads under furniture legs. Use rugs in high-traffic areas. Lift heavy items instead of dragging them. These steps help prevent scratches and keep your floors smooth.




