
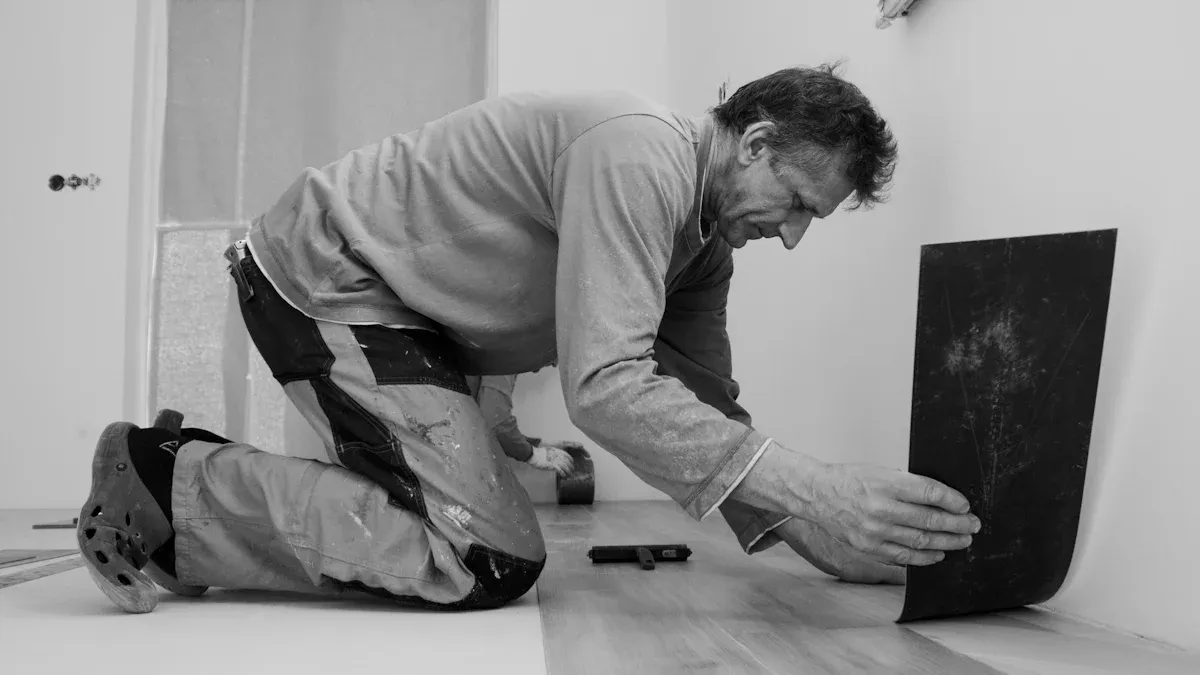
If you want clean, professional results, you should use modern electric cutters or specialty tools when you cut vinyl floor tiles in 2026. Many new vinyl floor mat products have become thicker and more rigid. Traditional tools like utility knives often cannot handle these changes well. You need to choose the right method for your vinyl floor mat to get a smooth edge and a safe finish. Knowing how do you cut vinyl floor tiles with the latest tools will help you work faster and avoid mistakes.
Common Methods: How do you cut vinyl floor tiles
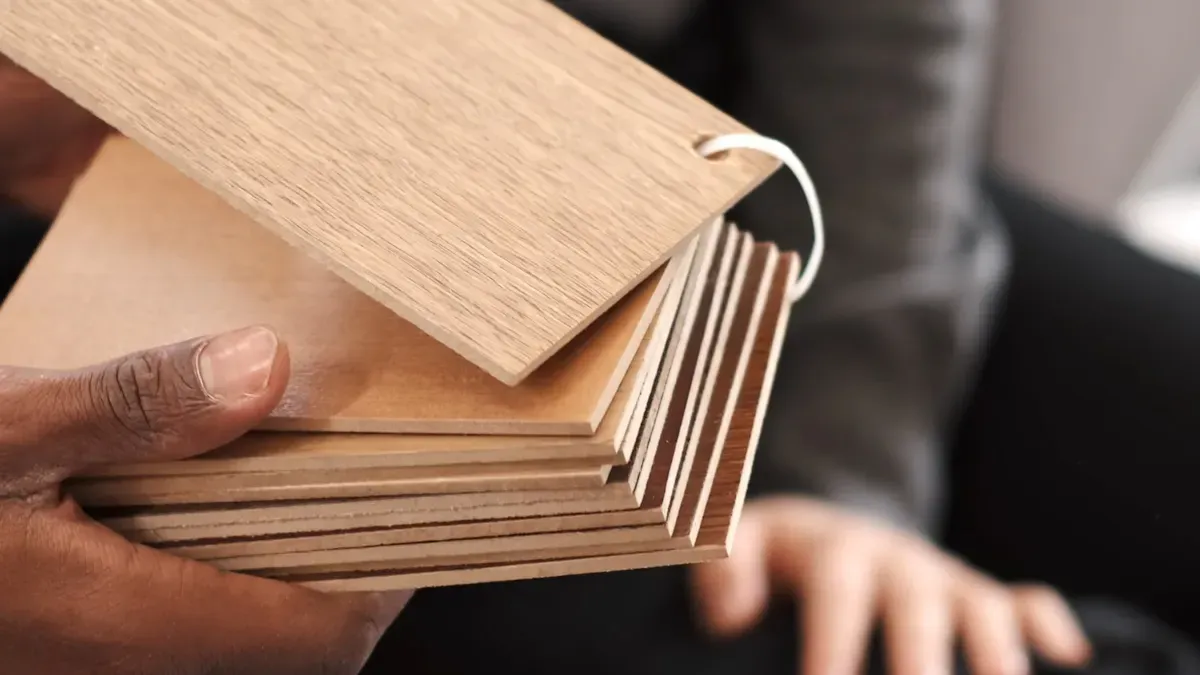
When you want to know how do you cut vinyl floor tiles, you will find several common methods. Each method works best for certain types of vinyl floor mat and peel-and-stick tiles. The right choice helps you get easy to cut results and a clean finish.
Utility Knife and Straight Edge
You can use a utility knife and a straight edge for many peel-and-stick tiles. This method works well for thin vinyl floor mat and gives you control over your cuts. Place the straight edge along your cut line, then score the surface with the utility knife. Repeat until you cut through the tile. This method is easy to cut and perfect for small projects or when you need to trim peel-and-stick tiles to fit tight spaces.
Scoring and Snapping
Scoring and snapping is another popular way to cut peel-and-stick tiles and vinyl floor mat. You score the tile with a sharp blade, then bend it until it snaps along the line. This method works well for many types of vinyl, including luxury vinyl plank and rigid core tiles. You get a straight edge and can finish your project quickly. Many people like this method because it is easy to cut and does not need special tools.
Here is a table showing how different methods compare for how do you cut vinyl floor tiles:
| Method | Effectiveness |
|---|---|
| Score and Snap | Works excellently on various types of vinyl floors including LVP, WPC, and SPC vinyl flooring. |
| Utility Knife | Ideal for precision cutting, especially for thinner variants like peel and stick flooring. |
| Vinyl Tile Cutter | Designed for precision and efficiency, ensuring clean cuts without rough edges. |
| Handsaw/Table Saw | Provides control and accuracy for precise cuts, especially for intricate angles and patterns. |
| Miter Saw | Perfect for cross cuts and angles, allowing for seamless transitions between different areas. |
| Jigsaw | Versatile for intricate cuts, especially around door frames and curves. |
Manual Tile Cutters
Manual tile cutters help you cut thicker peel-and-stick tiles and vinyl floor mat. You place the tile in the cutter, score it, and then snap it along the line. This tool gives you straight cuts and works well for larger projects. However, manual tile cutters are slower than power tools. They work best for straight cuts and softer tiles. You can use them for small jobs or when you need to move your tools often.
Tip: Manual tile cutters are more portable and practical for small or trim work, but power tools like wet saws are faster and more accurate for large or complex projects.
If you want to know how do you cut vinyl floor tiles for the best results, start by choosing the method that matches your tile type. Peel-and-stick tiles are easy to cut with a utility knife or by scoring and snapping. For thicker vinyl floor mat, a manual tile cutter may work better.
Power Tools for Vinyl Tiles
You can make your vinyl tile cutting projects much easier by using power tools. These tools help you work faster and get cleaner results. Many people in 2026 choose power tools because vinyl tiles have become thicker and tougher. You do not have to struggle with hand tools when you use the right machines.
Here are some of the most common power tools for cutting vinyl floor tiles:
- Oscillating Multi-Tools: You can use these for small spaces or tight corners. They work well when you need to cut around pipes or door frames.
- Rotary Hammers and Demolition Hammers: These tools help you handle medium-sized jobs at home or in small businesses. They give you more power and control than manual tools.
- MS 230 Floor and Tile Removal Machine: This machine is perfect for large rooms or commercial spaces. You can stand upright while you work, which keeps you comfortable and safe.
Tip: Power tools can remove tiles up to 10 times faster than hand tools. You save time and energy on big projects.
You also get other benefits when you use power tools:
- Clean Removal: Power tools slice under the tiles. You see less dust and fewer broken pieces.
- Versatility: Many machines work on different flooring types, such as vinyl, ceramic, or stone. You do not need a new tool for every job.
If you want to cut vinyl tiles for a kitchen, hallway, or office, power tools give you the best results. You get straight lines and smooth edges. You also finish your work quickly. Always read the instructions for your tool and wear safety gear. This keeps you safe and helps your project look great.
Why Traditional Cutting Methods May Not Be Best
Evolving Vinyl Tile Materials and Thickness
You may notice that vinyl floor mat products have changed a lot in recent years. Manufacturers now make tiles thicker and stronger. These new materials help your floors last longer and look better. However, they also make it harder for you to cut them with old tools. If you try to use a basic utility knife, you might struggle to get a clean edge. The blade can slip or get stuck. You may even damage the tile. Modern vinyl floor mat options often include rigid cores or extra layers. These features protect your floor but also require better tools for cutting.
Note: Always check the thickness and type of your vinyl floor mat before you start your project. This step helps you choose the right tool and avoid mistakes.
Limitations of Manual Tools for Modern Tiles
Manual tools like utility knives or simple snips worked well for thin tiles in the past. Today, you face new challenges. Thicker vinyl floor mat products resist simple blades. You may need to press harder, which can lead to uneven cuts or even injury. Manual tools also make it tough to handle large projects. Your hands can get tired quickly. You might see jagged edges or rough corners on your tiles. These problems make your floor look less professional.
Here is a quick comparison:
| Tool Type | Works Well On | Struggles With |
|---|---|---|
| Utility Knife | Thin vinyl floor mat | Thick, rigid vinyl floor mat |
| Manual Snips | Small, soft tiles | Large, dense tiles |
If you want a smooth finish, you need a better solution. Modern electric cutters or specialty tools help you get the job done faster and safer.
Quality and Safety Concerns
When you use traditional methods, you risk poor results and safety issues. Dull blades can slip and cause accidents. Uneven pressure can break the tile or leave sharp edges. You may waste material if you make mistakes. This waste costs you time and money. Clean, straight cuts are important for a professional look. If you use the wrong tool, you may need to redo your work.
Tip: Always wear gloves and eye protection when you cut vinyl floor mat. Safety gear keeps you protected from sharp edges and flying debris.
You want your floor to look great and last a long time. Choosing the right tools and methods is the best way to achieve this. If you ask, “how do you cut vinyl floor tiles” today, you will find that modern tools offer a safer and more reliable solution.
Increased Risk of Waste and Mistakes
When you use old tools to cut modern vinyl floor tiles, you face a higher chance of making mistakes. These mistakes can lead to wasted materials and extra costs. You want your project to look good and last a long time. If you use the wrong method, you may end up with tiles that do not fit or have rough edges.
Here are some common problems you might face:
- Crooked Cuts: Manual tools can slip or wander off the line. You may cut at the wrong angle. This makes the tile hard to fit into place.
- Cracked or Broken Tiles: Thick or rigid tiles can crack if you use too much force. You may break a tile before you finish cutting it.
- Uneven Edges: Dull blades or weak tools can leave jagged edges. These edges do not look good and can make installation harder.
- Wasted Material: Every mistake means you lose a tile or part of a tile. You may need to buy more tiles to finish your floor.
Tip: Always measure twice and cut once. Careful planning helps you avoid waste.
You also risk hurting yourself if you push too hard or use a dull blade. Safety matters as much as quality. You want to finish your project without accidents.
Here is a quick table to show how mistakes can add up:
| Mistake Type | Result | Extra Cost or Time Needed |
|---|---|---|
| Crooked Cut | Tile does not fit | Must recut or replace |
| Cracked Tile | Tile breaks | Buy new tile |
| Uneven Edge | Poor appearance | Extra trimming |
| Wrong Measurement | Wrong size piece | Wastes material |
You can avoid these problems by choosing the right tools and following the best steps. Modern electric cutters and specialty tools help you make clean, accurate cuts. You save time, money, and effort. You also get a floor that looks great and lasts longer.
What Works Better: Modern Tools and Techniques with skspcflooring
Advanced Electric Vinyl Tile Cutters
You can achieve clean and accurate results when you use advanced electric vinyl tile cutters. These machines help you cut through thick and rigid tiles with ease. You do not need to struggle with manual tools or worry about jagged edges. Electric cutters give you the power to handle large projects and complex shapes.
- You get higher precision with electric cutters. The blades can handle angles, curves, and thick materials.
- You save time on big jobs. The machine cuts quickly and keeps the quality consistent.
- You can switch attachments and blades. This lets you make bevels, curves, and detailed designs that manual tools cannot do.
- You enjoy reliable performance. The machines last a long time and need little maintenance, so you can keep working without delays.
If you want a removable solution for your flooring, electric cutters help you make clean cuts that fit perfectly. You can install peel-and-stick tiles faster and with less effort. These tools work well for both home and commercial projects.
Tip: Always read the instructions for your electric cutter. This helps you stay safe and get the best results.
Laser-Guided Cutting Tools
Laser-guided cutting tools bring a new level of accuracy to your vinyl tile projects. You can see exactly where the blade will move before you start to cut. The laser line helps you follow your marks and avoid mistakes. This technology works well for peel-and-stick tiles, especially when you need straight lines or special angles.
Laser-guided tools help you:
- Line up your tiles with perfect accuracy.
- Reduce waste by making fewer mistakes.
- Work faster because you do not need to double-check your measurements.
You can use these tools for tricky cuts around corners or obstacles. The laser shows you the path, so you do not guess or make errors. Many professionals choose laser-guided tools for their speed and reliability.
Note: Laser-guided tools work best in well-lit rooms. Make sure your workspace is bright so you can see the laser clearly.
Step-by-Step Guide to Using Modern Tools
You can follow these steps to cut vinyl floor tiles with modern tools. This process works for peel-and-stick tiles and other types of vinyl flooring.
- Place your tile in the vinyl cutter. Use the tape measure on the edge of the cutter to line up the tile where you want to cut.
- Adjust the blade depth. Turn the screws on the top of the cutter to raise or lower the blade. Make sure the tile fits neatly under the blade.
- Press the handle down. Move the handle from the upright position down toward the base. The blade will cut through the tile.
- Remove the tile from the cutter. Take both pieces away and check the edges.
You can use this method for many types of peel-and-stick tiles. The steps help you get straight, clean edges every time. If you need to remove peel-and-stick tiles later, the clean cuts make the process easier.
Safety Tip: Wear gloves and eye protection when you cut vinyl tiles. This keeps your hands and eyes safe from sharp edges.
Modern tools from skspcflooring give you the best solution for your flooring projects. You get clean lines, less waste, and a professional look. You can trust these tools to help you finish your work quickly and safely.
Specialty Tools for Complex Cuts
You often face tricky cuts when you install vinyl floor tiles. You might need to trim around corners, pipes, or walls. Specialty tools help you handle these challenges with ease. These tools give you more control and accuracy than basic cutters.
You can use a variety of specialty tools for complex cuts. Each tool serves a unique purpose. Some tools help you cut straight lines with factory precision. Others let you make grooves or trim edges for a perfect fit. You can see the main specialty tools in the table below:
| Tool Name | Description | Weight |
|---|---|---|
| No. 001 Model “A” Tile Cutter | Cuts 12″ tiles straight with factory-calibrated accuracy of +/-.005″. Features a self-measuring floor guide. | 23 lbs |
| No. 008 18″ Vinyl Special Cutter | Cuts up to 18 inch tiles straight or 12 inch diagonally. Includes guides for straight and diagonal cuts. | 31 lbs |
| No. 968 Floor Following Groover | Cuts trapezoidal grooves for welding, maintains depth consistency, and includes a dust shroud. | 20.5 lbs |
| No. 340 Selvage Trimmer | Trims factory selvage for accurate scribing and seaming, with a U-shaped blade for clean cuts. | 10.5 oz |
| No. 320 Vinyl Wall Trimmer | Trims sheet goods accurately against walls with adjustable guides for precise control. | 8 oz |
You can use the No. 001 Model “A” Tile Cutter when you need straight cuts with high accuracy. The self-measuring floor guide helps you line up your tiles perfectly. If you want to cut larger tiles or make diagonal cuts, the No. 008 18″ Vinyl Special Cutter gives you more flexibility. You can switch between straight and diagonal guides for different shapes.
When you need to make grooves for welding, the No. 968 Floor Following Groover keeps your depth consistent. The dust shroud protects your workspace and keeps it clean. You can use the No. 340 Selvage Trimmer to remove factory edges for scribing and seaming. The U-shaped blade makes clean cuts every time. If you need to trim vinyl sheets against walls, the No. 320 Vinyl Wall Trimmer lets you adjust the guide for precise control.
Tip: Specialty tools help you avoid mistakes and reduce waste. You get clean edges and tight fits, even in difficult spots.
You can finish your project faster when you use the right specialty tools. You do not need to struggle with rough edges or uneven cuts. These tools help you achieve a professional look and make your floor last longer.
Key Considerations Before You Cut Vinyl Floor Mat to Size
Tile Type and Thickness
Before you cut vinyl floor mat to size, you need to look at the type and thickness of your tiles. Not all vinyl floor mat products are the same. Some have a thicker wear layer, which helps them last longer in busy areas. Others use extra backing layers for more comfort and stability, especially if your subfloor is not even. You should also check if your tiles have a protective coating. This coating can make your floor stronger without adding much thickness. If you plan to use peel-and-stick tiles in a hallway or kitchen, choose a thicker option for better durability. Here are some things to keep in mind:
- Wear layer thickness affects how well your floor stands up to foot traffic.
- The subfloor type can change the thickness you need.
- Backing layers add comfort and help with uneven surfaces.
- Protective coatings boost durability.
- High-traffic areas need thicker vinyl.
Safety Precautions and Gear
You must stay safe when you work with vinyl floor mat and peel-and-stick tiles. Cutting these materials can release fine particles into the air. Always work in a space with good airflow. Protect your lungs by wearing a respirator. After you finish, wash your hands, clothes, and tools to remove any dust or particles.
It’s important to work in a well-ventilated area, wear a respirator while cutting, and wash hands, clothing, and tools after working with the material. The presence of lead in vinyl flooring can be a concern when cutting, as it releases fine particles into the air.
Desired Edge Finish and Fit
You want your floor to look neat and fit well. The way you cut peel-and-stick tiles affects the edge finish. Precision matters. If you do not measure and plan carefully, you might see gaps or misaligned tiles. When you cut around cabinets or walls, use a method that lets you match the shape exactly. Good planning and careful measuring help your peel-and-stick tiles fit tightly and look professional.
- Accurate cuts prevent gaps and misalignment.
- Take extra care around fixed objects like cabinets and walls.
- Careful planning and measuring lead to a clean, professional finish.
Workspace Setup and Cleanliness
You need a clean and organized workspace before you start cutting vinyl floor tiles. A tidy area helps you work faster and safer. You avoid mistakes when you can see your tools and materials clearly. You also protect your tiles from dust and debris.
Steps to Prepare Your Workspace:
- Clear the floor and remove any clutter. You want enough space to move around and lay out your tiles.
- Set up a sturdy table or workbench. This gives you a flat surface for measuring and cutting.
- Place your tools within easy reach. Keep electric cutters, measuring tape, and specialty tools close by.
- Sweep or vacuum the area. Dust and small particles can scratch your tiles or get in the way.
- Lay down a protective mat or drop cloth. This keeps your tiles clean and prevents damage to your floor.
Tip: Good lighting helps you see your cut lines and avoid errors. Use a bright lamp or natural light if possible.
You should keep your workspace clean as you work. Sweep up scraps and dust after each cut. Wipe down your tools to remove adhesive or debris. This prevents buildup and keeps your tools working well.
Workspace Checklist Table:
| Task | Why It Matters | Emoji |
|---|---|---|
| Clear clutter | Prevents tripping | 🧹 |
| Set up flat surface | Ensures accurate cuts | 🛠️ |
| Organize tools | Saves time | 🗃️ |
| Sweep/vacuum | Protects tile finish | 🧼 |
| Use protective mat | Avoids scratches | 🪵 |
| Maintain lighting | Improves visibility | 💡 |
You create a safer environment when you keep your workspace clean. You also make your project look more professional. Cleanliness helps you avoid mistakes and keeps your vinyl floor tiles in top condition.
Pro Tips for Clean, Efficient Cuts from skspcflooring
Measuring and Marking Accurately
You need to measure and mark your peel-and-stick tiles with care before you cut. A grid system helps you keep your lines straight and your measurements correct. You can draw a grid on your floor using chalk or a pencil. This grid makes it easy to see where each vinyl floor mat will go. The best way to measure is to add one tile, the grout joint, and an extra 1/8 of an inch. This method helps you avoid mistakes and keeps your project moving fast. You only need to measure once, which saves time and reduces errors.
- Use a grid system for accuracy.
- Mark each peel-and-stick tile before you cut.
- Add the grout joint and 1/8 inch to your measurement.
Tip: Double-check your marks before you start to cut. This step helps you avoid waste.
Minimizing Waste and Avoiding Mistakes
You can save money and time by planning your peel-and-stick tiles layout before you start. Begin by measuring your room and drawing a plan that includes doors, cabinets, and other obstacles. Start laying your vinyl floor mat along the longest wall that you can see from the main entrance. This method puts full tiles in the most visible spots and reduces small edge pieces.
- Draw chalk lines to keep your peel-and-stick tiles straight.
- Plan your cuts so you can use leftover pieces in other rows.
- Keep your tile pattern even by staggering the seams.
- Lay out three or four rows without adhesive to check your design.
- Write down any waste pieces and look for ways to use them.
- Make templates for tricky spots before you cut.
Note: Start from the main view and work toward less visible walls. This approach keeps your floor looking neat.
Handling Tricky Cuts Around Obstacles
You may need to fit peel-and-stick tiles around pipes, corners, or other shapes. You can use leftover backing paper or scrap cardboard to make a template. Place the template around the obstacle and trace the shape onto your vinyl floor mat. This step helps you get a perfect fit. For complex shapes, a contour gauge can help you copy the profile exactly.
- Make a template for each obstacle.
- Trace the template onto your peel-and-stick tiles.
- Use a contour gauge for detailed shapes.
Tip: Take your time with tricky cuts. Careful work gives you a clean finish and saves material.
Maintaining Your Tools for Best Results
You need to keep your cutting tools in good shape if you want clean and accurate cuts every time. When you take care of your tools, you make your work easier and safer. Sharp blades and clean surfaces help you avoid mistakes and reduce waste.
Here are some steps you can follow to maintain your tools:
- Wipe down your tools after each use. Dust and adhesive can build up and cause problems.
- Check blades for sharpness. Replace dull blades right away. Sharp blades cut vinyl tiles smoothly.
- Store your tools in a dry place. Moisture can cause rust and damage metal parts.
- Oil moving parts if your tool has them. This keeps everything working well.
- Inspect electric cutters for loose wires or worn parts. Fix problems before you start your next project.
Tip: Always keep extra blades and cleaning cloths nearby. You can change blades quickly and keep your workspace tidy.
Tool Maintenance Table
| Task | Benefit | Emoji |
|---|---|---|
| Clean after use | Prevents buildup | 🧼 |
| Replace blades | Ensures smooth cuts | ✂️ |
| Store dry | Stops rust | 🗃️ |
| Oil moving parts | Keeps tool running smoothly | 🛠️ |
| Inspect regularly | Avoids accidents | 👀 |
You should make a habit of checking your tools before and after each project. Clean tools last longer and help you get professional results. When you use well-maintained tools, you save time and avoid frustration. You also protect your investment and keep your vinyl floor tiles looking their best.
You now know how do you cut vinyl floor tiles for the best results in 2026. Choose your tools and methods based on your vinyl floor mat and project needs. The table below shows how the right tools and techniques help you install peel-and-stick tiles and vinyl floor mat with a clean finish.
| Essential Tools for Vinyl Flooring Installation | Techniques for Seamless Installation |
|---|---|
| Tape Measure and Chalk Line | Start by carefully measuring the room and planning where everything will go. |
| Utility Knife and Cutting Mat | Pay attention to doorways and changes in height. |
| Rubber Mallet | Begin in one corner and move across the room, keeping a steady distance between each plank or tile. |
| Tapping Block | Use the tapping block and rubber mallet to fit the planks or tiles snugly together. |
| Spacers | Be sure to make exact cuts around any obstacles to give a neat finish. |
Modern tools make your work easier and give you better results.
- Using appropriate tools enhances the installation process.
- Following detailed guides can lead to better results.
- Thicker vinyl tiles are better for uneven surfaces, improving installation outcomes.
When you use the right approach, you save time and avoid frustration. Trust skspcflooring for modern solutions that help you achieve a professional look every time.
FAQ
How do you choose the right tool for cutting vinyl floor tiles?
You should check the thickness and type of your tile. Use a utility knife for thin tiles. Choose an electric cutter or specialty tool for thicker or rigid tiles. Always match your tool to your tile for the best results.
Can you cut vinyl floor tiles without power tools?
Yes, you can cut thin vinyl tiles with a utility knife and straight edge. For thicker tiles, manual cutters work well. Power tools make the job faster and cleaner, but you can still get good results with hand tools if you work carefully.
What safety gear do you need when cutting vinyl floor tiles?
Wear gloves to protect your hands. Use safety glasses to shield your eyes from dust and debris. Work in a well-ventilated area. A dust mask or respirator helps keep you safe from fine particles.
How do you avoid wasting tiles during cutting?
Measure twice before you cut. Mark your lines clearly. Plan your layout so you use leftover pieces in less visible areas. Use templates for tricky shapes. Careful planning helps you save material and money.




