
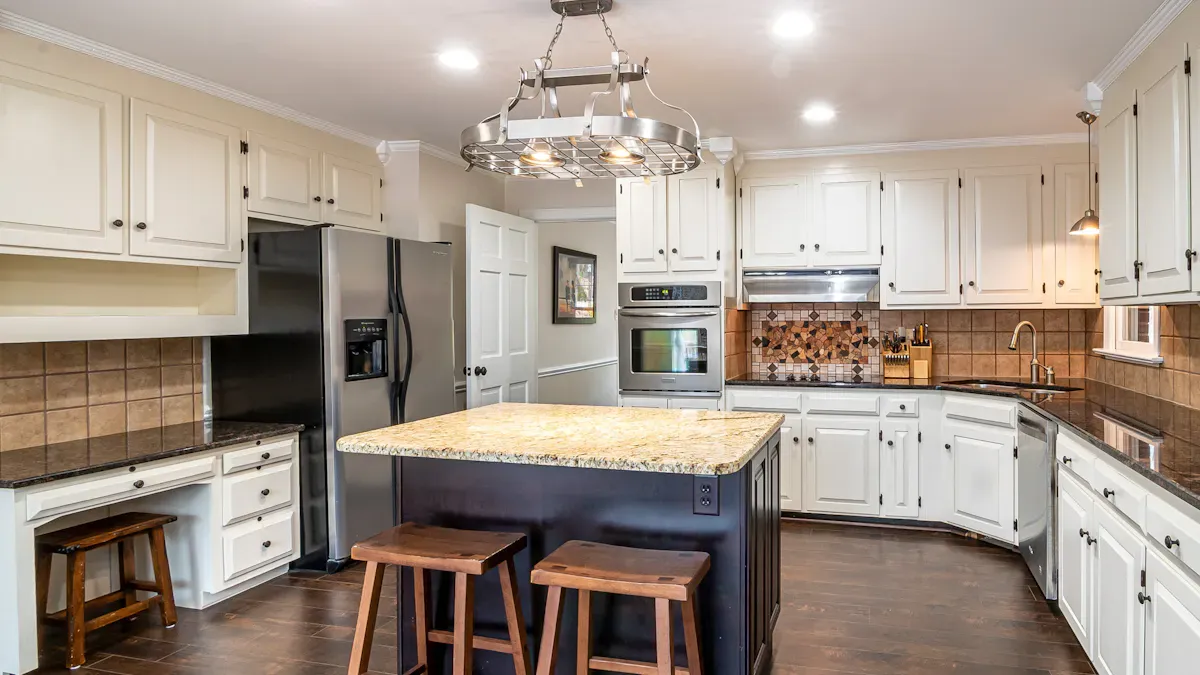
When you want to upgrade your kitchen floor, you may wonder, how do i cut vinyl flooring over uneven tile? You must clean and prepare the old tile well. If you skip this step, you may see bumps or gaps in your new floor. Allow vinyl planks time to adjust to your room before you start. Use the correct tools and cutting methods to avoid poor alignment. Careful preparation ensures your vinyl flooring looks smooth and professional.
Tools and Materials Needed for Cutting Vinyl Flooring
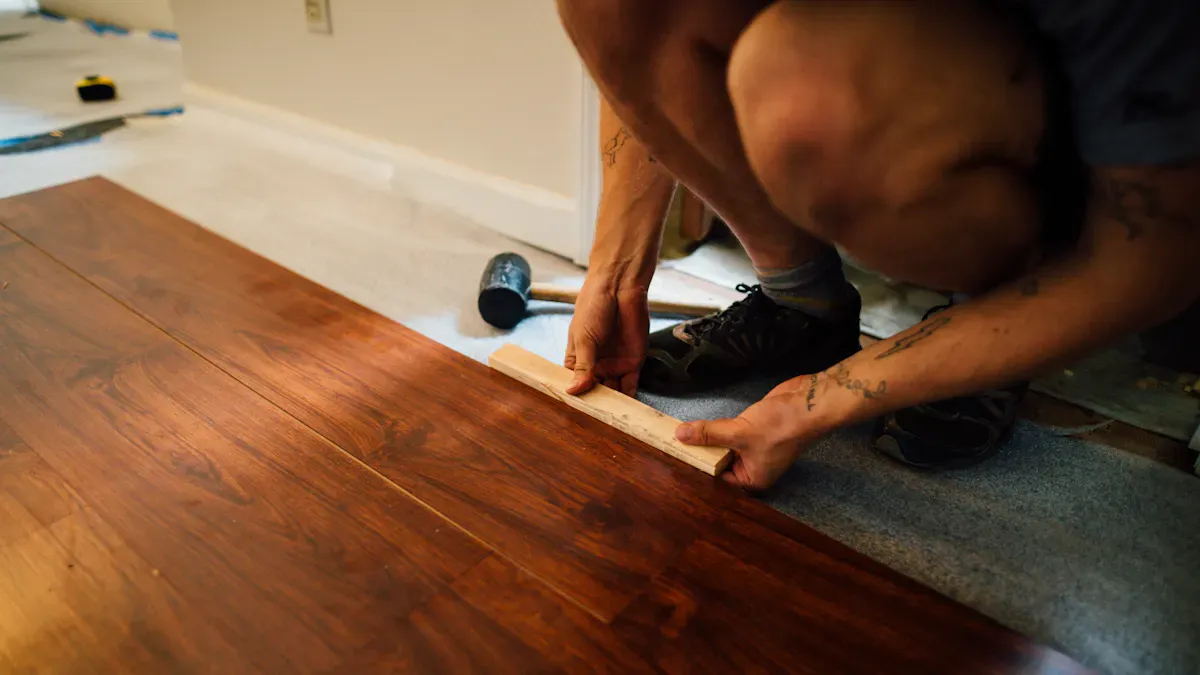
Essential Cutting Tools for Vinyl Flooring
You need the right tools to cut vinyl flooring over uneven kitchen tile. Flooring professionals recommend several items for a clean, accurate cut. These tools help you measure, mark, and cut each piece to fit your kitchen perfectly.
- Sharp utility knife for straight cuts
- Straight edge or T-square for guiding your knife
- Tape measure for measuring planks and spaces
- Jigsaw or circular saw with a fine-toothed blade for tricky shapes
- Vinyl tile cutter for quick, clean cuts
- Pencil for marking cut lines
- Chalk line for long, straight cuts across the room
- Speed square for precise angle cuts
- Prybar for removing baseboards if needed
Tip: Always use a sharp blade. Dull blades can tear the vinyl and make your job harder.
Materials for Leveling and Prepping Old Tile
Before you lay vinyl flooring, you must prepare the old tile. A flat and smooth surface prevents bumps and gaps in your new floor. You can use different materials to level and prep the tile.
- Mix thin set to fill dips in the floor
- Use a tile trowel to spread thin set evenly
- Rake the dip with a straight edge for a smooth finish
- Clean tools right after use to stop thin set from hardening
- Apply self-leveling compound to fill dips or slopes
- Let self-leveling compound flow across the surface for a smooth base
Note: Self-leveling compounds work well on both concrete and wood subfloors.
Safety Gear for Installation
Safety matters when you cut and install vinyl flooring. You should protect your eyes, ears, lungs, hands, knees, and feet. Good safety gear keeps you safe from dust, sharp tools, and heavy materials.
- Safety glasses (ANSI-rated) for eye protection
- Hearing protection like earplugs or earmuffs
- N95 dust mask or a respirator with P100 filters for dust
- Gel-filled or professional knee pads for comfort
- Work gloves for handling sharp edges (remove when using power tools)
- Steel-toe boots or closed-toe shoes with grip
- Back support belt for lifting heavy items
- First aid kit nearby for minor injuries
- Bright lighting for clear visibility
- Clean work area to prevent trips and falls
- GFCI protection for power tools near water
Tip: Always check your safety gear before starting work. A safe workspace helps you finish your project without injury.
Preparing the Surface for Vinyl Installation
Cleaning and Inspecting Old Kitchen Tile
You start by cleaning the kitchen tile. Sweep away dust and debris. Mop the floor with a mild cleaner. Dry the tile completely. Look for cracks, chips, or loose tiles. Check for stains or sticky spots. Use a flashlight to spot hidden dirt in corners. If you find damaged tiles, repair them before moving forward. Clean surfaces help vinyl stick better and prevent bumps.
Tip: A clean floor gives you a smooth base for your new vinyl. Dirt and grime can cause uneven spots.
Leveling Uneven Areas and High Spots
You must level the tile before installing vinyl. Self-leveling compounds work well for low spots. These compounds flow easily and fill dips, creating a flat surface. Mix the compound with water using a mixing paddle attached to a drill. Pour the mixture across the floor. Spread it with a trowel for even coverage. Let the compound cure. You get a flat surface ready for vinyl.
For high spots, use sanders or grinders. A floor sander works on wood subfloors. Specialized grinders help with concrete. Grind from the middle to the edges. Check your progress with a straight edge. Avoid removing too much material. If you sand wood, use a belt sander. Be careful not to weaken the floor.
- Grinding a hump: Use a grinder with a vacuum attachment to minimize dust.
- Sanding high spots: Use a belt sander and check often.
Prepping the Subfloor for skspcflooring Vinyl
You finish by prepping the subfloor for skspcflooring vinyl. Make sure the surface is dry and level. Remove any loose debris. Fill gaps or cracks with patching compound. Let all materials dry fully. Check the floor with a straight edge. You want a flat, solid base. This step ensures your skspcflooring vinyl fits snugly and lasts longer.
Note: Proper preparation helps you achieve a professional finish and protects your new vinyl flooring.
Measuring and Marking Vinyl Flooring for an Accurate Fit
Measuring Room Dimensions and Obstacles
You need to measure your kitchen before you cut any vinyl flooring. Start by measuring the length and width of the room. Write down these numbers. Measure each wall, even if the room looks square. Kitchens often have cabinets, islands, or pipes. Measure around these obstacles. Record the size and location of each one. This helps you plan where to place each vinyl plank. Accurate measurements prevent waste and make your floor look neat.
Tip: Double-check your numbers. Mistakes in measuring can lead to gaps or wasted material.
Marking Cut Lines on Vinyl Planks
You must mark each vinyl plank before you cut. Use a tape measure and a pencil to draw your cut lines. Place a straight edge or a carpenter square along the plank. Draw a straight line where you need to cut. For long cuts, a chalk line helps keep your line straight. If you need to fit a plank around a curve or odd shape, make a template from cardboard. Trace the template onto the vinyl plank. This method helps you get a perfect fit, even over uneven tile.
- Use a tape measure and pencil for accuracy.
- Guide your pencil with a straight edge or carpenter square.
- Make cardboard templates for complex shapes.
Handling Irregular Edges and Corners
You will find tricky corners and uneven edges in most kitchens. For these spots, use angled cuts to help the planks fit together. Trace the shape of obstacles on paper to create a pattern. Place the pattern on the vinyl plank and trace it. Cut along the line with a sharp utility knife. Test-fit a scrap piece first to check your work. For straight cuts, use a straight edge. For curves, trace lightly and cut slowly. After you place the vinyl, press from the center outward to remove air pockets.
- Use angled cuts for corners.
- Create paper patterns for obstacles.
- Test-fit pieces before final installation.
Note: Careful measuring and marking help you achieve a smooth, professional look with your skspcflooring vinyl.
How Do I Cut Vinyl Flooring: Techniques and Tips
Making Straight Cuts with a Utility Knife
You can make straight cuts in vinyl flooring with a utility knife. Start by placing your vinyl plank on a flat surface. Use a straight edge or a T-square to guide your knife along the line you marked. Hold the straight edge firmly so it does not move. If you worry about the straight edge slipping, you can secure it with clamps. Score the vinyl by running the knife along the line. You do not need to cut all the way through. A deep score is enough. Bend the vinyl back along the score line. The plank will snap cleanly. This method gives you a neat edge every time.
Tip: Always use a sharp blade. A dull knife can tear the vinyl and make your cut uneven.
Cutting Around Corners, Appliances, and Cabinets
Many kitchens have corners, cabinets, and appliances that make cutting vinyl tricky. You may ask, how do i cut vinyl flooring to fit these shapes? You can use a circular saw set to the right depth to cut the vinyl into smaller squares. This makes it easier to handle and fit around obstacles. For tight spots near cabinets, a Dremel Multi-Max tool works well. It lets you cut close to edges and in small spaces. If you need to remove old vinyl, use a crowbar to lift the pieces after cutting. Block off doorways with plastic sheeting to keep dust in one area. Cutting the vinyl into smaller pieces helps you work faster and keeps your cuts clean.
- Use a circular saw for large, straight cuts.
- Try a Dremel tool for detailed work near cabinets.
- Pry up cut sections with a crowbar if needed.
- Block doorways to control dust.
Tips for Tricky Edges and Tight Spaces
You may find tight spaces and odd edges in your kitchen. These areas need special attention. When you wonder, how do i cut vinyl flooring for these spots, try making a template from cardboard or paper. Trace the shape of the obstacle onto your template. Place the template on the vinyl plank and trace the outline. Cut slowly with your utility knife. Test-fit the piece before you install it. For very small spaces, use a fine-toothed hand saw or a small rotary tool. Work slowly and check your fit often. Press the vinyl into place from the center out to remove air bubbles.
Note: Careful planning and patience help you get a perfect fit, even in the hardest spots.
You now know how do i cut vinyl flooring for straight lines, corners, and tight spaces. These techniques help you get a smooth, professional look in your kitchen.
Fitting, Adjusting, and Securing Vinyl Flooring
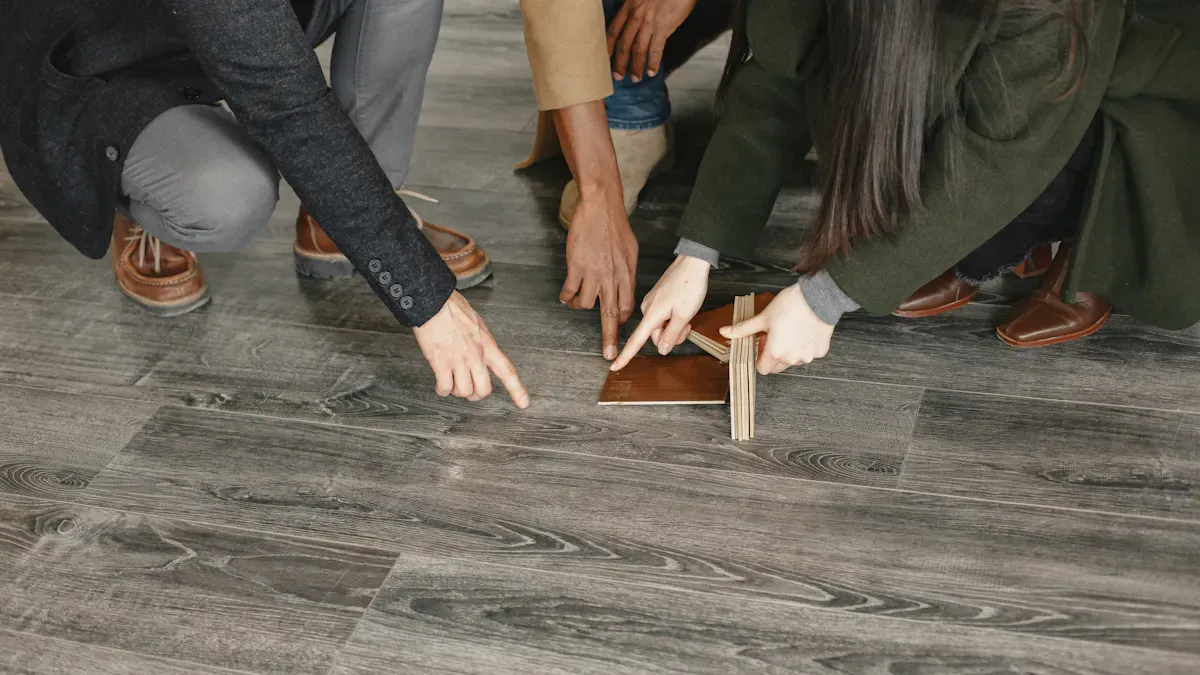
Test-Fitting and Trimming Vinyl Pieces
You should always test-fit each vinyl plank before you secure it. Lay the piece in its spot and check the edges. Make sure the plank lines up with the walls and other planks. If you see a gap or the piece feels too tight, trim a little off the edge. Use a sharp utility knife for small adjustments. For larger cuts, use a vinyl tile cutter or a jigsaw. Test the fit again after each trim. Repeat this process until the piece fits perfectly. This step helps you avoid mistakes and wasted material.
Tip: Always trim a small amount at a time. You can cut more if needed, but you cannot add material back.
Achieving a Snug Fit Over Uneven Tile
You want your vinyl flooring to look smooth, even if your kitchen tile is not perfect. Many modern vinyl floors, like Plano Flex Core, adapt to uneven surfaces. These products hide the joints of the old tile, so you do not see lines or bumps. You should still check for very uneven spots before you start. Fix any large dips or high spots to protect your new floor.
- Lay each plank and press it down to check for movement.
- If you feel a wobble, lift the plank and add a little patching compound under the spot.
- Make sure each piece sits flat before moving to the next one.
This method helps you get a snug fit and a professional look. If you wonder, how do i cut vinyl flooring to fit these areas, remember that careful measuring and trimming make a big difference.
Securing skspcflooring Vinyl in Place
After you fit and adjust each piece, you need to secure your skspcflooring vinyl. Most vinyl planks use a click-lock system. Push the tongue of one plank into the groove of the next. Press down until you hear a click. Use a tapping block and a rubber mallet to lock the planks together. Work row by row across the room. Check that each seam is tight. For edges near walls, leave a small gap for expansion. Cover this gap with baseboards or trim. Clean the floor as you go to remove dust and scraps.
Note: Following these steps helps your new floor last longer and look great.
Troubleshooting Common Issues During Installation
Fixing Gaps and Bumps in Vinyl Flooring
You may notice gaps or bumps after installing vinyl flooring over uneven tile. These problems often happen when the surface is not level. Gaps can form between boards because stress at the locking joints pulls them apart. Bumps make the floor feel uneven and can cause long-term damage. You can fix these issues by choosing thicker luxury vinyl planks. Thicker planks help cover minor imperfections and provide better stability. You can also use a self-leveling compound to fill low spots before installation. This creates a smooth surface and helps the flooring stick well. Quality underlayment with cushioning properties absorbs small dips and makes the floor more comfortable.
Tip: Always inspect the floor before installation. Fixing uneven spots early prevents gaps and bumps later.
Correcting Misaligned or Uneven Cuts
Misaligned or uneven cuts can ruin the look of your vinyl floor. You should measure and mark each plank carefully. If you see a crooked edge or a gap, trim the plank with a sharp utility knife. Test-fit the piece before securing it. For larger mistakes, use a vinyl tile cutter or jigsaw to make a clean cut. Double-check your measurements around obstacles like cabinets and pipes. Luxury vinyl planks need a level surface for proper installation. If the floor is uneven, stress at the connection points can lead to misalignment.
- Use a straight edge for guiding your cuts.
- Make templates for tricky shapes.
- Trim small amounts at a time.
Solutions for Peaking, Lifting, and Loose Edges
Peaking, lifting, and loose edges can appear if the floor does not have enough room to expand or if moisture gets underneath. You can prevent these issues by trimming excess flooring around the room and checking for vertical obstructions. Maintain a consistent expansion gap between the flooring and walls. Clean up dust and debris after trimming. Let the floor relax and settle for a few days after relieving pressure. Use baseboards and molding to cover gaps, but nail them to the wall, not the floor. Place high-quality mats at entryways and use area rugs in kitchens and bathrooms to absorb spills. Clean up spills right away and check appliance hoses for leaks. SPC flooring options resist moisture and help prevent peaking and lifting.
Note: Regular maintenance and careful installation keep your vinyl floor looking great and lasting longer.
You can achieve a durable, attractive kitchen floor by preparing the surface and following each installation step. Proper planning and cutting help your vinyl flooring last 10 to 20 years, reducing future repairs. Avoid mistakes like poor layout planning or skipping manufacturer instructions. Use soft brooms, furniture pads, and keep humidity stable for easy maintenance. Installing vinyl over tile saves money compared to removing old tile. Trust skspcflooring for reliable products that make your project easier and more cost-effective.
FAQ
How do I know if my kitchen tile is too uneven for vinyl flooring?
You can check with a long straight edge or level. Place it on the tile. If you see gaps larger than a quarter, you need to fill or sand those spots. This step helps your vinyl floor last longer.
Can I install skspcflooring vinyl without removing old tile?
Yes, you can install skspcflooring vinyl over old tile. Clean and level the surface first. Fill deep grout lines and repair loose tiles. This creates a smooth base for your new floor.
What is the best tool for cutting vinyl around corners?
A sharp utility knife works for most corners. For tight or curved spots, use a jigsaw or a small rotary tool. Always test-fit your piece before final installation.
Do I need underlayment with skspcflooring vinyl?
Most skspcflooring vinyl has a built-in underlayment. You do not need extra underlayment unless your floor needs more soundproofing or cushioning. Check the product instructions for details.




