
LVT floors offer style and durability in your home. When you deep clean LVT, you remove dirt and bacteria that can harm the surface. Regular cleaning helps keep your LVT looking new and prevents long-term moisture damage. Industry studies show that the lifespan of LVT improves with scheduled deep cleaning:
| Traffic Level | Recommended Deep Cleaning Frequency |
|---|---|
| Moderate Foot Traffic | At least twice a year (bi-annually) |
| High Foot Traffic | Quarterly deep cleaning |
- Removes embedded dirt and bacteria, preventing contamination.
- Maintains floor integrity by reducing wear and tear.
- Prevents long-term moisture damage, addressing hidden moisture pockets.
If you wonder how do you clean lvt flooring, gentle products and proper tools make a big difference. Caring for your LVT this way extends its life and keeps it beautiful.
Essential Tools and Products for How Do You Clean LVT Flooring
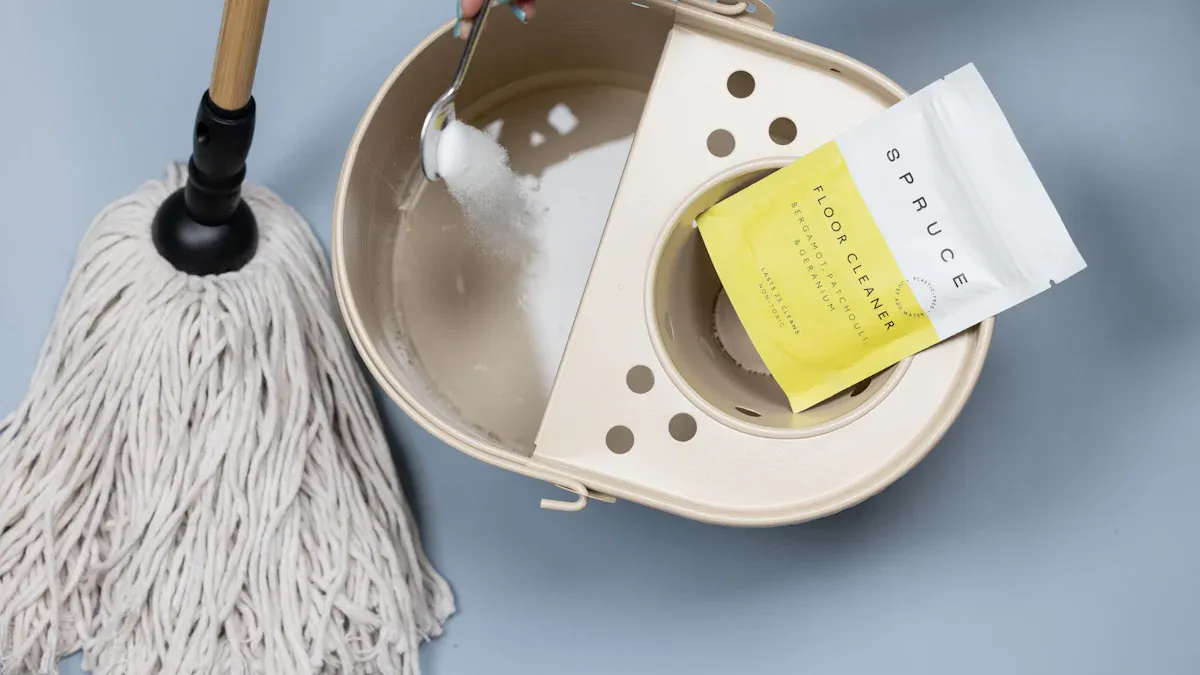
Recommended Cleaners for LVT
When you ask, “how do you clean lvt flooring,” you need the right cleaners. Many experts and homeowners trust certain commercial products for lvt. Here are the top-rated options:
- Basic Coatings Squeaky Cleaner 32 oz. – This cleaner works well on vinyl and hardwood. Many flooring installers recommend it.
- COREtec Encore 12x Clean Spray 32 oz. – This pH-neutral cleaner is safe for many surfaces, including lvt.
- Bona Pro Stone, Tile & Laminate Cleaner Spray 32 oz. – This spray offers a deep clean and leaves a pleasant scent.
If you prefer natural solutions, you have safe choices for lvt.
- Vinegar Solution: Mix one cup of distilled white vinegar with a gallon of warm water. This mix removes dirt without leaving residue.
- Dishwashing Soap Solution: Add a few drops of dish soap to hot water. This solution works well for greasy kitchen floors.
- Baking Soda Paste: Mix baking soda with water to form a paste. Use this for tough stains on lvt.
Best Tools to Clean Vinyl Plank Flooring
You need proper tools and techniques to keep your lvt in top shape. Microfiber mops stand out for lvt floors. These mops hold up to seven times their weight in liquid. They dry quickly, which helps prevent water damage. Microfiber traps dust and germs better than traditional mops. You also use less water and fewer chemicals, making cleaning more sustainable.
Tip: Always use a soft-bristle broom or a vacuum with a hard floor setting before mopping. This step removes loose dirt and protects your lvt from scratches.
Products and Tools to Avoid on LVT
Some products can harm your lvt. Avoid these items to keep your floors looking new:
- Wax-based cleaners create a sticky film that attracts dirt.
- Oil-based soaps leave a residue and dull the finish.
- Ammonia-based cleaners strip away the protective layer.
- Bleach can discolor and damage the wear layer.
- Abrasive cleaners scratch the surface.
- Steam mops (unless approved by the manufacturer) can weaken adhesive and cause planks to lift.
- Harsh chemicals like bleach or ammonia break down the finish and cause dullness.
When you wonder how do you clean lvt flooring, remember to use gentle products and the right tools. This approach keeps your lvt clean and extends its life.
Step-by-Step Guide: How to Clean Vinyl Plank Flooring Deeply
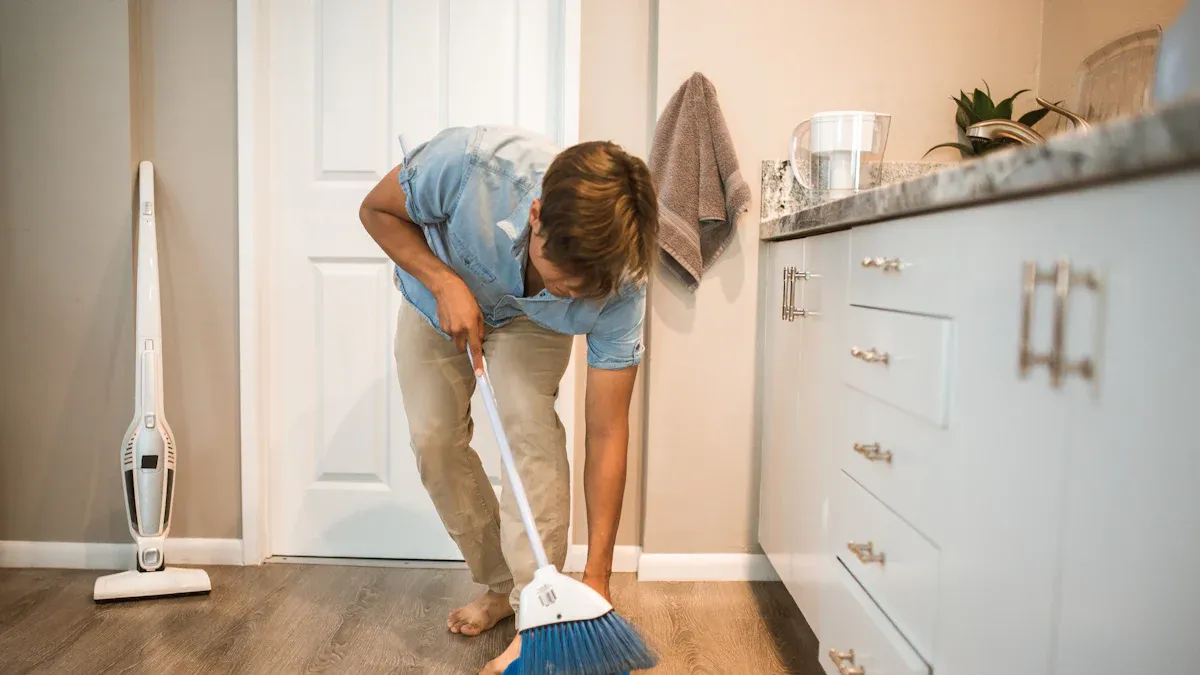
Preparation and Removing Loose Dirt
Before you start to clean vinyl plank flooring, you need to prepare the area. This step helps you avoid scratching the surface and makes deep cleaning more effective. Follow these steps to get your lvt ready:
- Dust mop or vacuum the flooring to remove loose dirt and abrasive soils.
- Use a vacuum without a beater bar to prevent scuffing. A soft-bristle broom also works well.
- Sweep or vacuum daily to keep dust and dirt from building up.
- If you plan to use a mop, rinse the mop head often and change the water when it looks dirty.
- Preclean with a suitable cleaner if you plan to use any finishing product later.
- Let the floor air dry before you walk on it.
Tip: Consistent cleaning with a broom or vacuum helps maintain your lvt and keeps it looking new.
Both vacuuming and sweeping work well for removing loose dirt from lvt. Regular cleaning with either method protects your floor and prevents damage. You should always start with this step before you deep clean vinyl plank flooring.
Deep Cleaning Methods for LVT
Once you finish removing loose dirt, you can move on to deep cleaning. You want to use gentle products and the right tools to protect your lvt. Here are the best ways to deep clean:
- Use a neutral cleaner made for lvt. Mix it with water as the label suggests.
- Mop your vinyl plank floors with a microfiber mop. Go over the floor several times to lift dirt and grime.
- If you have an automatic scrubber, use it with a non-abrasive pad. Avoid pads that can scratch the surface.
- For tough spots, make a baking soda paste and gently rub the area.
- If you want extra shine and scratch protection, consider using a product like Hil-Sheen LV after cleaning.
Routine maintenance before deep cleaning helps prevent dirt from building up. You should deep clean lvt once or twice a year in most homes. High-traffic areas may need more frequent cleaning.
Note: Always follow the instructions on your cleaning products. Using too much cleaner or the wrong type can damage your lvt.
Rinsing and Drying LVT Floors
After you clean vinyl plank flooring, you need to rinse away any leftover cleaner. This step keeps your lvt from getting sticky or dull.
- If you use dish soap or a cleaning solution, mop the floor again with clean water.
- Rinse your mop after every few planks to avoid spreading dirt.
- Change the rinse water if it gets cloudy.
- Let the floor air dry before you walk on it or put furniture back.
Tip: Never leave standing water on lvt. Too much moisture can seep into the seams and cause damage.
Proper rinsing and drying help your lvt stay shiny and clean. These steps finish the process of how to clean vinyl plank flooring and keep your floors looking their best.
Finishing Touches for Clean Vinyl Plank Flooring
After you finish deep cleaning your LVT floors, you can take extra steps to restore shine and protect the surface. These finishing touches help your floors look their best and last longer. You want your vinyl plank flooring to shine and resist scuffs, especially in busy areas.
To bring back the shine, you can use a special floor finish or polish made for vinyl. Many homeowners choose an acrylic-based product because it gives a glossy look and adds a layer of protection. Before you start, make sure your floor is completely clean and dry. Any dirt or moisture left behind can cause streaks or prevent the finish from sticking.
Here are some easy steps you can follow:
- Choose a high-quality, acrylic-based vinyl floor finish or polish. Look for products that say they are safe for LVT or vinyl plank flooring.
- Make sure the floor is spotless and dry before you apply anything. This step helps the finish stick better and look smooth.
- Use a clean sponge mop or applicator to spread the finish in thin, even coats. Thick layers can take longer to dry and may look uneven.
- Let each coat dry all the way before you add another. Most finishes need about 30 to 60 minutes to dry between coats.
- For best results, reapply the finish every few months or up to a year, depending on how much traffic your floors get.
Tip: Always read the instructions on your floor finish. Some products may have special directions for drying times or the number of coats.
If you need to clean scuffed vinyl plank flooring, you can gently buff the area with a soft cloth after applying the finish. This method helps remove marks and keeps the surface looking smooth.
You can keep your LVT floors looking shiny and new by following these finishing steps. Regular care and the right products make a big difference in the appearance and durability of your vinyl plank flooring.
Common Mistakes to Avoid When Cleaning and Maintaining LVT
Using Harsh Chemicals or Abrasive Tools
When you clean your LVT floors, you need to avoid harsh chemicals and abrasive tools. Many homeowners use products like ammonia, bleach, or wax-based cleaners. These can strip away the protective coating and leave the surface dull or sticky. Abrasive cleaners and brush rolls on vacuums scratch the vinyl planks, making them look worn. Steam cleaners also cause problems by weakening the adhesive and warping the planks. Even vinegar solutions can erode the top layer, leading to a faded finish.
Here is a table showing chemicals that often cause damage to LVT flooring:
| Chemical | Concern |
|---|---|
| Phthalates | Can disrupt hormones and affect health. |
| Formaldehyde | Linked to health risks. |
| Dioxins | Toxic and harmful. |
| Flame Retardants | Associated with health risks. |
| Lead | Dangerous for health. |
Tip: Always choose gentle, pH-neutral cleaners made for LVT. Avoid products that promise extra shine but contain wax or oil.
Excess Water and Moisture Issues
Water is another common enemy of LVT floors. If you use too much water when you clean, moisture can seep into the seams and cause damage. Signs of water damage include yellow or brown stains at the edges, curling or lifting corners, and bubbling across the surface. These problems make your floor look uneven and can lead to mold growth underneath.
| Defect Type | Description |
|---|---|
| Bubbling | Bubbles form on the surface due to trapped moisture. |
| Cupping | Edges rise, creating a concave shape. |
| Edge Curling | Plank edges lift away from the subfloor. |
| Warping | Planks become distorted and uneven. |
| Mold Growth | Mold develops beneath the flooring, posing health risks. |
To prevent these issues, you should seal joints with silicone, clean up spills right away, and keep indoor humidity steady.
Skipping Regular Maintenance
Skipping regular cleaning and maintaining LVT leads to many problems. Dirt and debris build up over time, causing scratches and dull spots. If you forget to sweep or vacuum, you risk damaging the finish. Not protecting high-traffic areas with mats or rugs lets more dirt get tracked onto your floors. Failing to clean up spills quickly can cause stains and warping. Applying polish or wax creates sticky buildup and damages the protective layer.
- Go long periods without sweeping or vacuuming, and you will see scratches and dullness.
- Use the brush roll on your vacuum, and you may scratch the surface.
- Forget mats or rugs, and dirt will collect faster.
- Leave spills for later, and stains or warping can happen.
- Apply wax or polish, and you risk sticky buildup and damage.
Remember: Regular cleaning and maintaining LVT keeps your floors looking new and helps them last longer.
Tips for Cleaning and Maintaining LVT Floors
Regular Maintenance for LVT
You keep your lvt floors looking their best when you follow a regular cleaning routine. Start by sweeping or vacuuming every day to remove dirt and dust. Use a vacuum without a beater bar to avoid scratches. Mop your lvt once a week with a pH-neutral cleaner. Avoid soaking the floor with water. A damp mop works well and dries quickly. Manufacturers recommend these routines for best results:
| Maintenance Routine | Description |
|---|---|
| Sweeping/Vacuuming | Sweep or vacuum regularly to remove loose dirt. |
| Washing | Use a non-abrasive, “no-rinse” floor cleaner for washing. |
| Damp Mopping | Mop with warm water, avoiding flooding the floor. |
| Stain Removal | Use specific cleaners for different types of stains. |
Tip: Place unbacked doormats at entrances to catch dirt before it reaches your lvt.
Preventing Damage to LVT Flooring
You can prevent damage to lvt by taking a few simple steps. Place felt or cotton pads under furniture legs. Use area rugs and doormats in busy spots to protect the floor from scratches and dents. Furniture pads and rugs help spread out the weight of heavy items and act as a barrier against scuffs. Trim your pet’s nails often to avoid scratches. Always lift heavy furniture instead of dragging it. During home projects, cover your lvt with a protective film. Try a no-shoes policy indoors to keep dirt away.
- Use furniture pads under all legs.
- Place rugs and mats in high-traffic areas.
- Sweep or vacuum often.
- Trim pet nails.
- Use protective film during renovations.
- Lift, don’t drag, heavy objects.
Best Practices for Long-Term Care
Long-term care helps your lvt last for years. Deep clean every six months to a year. Reseal your lvt every two to three years if the manufacturer suggests it. Keep your home’s humidity between 35% and 55% to protect the floor. Always use your lvt indoors. If you see deep scratches or water damage, call a professional for help. Follow these best practices to keep your warranty valid:
| Warranty Conditions | Description |
|---|---|
| Indoor Use Only | The flooring must be used only indoors in residential areas. |
| Maintenance Impact | Surface wear must not result from incorrect maintenance or accidents. |
| Humidity Control | Normal humidity (35%-55%) must be maintained. |
| Warranty Exclusions | Indentations, scratches, or damages caused by negligence are not covered. |
Note: Regular care and the right habits help you prevent damage to lvt and keep your floors beautiful.
You can keep your LVT floors looking new with the right steps and products. Use pH-neutral cleaners and microfiber mops to protect the finish. Avoid excess water to prevent damage. Regular cleaning and maintenance help your floors last longer.
- Dry-clean your floors often
- Master mopping with specialized LVT cleaners
- Tackle tough stains quickly
- Use entryway mats to trap dirt
- Stick to a routine for the best results
Consistent care prevents scratches, dirt buildup, and wear, so your LVT floors stay beautiful for years.
FAQ
How often should you deep clean LVT floors?
You should deep clean your LVT floors every six months. If you have high foot traffic, clean them every three months. Regular deep cleaning keeps your floors looking new and helps prevent damage.
Can you use a steam mop on LVT flooring?
You should avoid steam mops on LVT floors. The heat and moisture can weaken the adhesive and cause planks to lift or warp. Always use a damp microfiber mop instead.
What should you do if you spill something on LVT?
Wipe up spills right away with a soft cloth. Quick action prevents stains and water damage. For sticky messes, use a pH-neutral cleaner and a damp mop.
How do you remove scuff marks from LVT floors?
Rub scuff marks gently with a soft, damp cloth. For stubborn marks, use a baking soda paste. Avoid abrasive pads or harsh chemicals.
Is it safe to use vinegar to clean LVT floors?
You can use a diluted vinegar solution for occasional cleaning. Mix one cup of vinegar with a gallon of warm water. Do not use vinegar too often, as it may dull the finish over time.




