
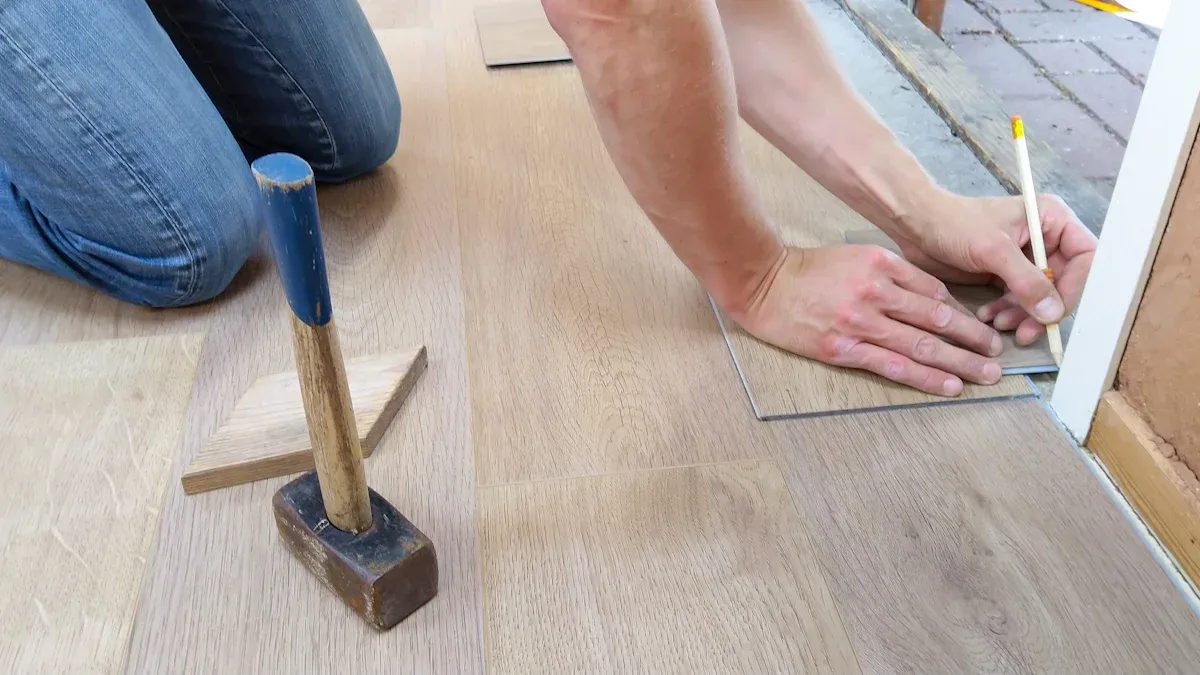
You can transform a room with a beautiful new floor in just one weekend. This DIY project requires only basic tools you likely already own. Your vinyl flooring installation will be a complete success with our guide. This process helps you install a stunning spc vinyl plank floor.
Achieve a professional finish and save money! This vinyl installation empowers you to upgrade your home’s appeal and value all by yourself.
Gather Your Tools and Materials
Proper preparation is the key to a successful installation. Gathering everything you need before you start saves time and prevents frustration. This checklist ensures your project goes smoothly from the first plank to the last.
The Essential DIY Toolkit
You can complete this installation with basic equipment. Having the right tools makes the job much easier. Here are the recommended tools to have ready:
- Rubber mallet
- Tapping block and pull bar
- Saw (a miter or table saw works best)
- Utility knife with a straight edge
- Pencil for marking cuts
- 5/16” Spacers to create an expansion gap
Pro Tip: A complete spacer kit often includes the tapping block, pull bar, and spacers you need. These tools help you fit each plank tightly for a professional finish.
Choosing Your skspcflooring Planks
Your choice of flooring sets the tone for the entire room. We offer a wide range of high-quality spc vinyl plank options. You can select from modern styles like Chevron SPC Flooring or the textured beauty of EIR SPC Flooring. Our products are durable, water-resistant, and designed for easy installation, making them perfect for your DIY vinyl floor. Each plank clicks together securely for a seamless look.
Underlayment and Trim Checklist
Some vinyl products come with an attached pad. If yours does not, you will need a separate underlayment. An underlayment provides sound insulation and extra comfort underfoot. Cork is a great natural option for this. Choosing the right underlayment for your project is an important step. You will also need trim pieces to complete the look.
- Base shoe molding (like quarter round)
- Transition strips for doorways
- Other moldings as needed
Prepare Your Room for Installation
A great installation begins with a well-prepared room. Taking these steps ensures your new floor looks professional and lasts for years. You will create the perfect foundation for your project.
Calculate Your Square Footage
First, you need to calculate how much flooring to buy. This simple process prevents you from running out of material mid-project.
- Measure the length of your room.
- Measure the width of your room.
- Multiply the length by the width to get the total square footage.
Example: A room that is 10 feet long and 12 feet wide is 120 square feet (10 ft x 12 ft).
You should always buy extra material for cuts and mistakes. A good rule is to add 5-10% to your total square footage. This ensures you have enough planks to complete the job.
Acclimate Your SPC Vinyl Plank
Your new spc vinyl plank needs to adjust to the room’s environment. While our planks are very stable, this step prevents future issues. Place the unopened boxes of flooring in the installation room. Let them sit for at least 24-48 hours. The room temperature should stay between 55°F and 85°F for a successful installation. This simple step helps the vinyl material settle before you begin.
Subfloor Cleaning and Leveling
A clean and level subfloor is critical for a beautiful floor. Any debris or unevenness can affect the final result. Start by sweeping and vacuuming the entire subfloor to remove all dust and dirt.
Next, check if the subfloor is flat. Use a long level to find any high or low spots. The subfloor should not have bumps or dips greater than 1/8 inch over a 4-foot span. If you find high spots on a wood subfloor, you can sand them down. For a concrete subfloor, you may need to grind them. You can fill low spots with a floor-leveling compound. Follow the product’s instructions to mix and apply it, creating a perfectly smooth surface for your new installation. A level subfloor is the key to a flawless finish.
The Step-by-Step Vinyl Flooring Installation
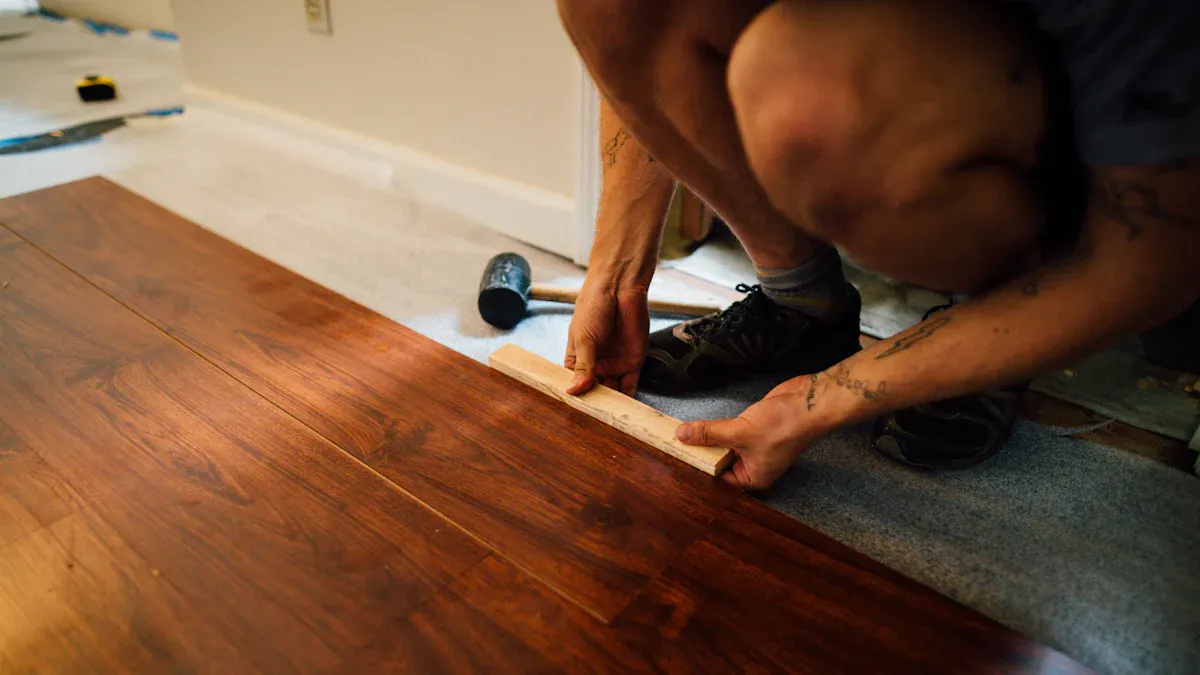
With your room prepped, you are ready for the most exciting part: the installation. This step-by-step installation guide will walk you through the process. Following these installation instructions carefully ensures a beautiful and durable new floor.
Plan Your Layout and First Row
A good plan is the foundation of a great floor. You should decide on the direction of your planks before you begin.
- Follow the Light: Laying planks parallel to the main light source, like a large window, can make the room feel bigger.
- Use the Longest Wall: Starting along the longest, most visible wall often creates the most pleasing look.
- Blend Your Planks: Open several boxes of flooring. Mix the planks to ensure a natural variation in color and pattern across the room.
Next, you need to establish a straight starting line. Measure the room’s width and snap a chalk line down the center. This line acts as your guide, keeping your rows perfectly straight throughout the installation.
Finally, plan your first row to avoid very short pieces at the end.
Important Rule: The first and last plank in any row should be at least 6-8 inches long.
Measure your first row. If the last plank will be too short, you should trim the first plank of the row. This adjustment makes the last plank longer and creates a more balanced appearance. Save the offcut from the first plank, as you may be able to use it to start a future row.
The Click-Lock Installation Method
Our skspcflooring products feature an easy-to-use click-lock system. This makes your vinyl flooring installation quick and simple. The primary technique is the “Angle-Angle” method.
- Start the First Row: Place your first plank in the corner. Remember to use 5/16″ spacers between the plank and the walls to leave an expansion gap.
- Connect the Planks: Take your second plank. Hold it at a slight angle and insert its short-end tongue into the groove of the first plank.
- Lock it Down: Gently lower the plank. It will click into place, locking the short ends together. Continue this process until you complete the first row.
- Start the Second Row: You must stagger the seams for strength and visual appeal. Use the offcut from your first row to start the second row, as long as it creates a seam offset of at least 6 inches. This avoids weak H-patterns.
- Engage the Long Side: Angle the long side of your new plank into the groove of the previous row. Slide it until the short end is close to the previous plank in its own row.
- Complete the Lock: Push the plank down. The long and short sides should lock at the same time. You can use a rubber mallet and tapping block to gently tap the long edge and ensure a tight seam. Use a pull bar for the last plank in a row to pull it tight.
Pro Tip: Never hammer directly on the vinyl. Always use a tapping block to protect the locking mechanism. This is key to installing your flooring safely.
Cutting Planks for Obstacles
You will inevitably need to cut planks to fit around doorways, vents, and other obstacles. Making precise cuts is essential for a professional finish.
For simple straight cuts at the end of a row, you can use a utility knife.
- Measure and mark your cut line on the spc vinyl plank.
- Use a straight edge to guide your utility knife.
- Score the surface of the plank deeply.
- Snap the plank along the scored line.
For more complex shapes, like cutting around a door frame or pipe, a different approach works best. You can create a template using paper or cardboard. Trace the shape of the obstacle onto the paper, then transfer that shape onto your vinyl plank. You can use a jigsaw or a multi-tool to carefully cut along the traced line. Always remember the golden rule: measure twice, cut once.
Final Touches for a Flawless Finish
You are on the home stretch! These final steps will complete your vinyl flooring installation and give your room a polished, professional look. Taking your time here ensures the details are perfect.
Installing the Last Row
The last row can be tricky because of the limited space. You will need to measure and cut the final planks to width. Remember to leave the 5/16″ expansion gap against the wall.
- Crowbar or pull bar
- Hammer
- Utility Knife
- Tapping Block
Use your pull bar and hammer to lock the last row into place. If the space is too tight, you have another option. You can carefully cut off the locking element on the plank with a utility knife. Then, apply a bead of wood glue to the edge and push the plank into place. Use spacers to hold it tight against the wall while the glue dries.
Reinstalling Baseboards
Now you can reinstall your baseboards. This step hides the expansion gap you left around the room. Place the baseboard trim on top of the new floor and press it flush against the wall.
Important Tip: Secure the baseboards by nailing them into the wall, not into the floor. This allows the spc vinyl plank to expand and contract naturally. Avoid nailing at a downward angle.
For a truly seamless finish, apply a thin bead of paintable caulk along the top edge where the baseboard meets the wall. Smooth the caulk with a damp finger for a clean line. Do not caulk the bottom of the baseboard.
Adding Transition Strips
The final step is adding transition strips in doorways. These pieces create a smooth connection between your new vinyl floor and other flooring surfaces.
- T-Molding: Use this for transitions between two floors of the same height, like from your vinyl to a tile entryway.
- Reducer: Use this when connecting to a lower floor, such as thin carpet or concrete.
Most transition strips use a metal track that you secure to the subfloor. The decorative molding then snaps into the track for a clean installation. This completes your project and beautifully connects your new room to the rest of your home.
Step back and admire your work. You have successfully completed this DIY project. Your new floor not only looks fantastic but also increases your home’s value. Properties with SPC flooring often see a 7-12% rise in appraised value.
Your new floor enhances the room’s aesthetic appeal. This makes your space more attractive to potential buyers or tenants.
Keep your skspcflooring floor pristine for years with these simple tips:
- Sweep or vacuum regularly.
- Clean spills promptly with a damp cloth.
- Use felt pads under furniture legs.
FAQ
Can I install SPC flooring over my existing floor?
Yes, you can often install SPC flooring over existing hard surfaces. The subfloor must be clean, flat, and solid. You should avoid installing it over soft floors like carpet. This preparation ensures a stable and long-lasting result for your new floor.
Is SPC vinyl flooring truly waterproof?
Absolutely. Our skspcflooring planks are 100% waterproof. This feature makes them an excellent choice for moisture-prone areas like kitchens, bathrooms, and basements. You can install this flooring in any room of your home without worry. 💧
How do I clean and maintain my new floor?
You can easily care for your new floor.
- Sweep or vacuum it regularly to remove dirt.
- Clean spills quickly with a damp cloth.
- Use a damp mop with a pH-neutral cleaner for a deeper clean.
Note: Always avoid using harsh chemicals, wax, or steam cleaners on your SPC floor.
Do I really need to leave an expansion gap?
Yes, the 5/16″ expansion gap is essential. Your floor needs space to expand and contract with temperature changes in your home. This small gap prevents the planks from buckling or separating over time, protecting your investment.




