
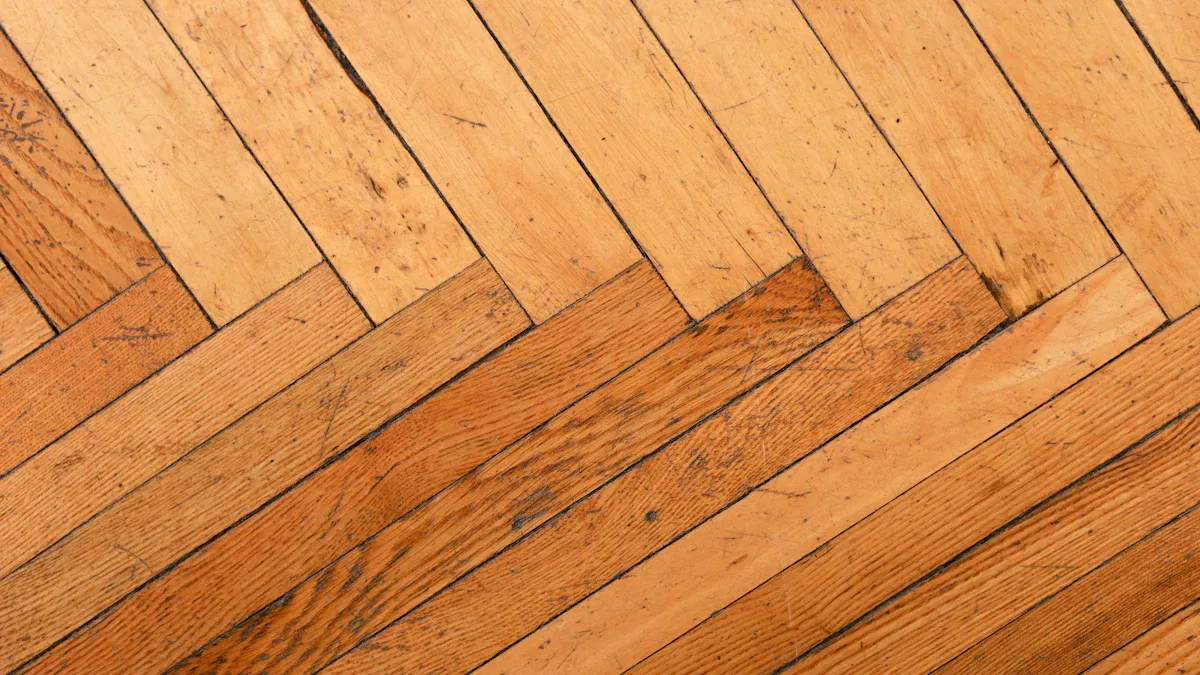
You can create a polished look with chevron vs herringbone flooring by planning each transition and trim detail before you begin. Start by choosing the right layout for your space. When planning a hardwood layout, you should think about pattern direction, smooth transitions, and how each edge meets the wall. Professional guidance helps you avoid mistakes and makes your flooring look seamless. Chevron flooring and herringbone designs both need careful guidance to highlight the beauty of hardwood.
Choose the Right Transition Strips for Chevron vs Herringbone Flooring
When you install chevron vs herringbone flooring, you need to plan your transitions carefully. The right transition strips help your floor layout patterns look smooth and professional. You want your chevron flooring and herringbone patterns to connect well with other rooms or surfaces. This step protects your hardwood and keeps your home looking neat.
Matching Materials and Finishes
You should match the materials and finishes of your transition strips to your chevron flooring. This creates a unified look. Many people choose neutral colors like white, cream, beige, or greige. These shades let the pattern stand out. Some homeowners like bold contrasts, such as dark charcoal or espresso, especially with light walls. Warm tones like terracotta or clay give a cozy, natural feel. Crisp whites and cool blues work well for a fresh, modern style. If you want a touch of luxury, you can use metallic accents.
Here is a table to help you pick the best finish for your space:
| Transition Strip Type | Best Use Case |
|---|---|
| Metallic or wood-look | Adds a polished look in office environments. |
| Vinyl or rubber | Ideal for schools and healthcare for durability. |
| Minimalist in neutral colors | Preserves a modern flow in contemporary designs. |
When you match your transition strips to your chevron layouts or herringbone patterns, you make your hardwood flooring look more polished.
Placement Tips for Chevron vs Herringbone
You need to think about where to place your transition strips. Good placement helps your chevron flooring flow from one room to another. It also protects the edges of your hardwood. Transition strips connect different flooring types and heights. They cover movement gaps and keep your floor safe.
Here is a table showing common transition strips and their uses:
| Transition Strip Type | Best For | Description |
|---|---|---|
| T-Molding | Equal height floors | Connects floors of the same height, like hardwood to laminate. |
| Reducer Strips | Different thicknesses | Slopes between floors of different thicknesses, such as tile to vinyl. |
| Threshold Strips | High-traffic areas | Works well in doorways and entryways for extra durability. |
You should use transition strips to create a seamless connection between rooms. This keeps your chevron flooring and hardwood looking neat. Proper transitions also help your pattern stay consistent in all transition areas.
Tip: Always check your layout before installing transition strips. This helps you avoid mistakes and keeps your chevron flooring looking its best.
Plan Trim Details for Pattern Continuity with skspcflooring
Selecting Baseboards and Moldings
You want your chevron flooring to look polished from wall to wall. The right baseboards and moldings help you achieve this. Choose trim that matches the color and style of your chevron or herringbone flooring. This keeps your floor layout patterns looking neat and connected. If you use wide baseboards, you can cover small gaps at the edge of your hardwood. Thin moldings give a modern look and work well with chevron flooring in smaller rooms.
When you select baseboards, think about the height of your walls and the size of your chevron pattern. Tall baseboards make a room feel grand. Shorter baseboards keep things simple. Moldings with clean lines fit modern chevron flooring. Decorative moldings add a classic touch to hardwood. You can use quarter-round or shoe moldings to hide any small gaps between the floor and the wall. This makes your flooring look smooth and finished.
Tip: Always paint or stain your trim before you install it. This saves time and keeps your chevron flooring clean.
Aligning Patterns at Edges
You need to pay close attention to the edges of your chevron flooring. Aligning the pattern at the edges can be tricky. Chevron flooring often needs diagonal cuts at the ends of the boards. These cuts must be precise to keep the zigzag pattern even. Herringbone flooring uses rectangular tiles set at 90-degree angles. This makes the layout more complex near the walls.
To get a seamless look, use these techniques:
- Take precise measurements for every cut.
- Use spacers to keep the pattern even, especially at the edges.
- Try a dry layout first. Lay out your chevron or herringbone flooring without glue to see how the pattern fits.
- Secure trim pieces along the edges for a clean finish. Use a ledger to keep your lines straight.
You can avoid mistakes by planning your layout before you start. This helps your chevron flooring flow smoothly into every corner. When you use these steps, your hardwood will look professional and polished.
Seamless Room-to-Room Flow with Chevron vs Herringbone Flooring

Creating a seamless flow between rooms with chevron vs herringbone flooring makes your home look polished and connected. You want each space to feel like part of a bigger design. The right transitions and careful layout planning help you achieve this effect.
Installing Thresholds and Reducers
You need to use thresholds and reducers when your chevron flooring meets other types of flooring or changes in height. These pieces help you connect hardwood to tile, carpet, or stone. They also protect the edges of your hardwood and keep your floor layout patterns looking neat.
- Use reducers or saddles where the height changes, such as at bathroom or kitchen entries.
- Choose flush strips or metal edges for a clean look when chevron flooring meets tile.
- Carry your layout line through doorways and use slim thresholds to keep the pattern straight.
- For different hard floors, T-molding or flush transitions work well.
- Select a border if you want a luxury look or need to blend two types of flooring.
Professionals prepare the subfloor and select the right underlay before installing thresholds. They plan the edge as a feature, especially when chevron flooring meets stone or ceramic. Flush thresholds or low-profile T-moldings create a refined seam and keep your pattern intact.
Tip: Always check your layout before installing thresholds. This helps you keep your chevron flooring pattern even from room to room.
Managing Pattern Direction Changes
You can use the direction of your chevron flooring to guide the eye and create movement in your home. Chevron patterns make large rooms feel bigger and more dynamic. Herringbone patterns add structure and make smaller rooms feel cozy.
| Pattern Type | Visual Effect in Rooms | Room Size Suitability |
|---|---|---|
| Chevron | Creates a dynamic and lively atmosphere, enhancing spaciousness | Works well in large rooms, making them appear bigger |
| Herringbone | Offers a balanced and elegant composition, making rooms feel cozy | Ideal for smaller rooms, enhancing their striking appearance |
When you plan your layout, think about how the pattern will flow from one room to the next. You can use a border to define spaces or blend the pattern for a natural transition. Chevron flooring creates a sense of movement, while herringbone gives a geometric look. Both styles add visual interest and help you customize the ambiance of your home.
A seamless transition between rooms makes your hardwood flooring look professional. You can use transitions, flush strips, or borders to connect each space. Careful layout planning ensures your chevron flooring and hardwood stay aligned and polished.
Precision Cutting and Installation for a Professional Finish
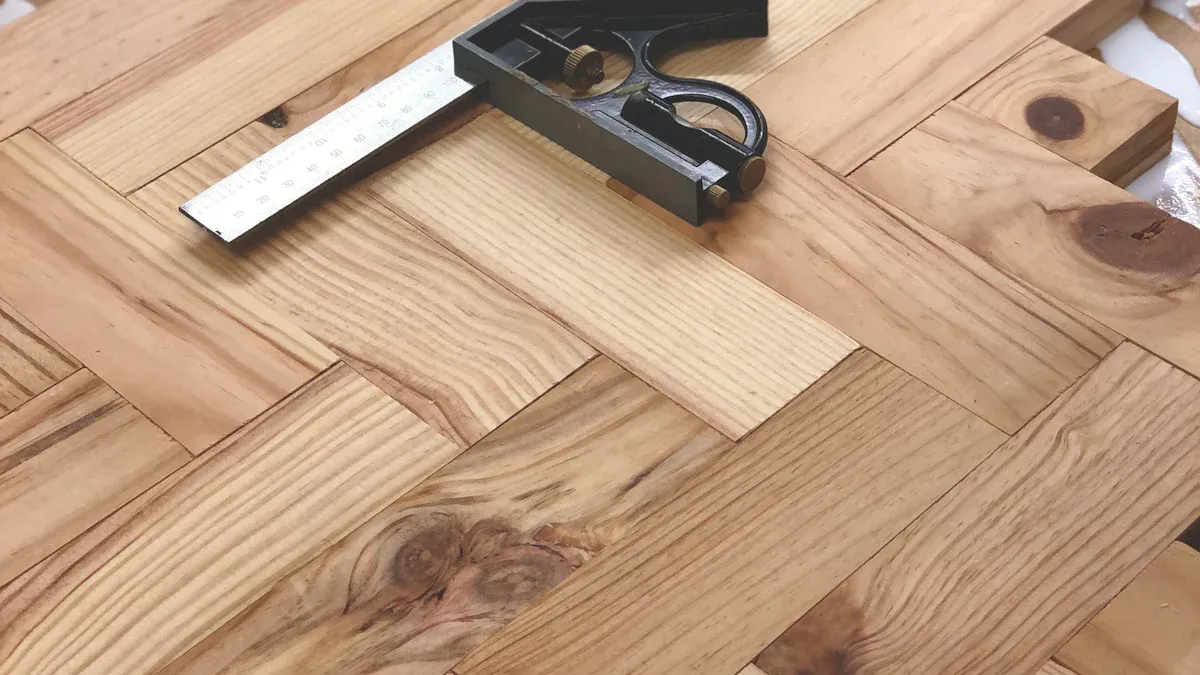
Essential Tools and Techniques
You need the right tools and techniques to achieve a polished look with chevron vs herringbone flooring. Precision cutting stands at the heart of a professional finish. Each plank must fit perfectly to keep your pattern sharp and your layout smooth. You should use a high-quality miter saw, measuring tape, and a sharp pencil for marking. These tools help you cut exact angles and keep your chevron flooring lines straight.
Here is a table that shows important techniques for a flawless layout:
| Technique | Description |
|---|---|
| Precision Cutting | Requires exact angles and consistent plank dimensions to avoid installation issues. |
| Plank Structure | Different structures (solid wood, engineered wood, multi-layer parquet) affect stability and performance. |
| Pattern Planning | Essential for determining installation logic and yield calculations to minimize waste. |
You should always plan your layout before you start. This step helps you reduce waste and keeps your transitions neat. When you use the right tools and follow these techniques, your chevron flooring will look seamless and professional.
Avoiding Gaps and Misalignment
You want your hardwood to last for years and look beautiful. Proper installation precision helps you avoid gaps and misalignment. You should maintain an expansion gap of about 1/4 inch around walls and fixed objects. Use spacers to keep this gap even along the edges. For larger rooms, check the product guidelines for the maximum continuous length and consider adding hidden expansion joints.
- Both chevron and herringbone flooring can handle heavy foot traffic if you install them correctly.
- Good installation and regular care help your pattern last for decades.
- Herringbone flooring has staggered joints that spread weight and reduce cracks.
- Chevron flooring creates strong lines but needs careful handling to prevent chipping at the edges.
You should cut each plank at the right angle to keep your chevron pattern aligned. This careful work keeps your layout looking sharp and your transitions smooth. When you focus on installation precision, your hardwood will stay strong and stylish for many years.
Finishing Touches for a Polished Look with skspcflooring
Caulking and Filling Gaps
You want your chevron flooring to look flawless. After you finish the layout, check for small gaps between the hardwood and the wall. Use caulk to fill these spaces. This step keeps your flooring clean and prevents dust from collecting. You can use a flexible filler for wider gaps. Make sure you match the color of the caulk to your chevron pattern. This helps the layout stay consistent and hides any small mistakes from installation. Always smooth the caulk with a damp finger or tool. This gives your chevron flooring a seamless finish.
Tip: Fill all visible gaps before you move to the next step. This makes your hardwood look more professional.
Staining or Painting Trim
Trim adds the final touch to your chevron flooring. You can stain or paint the trim to match your hardwood. Choose a color that blends with your chevron pattern. If you want a modern look, use white or light gray paint. For a classic style, pick a stain that matches your hardwood. Always apply the finish before you attach the trim to the wall. This keeps your layout neat and prevents drips on your chevron flooring. Use two coats for the best coverage. Let each coat dry before you add the next one.
- Stained trim works well with natural hardwood.
- Painted trim highlights the chevron pattern in bright rooms.
- Matching trim color to your flooring creates a unified layout.
Final Inspection Checklist
You should always inspect your chevron flooring before you finish the project. Use this checklist to make sure your layout looks polished:
| Step | What to Check |
|---|---|
| Pattern Alignment | Chevron pattern lines up across the room |
| Gap Filling | No visible gaps between hardwood and trim |
| Trim Finish | Paint or stain is smooth and even |
| Cleanliness | No dust or debris on the flooring |
| Transition Strips | All strips are secure and match the layout |
Walk through the room and look at your chevron flooring from different angles. Check that the hardwood shines and the pattern stands out. If you see any problems, fix them right away. This attention to detail makes your flooring look like a professional installation.
You can achieve a polished look with chevron vs herringbone flooring by focusing on five key steps: choosing the right transition strips, planning trim for pattern continuity, ensuring seamless room-to-room flow, using precision cutting and installation, and adding finishing touches.
- Chevron patterns make large rooms feel vibrant.
- Herringbone patterns add a striking effect to small spaces.
- Material choice impacts durability and cost.
- Chevron flooring needs careful alignment for a perfect V-shape.
- Budget and layout planning matter for every project.
Careful planning and attention to detail help your hardwood stand out. When you follow these tips, your flooring will look professional and last for years.
FAQ
What is the main difference between chevron and herringbone flooring?
Chevron flooring uses planks cut at an angle to form a continuous V pattern. Herringbone flooring uses rectangular planks set in a staggered zigzag. You see a sharper look with chevron and a more classic style with herringbone.
How do you keep chevron or herringbone patterns aligned during installation?
You should measure each plank carefully. Use spacers and a chalk line to guide your layout. Dry-fit the planks before gluing. This helps you keep the pattern straight and even.
Can you install chevron or herringbone flooring in kitchens or bathrooms?
Yes, you can use SPC chevron or herringbone flooring in kitchens or bathrooms. These floors resist water and stains. Always check the manufacturer’s guidelines for best results.
What tools do you need for a professional chevron or herringbone installation?
You need a miter saw, measuring tape, spacers, and a tapping block. A chalk line helps you keep the pattern straight. Use a high-quality adhesive for a secure fit.
How do you clean and maintain chevron or herringbone SPC flooring?
Sweep or vacuum your floor often. Use a damp mop with a gentle cleaner. Avoid harsh chemicals. Place mats at entrances to reduce dirt. This keeps your flooring looking new.




