
You can achieve a polished look in your home with top rated vinyl flooring when you plan transitions carefully. Professional installers agree that transition planning prevents floor issues such as buckling or shifting. You also manage height differences between rooms, which stops tripping hazards. Transitions allow you to create visual breaks and maintain flow throughout your space. Careful attention to transitions helps your flooring look expertly installed and ensures lasting durability.
Why Floor Transition Strips Matter for Vinyl
Function and Durability
You want your top rated vinyl flooring to last for years. Floor transition strips play a big role in making that happen. These strips help you bridge gaps and level height differences between rooms. You avoid tripping hazards and keep your floor safe for everyone. Floor transition strips cover unsightly gaps that can appear during flooring installation. You protect the edges of your vinyl from chipping and fraying. This gives your floor a finished look and keeps it strong.
You also make movement easier for wheeled furniture and mobility devices. Floor transition strips secure flooring materials in place. You prevent shifting and buckling, which can damage your vinyl. These strips minimize the impact of temperature and humidity changes. Your floor stays stable and does not expand or contract too much. Floor transition strips create a tight seal. You stop debris, dust, and dirt from getting under your flooring. This improves cleaning and indoor air quality. You also protect your subfloor from moisture, which prevents mold and mildew.
Tip: Always check that your transitions are tight and secure. This helps your floor stay durable and safe.
Design and Visual Appeal
You can use floor transition strips to make your space look stylish. Many homeowners choose transitions that match their vinyl flooring. You create a seamless flow from room to room. Mixed flooring materials are popular in modern homes. You can blend different textures and colors for a unique look. Open-concept living spaces need creative transitions to connect areas smoothly.
Floor transition strips help you highlight design features. You can use them to separate spaces or add visual interest. Transitions make your flooring look neat and professional. You enhance both the design and practicality of your home.
Note: Choose transition strips that complement your vinyl flooring. This adds beauty and value to your space.
Planning Transitions Between Different Materials
Mapping Out Transition Areas
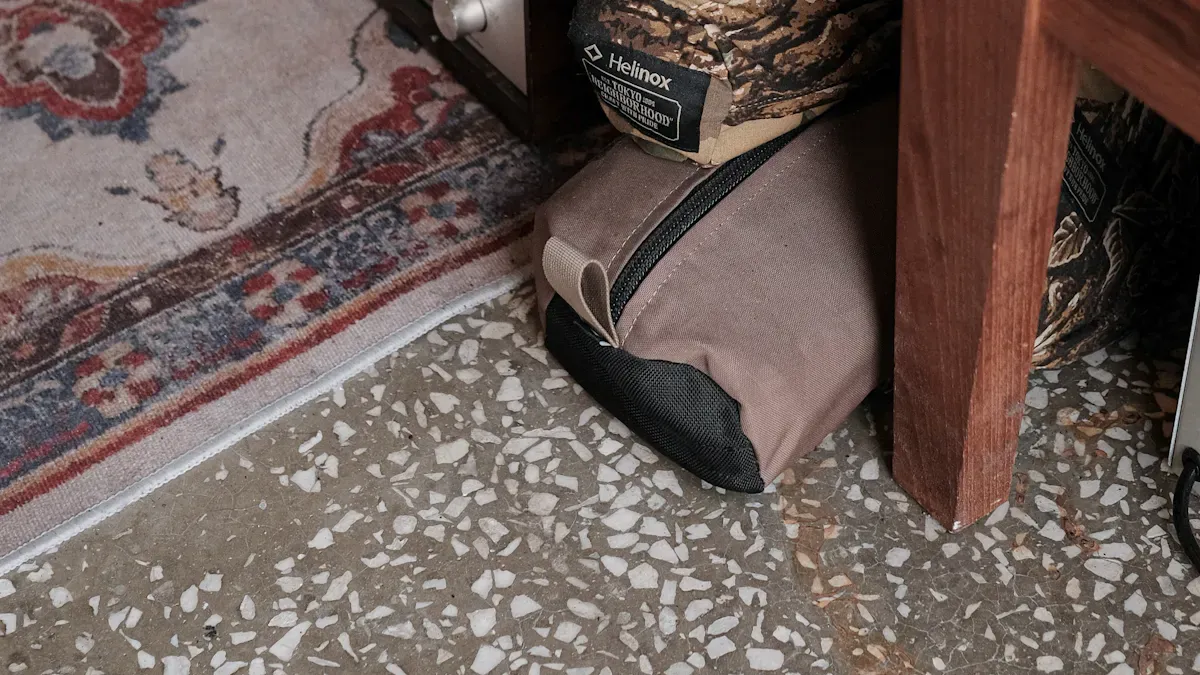
When you plan transitions between different materials in your home, you set the stage for a smooth and safe flooring project. You want to avoid tripping hazards and keep the look of your space consistent. Many people face challenges when transitioning flooring, such as keeping visual flow, ensuring safety, and allowing for design flexibility. You need to think about how each room connects and where the transitions between different flooring types will go.
To help you map out these areas, you can use several tools and techniques. The table below shows some of the most effective options:
| Tool/Technique | Description |
|---|---|
| Make-it-Match System | Solves transition issues between vinyl and other materials using specialized tools. |
| Plank Skinner | Removes the vinyl wear layer of rigid core LVP products. |
| MatchWrap | Double-sided tape for customizing flooring profiles, ensuring a secure fit between materials. |
| Transition Strips | Connects different flooring heights, such as vinyl to tile or wood. |
You can also use reducer strips for height changes, slim trim for flat transitions, and T molding for similar thicknesses. When you anticipate transitions for different room types, you make your home safer and more attractive.
Measuring and Marking Transition Points
Accurate measuring and marking are key steps in transitioning flooring. You want your floor to fit perfectly and look professional. Start by identifying where the transitions between different materials will happen. Use a story stick to mark door widths and offsets. Score-and-snap works well for straight cuts, while a jigsaw with a fine blade helps you cut around obstacles. Scribing lets you fit flooring to walls, leaving a 6 mm expansion gap.
Templates and test fits help you avoid mistakes, especially with tricky shapes. Cross-measure from two fixed points to find pipe centers. Masking tape along the cut line can reduce chipping when you use a jigsaw. These methods help you achieve clean, precise transitions between similar floors and different flooring types.
When you plan transitions carefully, you create a seamless look and improve the safety of your home. Anticipating transitions for different room types ensures your flooring project succeeds from start to finish.
Choosing Direction and Layout for Top Rated Vinyl Flooring
Deciding Floor Direction for Each Room
You want your home to look open and inviting. The direction you lay your flooring can change how each room feels. When you run planks parallel to the longest wall, you make small rooms feel larger. This layout draws the eye along the length of the space and creates a sense of openness. In wide areas, laying planks across the shorter width can make the room look broader, but in narrow spaces, this might make the room feel tighter.
Think about the flow of light in your home. Laying your floor towards the main light source can make the room appear longer and brighter. This direction also helps minimize seams and shadows, giving your flooring a smooth look. If you want a cozy corner, you can lay planks perpendicular to the light. This creates warmth and shadow, perfect for reading nooks or quiet spots.
You should also consider other features in your rooms. Aligning your flooring with stairs or feature walls can create a consistent look. Trust your instincts and choose a direction that fits your style and the function of each space.
Tip: Before you start, lay out a few planks without adhesive. This helps you see how the direction will affect the look and feel of your floor.
Aligning Planks for Seamless Flow
You want your top rated vinyl flooring to flow smoothly from one room to another. Keeping a consistent plank direction across connected rooms helps your home feel unified. Avoid changing direction too often, as this can break up the space and make transitions look busy.
When you need to change direction, use transition strips to create a clean visual break. These strips help you manage transitions between different flooring types or heights. They also keep your floor safe and durable. Clean transitions make your flooring look professional and help each room blend into the next.
You should always check that your planks line up at doorways and entry points. This keeps your transitions neat and prevents gaps. A seamless flow between rooms adds value and style to your home.
Note: Plan your layout before installation. Careful planning ensures your flooring transitions look flawless and last for years.
Selecting the Right Transition Strips for Vinyl
Types of Floor Transition Strips (T-molding, Reducer, End Cap, Threshold)
You need to understand the types of floor transitions before you choose the right transition strip for your home. Each transition strip serves a different purpose and fits specific flooring needs. The table below shows the main types of transition strips and their best uses:
| Type | Best Use Cases | Characteristics |
|---|---|---|
| T-Molding | Doorways where two floors of the same height meet; vinyl floor to vinyl floor. | Flat piece for equal height surfaces; requires precise installation to avoid trip hazards. |
| Reducer | Doorways where the next room has a lower floor; vinyl floor next to carpet. | Sloped trim for transitioning to lower surfaces; offers a gradual slope for safety and comfort. |
| End Cap | Perimeter of a room; door thresholds; end of vinyl runs. | Covers exposed edges; provides a clean finish and protects against damage. |
| Threshold | Transitions from hard flooring to carpet of similar height. | Creates a smooth transition; commonly used around sliding doors and other spaces needing a clean edge. |
You often use T-molding for vinyl to tile transition or tile to laminate transition. Reducers help with carpet to tile transition and tile to laminate transition. End caps finish the edges of your vinyl flooring, especially at doorways or where the floor meets walls. Threshold strips create smooth transitions between rooms and different flooring types.
Tip: Always check the height and thickness of your flooring before you select a transition strip. This prevents bumps and gaps.
Matching Transition Strips to Vinyl Flooring
You want your transition strip to match your vinyl flooring for a seamless look in your home. Modern transition strips come in many colors and textures. You can find options that blend perfectly with your vinyl flooring. Contractors often use materials from your existing floor to create custom transition strips. This makes transitions look natural and keeps your rooms connected.
When you select a transition strip, you should consider several criteria. The table below helps you choose the best strip for your flooring project:
| Criteria | Description |
|---|---|
| Flooring Type Compatibility | Match the transition strip material to the flooring type for a cohesive look and proper functionality. |
| Floor Height Difference | Choose the correct profile based on elevation differences to prevent tripping hazards. |
| Traffic & Environmental Conditions | Select materials based on the location’s usage and durability requirements. |
| Thickness & Profile Height | Ensure the strip’s thickness aligns with the flooring to avoid bumps or gaps. |
You need to match the transition strip to the color and texture of your vinyl flooring. This creates a unified appearance and makes your home feel more inviting. You also improve safety and durability by choosing the right strip for each transition area. Careful planning ensures your transitions look professional and last for years.
Note: Always test your transition strip in a small area before full installation. This helps you check color, fit, and finish.
Installation Techniques for Professional Vinyl Transitions by skspcflooring
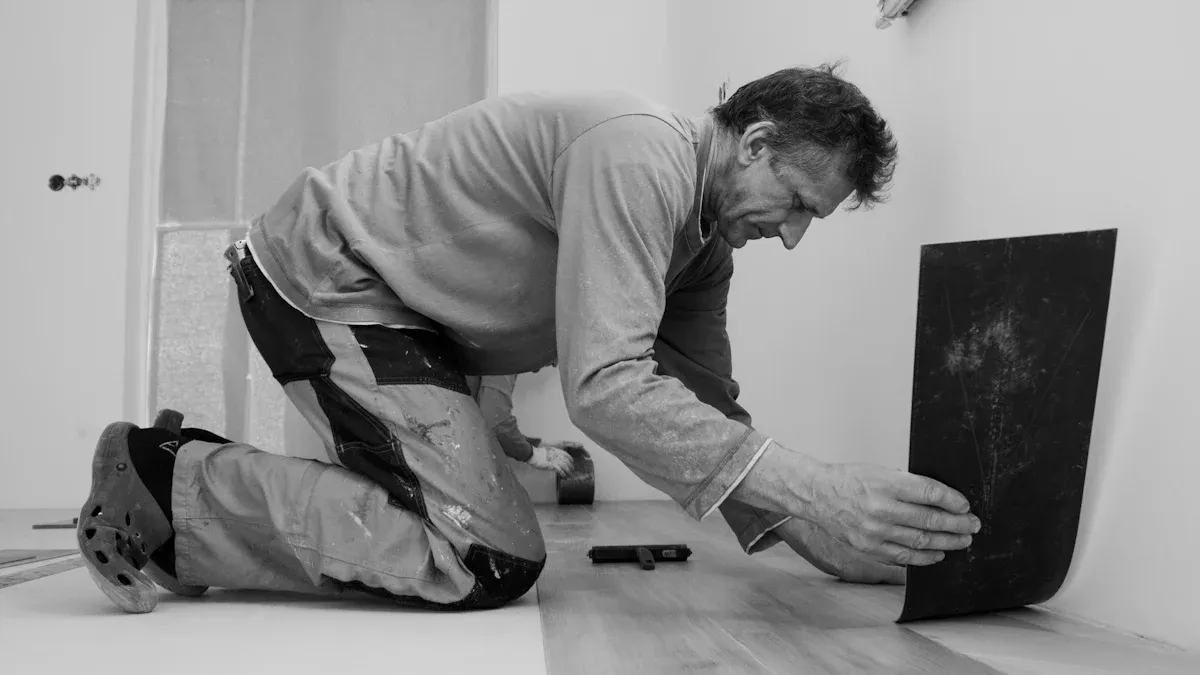
When you want your home to look its best, you need to focus on the details of your flooring installation. Planning and installing transitions the right way helps your vinyl flooring last longer and look professional. You can follow these steps to make sure your floor transitions are safe, smooth, and attractive in all rooms.
Allowing for Expansion Gaps
You must leave space for your flooring to expand and contract. This is important because temperature and humidity can change in your home. If you do not allow for expansion gaps, your floor can buckle or lift at the edges. You should always plan for these gaps at every transition point.
If you’re approaching a new room and or closing in on the 30-foot rule discussed above, leave a ¼” to a 1/2” gap to serve as an expansion gap. This is the perfect place for a transition strip.
You can use a simple ruler or measuring tape to check the gap size. Place the transition strip over the gap to cover it and keep your flooring secure. This method works well for all types of vinyl flooring and helps your floor stay flat and strong.
Securing Transition Strips Properly
You want your transition strips to stay in place and keep your floor safe. Proper installation makes your transitions last longer and prevents accidents. You should always prepare the area before you start.
- Carefully remove existing transition strips to avoid damaging nearby flooring.
- Clean the area between floor materials to ensure proper adhesion.
- Ensure the transition strip channel is the correct size and secure it before seating the strip.
- Use the appropriate adhesive for the flooring materials, consulting the manufacturer if unsure.
- Wipe off any excess adhesive before finishing the installation and check the strip’s stability.
You can use different methods to secure your transition strips. For adhesive installation, apply a continuous bead of adhesive along the channel and slide the strip into position. Always keep a 1/4-inch expansion gap between the flooring and the transition strip. For screw or nail installation, pre-drill pilot holes and fasten according to specifications. For two-piece strips, install the channel first and then snap the top piece into place. Use a wet rag to clean any excess adhesive before it sets.
You should check the strip after installation to make sure it does not move. This step keeps your floor transitions safe for everyone in your home.
Trimming for a Clean Finish
You want your transitions to look neat and match the rest of your flooring. Trimming helps you get a clean edge and a professional finish. You can use different tools and transition types for each area of your home.
- T-Moldings work well for joining two floors of the same height. They give you a smooth transition.
- Reducers are best when flooring heights differ. They create a gentle slope and help prevent tripping hazards.
- End Caps protect exposed plank edges and give you a clean stopping point at walls or doorways.
- Stair Nosing provides a safe, finished edge on stair treads.
You can use a fine-tooth saw or a utility knife to trim your transition strips. Always measure twice before you cut. Test fit the strip before final installation to make sure it fits perfectly. Clean up any rough edges with sandpaper for a smooth look.
When you follow these steps, you make your vinyl flooring transitions look seamless and strong. You add value to your home and enjoy safe, beautiful floors in all rooms.
Tips for Flawless Vinyl Transition Finishing
Checking Alignment and Level
You want your flooring to look even and professional in every room of your home. Start by selecting the right transition strips for each area. Place seams along natural room dividers, such as doorways or walls, to keep the look neat. Use T-molding when you join floors of the same height. For areas with different heights, overlapping seams or ramped transition strips work best. Sometimes, you need to adjust the underlayment to match the height of the adjoining floor. If the subfloor is uneven, apply a self-leveling compound before you install the flooring. These steps help you achieve smooth flooring transitions and prevent tripping hazards.
Tip: Always check the level of your floor with a straightedge or level tool before installing transitions. This ensures a seamless finish.
Cleaning Up Edges and Seams
After you install your transitions, focus on cleaning up the edges and seams. Cover expansion gaps and protect exposed ends with the right transition strip. This keeps dirt and debris from getting under your flooring and into sliding tracks. T-molding gives you a clean division between flooring types of the same height. Overlapping seams help hide small height differences and create a smooth transition. Protect tile and plank edges from damage by using end caps or reducers. These finishing touches allow for natural expansion and contraction, so your floor stays strong and looks great.
- Covers expansion gaps
- Prevents dirt from entering tracks
- Enhances the appearance of your flooring
Avoiding Common Mistakes
You can avoid many problems by following a few simple rules during installation. Do not work backwards, as this can damage the locking system of your planks. Always use transitions at doorways to make installation easier and safer. Start your flooring project in a strategic area of your home to prevent complications later. When tapping planks into place, protect the tongue by using a scrap piece. These habits help you achieve smooth flooring transitions and keep your floor looking flawless.
Note: Careful planning and attention to detail make your transitions last longer and keep your home safe.
You achieve a professional look in your home when you plan transitions for top rated vinyl flooring. Careful transition planning improves the quality of your flooring installation. You keep your floor safe and strong.
- Proper transitions maintain expansion gaps.
- Transition strips prevent tripping hazards.
- Thoughtful transitions create a smooth design flow in your home.
Attention to detail gives your flooring both durability and style.
- Your floor stays waterproof.
- A strong wear layer protects your vinyl.
- Glue-down installation keeps your floor stable.
- Luxury vinyl and long warranties add value.
You follow each step and enjoy transitions that make your home beautiful. Your floor looks seamless and lasts for years.
FAQ
What is the best way to transition vinyl flooring between rooms?
You should use a transition strip that matches your vinyl flooring. This keeps your floor safe and gives your home a smooth look. Always measure the gap before you install the strip.
Can I install vinyl transitions myself?
Yes, you can install vinyl transitions with basic tools. Follow the manufacturer’s instructions. Take your time and check each step. This helps your home look neat and professional.
How do I choose the right transition strip color?
Pick a color that matches your vinyl flooring or blends with both floors. Test a small piece first. This helps you see how it looks in your home before you finish the project.
Do I need to leave a gap under transition strips?
Yes, you should leave a small gap for expansion. This prevents your floor from buckling. The transition strip will cover the gap and keep your home’s flooring secure.
What tools do I need for installing vinyl transitions?
You need a measuring tape, saw, adhesive, and a level. These tools help you cut, fit, and secure the transition strip. Always clean the area before you start to get the best results.




