
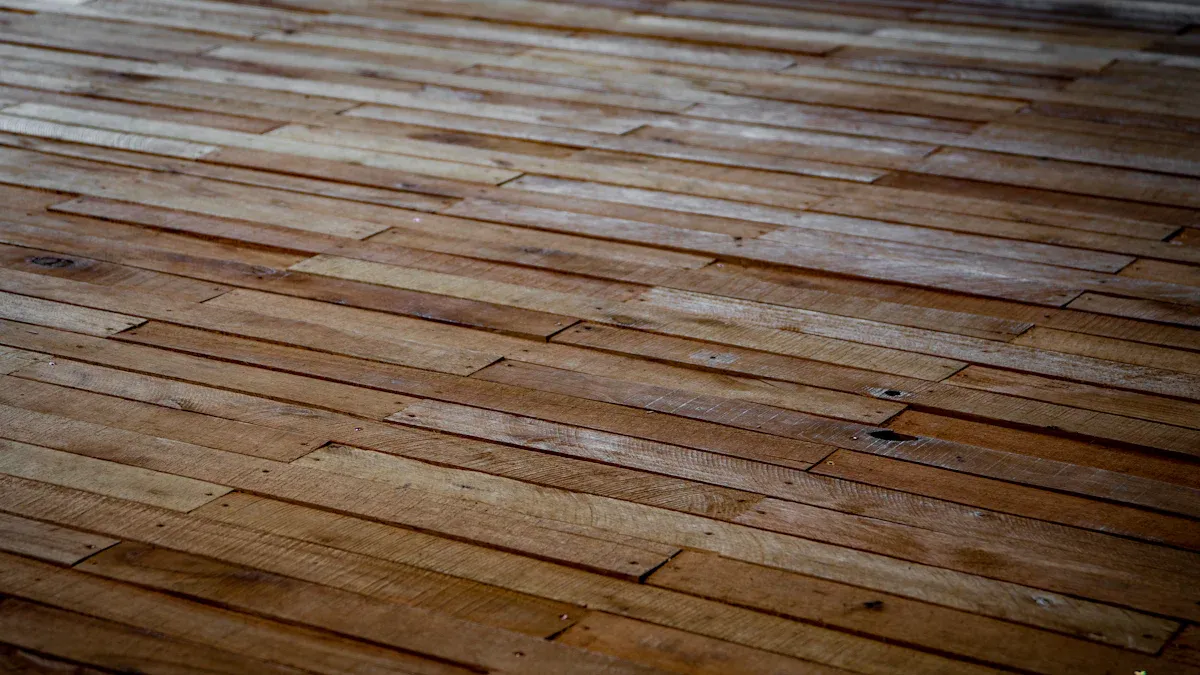
You create a stronger and more attractive floor when you stagger vinyl plank flooring. Offsetting the seams in each row spreads pressure across the surface. This method stops weak points from forming and keeps your floor from gapping over time. By planning your layout, cutting planks to different lengths, and alternating each row, you follow the best practice for how to stagger vinyl plank flooring. These steps help you enjoy a durable and natural-looking vinyl plank flooring for years.
Essential Tools and Materials for Vinyl Plank Flooring
Tools Needed for Staggering Vinyl Plank Flooring
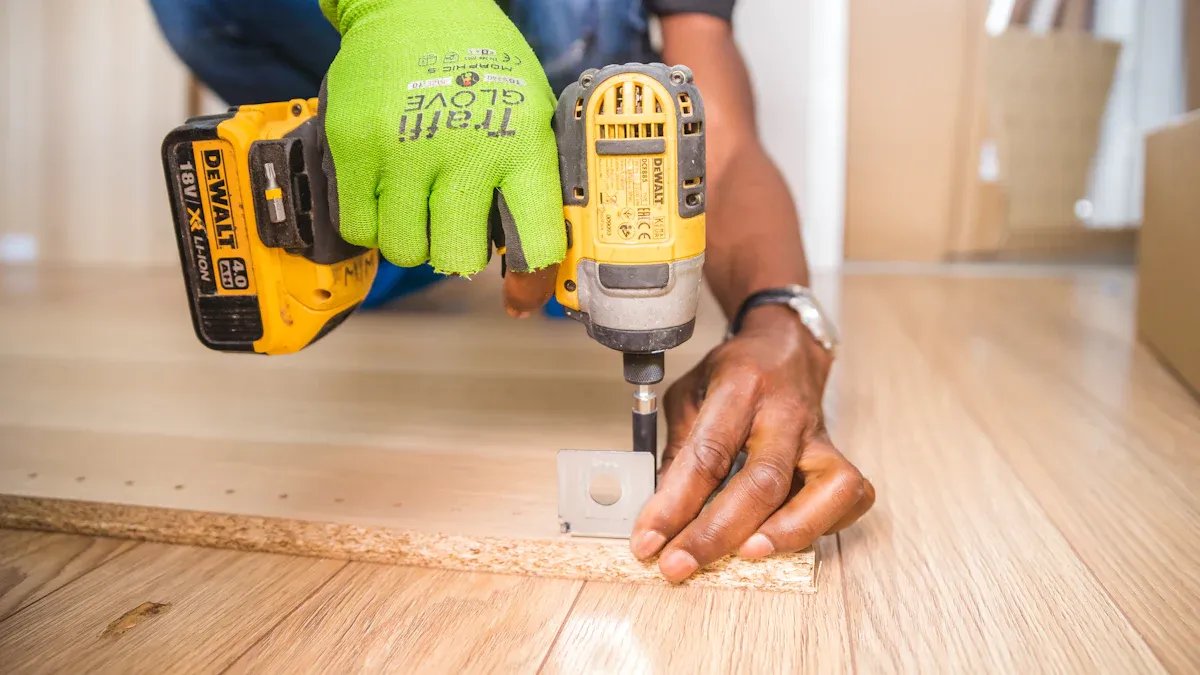
You need the right tools to install vinyl plank flooring with a professional finish. These tools help you measure, cut, and fit each plank correctly. When you stagger vinyl plank flooring, you make your floor stronger and more attractive. Here are the most important tools you should have:
- Vinyl planks
- Tape measure
- Utility knife
- Spacers (1/4 inch)
- Pencil
- Mallet
- T-squares
- Safety gloves
You use a tape measure and T-square to mark straight lines. A utility knife helps you cut planks to the right size. Spacers keep the right gap between the planks and the wall. A mallet helps you tap planks into place without damage. Safety gloves protect your hands during cutting and fitting.
Tip: Always follow the manufacturer’s instructions for your vinyl plank flooring. This ensures you get the best results and avoid mistakes.
Materials Checklist for Vinyl Plank Flooring Installation
You need more than just tools for a successful vinyl plank flooring project. The right materials make your floor last longer and look better. Here is a checklist to help you prepare:
- Underlayment (especially for concrete subfloors)
- Rollers for pressing seams
- Seam welders for a tight finish
- Caulk for moisture-prone areas
- Correct adhesive (if required by your flooring type)
Underlayment is important if you install vinyl plank flooring over concrete. It helps smooth out uneven spots and protects against moisture. Rollers and seam welders help you get tight seams and a smooth surface. Caulk adds extra protection in bathrooms or kitchens.
Professional installers say that using the correct tools and materials is key to a strong and beautiful floor. The table below shows some important recommendations:
| Recommendation | Description |
|---|---|
| Follow manufacturer’s instructions | Adhering to specific guidelines ensures proper installation. |
| Use caulk in moisture-prone areas | Provides added protection against moisture damage. |
| Avoid soft or damaged subfloors | Ensures a stable base for the flooring. |
| Prepare the subfloor | Skipping this step can lead to installation issues. |
| Use the correct adhesive | Incorrect adhesive can cause flooring problems. |
When you use the right tools and materials, you make your vinyl plank flooring project easier and more successful.
Key Considerations Before You Stagger Vinyl Plank Flooring
Choosing the Right Stagger Pattern
You have several options when you stagger vinyl plank flooring. Each pattern changes how your floor looks and how strong it feels underfoot. The running bond pattern gives a classic look, much like brickwork. Herringbone creates a zigzag effect that adds elegance and style. Diagonal patterns make small rooms feel bigger and brighter. Offset patterns let you customize the look for a more unique design.
Choosing the right stagger pattern helps your floor look more natural and less repetitive. When you arrange planks on alternate sides of a centerline, you create a random, realistic wood effect.
Staggering also prevents joints from lining up, which spreads weight and stress across the floor. This keeps your floor strong and helps it last longer.
Measuring and Planning Your Layout
Before you start, measure your room carefully. Write down the length and width. This helps you figure out how many planks you need for your vinyl plank flooring. Make sure the first and last rows are the same size for a balanced look.
Set your stagger spacing by measuring the length of your planks. Most experts recommend at least a six-inch gap between seams in each row. When you install the first row, leave a quarter-inch gap at the wall for expansion. Start the second row with an offcut from the first row. This keeps the seams from lining up and makes your stagger vinyl plank flooring look professional.
Avoiding Common Mistakes When You Stagger Vinyl Plank Flooring
Many people make mistakes when they stagger vinyl plank flooring. Do not align joints too closely. This weakens the floor and makes it look less natural. Always leave space around the edges for expansion, especially near walls and doorways.
Try not to create a repeating pattern. Mix up your starting plank lengths and use offcuts in different rows. This gives your floor a random, real-wood look. Follow the rule of thirds so no two seams are too close together. These steps help your vinyl plank flooring stay strong and beautiful for years.
How to Stagger Vinyl Plank Flooring: Step-by-Step Guide
Preparing the Subfloor for Vinyl Plank Flooring
You need a smooth and level subfloor before you begin. This step is important for how to stagger vinyl plank flooring because it helps the planks fit together tightly and stay in place. Start by checking the floor for bumps or dips. Use a level to find uneven spots. Sand down any high areas. Fill low spots with self-leveling concrete. Make sure the surface is flat within 2 millimeters over a 1-meter span.
Next, clean the subfloor. Sweep and vacuum to remove dust, dirt, and debris. Check for nails or screws sticking up and remove them. If you have a concrete subfloor, let it cure for at least 90 days. Measure the moisture content to make sure it is safe for vinyl plank flooring. Keep the room temperature between 18 and 24 degrees Celsius. If you have a crawl space, make sure it is dry and well-ventilated.
A clean, dry, and level subfloor prevents problems like squeaking, shifting, or damage to your planks. You set the foundation for a strong and long-lasting floor.
Tip: Take your time with subfloor preparation. A well-prepared base makes every other step easier and helps you achieve a professional result.
Cutting Planks for a Staggered Pattern
Cutting your planks correctly is a key part of how to stagger vinyl plank flooring. You want to avoid seams lining up in a straight line. This makes your floor look more natural and keeps it strong. Start by measuring the length of your room and the planks. Plan your cuts so that the end joints in each row are at least six inches apart.
Use a tape measure and pencil to mark your cuts. A utility knife works well for most vinyl planks. For the second row, cut the first plank to one-third of its length. This helps create a staggered pattern and prevents gaps. Use high-quality cutting tools for clean edges. This step is important for the fit and finish of your floor.
Staggering the planks spreads weight evenly across the floor. This keeps the planks from moving or popping up over time. You also get a floor that looks like real wood.
Note: Mix planks from different boxes as you cut. This blends colors and patterns for a more natural look.
Installing the First Row of Vinyl Plank Flooring
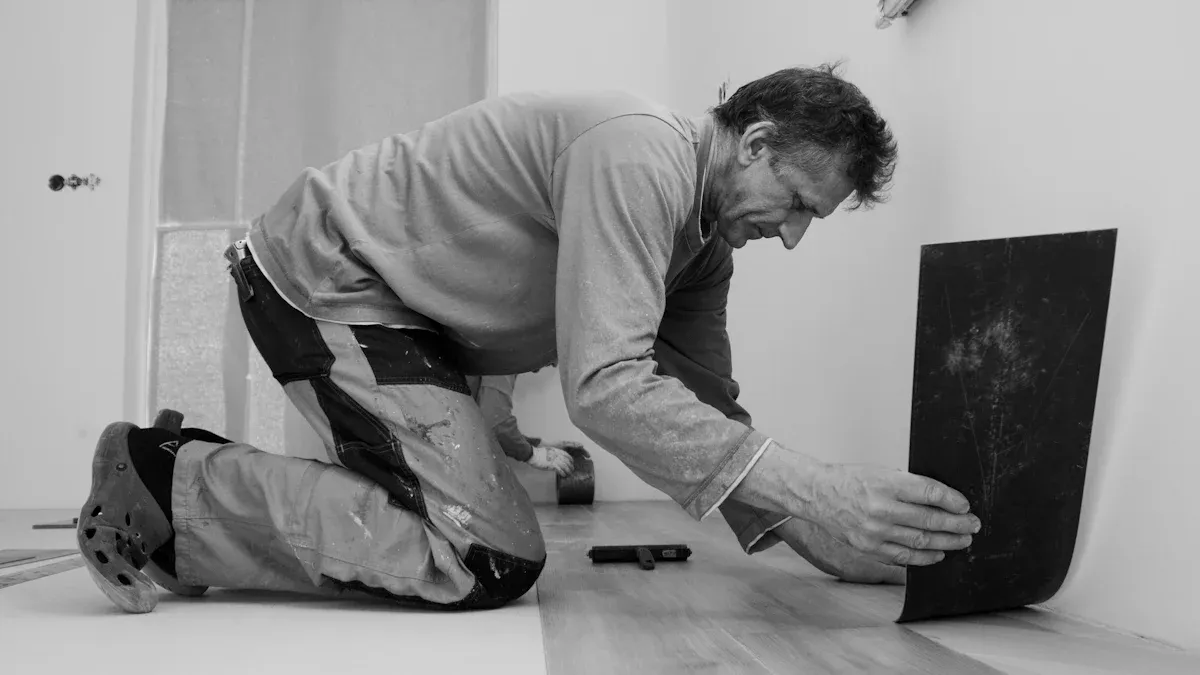
The first row sets the stage for the rest of your project. You need to get this step right for a successful staggered pattern. Begin in one corner of the room. Lay a straight chalk line to guide your first row. Trim off the tongue of the first plank with a utility knife. Place the cut edge against the wall.
Leave a quarter-inch gap between the planks and the wall. Use spacers to keep this gap even. This space lets the floor expand and contract with changes in temperature. If the last plank in the first row is less than six inches, trim the first plank so the last piece is longer. This keeps your seams strong and avoids small, weak pieces at the ends.
Lock the planks together using the click-and-lock system or adhesive, depending on your product. Use a rubber mallet and tapping block to make sure each plank fits snugly. Check that the row is straight before moving on.
Tip: Secure the first row with temporary boards or scraps to keep it from shifting as you work. Measure each plank before locking it in place to maintain a straight line.
You have now completed the first steps for staggering vinyl planks. These steps for staggering vinyl planks help you build a floor that is both beautiful and durable. By following these instructions, you set yourself up for success as you continue installing vinyl plank flooring.
Staggering Subsequent Rows for a Professional Look
You want your floor to look like it was installed by a pro. To do this, you need to stagger each row in a way that avoids repeating patterns and keeps the floor strong. Start the second row by cutting a plank to one-third of its length. This step helps you offset the seams and gives your floor a natural look.
Follow these steps for each new row:
- Begin each row with a plank cut to a different length. This prevents seams from lining up and stops patterns from forming.
- Stagger the end joints by at least one-third of the plank’s length. For most rooms, this means a gap of at least 6 inches between seams. If you use wider planks, keep the seams 8 to 10 inches apart.
- Mix planks from different boxes. This blends colors and patterns, making your vinyl plank flooring look more like real wood.
- Check the alignment as you go. Use a tape measure or chalk line to make sure the rows stay straight.
- Adjust the starting plank length for each row. This keeps the pattern random and avoids visible lines across the floor.
Tip: Open all your boxes before you start. Sort planks by color and pattern. This makes it easier to pick planks that look good together and keeps your floor from looking too uniform.
You create a professional finish when you vary the starting lengths and keep the seams offset. This method also helps your floor handle daily wear and tear.
Checking Spacing and Seams for Consistency
You need to check your work as you go to keep your floor looking great. Consistent spacing and straight seams make your floor last longer and look better. Use these steps to check your progress:
| Step | Action | Description |
|---|---|---|
| 1 | Maintain spacing | Keep at least 6 inches between end joints in each row. This spreads out stress and stops seams from separating. |
| 2 | Regular checks | Use a chalk line every few rows. This helps you see if your floor is staying straight. |
| 3 | Measure alignment | Check the rows with a tape measure. If the numbers match your plan, your seams are straight. |
| 4 | Use spacers | Place spacers along the walls. This keeps the expansion gap even and the lines straight. |
You should also use a level or measuring tape along the edges. This helps you spot any crooked rows before you finish the job. If you see a row drifting out of line, adjust the planks right away. Small fixes now save you big problems later.
Note: Consistent checking helps you avoid gaps, crooked seams, and uneven edges. Take your time and check often for the best results with your vinyl plank flooring.
Expert Tips from skspcflooring for a Flawless Vinyl Plank Flooring Finish
Blending Plank Colors and Patterns
You can make your floor look more like real wood when you blend different colors and patterns. Mixing planks from several boxes helps you avoid a floor that looks too uniform. This technique creates a natural and organic appearance. Real wood floors have many shades and grain patterns. When you blend your planks, you copy this effect. Your luxury vinyl plank flooring will look more authentic and stylish. People often find it hard to tell the difference between a well-blended vinyl plank floor and real hardwood.
Tip: Lay out a few rows before you start installing. This lets you see how the colors and patterns work together.
Maintaining Consistent Gaps and Expansion Space
You must leave the right gaps around your floor. These gaps let your luxury vinyl plank flooring expand and contract as the temperature and humidity change. If you skip this step, your floor can warp or buckle. Use spacers to keep the gaps even while you work. Check the gap size for your type of flooring.
- Expansion gaps are crucial for accommodating natural movement due to temperature and humidity changes.
- Inadequate gaps can lead to structural and aesthetic issues, such as warping or buckling.
- Installers should use spacers around the perimeter to maintain consistent gaps during installation.
- Regular monitoring of indoor temperature and humidity is essential to ensure the effectiveness of the gaps.
- For SPC/Rigid Core LVP, a minimum gap of 1/4″ is recommended, with larger gaps for wide rooms.
- WPC Vinyl should have a gap of 1/4″–3/8″, especially in humid regions.
Note: Always check the manufacturer’s instructions for the best gap size for your vinyl plank flooring.
Final Inspection and Touch-Ups
You should inspect your floor before you finish the job. Walk across the room and look for any uneven seams or gaps. Press down any raised edges with a roller. Fill small gaps near walls with matching caulk. Remove all spacers and clean the floor with a soft broom or vacuum. This last step helps your floor look neat and professional. A careful inspection ensures your vinyl plank flooring stays beautiful and strong for years.
Tip: Take your time with touch-ups. Small fixes now can prevent bigger problems later.
You can achieve a professional vinyl plank floor by following these steps:
- Measure your room and plan your layout.
- Stagger end joints at least six inches apart for narrow planks and 8–10 inches for wide planks.
- Randomize plank placement to avoid repeating patterns.
- Prepare the subfloor and maintain expansion gaps.
Careful planning and attention to detail prevent warping and misalignment. Use expert tips from skspcflooring to create a floor that lasts and looks beautiful.
FAQ
How much should you stagger vinyl plank flooring?
You should stagger the seams by at least 6 inches for narrow planks. For wider planks, keep seams 8 to 10 inches apart. This makes your floor stronger and helps it look more natural.
Can you use leftover planks to start new rows?
Yes, you can use leftover pieces to start new rows. This helps you avoid waste and creates a random pattern. Make sure each piece is long enough to keep the seams strong.
What happens if you do not stagger vinyl plank flooring?
If you do not stagger the planks, your floor can develop weak spots. Seams may line up and cause gaps or shifting. Staggering helps your floor last longer and look better.
Do you need to leave a gap around the edges?
You must leave a gap of at least 1/4 inch around the edges. This gap lets your floor expand and contract with temperature changes. Use spacers to keep the gap even.
Can you install vinyl plank flooring over tile or concrete?
You can install vinyl plank flooring over tile or concrete if the surface is clean, dry, and level. Use underlayment for extra moisture protection and comfort.




