

You want your vinyl plank flooring to feel solid and quiet underfoot. Hollow sounds can appear after the installation of vinyl plank flooring, making your space less comfortable. You can fix these issues quickly by checking problem areas and taking immediate action. A strong, silent floor improves comfort and increases durability.
Tip: Addressing hollow sounds early helps protect your investment in vinyl flooring installation.
Main Causes of Hollow Sound in Vinyl Flooring Installation
Improper Underlayment Selection
You need to choose the right underlayment for your vinyl plank flooring. The type of underlayment you select affects how your floor sounds and feels. If you use the wrong material, you may notice hollow sounds when you walk across the room. Many homeowners pick foam padding because it is affordable, but it does not absorb sound as well as other options. Cork underlay works better in quiet spaces like bedrooms or offices. Rubber underlay is best for busy areas and commercial buildings.
| Underlayment Type | Sound Absorption | Ideal Use |
|---|---|---|
| Foam Padding | Medium | Low-impact residential |
| Cork Underlay | High | Quiet rooms (bedrooms, offices) |
| Rubber Underlay | High | Congested areas, business spaces |
If you install vinyl plank flooring using the floating method, you must use an underlayment. This method does not attach the planks directly to the subfloor, which can create gaps and cause hollow sounds. The right underlayment helps reduce noise and makes your floor feel solid.
Note: Always match the underlayment to your room’s needs and the type of subfloor you have. This step helps prevent hollow sounds and improves comfort.
Subfloor Preparation Problems
Proper subfloor preparation is essential for a quiet and durable floor. If you skip steps or rush through the process, you may end up with hollow sounds. You should check the subfloor for moisture and debris before installing vinyl planks. Excess moisture can stop adhesives from bonding well, which leads to warping and bubbling. Debris creates uneven surfaces and voids, making the floor sound hollow when you walk on it.
- Moisture on the subfloor can cause adhesives to fail.
- Dirt or dust can create gaps and uneven spots.
- Voids in the subfloor lead to hollow sounds.
You must clean and test the subfloor for moisture before starting installation. Proper subfloor preparation means you remove all debris and make sure the surface is dry and level. This step helps you avoid problems later.
“Hollow sounds can arise from various factors, including voids in the flooring or subfloor, inadequate adhesive bond, and improper installation techniques.”
Installation Errors During Installing Vinyl Plank Flooring
You need to pay attention during installation. Mistakes can cause hollow sounds and reduce the life of your floor. If you spread adhesive too far ahead, it may set before you place the planks, which leads to weak bonding. Using too little adhesive or the wrong trowel pattern can create hollow spots. Too much adhesive can seep into seams and affect how the planks fit together.
- Poorly set planks can become loose and sound hollow.
- Incorrect adhesive application leads to weak bonds.
- Voids or gaps between planks and the subfloor cause noise.
You should follow the manufacturer’s instructions for adhesive and placement. Take your time to ensure each plank sits tightly against the subfloor. This careful approach helps you avoid hollow sounds and keeps your floor looking great.
Gaps and Uneven Surfaces
Gaps and uneven surfaces often cause hollow sounds in vinyl plank flooring. You might notice these problems when you walk across your floor and hear a strange echo or empty noise. These sounds happen because spaces under the planks allow sound to travel more easily.
- Gaps between planks let air move underneath, which makes footsteps sound hollow.
- Uneven surfaces create small pockets where the planks do not touch the subfloor. These pockets act like tiny echo chambers.
- Poor installation and subfloor problems often lead to these gaps and uneven spots.
You can prevent hollow sounds by checking your subfloor before you start. Make sure the surface is flat and smooth. Use a straightedge or level to find any dips or bumps. If you find uneven areas, fill them with a leveling compound. This step helps you create a solid base for your vinyl planks.
Tip: Always press each plank tightly against the next one during installation. This action helps you avoid gaps and keeps your floor quiet.
If you already have gaps or uneven spots, you can fix them. Remove the affected planks and inspect the subfloor. Clean away any debris and fill low spots. Reinstall the planks, making sure they fit snugly together.
A floor without gaps or uneven surfaces feels sturdy and sounds quiet. You get a better walking experience and protect your flooring investment.
The Importance of Underlayment for Sound Control
How Underlayment Impacts Sound
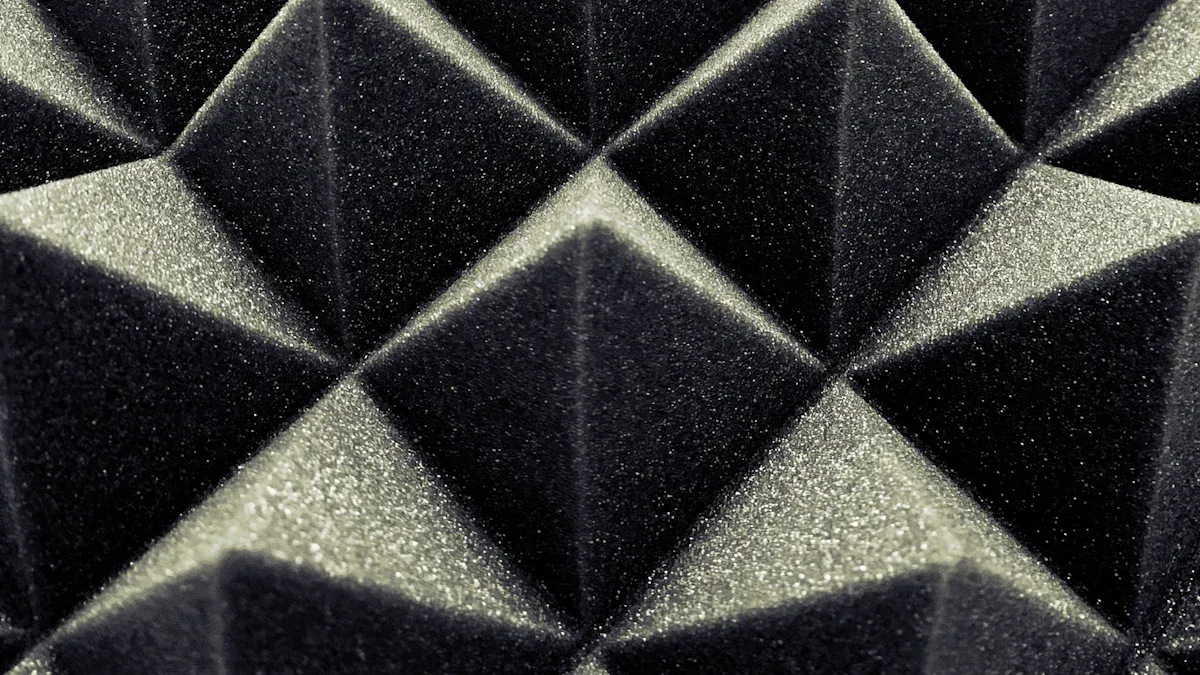
You want your vinyl plank flooring to feel quiet and comfortable. Underlayment plays a big role in reducing noise. When you walk on the floor, sound can travel through the planks and into the room below. Underlayment acts as a barrier that absorbs and blocks this sound. It helps stop footsteps and other noises from echoing in your space. You get a more peaceful home or office when you use the right underlayment.
- Underlayment absorbs impact noise from footsteps.
- It blocks airborne sounds, making rooms quieter.
- It adds a layer of comfort under your flooring.
Types of Underlayment for Vinyl Plank Flooring
You have several choices when picking underlayment for your vinyl plank flooring. Each type offers different benefits for sound control and comfort.
- Foam padding is lightweight and affordable. It gives medium sound absorption and works well in homes with less foot traffic.
- Cork underlay reduces airborne sound and keeps rooms warm. It is a good choice for bedrooms and offices.
- Rubber underlay provides strong sound reduction and lasts a long time. It is best for busy areas and buildings with more than one floor.
These options help you match your underlayment to your needs. You can choose the best one for your space and lifestyle.
Choosing the Right Thickness and Material
You should also think about the thickness and material of your underlayment. Thicker underlayment often blocks more sound, but you need to make sure it fits with your flooring system. Some vinyl plank floors need a certain thickness to work well. The material you pick affects both comfort and sound control.
Industry standards help you measure how well your underlayment works. You can look for these ratings:
| Rating | Description |
|---|---|
| STC | Evaluates the effectiveness of flooring in obstructing airborne sounds. A higher STC indicates better sound insulation, ideal for shared living environments. |
| IIC | Measures the capacity of flooring to restrict impact noise. A higher IIC rating means better noise reduction in high-traffic areas, suitable for apartments and offices. |
You can use these ratings to compare products and find the best underlayment for your vinyl plank flooring. The right choice gives you a quiet, comfortable floor that lasts.
Selecting the Best Underlayment for Vinyl Plank Flooring
Foam vs. Cork vs. Rubber Underlayments
You have three main choices for underlayment: foam, cork, and rubber. Each type offers unique benefits for your vinyl plank flooring.
- Foam underlayment feels soft underfoot. It works well in rooms with low foot traffic. Foam is lightweight and easy to install. You can use it in bedrooms or guest rooms.
- Cork underlayment absorbs sound better than foam. It also resists mold and mildew. Cork works best in quiet spaces like offices or libraries. You get a warmer floor with cork.
- Rubber underlayment gives you the highest sound reduction. It lasts a long time and handles heavy use. Rubber is a good choice for busy areas, such as hallways or commercial spaces.
Tip: Choose the underlayment that matches your room’s needs and your comfort preferences.
Moisture Barriers and Their Role
Moisture barriers protect your vinyl plank flooring from water damage. You need a moisture barrier if you install flooring over concrete or in areas with high humidity. The barrier stops water from reaching the underlayment and planks. This layer helps prevent mold, mildew, and warping.
- Use a moisture barrier in basements, kitchens, or bathrooms.
- Some underlayments come with built-in moisture barriers.
- Always check your subfloor for moisture before installation.
Note: Moisture barriers add an extra layer of protection and help your floor last longer.
Underlayment Recommendations for Different Subfloors
You should match your underlayment to your subfloor type. Here is a quick guide:
| Subfloor Type | Recommended Underlayment | Moisture Barrier Needed? |
|---|---|---|
| Concrete | Rubber or foam | Yes |
| Plywood | Cork or foam | Optional |
| Existing Vinyl | Foam | Not usually |
If you install over concrete, always use a moisture barrier. For plywood, you can use cork or foam. Existing vinyl floors work well with foam underlayment. Choose the right combination for a quiet, durable floor.
Proper Installation of Vinyl Plank Flooring with skspcflooring
Preparing the Subfloor for Installation
You must start with a clean and level subfloor before the installation of vinyl plank flooring. Sweep away all dust and debris. Use a moisture meter to check for dampness. If you find any wet spots, let the area dry completely. Fill in low spots with a leveling compound. Sand down any high spots. A flat surface helps you avoid problems during installing vinyl plank flooring. You should also check for loose boards or cracks. Repair these issues so your floor stays strong and quiet.
Tip: A smooth subfloor makes the installation of vinyl plank flooring easier and helps prevent hollow sounds.
Laying Underlayment Correctly
You need to choose the right underlayment for your project. Roll out the underlayment across the entire floor. Make sure each piece fits tightly against the next. Do not overlap the edges. Trim the underlayment to fit around corners and doorways. Tape the seams to keep the underlayment in place. This step is important for the installation of vinyl plank flooring because it adds comfort and reduces noise. When you finish, double-check that the underlayment covers the whole area.
- Lay underlayment flat with no wrinkles.
- Tape seams for a secure fit.
- Trim edges for a neat finish.
Installing Vinyl Planks with Precision
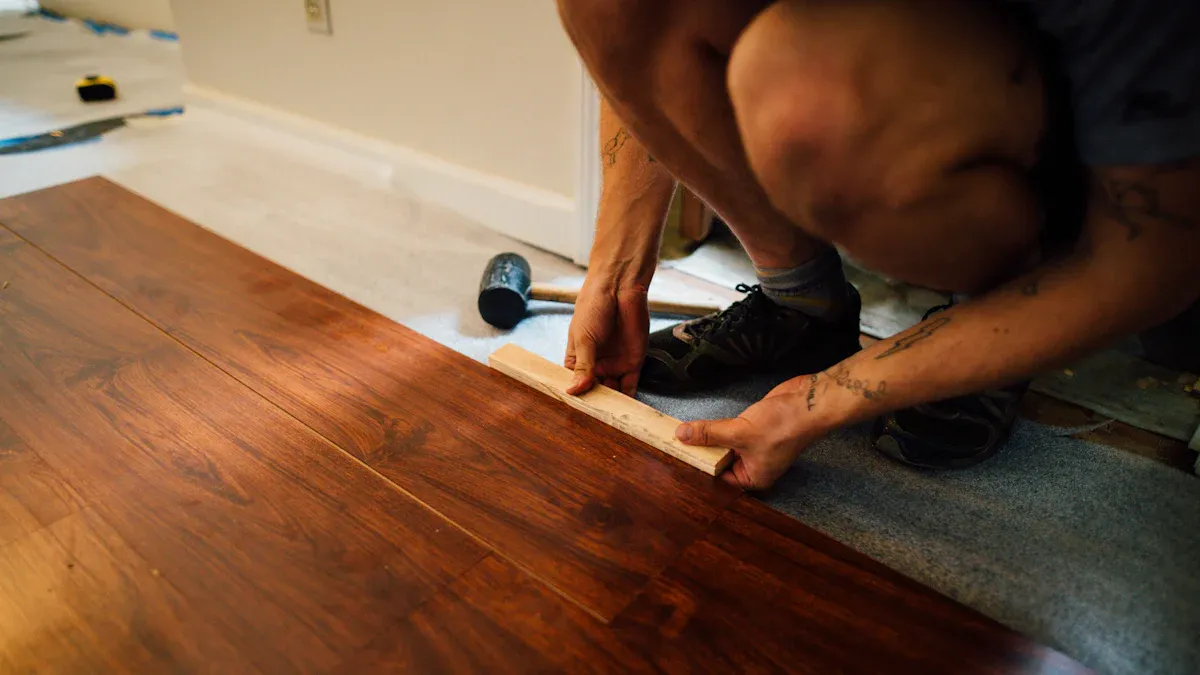
Begin installing vinyl plank flooring along the longest wall. Place spacers between the planks and the wall to allow for expansion. Stagger the planks in each row so the seams do not line up. Press each plank firmly into place. Use a tapping block to close any gaps. Check that the seams are tight as you go. Continue installing vinyl plank flooring row by row. Cut the last plank in each row to fit. Remove the spacers when you finish the installation of vinyl plank flooring.
Careful work during installing vinyl plank flooring gives you a floor that looks great and feels solid.
Ensuring Tight Seams and No Gaps
You want your vinyl plank flooring to look seamless and sound solid. Tight seams and the absence of gaps help you avoid hollow noises and keep your floor strong for years. When you install vinyl planks, you need to pay attention to every detail. Small mistakes can lead to gaps, loose planks, and unwanted sounds.
Start by letting your vinyl planks acclimate to the room temperature. This step helps the material adjust and prevents expansion or contraction after installation. You should always leave a small expansion gap along the walls. This gap allows the planks to shift naturally when the temperature changes. If you skip this step, your floor may buckle or warp.
A level subfloor is important for tight seams. Sweep and clean the surface before you begin. Use a leveling compound to fill low spots. Sand down any high areas. A smooth subfloor helps each plank sit flat and close to the next one.
Choose the correct underlayment for your project. The right underlayment provides cushioning and absorbs sound. It also helps the planks stay stable and prevents hollow noises. Tape the seams of the underlayment to keep it in place.
When you lay the planks, press each one firmly against the previous plank. Use a tapping block to close any small gaps. Check the seams as you go. If you see a gap, lift the plank and try again. Tight seams stop air from moving under the floor, which keeps your space quiet.
Tip: Always stagger the seams in each row. This pattern adds strength and makes your floor look natural.
Here is a quick guide to recommended installation techniques:
| Technique | Explanation |
|---|---|
| Allowing Acclimation | Lets vinyl adjust to room temperature, preventing expansion or contraction issues. |
| Leaving an Expansion Gap | Prevents buckling or warping by allowing natural movement. |
| Using Correct Underlayment | Adds cushioning and sound absorption, preventing hollow sounds and ensuring stability. |
| Proper Subfloor Preparation | Creates a level surface, preventing water damage and product failure. |
You can follow these steps to achieve a floor with tight seams and no gaps. Your vinyl plank flooring will feel sturdy and sound quiet every time you walk across it.
Fixing Hollow Sounds After Installation of Vinyl Plank Flooring
Identifying Problem Areas
You may notice hollow sounds after installing vinyl plank flooring. These sounds can make your space feel less comfortable. You need to find the source of the sound before you can fix it. Start by walking slowly across the floor. Listen carefully for areas where the sound is loudest. You can use a sound pressure level meter to measure the intensity of the sound in different spots. This tool helps you pinpoint the exact location of the problem. Sometimes, you hear the sound more clearly near walls or in the center of the room. You should check these places first.
- Walk around the room and listen for changes in sound.
- Use a sound pressure level meter to measure noise in different areas.
- Pay attention to spots where the sound is the loudest.
You can tap the floor gently with your knuckles or a small tool. If you hear a hollow sound, mark that spot. Repeat this process across the entire room. You may find several areas with hollow sounds. Write down the locations so you can fix them later. You should also check for gaps between planks and look for uneven surfaces. These issues often cause hollow sounds.
Tip: Always check near the expansion gap and along seams. These areas can let sound travel more easily.
Solutions for Minor Hollow Spots
You can fix minor hollow spots without removing the entire floor. Many experts recommend using a high-quality underlayment to reduce sound. You may find lightweight or heavy-duty options. Choose the one that fits your needs. A premium sound barrier underlayment can improve the sound quality of your flooring. You can install this underlayment in problem areas to reduce sound.
- Use a good underlayment to reduce sound in hollow spots.
- Select a sound barrier underlayment for better noise control.
- Place the underlayment under loose planks to absorb sound.
You may need to lift a few planks to add underlayment. Make sure you press each plank tightly against the next one. This step helps you avoid gaps and keeps the sound from traveling. You should also check the expansion gap. If the gap is too wide, sound can move under the floor. Adjust the gap to the recommended size. You can use a tapping block to close small gaps between planks. This action helps reduce sound and keeps your floor quiet.
Note: Always follow the manufacturer’s instructions when adding underlayment or adjusting the expansion gap.
When to Reinstall or Replace Sections
Sometimes, you cannot fix hollow sounds with simple solutions. You may need to reinstall or replace sections of your vinyl plank flooring. If you used the wrong underlayment, you may hear more noise and feel movement underfoot. You should remove the affected planks and check the underlayment. Replace it with a quality product that helps reduce sound. Make sure you install the underlayment evenly and cover the entire area.
Certain types of flooring, like laminate, can produce hollow sounds when walked on. This can be frustrating for users who expect a quieter environment. Proper underlayment is crucial to minimize these noise issues. Using an inappropriate underlayment can lead to increased noise and movement, which may require reinstalling or replacing sections of the flooring to resolve these issues. To avoid hollow sounds, it is essential to use quality underlayment that effectively reduces noise.
You should also check the expansion gap. If the gap is missing or too small, the floor may buckle or warp. Remove the planks near the problem area and create the correct expansion gap. Reinstall the planks and make sure the seams are tight. You may need to use a leveling compound if the subfloor is uneven. This step helps you create a solid base and reduce sound.
Tip: Always use a sound barrier underlayment and maintain the correct expansion gap. These steps help you avoid hollow sounds and keep your floor quiet.
You can fix hollow sounds by identifying problem areas, using the right underlayment, and reinstalling sections when needed. Your vinyl plank flooring will feel solid and sound quiet every time you walk across it.
Expert Tips from skspcflooring for a Quiet Floor
Common Mistakes to Avoid
You want your vinyl plank flooring to stay quiet and comfortable. Many homeowners make common vinyl installation mistakes that lead to hollow sounds. You can avoid these mistakes by following expert advice from skspcflooring.
- Not preparing the subfloor properly causes uneven surfaces and hollow noises. Always clean and level the subfloor before you start.
- Skipping acclimation is one of the most common vinyl installation mistakes. Let your planks adjust to the room’s temperature and humidity for at least 48 hours.
- Failing to leave expansion gaps is another mistake. You need a ¼-inch gap around walls so the planks can expand and contract naturally.
- Rushing the installation process often leads to mistakes. Take your time to check each plank and seam.
- Ignoring manufacturer instructions is a mistake that can affect the sound and durability of your floor.
- Overlooking tight seams and gaps is a frequent mistake. Loose planks allow air to move underneath, which makes footsteps sound hollow.
- Using the wrong underlayment is a mistake that can increase noise. Match the underlayment to your subfloor and room type.
- Not checking for moisture is a mistake that leads to warping and hollow sounds.
- Forgetting to stagger seams is a mistake that weakens the floor and increases noise from footsteps.
Tip: You can prevent hollow sounds by avoiding these common vinyl installation mistakes and following each step carefully.
Maintenance Tips to Prevent Future Sound Issues
You can keep your vinyl plank flooring quiet by using smart maintenance practices. Regular care helps you avoid mistakes that cause hollow sounds.
- Manage moisture in your home. Use dehumidifiers and keep rooms well ventilated.
- Inspect your floors for water damage, especially during humid weather. Look for signs like buckling or warping.
- Sweep or vacuum daily to remove dust and dirt. Damp mop weekly to keep the surface clean.
- Choose eco-friendly, pH-neutral cleaning solutions or a vinegar and water mix. These options clean your floors without causing damage.
- Place mats in high-traffic areas. Mats protect your floor from scratches and dents.
- Avoid dragging heavy furniture across the floor. This mistake can create gaps and increase noise from footsteps.
Note: Consistent maintenance helps you avoid future mistakes and keeps your vinyl plank flooring quiet and comfortable.
You can achieve a quiet, comfortable floor by focusing on sound control and sound absorption during installation. Always let vinyl planks acclimate to the room before starting. Complete a final inspection after installation to check for gaps and uneven spots. Follow these steps for lasting results:
- Prepare the subfloor carefully.
- Allow the flooring to adjust to the environment.
- Hire a professional for precise work.
Avoid mistakes like using the wrong underlayment or skipping layout. Trust skspcflooring solutions for expert guidance and durable flooring.
FAQ
What causes hollow sounds in vinyl plank flooring?
You often hear hollow sounds when you use the wrong underlayment or skip proper subfloor preparation. Gaps between planks and uneven surfaces also create noise. Always check for expansion space along walls to prevent these issues.
How do I fix gaps that make my floor sound hollow?
You can remove the affected planks and inspect the subfloor. Fill low spots and reinstall the planks tightly. Make sure you leave the correct expansion gap. This step helps stop air from moving under the floor and reduces hollow sounds.
Why is expansion important during installation?
Expansion allows your vinyl planks to move naturally with temperature changes. You need to leave a small expansion gap along walls. Without this space, your floor may buckle or warp, which leads to hollow sounds and damage.
Can the wrong underlayment affect sound control?
You may notice more noise if you use the wrong underlayment. It does not absorb sound well and can cause hollow spots. Always match your underlayment to your subfloor and check for proper expansion space to keep your floor quiet.
How do I maintain my vinyl plank flooring for long-term quiet?
You should sweep and mop regularly. Check for water damage and keep rooms dry. Inspect the expansion gap and seams often. Place mats in busy areas. These steps help prevent gaps and keep your floor sounding solid.
Tip: Always check the expansion gap after cleaning or moving furniture. This habit helps you catch problems early.
| Problem Area | Solution |
|---|---|
| Gaps | Reinstall planks, check expansion |
| Hollow sounds | Inspect underlayment, ensure expansion |
| Buckling | Adjust expansion gap |




