

You can install loose lay vinyl flooring yourself with basic tools. Many people feel proud after completing a diy flooring project. Couples often manage the installation without professional help. You gain confidence as you see your new floor take shape. Most diy projects finish in a weekend.
| Task | Duration |
|---|---|
| Preparation and installation | 1 to 2 days |
Tools and Materials for Loose Lay Vinyl Flooring
Essential Tools You Need
You can complete a diy loose lay installation with just a few basic tools. These tools help you cut, fit, and secure the tiles for your new floor. Here is a table to guide you:
| Tool | Description |
|---|---|
| Blades for jigsaw | This blade will cut through even the toughest vinyl plank. It lasts a long time and is ideal for WPC and SPC. |
| Plank Cutter | Highly recommended for its effectiveness in cutting vinyl planks. |
| Multi-purpose tool | Versatile tool used for various tasks, including removing wall base without damage. |
Safety Tip: Always wear proper work clothing and shoes. Use hearing protection and safety glasses. Keep a first-aid kit nearby. Read equipment manuals and use tools only as intended. Unplug tools before making adjustments. Use GFCIs on electric tools to prevent shock.
Choosing Quality Loose Lay Vinyl Flooring from skspcflooring
When you choose tiles from skspcflooring, you get high-quality flooring that stands out. Many customers say the tiles look like real wood and feel comfortable underfoot. The modified loose lay design makes the install process easier and faster. You can install luxury vinyl plank flooring in kitchens because the tiles are waterproof. Many users also mention the quiet feel and easy maintenance. The customer service from skspcflooring helps you with every step of your vinyl flooring installation.
- The tiles from skspcflooring receive many compliments for their durability.
- The modified loose lay system allows you to install luxury vinyl plank flooring with confidence.
- You can use these tiles for both home and commercial spaces.
Additional Supplies for a Smooth Installation
You need more than just basic tools for a smooth loose lay installation. Gather these supplies before you start:
- Scissors and a utility knife for cutting tiles and planks.
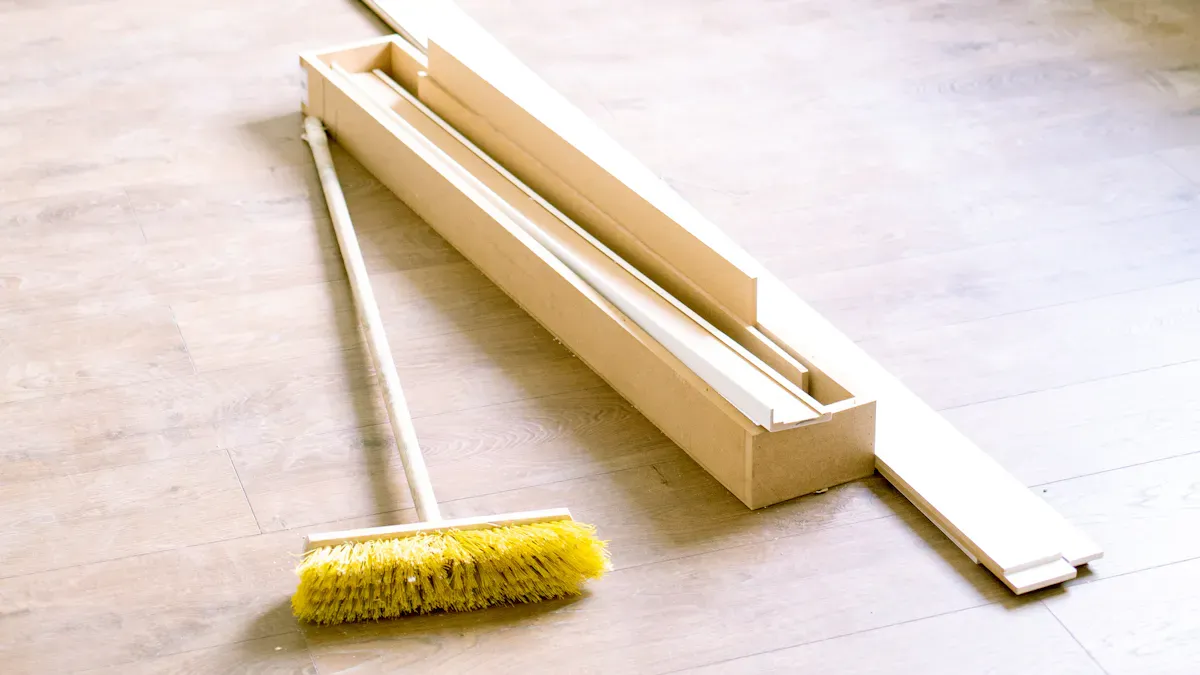
- Push broom to keep the area clean.
- Butcher paper or kraft paper to protect surfaces.
- Masking tape and duct tape for securing tiles during install.
- Loose-lay vinyl tape for extra hold in high-traffic areas.
- Loose-lay vinyl sheet for larger spaces.
These supplies help you install luxury vinyl plank flooring and install sheet vinyl with fewer problems. The right tools and materials make your modified loose lay installation go smoothly. You will see great results as you install luxury vinyl plank flooring and tiles in your space.
Preparing the Subfloor for Loose Lay Vinyl Flooring
Cleaning and Clearing the Area
Start your subfloor preparation by making sure the area is clean and clear. Remove all furniture, rugs, and debris from the room. Follow these steps to get your floor ready:
- Sweep the entire area to remove dust and dirt.
- Use a wet/dry vacuum for a deeper clean.
- Allow the floor to dry completely before moving on.
A spotless surface helps your new flooring stick better and last longer. You want to avoid any dirt or moisture that could cause problems later.
Checking for Level and Moisture
You need to check if your subfloor is level and dry. Uneven or damp surfaces can lead to loose boards, shifting, or even mildew. Here are some common issues you might find:
- Excess moisture can cause warping and mildew.
- An uneven subfloor can create visible bumps or dips.
- Poor preparation may result in shifting over time.
Use a large level to check for high or low spots. For moisture, use a moisture meter. The right tool depends on your subfloor type:
| Type of Moisture Meter | Application |
|---|---|
| Wood Moisture Meters | Used to test moisture levels in wood flooring and wood subfloors. |
| Concrete Moisture Meters | Important for assessing moisture in concrete, especially for RH probe placement. |
Acceptable moisture levels are important. Check this table before you install:
| Subfloor Type | Acceptable Moisture Level |
|---|---|
| Concrete | ≤ 75% RH (ASTM F2170) |
| ≤ 3 lbs / 1000 sq ft / 24 hr (ASTM F1869) | |
| Wood | Moisture content should be ≤ 12% |
| Difference between subfloor and flooring ≤ 3% |
Making Repairs and Adjustments
Inspect your subfloor for cracks, high spots, or depressions. Use a long level or straightedge to find any uneven areas. Here are some best practices for repairs:
- Fill low spots with patching compound and smooth them out.
- Sand down high spots for a flat surface.
- Secure loose wood boards with nails or screws.
- Replace any damaged boards.
- Fill gaps between boards or use a plywood underlayment if needed.
Proper subfloor preparation ensures your new floor looks great and lasts for years. Take your time with these steps for the best results.
Planning and Measuring Your Space
Measuring the Room Accurately
You need to measure your room with care before you start. Accurate measurements help you buy the right amount of loose lay vinyl flooring. Mistakes can lead to wasted material or extra costs. Look at the table below to see how measurement accuracy affects your project:
| Impact of Measurement Accuracy | Description |
|---|---|
| Material Waste | 10-15% average waste due to miscalculations |
| Project Cost Increase | A $5,000 project can increase to $5,750 due to errors |
| Value Improvement | Homeowners can see 20% better value from accurate measurements |
Common mistakes include not measuring the room correctly, running out of flooring, or ending up with a final row that is too narrow. Uneven patterns and seams can also happen if you do not measure well.
Planning Your Layout for Best Results
You can choose from many layout patterns to make your floor look its best. Some popular options include:
- Herringbone for a classic look
- Chevron for a bold V-shaped design
- Diagonal layout to make the space feel larger
- Mixed-width plank arrangements for a creative touch
- Basketweave for a woven appearance
A diagonal layout creates a sense of flow and can make small rooms feel bigger. Chevron patterns add style and work well in narrow spaces. Mixed-width planks let you show your creativity.
Marking Reference Lines
Reference lines help you install your flooring straight and even. Start by squaring the room. Measure and mark points on opposite walls, then snap a chalk line to create a center guide. Next, balance the room by dry-laying tiles from the center line to the wall. Adjust as needed so both sides have even tile sizes. These steps help you avoid crooked rows and keep your floor looking professional.
Acclimating Loose Lay Vinyl Flooring
Why Acclimation Matters
You need to acclimate your loose lay vinyl flooring before you start installation. This step helps the planks adjust to the temperature and humidity in your room. If you skip acclimation, you may see problems like warping, gapping, or buckling after you finish your project. You want your new floor to look smooth and last for years.
Here are some reasons why acclimation is important:
- Acclimation lets your vinyl flooring adapt to the room’s conditions.
- You prevent warping, gapping, and buckling after installation.
- Experts say acclimation stabilizes the size of each plank.
- You reduce the risk of expansion or contraction that can harm your floor.
- Metroflor and other brands recommend this step for best results.
You want your vinyl floor to stay flat and secure. Acclimation gives you peace of mind and helps you avoid costly repairs.
How to Acclimate Vinyl Planks
You can acclimate your vinyl planks by following a few simple steps. Most manufacturers suggest a minimum acclimation time of 48 hours. Some recommend up to 72 hours if your room has big temperature changes or if the planks were stored in cold conditions.
Follow these steps for proper acclimation:
- Bring the vinyl planks into the room where you will install them.
- Lay the boxes flat on the floor. Do not stack them too high.
- Open the ends of each box to let air reach the planks.
- Keep the room at normal living temperature and humidity.
- Wait at least 48 hours before you start installation.
If your vinyl planks traveled in cold weather, give them extra time to adjust. This step helps your floor fit perfectly and last longer. You want your installation to go smoothly, so do not rush acclimation.
Installing Loose Lay Vinyl Flooring Step-by-Step
Laying Out the First Row
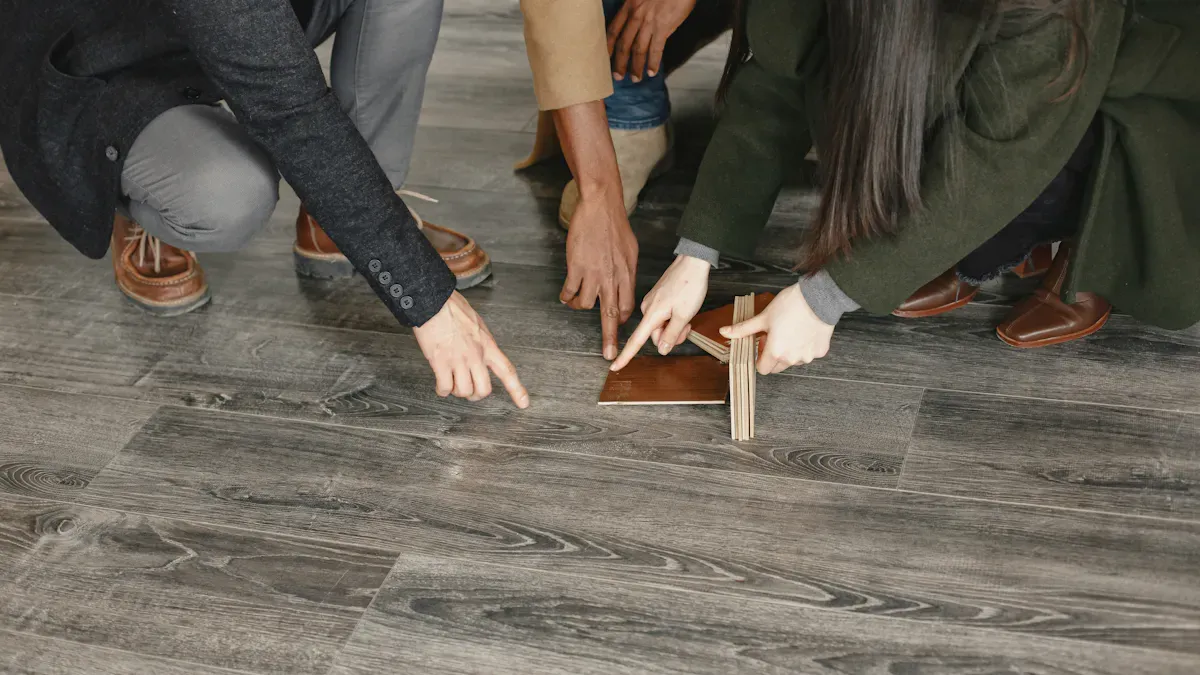
You start your installation by preparing the perimeter of your room. Place strips of double-sided adhesive tape around the edges. This tape helps keep the vinyl planks in place during and after installation. Next, lay bands of adhesive tape, each about four inches wide, along the grid you marked earlier. This step gives extra grip for your loose lay vinyl flooring.
Now, lay your first row of planks against the wall. Use your reference line to keep the installation straight and square. Make sure each plank fits snugly against the next. When you reach the end of the row, measure the space left and cut the last plank to fit. Place the cut piece at the end to finish the starting row. Repeat this process until you reach the edge row. Laying your first row carefully sets the tone for the rest of the installation. You avoid mistakes by checking your alignment and fit as you go.
Tip: Always check that your planks are tight against the wall and each other. This step helps prevent gaps and keeps your floor looking professional.
Cutting and Fitting Planks
You will need to cut vinyl planks to fit around corners, doorways, and the ends of rows. Several methods work well for cutting vinyl planks. The score and snap method is simple. Use a utility knife to score the plank along your mark, then snap it along the line. This technique works best for cutting the ends of rows.
For straight cuts, use a flooring saw with a fine-tooth, carbide-tipped blade. Mark your cut line, align the plank with the saw’s fence, and make your cut. If you need to make long, clean rip cuts, a table saw works best. Set the blade height, align the plank, and cut along your mark.
Sometimes, you need to cut vinyl planks for irregular shapes. A jigsaw with a fine-tooth blade helps you make these cuts easily. Always measure twice before you cut vinyl planks. Practice on a scrap piece if you are new to cutting vinyl planks. This step helps you avoid mistakes and ensures a seamless fit during installation.
| Cutting Method | Best Use Case | Tool Needed |
|---|---|---|
| Score and Snap | Ends of rows | Utility knife |
| Flooring Saw | Straight cuts | Flooring saw |
| Table Saw | Long, clean rip cuts | Table saw |
| Jigsaw | Irregular shapes and corners | Jigsaw (fine blade) |
Note: Take your time with cutting vinyl planks. Accurate cuts make your installation look neat and professional.
Staggering Seams for a Natural Look
Staggering the seams of your vinyl planks is important for both appearance and durability. When you stagger seams, you prevent them from lining up directly across rows. This technique helps distribute weight and foot traffic evenly across your floor. It also reduces the risk of weak spots and damage over time.
- Staggering seams creates a more natural, inviting look for your floor.
- It helps your installation handle changes in temperature and humidity.
- You minimize the risk of buckling or warping by allowing the floor to expand and contract naturally.
- Staggered seams balance weight distribution, which keeps your vinyl flooring stable and durable.
You should plan your stagger pattern before you start installing vinyl flooring. Most experts recommend offsetting seams by at least six inches from one row to the next. This pattern looks more like real wood and adds strength to your installation. Always check your layout as you install vinyl flooring to keep the stagger consistent.
Reminder: Leave a small expansion gap around the edges of your floor. This space lets your vinyl flooring move slightly as the room’s temperature and humidity change.
By following these steps, you make your installation process smoother and your new floor more attractive. Careful planning, precise cutting, and proper staggering help you install vinyl flooring with confidence and avoid mistakes that can affect the final result.
Securing Edges and Finishing Touches
You need to secure the edges of your loose lay vinyl floor to keep your installation stable. Start by applying double-sided adhesive tape around the perimeter of the room. This tape holds the vinyl planks in place and prevents shifting. You can use double-sided carpet tape for extra strength. Lay strips of tape along the walls and at doorways. Press each plank firmly onto the tape as you install the first and last rows. This step helps your floor stay flat and neat.
You should check the edges after you finish the main installation. Walk along the perimeter and press down any loose spots. If you see gaps, add more tape and press the vinyl planks again. You want every edge to feel secure. This method keeps your installation looking professional and prevents movement over time.
Tip: Double-sided adhesive tape works best for securing the edges. Make sure the tape sticks well to both the subfloor and the vinyl planks.
After you secure the edges, focus on the finishing touches. These details make your installation look polished and complete. You can use transition pieces to connect your vinyl floor to other types of flooring. Transition strips create a smooth change between rooms and protect the edges from wear. Choose pieces that match the color and style of your vinyl planks.
Add coordinating trim along the walls for a clean look. Trim covers any small gaps and gives your installation a finished appearance. You can select trim that matches your vinyl floor or choose a contrasting color for extra style. If you need extra stability, apply adhesives in high-traffic areas. This step helps your installation stay strong and prevents lifting.
Here are some finishing touches you can add:
- Use transition pieces for a seamless look between different flooring types.
- Incorporate coordinating trim to enhance the overall aesthetic.
- Apply adhesives where necessary for stability and a polished finish.
You can install these finishing touches after you complete the main installation. Take your time and check each detail. A careful approach helps your vinyl floor last longer and look better. You will see a professional result when you finish every step.
Note: Always inspect your installation before you move furniture back into the room. Make sure all edges are secure and all finishing touches are in place.
You can install loose lay vinyl flooring with confidence when you follow these steps. Securing the edges and adding finishing touches ensures your floor stays beautiful and durable. You will enjoy your new installation for years.
You can install loose lay vinyl flooring as a diy project in a weekend. Homeowners often feel proud after finishing their floor, enjoying quiet spaces and easy repairs. The thick rubber backing absorbs sound and feels soft underfoot. Loose lay vinyl flooring lasts longer than many other types, as shown below:
| Flooring Type | Average Lifespan (Years) |
|---|---|
| Sheet Vinyl | 10 to 20 |
| Luxury Vinyl Planks | 15 to 25 |
| SPC Flooring | 20 to 30 |
Sweep or vacuum your floor regularly to keep it looking new.
FAQ
How do you clean loose lay vinyl flooring?
You can sweep or vacuum your floor regularly. Use a damp mop with mild soap for deeper cleaning. Avoid harsh chemicals. Dry the floor after mopping to prevent slipping.
Can you install loose lay vinyl flooring over existing tile?
Yes, you can install it over most flat, clean surfaces, including tile. Make sure the old floor is level and free of debris. Fill any deep grout lines for a smooth finish.
Do you need glue for loose lay vinyl flooring?
You do not need glue for most areas. Use double-sided tape or adhesive only around the edges or in high-traffic spots. This keeps the planks secure without permanent bonding.
Is loose lay vinyl flooring waterproof?
Yes, this flooring resists water. You can use it in kitchens, bathrooms, and basements. Wipe up spills quickly to keep your floor looking new.
Can you replace a single plank if it gets damaged?
You can lift and remove a damaged plank easily. Place a new plank in its spot. This makes repairs quick and simple.



