
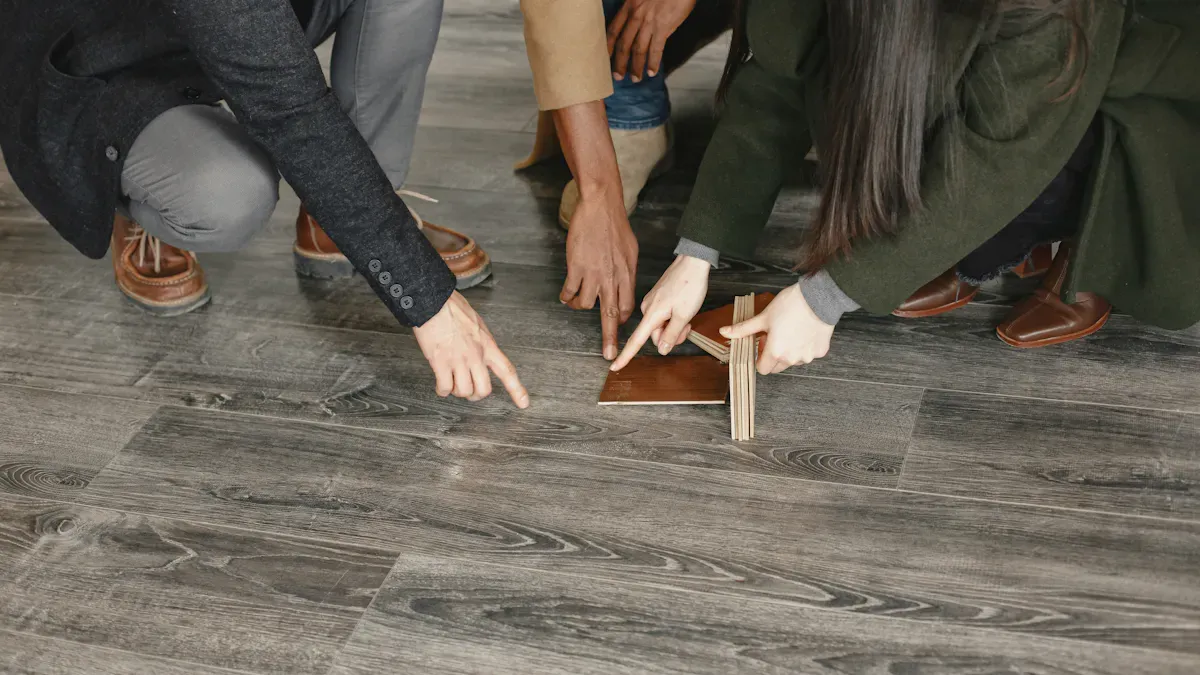
You can achieve a professional-looking installation when you use the right tool to cut vinyl flooring and follow proven steps. Clean cuts make your vinyl flooring look polished and seamless. Industry studies show that proper tools and techniques help you avoid errors and extend the service life of vinyl.
- Specialized tools create precise and efficient vinyl cuts.
- Mistakes in cutting vinyl can reduce durability and cause visible flaws.
Take your time to measure and cut vinyl flooring carefully. Patience and attention to detail transform your installation.
Choosing the Right Tool to Cut Vinyl Flooring
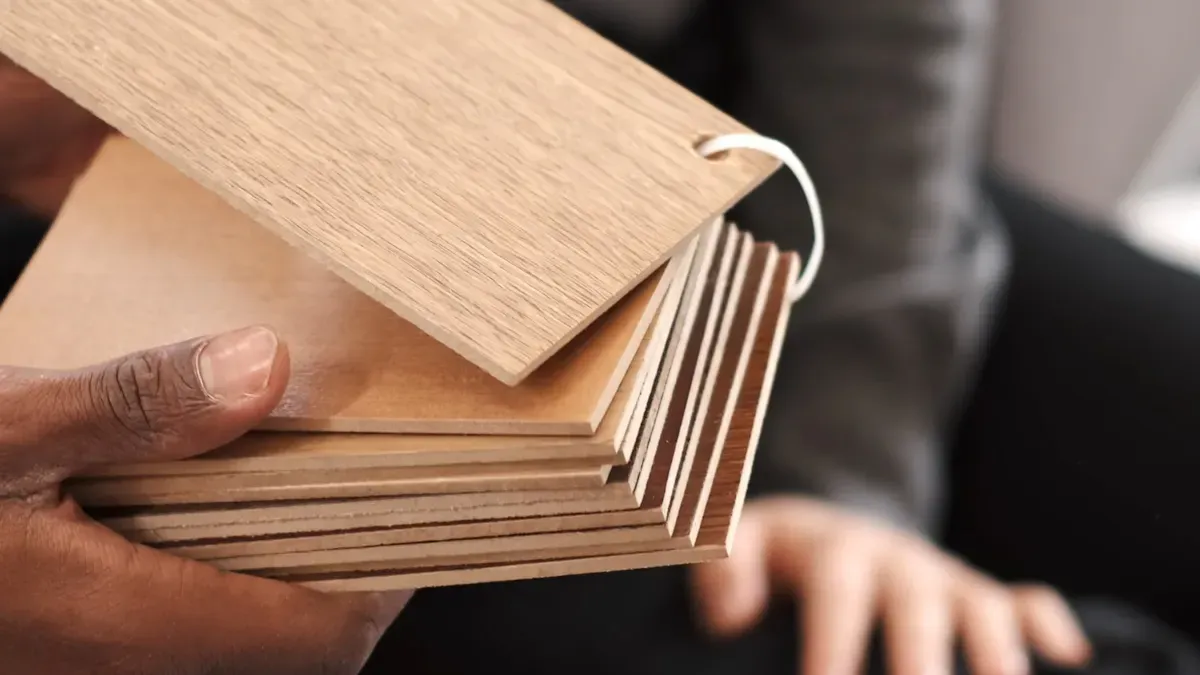
Essential Cutting Tools for Vinyl Flooring
You need the right tool to cut vinyl flooring for a clean and polished finish. Flooring professionals recommend several tools that help you achieve precise results. Here are some of the most commonly used tools:
- Vinyl Floor Seam Cutting Tool helps you create tight, seamless joints.
- Wall Trimmer or Edge Cutter gives you clean edges for a neat look.
- Vinyl Floor Cutting Tool (Large Nora Style) works well for long, straight cuts.
- Steel Ruler ensures accurate measurements before you start cutting vinyl flooring.
- Shark Knife or Hook Cutter is great for replacing damaged vinyl planks.
- Vinyl Floor Corner Trim Tool fixes corners and edges.
- Vinyl Floor Cutting Tool (Small Nora Style) is a compact option for smaller jobs.
- Utility Knife and Snap Cutter are perfect for beginners.
You can use these tools for luxury vinyl plank flooring and other types of vinyl. Each tool helps you make clean cuts and improves your installation.
Safety Gear and Accessories for DIY Projects
Safety is important when you work with vinyl. You should wear gloves to protect your hands from sharp blades. Safety goggles keep your eyes safe from flying debris. Knee pads help you stay comfortable during installation. You can use a cutting mat to protect your floor and keep your workspace tidy. These accessories make your project safer and easier.
Tip: Always keep your tools sharp and clean. Dull blades can cause rough edges and make cutting vinyl harder.
Selecting the Best Blade for Clean Cuts
Choosing the right blade is essential for a smooth finish. If you work with hybrid vinyl that has a plastic core, use a blade designed for plastics. This prevents damage and gives you a clean cut. For vinyl with a wood-based core, select a wood or laminate blade. The blade you choose affects the quality of your cuts and the look of your installation.
The table below shows how different tools and features impact the cleanliness and accuracy of your cuts:
| Feature | Description |
|---|---|
| Mess-free Cutting | The VEVOR cutter gives you smooth, precise edges without sawdust. |
| Noise-free Operation | You can cut vinyl quietly, making your project more enjoyable. |
| Durable Steel Blades | These blades provide even cuts with less effort and improve accuracy. |
| Adjustable Handles | You control the cutter easily for different types of vinyl. |
| Bearing Support Points | These points add stability and help you make accurate cuts. |
You can use a utility knife for scoring and snapping thinner planks. A vinyl flooring cutter is a specialized tool for cutting planks quickly and accurately. The right tool to cut vinyl flooring makes your installation look professional and helps you avoid mistakes.
Preparing to Cut Vinyl Flooring with skspcflooring
Accurate Measuring Techniques
You start every vinyl flooring project by measuring the space carefully. Accurate measuring helps you buy the right amount of vinyl and prevents waste. You avoid running short or having too much leftover. You also make sure the vinyl fits the room perfectly. You plan for transitions and doorways during measurement, which saves money and time later. You create a smooth installation process and a durable finish.
Here are some tools that help you measure vinyl flooring with precision:
| Tool | Purpose |
|---|---|
| Chalk Lines | Ensures straight lines for accurate cuts. |
| Laser Levels | Provides precise leveling for installations. |
| Tape Measures | Measures distances accurately for layout. |
You use these tools to check the length and width of the room. You measure twice to avoid mistakes. You get the best results when you use the right tools.
Marking Cut Lines for Precision
You mark cut lines on the vinyl before you start cutting. You use a pencil or chalk to draw straight lines. You make sure the lines match your measurements. Proper marking helps the vinyl fit exactly in the space. You avoid misalignment and gaps. You plan for transitions, corners, and trims. You keep your installation neat and professional.
Tip: Always mark the vinyl on the back side. This keeps the surface clean and prevents visible marks.
Setting Up a Safe and Efficient Work Area
You set up your work area before cutting vinyl. You gather tools like a utility knife, straight edge, tape measure, pencil, and cutting mat. You make sure the cutting surface stays stable. You wear safety glasses and gloves to protect yourself. You keep blades sharp for clean cuts. You let the vinyl acclimate to room temperature for at least 24 hours. You follow these steps to work safely and efficiently.
- Utility Knife: Cuts vinyl sheets and tiles.
- Straight Edge: Helps you make straight cuts.
- Tape Measure: Ensures accurate measurements.
- Cutting Mat: Protects your floor from damage.
You create a safe workspace and make clean cuts. You get a polished finish with skspcflooring vinyl products.
Step-by-Step Guide to Cut Vinyl Flooring
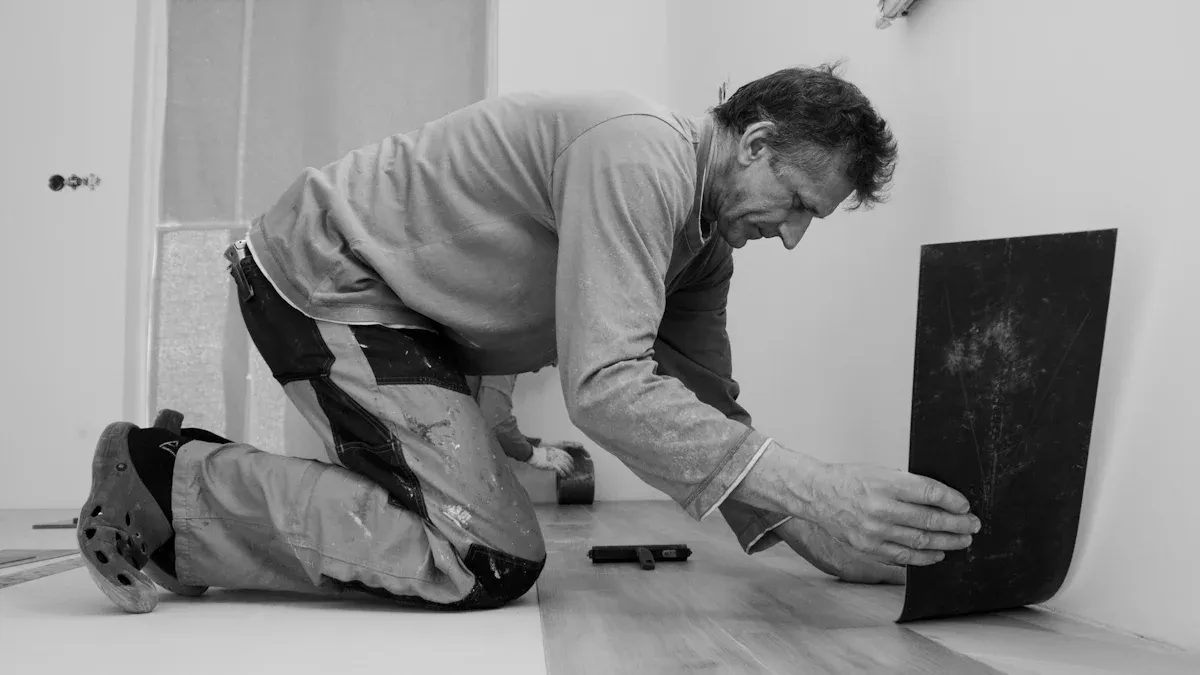
Making Straight Cuts for Main Flooring Areas
You need to make straight cuts for most of your vinyl flooring project. Start by measuring the room and marking the lines on the back of the vinyl. Use a tape measure and a straightedge for accuracy. Always leave a small overlap for adjustments.
Follow these steps for the cutting process:
- Place your straightedge along the marked line.
- Score the vinyl with a sharp utility knife. Press firmly but do not cut all the way through.
- Bend the vinyl back along the score line. Snap it cleanly.
- For thicker vinyl, use a vinyl flooring cutter or a circular saw with a fine-toothed blade. Wear safety gear.
- Test fit the cut piece in the space. Make sure it fits before you continue with the installation.
You can use a vinyl tile cutter for long, straight cuts. This tool gives you quick and dust-free results. For luxury vinyl plank flooring, a sharp utility knife works well for scoring and snapping. Avoid using dull blades, as they can cause rough edges and make the job harder.
Tip: Always measure twice before you cut vinyl flooring. This helps you avoid mistakes and waste.
Cutting Around Obstacles and Corners
Rooms often have pipes, corners, or other obstacles. You need to make precise cuts so the vinyl fits perfectly.
- Create a template with cardboard. Trace the outline of the obstacle onto the cardboard.
- Place the template on the vinyl. Mark the shape with a pencil.
- Score the line several times with a sharp utility knife. Snap the plank across a hard surface.
- For curved or detailed shapes, use a jigsaw or a hacksaw. These tools help you cut around pipes or corners.
- Sand the cut edges lightly with fine-grained sandpaper. This step smooths out any rough spots before installation.
- Change your utility knife blade often. Sharp blades help you make precise cuts and avoid miscuts.
You can use a combination of scoring and sawing for tricky shapes. Always test fit the piece before you glue or lock it in place.
Achieving Precise Transition and Trim Cuts
Transitions and trims give your floor a polished look. You need to cut these pieces carefully for a seamless finish.
| Step | Description |
|---|---|
| 1 | Choose the right transition strip in a color that matches your vinyl. |
| 2 | Measure the length of the area where you will install the transition strip. |
| 3 | Mark the transition strip at the correct measurement. |
| 4 | Dry-fit the strip to check the fit before final installation. |
| 5 | Install the strip using the recommended fasteners or adhesive. |
You should always use a sharp utility knife or a fine-toothed saw for these cuts. A clean edge helps the transition strip sit flat and look professional. Test fit each piece before you secure it. This step ensures your installation looks neat and finished.
Note: Taking your time with transitions and trims makes your vinyl floor look like a professional job.
You can achieve precise cuts and a polished finish by following these steps. The right tools and careful planning make cutting vinyl flooring easy and effective.
Handling Transitions and Trims for a Polished Finish
Cutting for Doorways and Thresholds
You often face challenges when you cut vinyl flooring at doorways and thresholds. These areas connect different rooms and need careful attention. Even a small misalignment can break the visual flow between spaces. You should measure the width of the doorway and mark your cut lines with a pencil. Use a straight edge to guide your cutter for a clean result. Always dry-fit the piece before final installation. This step helps you check the fit and avoid gaps.
- Obstacles like irregular wall shapes or basement sump pumps may require custom cuts.
- Proper alignment at thresholds is important for a seamless finish.
- Maintaining pattern continuity between rooms keeps your installation looking professional.
You can use a vinyl flooring cutter for straight cuts and a utility knife for detailed trimming. Thresholds bridge gaps and connect different flooring types, so take your time during the cutting process.
Fitting Around Pipes and Fixtures
Pipes and fixtures often create tricky spots during installation. You need to make precise cuts to fit vinyl snugly around these obstacles. Start by measuring the distance from the edge of the plank to the center of the pipe. Mark the spot with a pencil. Use a measuring tape for accuracy.
- Mark the outline of the pipe or fixture on the back of the vinyl.
- Score along the marked line with a utility knife.
- Use a straight edge to keep your cuts neat.
- For thicker planks, use a flooring cutter or circular saw.
- Wear safety gear to protect your hands and eyes.
You can also use a cardboard template for odd shapes. This method helps you avoid gaps and keeps your installation looking neat.
Creating Seamless Edges with Trims
Trimming is the final step for a polished look. You need to choose the right trim for each transition. T-molding works well for floors of equal height. Reducers help when you join floors with different heights. Thresholds cover gaps at doorways and connect vinyl to other surfaces.
To achieve seamless edges and professional finishes with trims in vinyl flooring, use coordinating stair treads, trims, and transition pieces. Transition pieces such as T-molding and surface reducers help to join floors of equal and unequal heights, ensuring a polished look. End caps finish edges where vinyl meets other surfaces, preventing exposure and enhancing safety.
You should plan ahead and prepare the subfloor before trimming. Always follow the manufacturer’s guidelines for adhesives and installation. This approach helps you achieve a seamless finish and keeps your vinyl installation strong and safe.
Troubleshooting Common Issues When You Cut Vinyl Flooring
Fixing Rough or Uneven Edges
You may notice rough or uneven edges after cutting vinyl flooring. This problem often happens when you use a dull blade or rush the cutting process. Always use a sharp utility knife to get smooth edges. If you see jagged spots, sand them gently with fine-grit sandpaper. You can also trim small imperfections with scissors. For thicker planks, a flooring cutter or a fine-toothed saw works best. Keeping your tools clean and sharp helps you avoid these issues in future projects.
Tip: Score the vinyl several times instead of trying to cut through in one pass. This method gives you more control and a cleaner edge.
Solutions for Common Cutting Mistakes
Many DIYers face similar mistakes during vinyl installation. You might cut a piece too short or break the pattern at a doorway. To fix these mistakes, keep extra planks on hand. This way, you can replace any pieces that do not fit. Always measure twice and cut once to avoid errors. Use a straight edge to guide your knife for straight cuts. If you need to cut around corners or pipes, create a cardboard template first. This step helps you avoid gaps and ensures a snug fit.
Common mistakes and solutions include:
- Inaccurate measurements: Double-check before you cut.
- Dull blades: Replace blades often for clean results.
- Improper techniques: Use guides for straight cuts and a jigsaw for curves.
- Pattern breaks: Plan your layout to keep patterns aligned at thresholds.
Tips to Avoid Waste and Rework
You can save time and materials by following a few simple steps. Start by preparing your subfloor. Make sure it is clean, dry, and level. This step helps your vinyl fit well and last longer. Measure your room carefully to know how much material you need. Pre-cut and dry-fit each row before final installation. This practice can reduce waste by up to 15%. Let your planks adjust to the room for at least 48 hours before you begin. Use the right tools and adhesives as recommended by the manufacturer. Always leave a small gap at the edges to prevent buckling.
Note: Careful planning and preparation make your cutting vinyl flooring project easier and help you achieve a professional finish.
You can achieve clean vinyl flooring cuts with the right tool to cut vinyl flooring and careful planning. For a polished finish, follow these final steps:
- Add baseboards or quarter-round moulding to cover gaps and improve the look.
- Use a floor roller on glue-down vinyl to press seams tight and clean extra adhesive.
Experts recommend these important factors for a professional installation:
- Check site conditions and storage for vinyl.
- Make sure you have the correct tool to cut vinyl flooring.
- Use skilled teams for your installation.
Measure twice, cut once, and take your time for the best results.
FAQ
What is the best tool to cut vinyl flooring?
You get the cleanest cuts with a sharp utility knife or a vinyl flooring cutter. These tools help you make straight lines and smooth edges. Always use a fresh blade for best results.
How do you avoid jagged edges when cutting vinyl?
Tip: Score the vinyl several times with a sharp blade. Snap the plank along the scored line. Sand rough spots gently with fine-grit sandpaper. This method keeps your edges smooth.
Can you cut vinyl flooring around pipes and corners?
You can use a cardboard template to trace the shape. Mark the outline on the vinyl. Cut carefully with a utility knife or jigsaw. Test fit the piece before installing.
Do you need to let vinyl flooring acclimate before cutting?
| Step | Action |
|---|---|
| 1 | Place vinyl in the room |
| 2 | Wait 24–48 hours |
| 3 | Start cutting |
You let vinyl adjust to room temperature and humidity. This step prevents warping and ensures a proper fit.




