
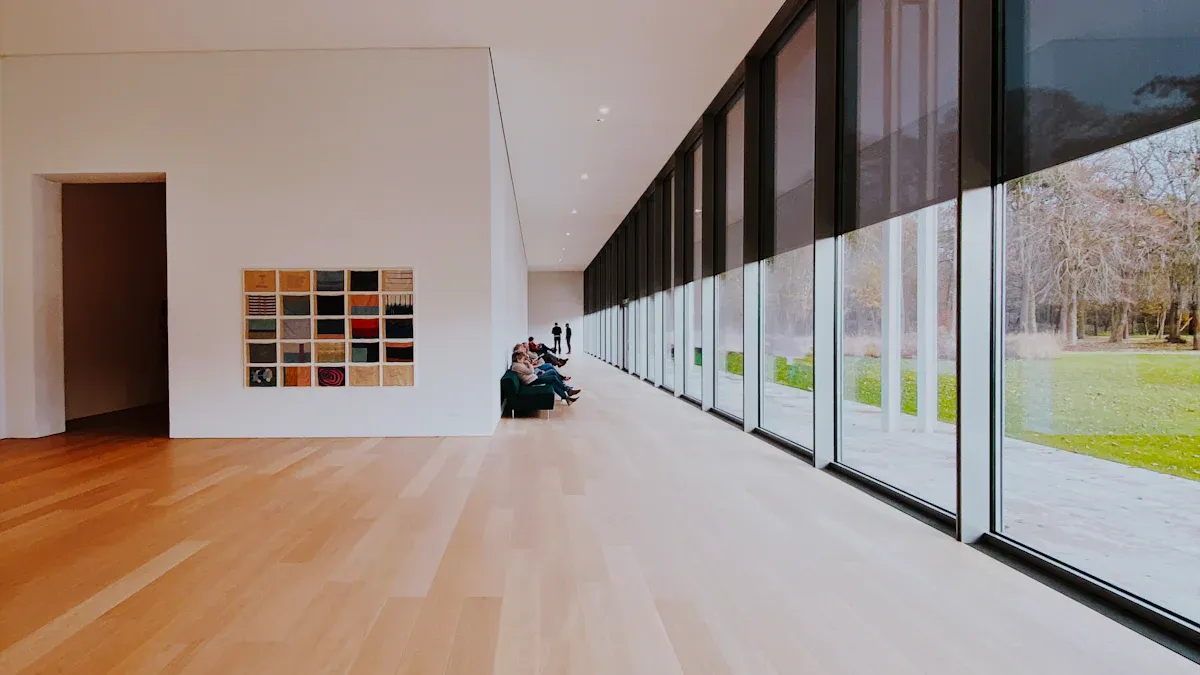
You can achieve a luxury look in your home when you handle each transition with care. High end vinyl flooring lets you create seamless connections from room to room, but you need to plan ahead. Pay attention to details like color consistency and proper installation. If you skip steps such as acclimating your vinyl or managing expansion gaps, you risk issues like gapping or buckling. See some common challenges below:
| Challenge | Description |
|---|---|
| Installation Practices | Proper installation avoids buckling and poor adhesion. |
| Design Continuity | Consistent colors and patterns keep visual flow between rooms. |
| Acclimation | Letting flooring adjust prevents gaps or buckling after installation. |
With the right approach, your luxury vinyl flooring transitions will elevate your space.
Planning Luxury Transitions for High End Vinyl Flooring
Choosing Consistent Colors and Patterns for Luxury Vinyl Flooring
You set the foundation for a luxury look when you choose consistent colors and patterns for your luxury vinyl flooring. Start by identifying the undertones of your vinyl. If your flooring has cool grey tones, avoid pairing it with warm colors like yellow. Instead, select wall colors that match the undertone, such as taupe creams for warm grey floors. This approach creates harmony and balance in your rooms.
Interior designers often repeat accent colors or decor styles across spaces. You can use this strategy to maintain continuity. For example, if you have deeper wood tones in one room, introduce similar tones in adjacent spaces. Consistent baseboards and wall treatments also help connect each area. When you select complementary colors and textures, you ensure that each transition feels natural and visually appealing.
Tip: Use a sample board to compare flooring, wall, and decor colors before making final decisions. This step helps you see how everything works together in your home.
Mapping Transition Points for Seamless Room-to-Room Transitions
Planning where to place each transition is key to achieving seamless transitions with luxury vinyl flooring. Think about how you use each room. Walk through your home and notice natural start and stop points, such as doorways or where flooring changes direction. These spots often make the best places for transitions.
You can also use rugs to connect different flooring materials or paint rooms in different colors to enhance the visual transition. If you plan to replace flooring in several rooms at once, you gain more control over where transitions occur. This approach allows you to create a smooth flow from one space to the next.
- Place rugs between transitions to connect different flooring materials.
- Paint rooms different colors to highlight the transition.
- Follow natural start and stop points, like doorways, for a professional look.
Considering Flooring Direction for a Unified Look
The direction you lay your luxury vinyl flooring planks affects both the look and feel of your home. Laying planks parallel to the longest wall can make a room feel larger. Aligning planks with natural light sources, such as windows, enhances brightness and draws attention to the texture of your vinyl.
Consistent plank direction across connected spaces promotes unity. You should also consider structural features like doorways and the flow of foot traffic. Matching the direction of your flooring with your personal style and the design vision for your home helps you achieve a luxury finish.
- Lay planks parallel to the longest wall to expand the sense of space.
- Align planks with natural light to highlight the beauty of your luxury vinyl flooring.
- Keep the direction consistent in open floor plans for a unified look.
Note: Review your planned transitions under different lighting conditions. This step ensures your flooring looks great at any time of day.
By planning ahead, choosing the right colors, mapping transition points, and considering plank direction, you create a home with seamless transitions and a luxury feel. These steps help you get the most out of your high end vinyl flooring and ensure every room flows beautifully into the next.
Selecting and Installing Transition Strips with skspcflooring
Types of Transition Strips for Luxury Vinyl Flooring
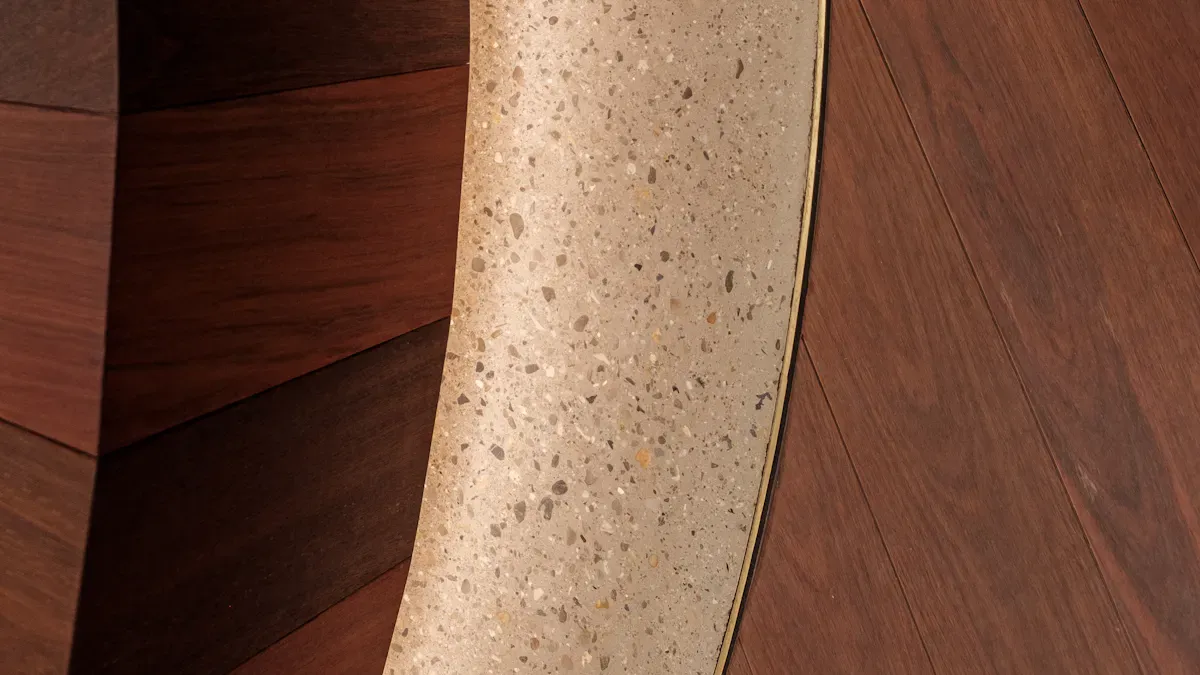
You have many options when it comes to transition strips for luxury vinyl flooring. Each type serves a specific purpose and helps you create a smooth connection between different flooring materials or heights. Here are some of the most common types:
- 4-in-1 transition strips connect several flooring types. They use a metal mount and T-molding for flexibility.
- Carpet to vinyl transition strips work well when you move from carpet to vinyl. These often use an aluminum track for stability.
- T-strips fit between two hard surfaces of similar height. You often see them made from aluminum.
- Wood transition strips offer a low-profile look. They use the same wood as your floor and allow for expansion.
- Tile to laminate transition strips bridge the gap between laminate and tile. They often use a mounting channel.
- Vinyl flooring to tile transition strips help when you need a step-down between different flooring heights.
Transition strips do more than just cover gaps. They make your home safer by providing a visual cue and help your space look polished. When you move from luxury vinyl flooring to another material, you need to pick the right transition piece. For floors at different heights, a surface reducer works best. For floors at the same height, T-molding gives you a safe and cohesive transition.
Tip: Always check the height and type of both flooring materials before choosing your transition strip.
Matching Transition Strips to Flooring Style and Room Design
You want your transitions to look as good as the rest of your home. Designers often match transition strips to the style and color of luxury vinyl flooring for a seamless effect. Here is how you can do the same:
- Choose colors and textures that complement your luxury vinyl flooring. This creates a harmonious look.
- Use transition strips to make a safe and visually pleasing boundary between rooms.
- Explore threshold-free designs if you want a more integrated appearance.
When you move from luxury vinyl flooring to another type, select transition strips that match both materials. For height differences, use a surface reducer or end cap. For floors at the same height, T-molding works well. Transition strips not only cover gaps but also enhance the visual appeal of your space. They help you maintain a cohesive design and make your home feel more connected.
Consider these factors when picking transition strips for high end homes:
- Material compatibility: Make sure the strip matches both flooring types.
- Profile selection: Pick the right profile for any height differences.
- Durability and maintenance: Choose strips that can handle foot traffic.
- Aesthetic appeal: Select strips that fit your room’s color scheme.
- Safety features: Look for anti-slip surfaces in busy areas.
Note: The right transition strip can turn a simple doorway into a design feature.
Installation Best Practices for Flawless Transitions
Proper installation ensures your transitions look professional and last a long time. Follow these best practices for installing transition strips with luxury vinyl flooring:
- Pick the right type of transition strip for the height difference between floors.
- Use T-bars for floors at the same height. They hide expansion gaps and prevent trips.
- Employ reducers when you move from vinyl to carpet or tile with different heights.
- Install quarter-round strips along baseboards to cover expansion gaps and improve the look.
- Leave expansion gaps at regular intervals to prevent damage from movement.
Here are some steps to help you install transition strips correctly:
- Carefully remove any old transition strips. This prevents damage to your new flooring.
- Clean the area between the two flooring materials. A clean surface helps the strip last longer.
- Check that the transition strip channel fits before you secure it in place.
| Mistake | Description | How to Avoid |
|---|---|---|
| Not Preparing the Subfloor Properly | A clean, flat, and smooth surface is essential for vinyl flooring. | Thoroughly clean the subfloor and fill any cracks or dips with leveling compound. |
| Skipping Acclimation Before Installation | Vinyl needs time to adjust to room conditions to prevent warping. | Keep unopened boxes in the installation room for 24–48 hours at a steady temperature. |
| Not Measuring the Room Correctly | Incorrect measurements can lead to wasted material and uneven layouts. | Measure the room accurately and add about 10% extra for cuts and waste. |
| Ignoring Manufacturer Instructions | Each brand has specific requirements that affect installation and warranty. | Always read the installation manual and follow the recommended guidelines. |
| Cutting Planks Incorrectly | Poor cuts can create gaps and uneven lines. | Use a sharp utility knife and make clean, accurate cuts. |
| Leaving No Expansion Gaps | Floors need space to expand and contract to avoid buckling. | Leave a ¼-inch gap around walls and fixed objects. |
| Not Sealing or Protecting the Floor After Installation | Basic care is needed to maintain the floor’s appearance. | Use felt pads on furniture and keep the floor dry for the first 24 hours. |
Remember: Taking your time with each step helps you achieve seamless transitions and a luxury finish.
By selecting the right transition strips, matching them to your flooring style, and following best installation practices, you ensure your high end vinyl flooring looks beautiful and functions well for years.
Managing Expansion Gaps in High End Vinyl Flooring
Why Expansion Gaps Matter for Luxury Vinyl Flooring
You want your high end vinyl flooring to look beautiful and last for years. To achieve this, you must pay attention to the expansion gap. This small space lets your vinyl floor expand and contract as temperatures and humidity change. Without an expansion gap, you may see buckling or warping. Gaps between planks can appear, and the locking system or adhesive may get damaged. These problems can ruin the smooth look of your luxury vinyl flooring.
You should always leave an expansion gap along each wall and at fixed objects. Most experts recommend a gap between 1/4 inch (6mm) and 3/8 inch (10mm). The exact size depends on the room size and the manufacturer’s instructions. Larger rooms or places with big temperature swings may need a bigger gap. This simple step helps your floor stay flat and attractive.
Tip: Expansion gaps help your vinyl floor handle changes in climate. They keep your floor looking smooth and prevent cracks or ridges.
Where to Place Expansion Gaps for Professional Transitions
You need to know where to put expansion gaps for the best results. Place an expansion gap along every wall, at columns, and around built-in furniture. When you reach a doorway or move to a new room, leave a gap of 1/4 inch to 1/2 inch. This space is perfect for a transition strip, which covers the gap and gives your floor a finished look.
You should also use transition strips where your vinyl meets other flooring types, such as tile or carpet. At exterior doors, an expansion gap under the threshold protects your floor from weather changes. Always check the 30-foot rule—if your floor runs longer than 30 feet in any direction, add a transition with an expansion gap to relieve stress.
- Place expansion gaps:
- Along all walls and fixed objects
- At room transitions and doorways
- Where vinyl meets other flooring
- Under thresholds at exterior doors
By planning your expansion gaps and transitions, you protect your luxury vinyl flooring and keep every room looking flawless.
Trimming and Finishing Edges for a Luxury Look
Tools for Precise Trimming of High End Vinyl Flooring
You need the right tools to achieve precise trimming for high end vinyl flooring. These tools help you create clean edges and ensure each transition looks professional. The following table shows some of the most effective tools used by installers:
| Tool Name | Description |
|---|---|
| No. 340 Selvage Trimmer | Trims off the factory selvage for accurate scribing and seaming, ensuring clean, square cuts. |
| No. 985 Quarter Moon Knife | Trims excess welding rod, providing a two-step process for a flush finish with the surrounding floor. |
| No. 965 Skiving Knife | Trims excess heat welding rod with a flexible blade and built-in pivoting trim guide, preventing gouging issues. |
| No. 986 Trim Guide | A depth control guide used with the Quarter Moon Knife for precise trimming in a two-step process. |
These tools allow you to cut vinyl flooring accurately and avoid rough or uneven edges. You can use them to prepare the floor for transition strips and other finishing touches.
Techniques for Clean Edges and Seamless Transitions
You can achieve clean edges and seamless transitions with luxury vinyl flooring by following proven techniques. Professional installers build several rows at a time to keep the installation square. They make cuts from the left side to the right, so the trimmed edge stays hidden under the trim. Using a laminate floor cutter gives you quicker and cleaner cuts.
- Prepare the subfloor carefully. A level surface ensures tight fits and prevents gaps.
- Acclimate the vinyl before installation. This step helps the planks settle and reduces movement after installation.
- Cut planks with precision. Hide trimmed edges under baseboards or transition strips.
Tip: Always check your cuts and edges before adding finishing touches. This step helps you spot any uneven areas early.
Adding Finishing Touches for a Professional Appearance
You can elevate the look of your luxury vinyl flooring by adding finishing touches. These techniques cover expansion gaps and create a polished appearance. Use reducers for transitions between higher vinyl floors and lower surfaces like carpet or tile. Quarter round covers expansion gaps at the base of walls, giving your room a neat finish. Baseboards or skirting boards complete the perimeter and enhance the luxury feel.
| Transition Strip Type | Description | Best Use Cases |
|---|---|---|
| T-Bar | Hides expansion gaps between same-height floors, creating a seamless look. | Same height flooring transitions. |
| Reducers | Gradually transitions between different heights, preventing abrupt drops. | Vinyl to carpet or tile transitions. |
| Quarter Round | Covers expansion gaps at the baseboards, providing a neat finish. | Along room perimeters. |
- Use reducers in doorways for a gradual slope and safe transition.
- Install end caps or square nose at exposed edges for a clean finish.
- Place quarter round along baseboards to hide expansion gaps elegantly.
You create a luxury look by combining precise trimming, clean edges, and thoughtful finishing touches. These steps ensure your luxury vinyl flooring transitions look flawless and professional.
Practical Tips for Maintaining Luxury Vinyl Flooring Transitions
Common Mistakes to Avoid with High End Vinyl Flooring
You can keep your floors looking great by avoiding common mistakes during installation. Many problems happen when you skip important steps. You should always:
- Follow the instructions from the manufacturer. These directions help you install the floor the right way.
- Use the correct tools. The right tools prevent damage and make the job easier.
- Let your flooring adjust to the room before you start. This step is called acclimation and helps stop problems later.
- Leave an expansion gap around the edges of each room. The expansion gap lets your floor move when the temperature changes.
- Check your work before you finish. A final inspection helps you find and fix mistakes.
If you remember these tips, you will avoid gaps, buckling, or uneven transitions. You will also protect your investment and enjoy a smooth, professional look.
Maintenance for Lasting Luxury and Seamless Transitions
You want your luxury floors to stay beautiful for years. Good maintenance keeps your vinyl flooring and transitions looking new. You should:
- Sweep or vacuum often to remove dirt and dust.
- Use a damp mop and a cleaner made for vinyl floors. Too much water can hurt the floor, so keep the mop just damp.
- Stay away from harsh cleaners. These can damage the finish and make the floor look dull.
- Put felt or rubber pads under furniture legs. These pads stop scratches and dents.
- Check the expansion gap from time to time. Make sure nothing blocks it so your floor can move as needed.
Tip: Regular care and attention to the expansion gap will help your floor last longer and keep every transition smooth.
By following these simple steps, you will keep your home looking polished and your transitions flawless.
You can achieve flawless room-to-room transitions with high end vinyl flooring by planning each step and using quality materials. Careful installation helps unify your spaces and creates a luxury finish. Remember these key points:
- Maintain a 3/8 or ½ inch expansion gap around the perimeter.
- Use the right tools for precise cuts and secure transition strips.
- Follow manufacturer guidelines and check seam integrity.
- Clean the area before installing transition strips for a stable fit.
- Secure baseboards and quarter-round trim to cover gaps.
Use this quick checklist: plan transitions, select strips, manage gaps, trim edges, and maintain your flooring for lasting beauty.
FAQ
What are the benefits of luxury vinyl flooring for room transitions?
You get many benefits of luxury vinyl flooring. It gives you smooth transitions between rooms. You can match colors for a unified look. The material is durable and easy to clean. You also enjoy a modern style that fits many home designs.
How do I choose the right colors for my flooring transitions?
You should pick colors that match or complement each room. Use sample boards to test colors in different lights. This helps you see how colors work together. Matching colors creates cohesiveness and makes your home feel connected.
Why is a proper transition important between rooms?
A proper transition keeps your floors safe and attractive. It covers gaps and prevents tripping. You also get a neat finish. When you use transitions wisely, you emphasize cohesiveness and make your home look well-designed.
How can I use transitions wisely for smooth transitions?
You should plan where each transition goes. Pick strips that match your colors and flooring style. This creates smooth transitions and keeps your rooms connected. Always check that the transition strip fits both floor heights.
Can I mix different colors in open floor plans?
You can mix colors, but keep them in the same color family. This keeps the look balanced. Too many colors can break up the space. Use similar tones to connect rooms and keep cohesiveness strong.




