
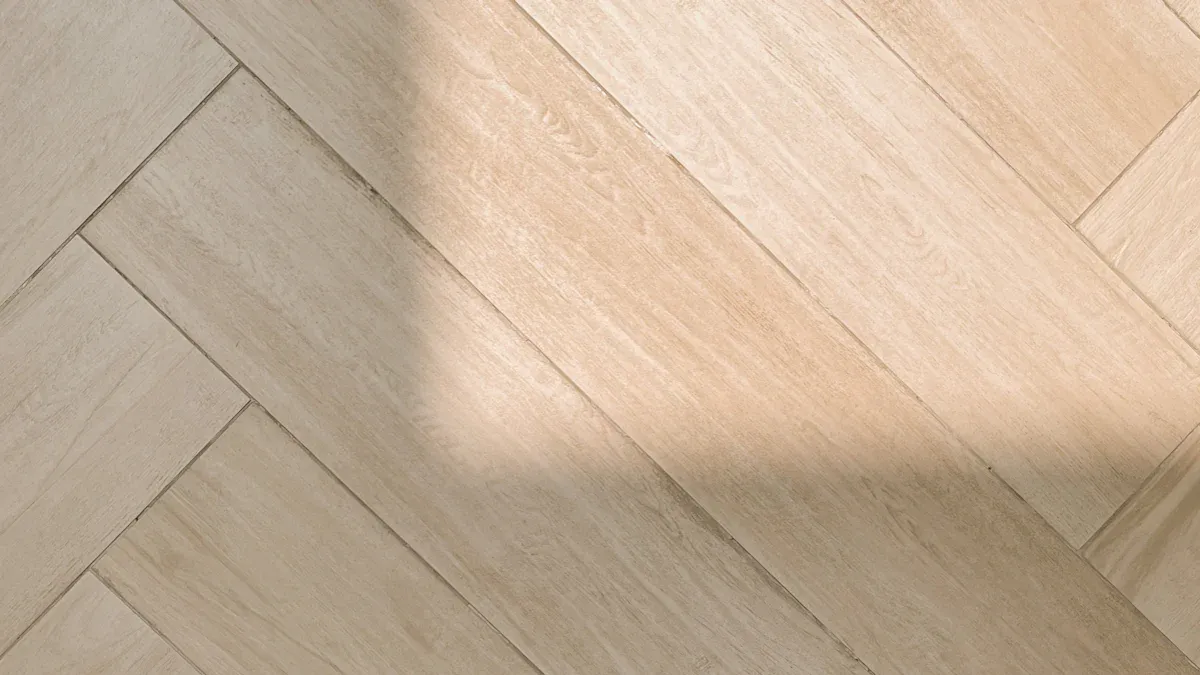
You might wonder if vinyl sheet flooring herringbone will hide unevenness in old tile. The answer is that it can cover some minor flaws, but the surface condition plays a big role in your results. If you install sheet vinyl flooring over bumps or dips, you will see these imperfections through the new floor. You should always prepare the surface before you install luxury vinyl flooring to get a smooth and long-lasting finish with sheet vinyl flooring.
How Vinyl Sheet Flooring Herringbone Reacts to Uneven Surfaces
What Happens When You Install Tile Over Tile
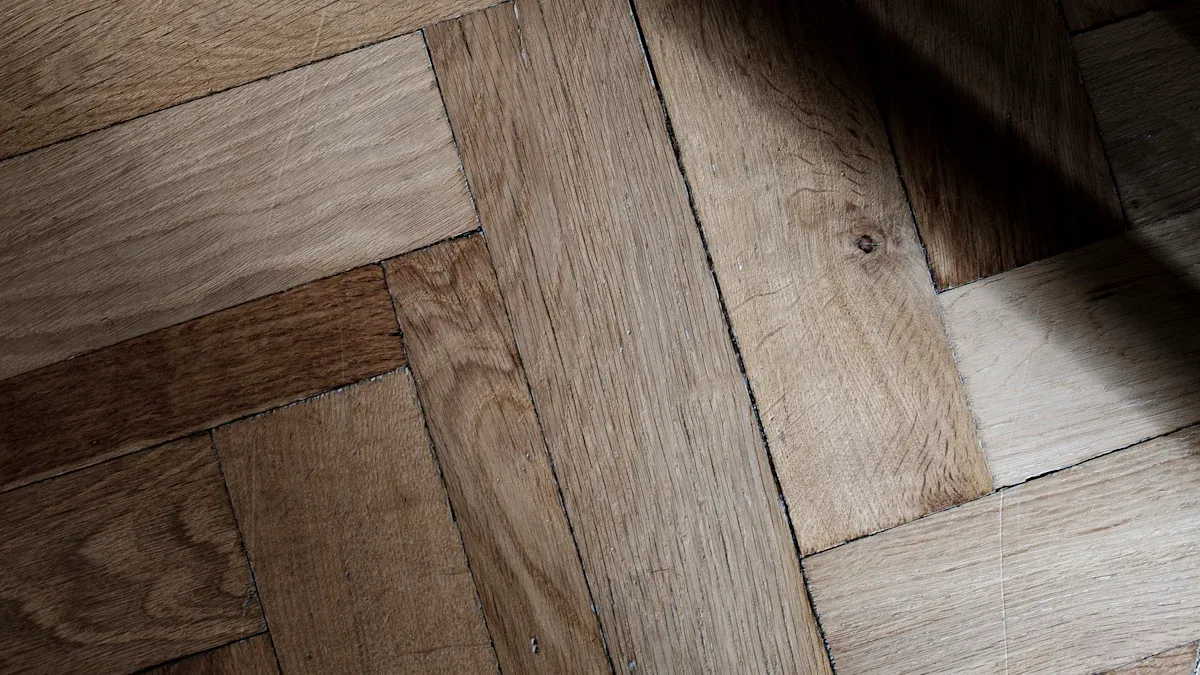
When you install tile over tile, you may hope for a smooth and flawless finish. The reality depends on the condition of the surface beneath. If the old tile has bumps, dips, or uneven grout lines, these flaws can show through the new floor. Vinyl sheet flooring herringbone needs a flat and stable surface to look its best.
You might notice several issues if you skip proper preparation. Here are some of the most common visible problems that can happen when tiling over tile with a new vinyl layer:
- Stone polymer composite vinyl feels stiff and may make clicking sounds or show gaps at the edges if the surface is not even.
- Glue-down flooring can develop hollow spots or visible irregularities where there are bumps or depressions.
- Floating floors may flex or feel unstable if the surface has slopes or dips.
- Dips or waves can appear across the floor, making the unevenness obvious.
- Gaps under baseboards or trim often point to an unlevel surface.
- A soft or spongy feel underfoot can signal problems with the subfloor.
- Cracked tiles or grout lines may result from uneven pressure below the new floor.
You should always check the surface before you begin tiling over tile. This step helps you avoid problems that can affect the look and feel of your new floor. A strong bond between the vinyl and the surface ensures your floor lasts longer and stays beautiful.
The Limits of Hiding Surface Imperfections
Vinyl sheet flooring herringbone can cover some small flaws, but it cannot hide major surface imperfections. The material works best on a flat and even base. If you try to use it on a rough or bumpy surface, you will see and feel the problems.
Let’s compare how different types of flooring handle surface issues:
| Preparation Aspect | LVT Elastic Flooring | Traditional Vinyl |
|---|---|---|
| Maximum Tolerance | 3mm dips/10ft radius | 5mm dips allowed |
| Moisture Test | Mandatory (<4.5% RH or vapor barrier required) | Recommended (<5% RH) |
| Imperfection Visibility | Shows all ridges/voids | Masks minor defects |
This table shows that even traditional vinyl only hides minor defects. LVT elastic flooring shows almost every ridge or void in the surface. Vinyl sheet flooring herringbone falls between these options. It can mask small dips or lines, but it cannot cover deep cracks or high spots.
If you want a strong bond and a smooth finish, you need to prepare the surface well. Filling low spots and smoothing high areas helps the vinyl stick better and look more attractive. Good preparation also prevents future problems, such as loose edges or gaps.
Tip: Always clean and level the surface before you start tiling over tile. This step helps the new floor bond well and last longer.
Types of Surface Unevenness and Their Impact
Minor vs. Major Unevenness in Old Tile
You may find different types of unevenness in an existing tile installation. Some are minor, while others are major. Minor unevenness includes small dips or shallow grout lines. These may not cause big problems if you prepare the surface well. Major unevenness, like deep cracks or high spots, can lead to visible flaws in your new floor. You need to know the difference so you can fix the right issues before installing vinyl sheet flooring herringbone.
Here is a table that shows common surface problems with different types of tile:
| Type of Tile | Surface Unevenness Issues |
|---|---|
| Large-format tile | Needs a flat base; dips or ridges can cause stress points and lead to lippage or cracking. |
| Natural stone tile | Brittle stones like marble or slate can crack or create uneven grout lines on uneven surfaces. |
| Ceramic and porcelain tile | Cannot be installed properly over uneven surfaces, which can make tiles loose. |
| Cracked tiles or grout lines | May react to uneven pressure from dips or high spots beneath them. |
Dealing with Cracks, Grout Lines, and High Spots
You might see cracks, deep grout lines, or high spots on the surface of old tile. Cracks can let moisture in and weaken the new floor. Deep grout lines can show through the vinyl sheet flooring herringbone if you do not fill them. High spots can make the surface feel bumpy and cause the new floor to wear out faster. You should always clean, fill, and smooth these areas before you start your project. This step helps you get a flat surface for the best results.
When Unevenness Becomes a Serious Issue
Serious unevenness can ruin your new floor. If you ignore big dips, high spots, or cracks, you may face several problems:
- The surface may move, crack, or wear out too soon.
- The vinyl sheet flooring herringbone may buckle or warp over time.
- The floor may not look smooth or feel stable under your feet.
Note: Proper surface preparation helps your new floor last longer and look better. Always check the surface before you install vinyl sheet flooring herringbone.
Preparing the Surface for Vinyl Sheet Flooring Herringbone
Cleaning and Assessing the Old Tile
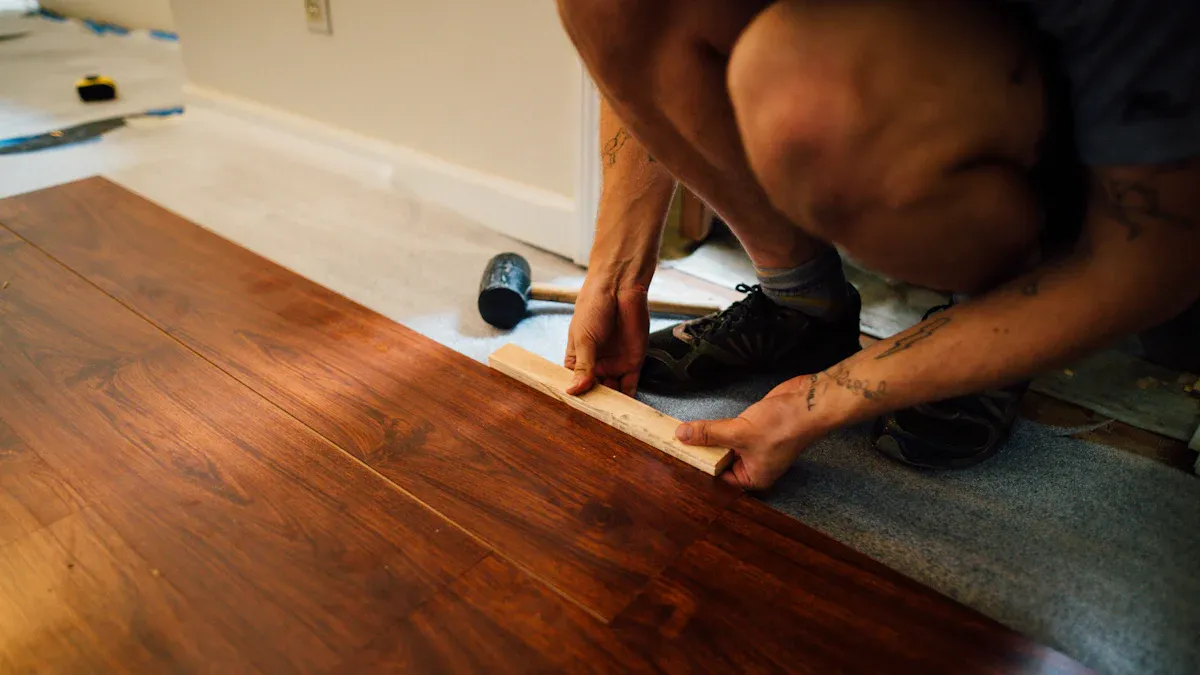
You need to start with a clean and strong surface before you install sheet vinyl flooring. Dirt, dust, or loose tiles can stop the new floor from sticking well. You should check the old tile for cracks, loose spots, or moisture. If you find any problems, fix them first. A clean and dry surface helps the vinyl bond better and last longer.
- The surface must be fully attached, clean, flat, and dry.
- Cleaning and checking the surface stops problems like poor adhesion and uneven spots.
- If grout joints are wider than 1/4 inch, use a cement-based patch to make the surface smooth.
You should also remove baseboards and shoe molding. This step makes it easier to fit the new floor and gives a neat finish.
Leveling Low Spots and Filling Grout Lines
A level surface is the best surface for new tiles and vinyl sheet flooring herringbone. You should fill large grout lines with thin-set mortar. Wait for the mortar to dry, then sand any rough spots. Sweep away all dust and debris. This process creates a flat base for your new floor.
The success of any tile job is a solid and level base. Check your subfloor for any low spots and fill with a self leveler.
If you skip this step, the vinyl may not bond well. You might see dips or feel soft spots underfoot. Always make sure the surface is level before you install sheet vinyl flooring.
Smoothing High Spots and Edges
High spots or sharp edges can show through sheet vinyl flooring. You should sand down these areas until the surface feels even. Use a straightedge to check for bumps. If you find any, smooth them out.
| Requirement | Description |
|---|---|
| Surface Regularity | The subfloor must not deviate above 3mm over a 2m distance when tested. |
| Impact of Deviation | Deviations above 3mm can cause telegraphing through the vinyl, leading to unsightly deflections. |
| Preparation Importance | Proper sub-floor preparation is essential to ensure the flooring lies flat and smooth, preventing aesthetic issues. |
Smoothing high spots helps the vinyl bond well and keeps the floor looking great. You do not need to worry about removing old tiles if you prepare the surface correctly. Good preparation gives you a strong bond and a level finish with sheet vinyl flooring.
Using Underlayment or Floor Leveler for Best Results
You want your new floor to look smooth and last for years. Using underlayment or a floor leveler can help you reach this goal. These products create a flat surface, which helps your sheet vinyl flooring stick well and look even. When you use underlayment or a floor leveler, you solve many problems that come from old tile surfaces.
Underlayment acts as a cushion between the old tile and your new floor. It fills in small dips and covers shallow grout lines. This layer helps the vinyl form a strong bond with the surface. You also get extra benefits when you use underlayment or a floor leveler:
- Improved insulation keeps your room warmer in winter and cooler in summer.
- Enhanced energy efficiency helps you save money on heating and cooling.
- Additional soundproofing makes your space quieter and more comfortable.
A floor leveler works well for bigger dips or high spots. You mix the leveler and pour it over the old tile. It spreads out and dries to form a flat, hard surface. This step gives your sheet vinyl flooring the best chance to bond tightly and stay in place.
You should always check the instructions for your flooring and underlayment. Some products need a special type of underlayment or a certain thickness of floor leveler. If you follow these steps, you will avoid problems like loose edges or bumps under your feet.
Tip: Take your time with this step. A smooth, level surface helps your new floor look great and last longer.
When you use underlayment or a floor leveler, you make sure your floor has a strong bond and a smooth finish. This preparation step gives you the best results for your home.
Common Mistakes to Avoid When You Install Tile Over Tile
Skipping Surface Preparation Steps
You might feel tempted to skip steps when you prepare the surface. This mistake can cause many problems when you install luxury vinyl flooring. If you do not clean, level, and check the surface, you will see bumps, dips, or even cracks in your new floor. Here are some common mistakes you should avoid when tiling over tile:
- Not sinking fasteners can create bumps and wear points.
- Ignoring imperfections in the surface can lead to visible ridges or indentations.
- Forgetting to level the floor can cause planks to flex and make gaps.
- Not removing baseboards and trim can leave uneven edges.
- Skipping the underlayment can result in adhesive failure and squeaks.
- Failing to measure and plan the layout can cause material shortages.
- Not leaving an expansion gap can make the floor buckle.
- Using the wrong underlayment can void warranties.
You should always check the surface and fix any problems before you install sheet vinyl flooring. Good preparation helps your floor last longer and look smooth.
Not Following Manufacturer Instructions
You need to follow the instructions from the manufacturer when you install tile over tile. If you do not, you may face serious problems. The table below shows what can happen if you ignore these guidelines:
| Consequence | Description |
|---|---|
| Voiding Manufacturer Warranty | Not following guidelines can void your warranty and leave you unprotected. |
| Damage to Factory Finish | Not removing excess adhesive or spills can damage the finish. |
| Responsibility for Damaged Flooring | Damaged planks during installation are not covered by warranty. |
| Failure to Maintain Temperature | Not keeping the right temperature can cause flooring failures. |
You should read all instructions before you start tiling over tile. This step protects your investment and helps you avoid costly repairs.
Overestimating What Vinyl Sheet Flooring Herringbone Can Hide
You may think that vinyl sheet flooring herringbone will hide every flaw in the surface. This is not true. The material can cover small dips or lines, but it cannot hide deep cracks or high spots. If you install sheet vinyl flooring over a rough surface, you will see and feel the problems. Always prepare the surface well before you install your new floor. This step gives you the best results and helps your floor look beautiful for years.
Why Choose skspcflooring for Your Vinyl Sheet Flooring Herringbone Project
Quality and Durability of skspcflooring Products
You want a floor that lasts and looks great. skspcflooring gives you both. The company uses advanced technology and strict quality checks. Every product meets international standards like ISO9001, ISO14001, EN, ASTM, and GB. These certifications show that your floor will be safe, strong, and eco-friendly.
skspcflooring offers a wide range of SPC flooring options. You can choose Chevron SPC Flooring, Rigid Core SPC Flooring, SPC Tile Flooring, or EIR SPC Flooring. Each type comes in different thicknesses, from 4mm to 6mm. This means you can pick the right floor for your space.
Here are some reasons why skspcflooring stands out:
- High resistance to water and stains
- Strong wear layer for busy rooms
- Modern designs that fit any style
- Eco-friendly materials for a healthier home
Tip: A durable floor saves you money on repairs and replacements. You get peace of mind with skspcflooring.
Professional Support and Installation Advice
You do not have to figure out everything alone. skspcflooring gives you expert help from start to finish. The team guides you through each step, from choosing the right product to preparing your old tile surface.
Professional support makes a big difference. Experts know how to check for moisture and uneven spots. They help you fix these issues before you lay your new floor. This step stops problems like warping or early wear. You get a floor that looks smooth and lasts longer.
skspcflooring also shares clear instructions and tips. You learn how to clean, level, and install your vinyl sheet flooring herringbone. If you have questions, you can reach out for advice. The company wants your project to succeed.
| Service Feature | Benefit to You |
|---|---|
| Expert installation tips | Fewer mistakes, better results |
| Problem-solving support | Longer-lasting flooring |
| Responsive team | Quick answers to questions |
You get more than just flooring. You get a partner who cares about your home.
You may want vinyl sheet flooring herringbone to hide unevenness in old tile, but it only covers small flaws. You need to prepare the surface for the best results. A good installation starts with a clean, flat, and dry base.
- Remove dust and old adhesive.
- Check for moisture to prevent mold and damage.
Choose careful preparation for a smooth, long-lasting floor in your home.
FAQ
Can you install vinyl sheet flooring herringbone over any old tile?
You can install vinyl sheet flooring herringbone over most old tiles if the surface is clean, dry, and level. You should fix cracks and fill grout lines before starting.
Do you need to remove grout lines before installing vinyl sheet flooring?
You do not need to remove grout lines. You should fill deep grout lines with a floor leveler or patching compound. This step helps your new floor look smooth.
Will underlayment help with uneven tile surfaces?
Yes, underlayment can help. It fills small dips and covers shallow grout lines. You get a smoother surface for your vinyl sheet flooring herringbone.
How long does it take to prepare old tile for new vinyl flooring?
Preparation time depends on the tile’s condition. Simple cleaning and minor repairs may take a few hours. Major leveling or patching can take a day or more.




