
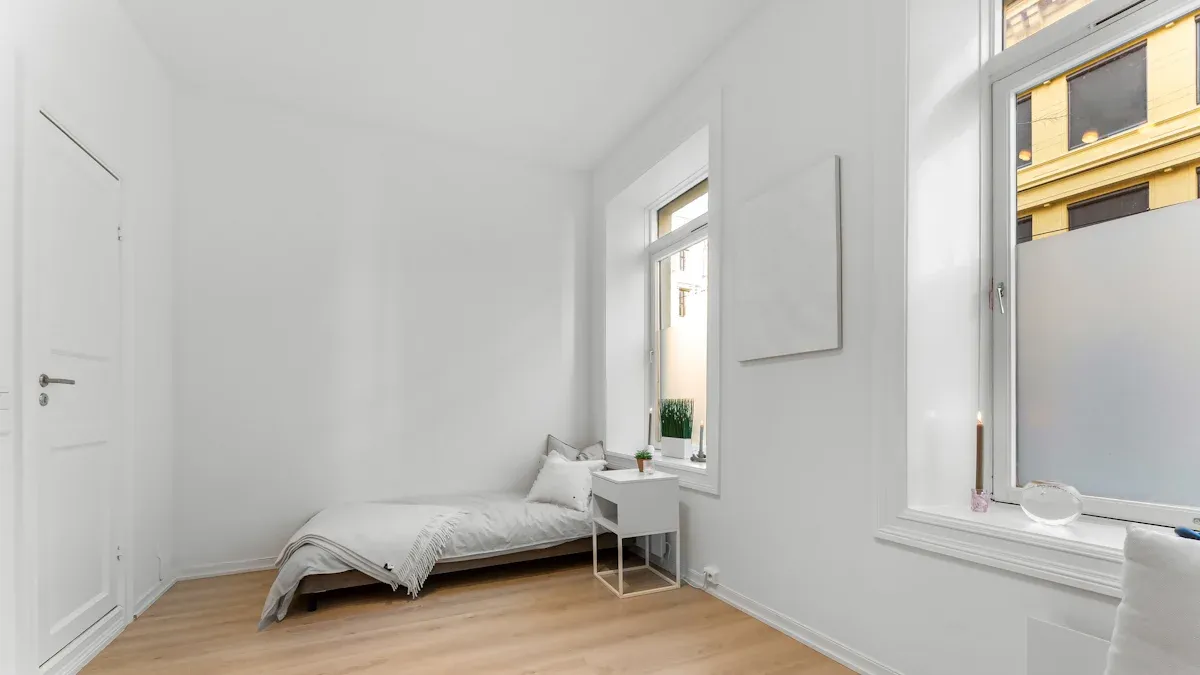
You want your bedroom to look spacious and inviting. The importance of direction in vinyl plank flooring installation affects how you see the room. When you choose which direction to lay vinyl plank flooring in bedroom spaces, you often lay the planks parallel to the longest wall or toward the main light source. Interior design studies show that different layouts change how big a room feels:
| Flooring Direction | Effect on Room Size |
|---|---|
| Towards light source | Elongates the appearance of the room |
| Horizontal layout | Expands smaller spaces, creating a welcoming feel |
| Vertical layout | Maximizes perceived spaciousness, drawing the eye upward |
Luxury vinyl plank flooring creates smooth transitions and a professional finish.
Which Direction to Lay Vinyl Plank Flooring in Bedroom
Visual Impact and Room Size
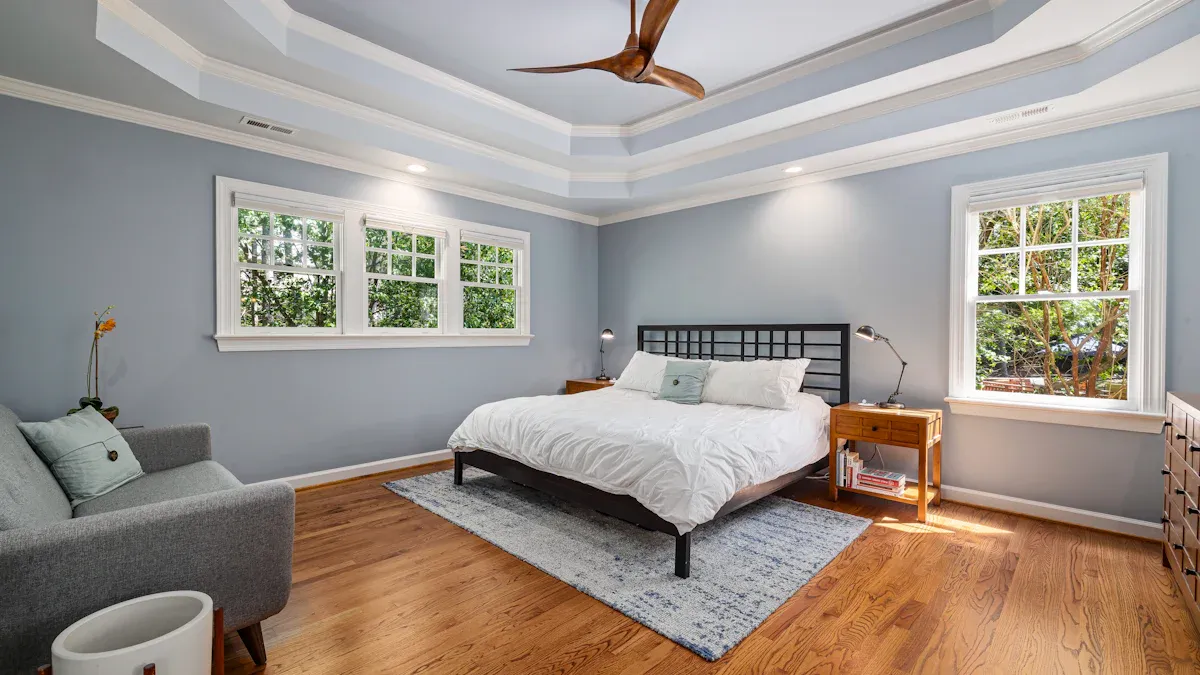
You want your bedroom to feel bigger and more comfortable. The direction you choose for vinyl plank flooring changes how you see the space. When you lay the planks parallel to the longest wall, you create an illusion of more space. This method makes small bedrooms look larger and more inviting. Many flooring experts recommend laying vinyl plank flooring parallel to the longest wall because it plays with lines and perspectives. You can make your room feel open and spacious with this approach. If you wonder which direction to lay vinyl plank flooring in bedroom spaces, remember that a well-planned installation enhances the overall look.
- Laying vinyl plank flooring parallel to the longest wall creates an illusion of more space.
- This approach makes smaller rooms appear larger and more welcoming.
- You can use perspectives and lines to improve the room’s aesthetic.
Enhancing Natural Light and Flow
Natural light changes the mood of your bedroom. The direction of your vinyl plank flooring affects how light moves across the floor. When you align the planks with the main light source, you increase brightness and make the room feel more open. This alignment helps distribute light evenly and creates a warm atmosphere. If you choose which direction to lay vinyl plank flooring in bedroom areas, consider the placement of windows and light sources.
| Direction of Flooring | Effect on Natural Light Interaction |
|---|---|
| Parallel to Light Source | Enhances appearance, minimizes seam visibility, creates a cohesive look |
| Perpendicular to Light Source | Emphasizes textures and edges, alters perception of light and space |
You can maximize natural light by aligning flooring with incoming light. This method reduces shadows and makes seams less visible. If you run planks perpendicular to the light, you may see more shadows and imperfections. For a smoother appearance, align your flooring with the primary light source. This approach helps you achieve a cohesive and inviting bedroom.
- Aligning vinyl planks with the main light source increases brightness.
- This alignment facilitates better light distribution across the space.
- Enhanced light flow contributes to a more open and inviting atmosphere.
- Flooring looks best when aligned with incoming light.
- Perpendicular installation can lead to shadowing effects due to seams and variations.
Practical Considerations for Installation
You need to think about practical factors before you decide which direction to lay vinyl plank flooring in bedroom spaces. Room shape, precise cutting, and transitions between rooms all matter. The direction you choose affects installation time and complexity. If you lay planks across floor joists, you improve stability and reduce squeaking. You should also align planks with the entryway for a visually appealing flow. Proper undercutting of door frames and other obstructions is necessary for a seamless installation.
- Considerations of room shape
- Need for precise cutting
- Impact of natural light
- Ensuring smooth transitions between rooms
You must plan for doorways and entry points. If you want a professional finish, you need to think about which direction to lay vinyl plank flooring. The importance of direction in vinyl plank flooring installation goes beyond looks. It affects how easy the installation is and how the floor performs over time. Personal style preferences also play a role. You can choose a direction that matches your taste and the needs of your bedroom.
- Laying the planks across the floor joists enhances stability and support.
- The direction of the planks should align with the entryway to create a visually appealing flow.
- Proper undercutting of door frames and other obstructions is necessary for a seamless installation.
If you ask which direction to lay vinyl plank flooring in bedroom spaces, you should consider both visual and practical factors. You can achieve a beautiful and durable floor by planning carefully and thinking about light, room size, and installation challenges.
Key Factors Influencing Which Direction to Lay Vinyl Plank Flooring
Room Shape and Dimensions
You need to look at the shape and size of your bedroom before you decide which direction to lay vinyl plank flooring. If your room is long and narrow, laying planks parallel to the longest wall can make the space feel bigger. This approach helps you create a smooth visual flow. In open-concept spaces, using a consistent direction for your flooring makes your home feel more connected and spacious. You can also use plank direction to highlight certain features, like hallways or closets.
- Running planks parallel to the main light source minimizes seams and creates a smoother look.
- Consistent direction in open spaces fosters seamless transitions.
- In long hallways, parallel planks enhance length, while perpendicular planks create width.
Placement of Windows and Light Sources
Windows and light sources play a big role in which direction to lay vinyl plank flooring. When you align your flooring with incoming light, you boost the visual appeal of your bedroom. Proper alignment can make your room feel larger and brighter. The direction of light changes how your flooring looks, making it appear stacked or smooth. Oblique lighting, where light skims across the floor, can highlight textures and patterns. This technique shows how light placement links to flooring direction recommendations.
Tip: Align your planks with the main light source to reduce shadows and make seams less visible.
| Light Source Placement | Effect on Flooring Appearance |
|---|---|
| Aligned with light | Smoother, brighter look |
| Perpendicular | More shadows, visible seams |
Doorways, Entry Points, and Traffic Flow
You should consider doorways and entry points when you think about lvp direction considerations. The way you lay your planks affects how energy and movement flow through your bedroom. Laying floors in a north-south direction can promote a natural energy flow. For rectangular rooms, placing planks lengthwise along the longest wall helps create a smoother transition. Aligning floorboards toward the main entrance welcomes energy and avoids disruption. Keeping the same flooring direction throughout your home ensures harmony between rooms.
- North-south orientation enhances energy flow.
- Follow the shape of the space for smooth transitions.
- Align floorboards toward the main entrance for a welcoming effect.
- Avoid cutting across the main entrance to prevent disruption.
- Consistent direction maintains harmony between rooms.
When you consider which direction to lay vinyl plank flooring, you need to look at room shape, light sources, and entry points. These factors help you achieve a professional and inviting bedroom.
Transitions to Adjoining Rooms
You want your bedroom flooring to flow smoothly into other spaces. Transitions between rooms help you achieve a cohesive look and keep your home safe. You need to select materials based on the function and design of each area. High-traffic zones require durable surfaces, while quieter rooms can focus on comfort. Transitions allow you to blend different flooring types and maintain visual harmony.
Safety matters when you install vinyl plank flooring. Consistent thickness in flooring helps prevent tripping hazards. You should align seams along natural room dividers to keep the visual flow. Properly installed transitions make your home comfortable and safe.
Professional installers use several strategies to handle transitions:
- Using transition strips to bridge gaps between flooring materials.
- Creating flush transitions for a seamless look.
- Blending flooring with a border to define spaces.
- Managing carpet-to-hard surface transitions.
You can use ramped transition strips if there are height differences. This prevents accidents and keeps your home accessible. Laying vinyl planks perpendicular to doorways often helps create a natural flow and makes transitions easier to manage. You should also consider the direction of planks to create a seamless transition between rooms. Laying vinyl planks perpendicular to doorways can highlight entry points and make your bedroom feel more connected to adjoining spaces.
Personal Style and Design Preferences
Your personal style shapes the direction of your vinyl plank flooring. You can choose patterns and layouts that match your vision for the bedroom. The direction you select impacts the overall look and feel of the space. If you want a modern atmosphere, you might pick a herringbone or diagonal pattern. For a traditional look, a running bond layout works well.
Popular design trends include:
- Running Bond Vinyl Plank: Creates a classic and seamless appearance.
- Herringbone Vinyl Plank: Adds old-world charm with a zigzag pattern.
- Diagonal Vinyl Plank: Enhances the illusion of space and light.
- Offset Vinyl Plank: Allows for more customization in staggering.
You can align planks with the direction of light entering the room for enhanced visual appeal. The design of the vinyl planks influences the aesthetic and helps you express your style. Your choices make your bedroom unique and comfortable.
Step-by-Step Guide to Decide Which Direction to Lay Vinyl Plank Flooring
Assessing Your Bedroom Layout
Start by looking at your bedroom’s shape and size. Measure the length and width of the room. Notice where the windows, doors, and closets are located. Think about how you use the space every day. If your bedroom is long and narrow, laying planks parallel to the longest wall can make it feel bigger. If you have a square room, you might choose the direction that lines up with the main window or the entry door. Take a moment to walk around and imagine how the floor will look from different spots in the room.
Tip: Stand at the doorway and look into the room. This view often guides your choice for plank direction.
Marking the Starting Line for Installation
You need a straight line to guide your first row of planks. Professionals use a chalk line for this step. This tool helps you snap a visible line on the floor. The line keeps your flooring straight as you work. Always measure carefully before you mark the line. Make sure the line matches the direction you want for your planks. Double-check your measurements so the first row sits exactly where you want it.
- Use a chalk line to snap straight lines on the floor.
- These lines act as a guide to keep your flooring even.
- Measure carefully to ensure the lines show where the planks will go.
A good starting line helps you avoid mistakes and keeps your floor looking professional.
Considering Light, Sight Lines, and Traffic Patterns
Light, sight lines, and traffic patterns all affect your decision. The shape and size of your room change how the flooring direction looks. Natural light from windows can make your floor appear brighter or highlight textures. You can lay planks perpendicular to the light source to reduce glare and create even lighting. Aligning planks with the light can show off the floor’s features.
- The room’s shape and size affect how you see the flooring direction.
- Natural light changes the look of your floor.
- Flooring direction can change how big or open the room feels.
- Laying planks perpendicular to windows can help reduce glare.
- Aligning planks with light can highlight patterns and textures.
Think about where people walk most often. Place the planks so they guide movement naturally from the door into the room. This approach helps your bedroom feel welcoming and easy to use.
Planning for Doorways and Room Transitions
When you install vinyl plank flooring in your bedroom, you need to think about how the floor will move through doorways and into other rooms. Planning ahead helps you avoid problems and keeps your floor looking smooth and professional. Doorways and transitions can be tricky, but you can handle them with a few simple steps.
-
Make a Plan Ahead of Time
Start by looking at your bedroom and the rooms next to it. Visualize how the flooring will connect from one space to another. You should sketch a simple layout or use painter’s tape to mark where the planks will go. This step helps you see where transitions will happen and lets you plan for any changes in flooring type or direction. -
Choose a Direction
Decide which way you want the planks to run. Most people lay planks parallel to the longest wall or in the same direction as the main hallway. This choice makes the room look bigger and helps the floor flow naturally into other spaces. If you keep the direction consistent through doorways, you create a seamless look that feels connected. -
Add Transition Strips Where Needed
Sometimes, you need to connect your vinyl plank flooring to carpet, tile, or another type of floor. Transition strips help you do this. These strips cover the gap between two different floors and allow for expansion. You can find transition strips in many styles and colors to match your flooring. Place them at doorways or where the flooring changes to keep everything safe and neat.
Tip: Always measure the width of your doorway before cutting planks. This step ensures a perfect fit and reduces waste.
You can make your bedroom floor look polished by planning for doorways and transitions. Careful planning saves time and gives your home a professional finish.
How to Install Vinyl Plank Flooring with skspcflooring
Preparing the Subfloor for Installation
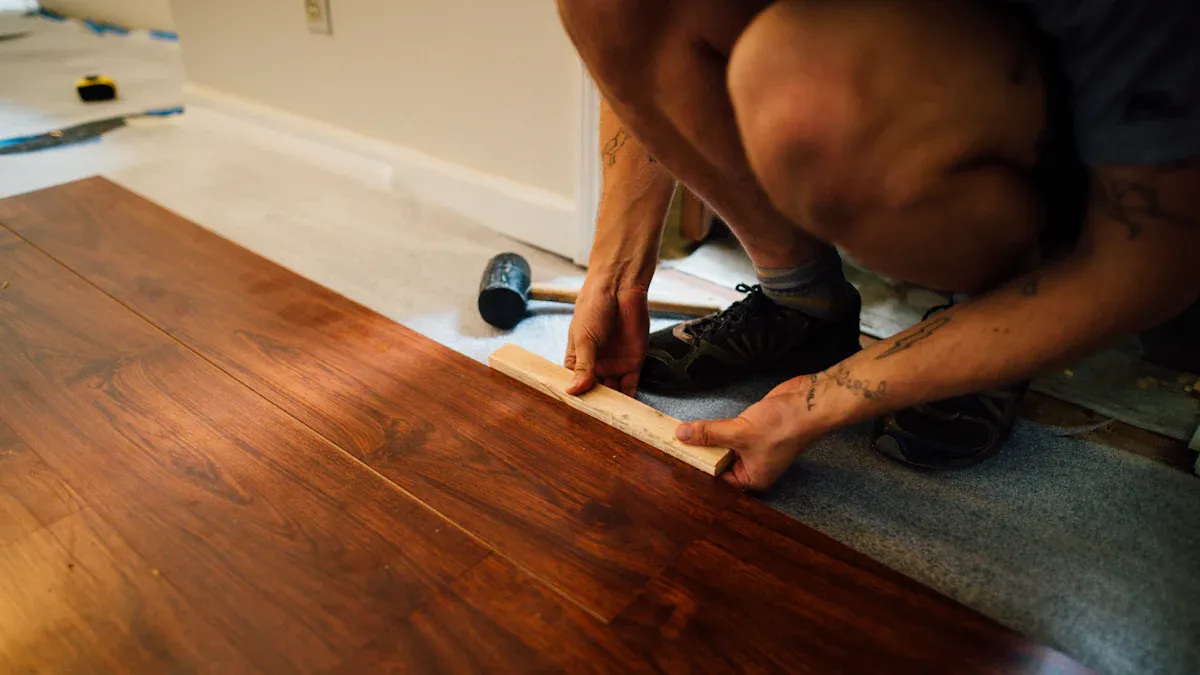
You need to start with a clean and level subfloor. Sweep away dust and debris. Check for bumps or dips. If you find uneven spots, use a leveling compound. Moisture can damage your floor, so make sure the subfloor stays dry. You can use a moisture barrier for extra protection. If you have old flooring, remove it before you install vinyl plank flooring. A smooth surface helps your planks fit tightly and last longer.
Tip: Always check the manufacturer’s guidelines from skspcflooring for subfloor requirements. This step ensures your warranty stays valid.
Laying the First Row of Planks
You begin by measuring the room and marking a straight line. This line guides your first row. Place spacers along the walls to allow for expansion. Start laying planks from the left side of the room. Make sure the tongue side faces the wall. Press each plank firmly into place. Use a tapping block to secure the joints. If you need to cut a plank, measure carefully and use a utility knife. The first row sets the foundation for the rest of your floor.
- Place spacers for expansion gaps.
- Use a tapping block for tight joints.
- Cut planks to fit edges.
Staggering Joints for a Seamless Look
You want your floor to look natural and strong. Stagger the joints between planks in each row. This pattern prevents weak spots and adds visual appeal. You can use a simple table to plan your stagger:
| Row | Starting Plank Length |
|---|---|
| 1 | Full plank |
| 2 | 2/3 plank |
| 3 | 1/3 plank |
Repeat this pattern as you install vinyl plank flooring. Avoid lining up joints in consecutive rows. This method creates a seamless look and helps your floor resist wear. You can use leftover pieces from cuts to start new rows. Staggering joints makes your bedroom floor look professional and lasts longer.
Note: Staggered joints improve both appearance and durability.
Cutting Planks for Edges, Corners, and Closets
You will need to cut vinyl planks to fit around edges, corners, and closets. Start by measuring the space where the plank will go. Use a pencil to mark the cut line on the plank. A utility knife works well for straight cuts. Score the plank along the line, then snap it apart. For corners or tricky shapes, use a jigsaw or a fine-tooth saw. Always wear safety goggles when cutting.
Tip: Measure twice before you cut. This helps you avoid mistakes and waste.
You may need to cut planks to fit around closet doors or inside closet spaces. If you have a curved edge, trace the shape onto the plank and cut slowly. You can use leftover pieces for small areas. Cutting planks carefully ensures a tight fit and a clean look.
| Tool | Best Use |
|---|---|
| Utility Knife | Straight cuts |
| Jigsaw | Curved or complex cuts |
| Fine-tooth Saw | Detailed trimming |
Handling Doorways and Closets
Doorways and closets need special attention. You want the flooring to look smooth and professional. Start by undercutting the door frame. Place a scrap piece of plank next to the frame and use a saw to trim the bottom. This lets the plank slide under the frame for a seamless finish.
You should use transition strips at doorways. These strips cover the gap between rooms and allow for expansion. Choose a strip that matches your flooring. For closets, lay planks in the same direction as the main floor. This keeps the look consistent.
Note: Always check the height of the flooring at doorways. Transition strips help prevent tripping.
Adding Finishing Touches and Trim
You finish your installation by adding trim and baseboards. These pieces cover the expansion gap along the walls. Use a nail gun or adhesive to attach the trim. Paint or stain the trim to match your room. Clean up any dust or debris before you finish.
You can use quarter-round molding for a neat edge. This gives your floor a polished look. Make sure all seams are tight and the trim sits flush against the wall.
- Attach baseboards or quarter-round molding.
- Paint or stain trim for a finished appearance.
- Clean up the area for a professional result.
Callout: Take your time with finishing touches. Small details make your floor look beautiful and complete.
Common Mistakes to Avoid When You Install Vinyl Plank Flooring
Overlooking Room Shape or Light Direction
You might feel eager to start your flooring project, but ignoring the shape of your bedroom or the direction of natural light can lead to disappointing results. If you lay planks without considering these factors, your room may look smaller or darker. You should always plan the layout before installation. Stand in the doorway and observe how light enters the space. Choose a direction that makes your bedroom feel open and bright. Many homeowners forget to align planks with the main light source or the longest wall. This mistake can make seams more visible and reduce the sense of spaciousness.
Tip: Take a few minutes to sketch your room and mark where windows and doors are. This helps you visualize the best direction for your planks.
Poor Planning for Transitions and Doorways
Transitions and doorways require careful attention. If you do not plan for these areas, you may end up with uneven edges or awkward gaps. You should measure each doorway and decide how the planks will flow into adjoining rooms. Using transition strips can help create a smooth connection between different flooring types. Many people forget to leave expansion gaps at transitions, which can cause the floor to buckle over time. You also need to undercut door frames so planks fit neatly underneath.
Common mistakes include:
- Not leaving enough space for expansion at doorways.
- Failing to use transition strips between rooms.
- Neglecting to undercut door frames for a seamless finish.
| Mistake | Result |
|---|---|
| No expansion gap | Buckling or warping |
| No transition strip | Uneven or unsafe transitions |
| No undercutting | Visible gaps at door frames |
Not Staggering Plank Joints Properly
Staggering plank joints is essential for both appearance and durability. If you align the end seams in consecutive rows, you create weak points in the floor. This mistake can lead to an H-joint pattern, which looks unattractive and may cause the planks to warp or pop out. You should always stagger the joints so they do not line up. This technique strengthens the floor and gives it a natural look.
Note: Use leftover pieces from cuts to start new rows. This helps you achieve a random stagger and prevents repeating patterns.
You can avoid these common mistakes by planning carefully and following best practices. Your vinyl plank flooring will look beautiful and last longer if you pay attention to room shape, transitions, and joint staggering.
Skipping Subfloor Preparation
You might feel excited to start laying vinyl plank flooring in your bedroom. Skipping subfloor preparation can cause many problems that affect the look and durability of your floor. You need to understand why this step matters.
If you skip subfloor preparation, you risk creating an unstable foundation. Vinyl planks need a solid base to stay flat and last longer. When you ignore this step, your floor may shift or develop gaps over time.
Moisture is another concern. If you do not check for moisture, you can face damage later. Water can seep through concrete slabs or basement floors. This moisture can cause vinyl planks to warp or bubble. You may also see mold or mildew grow under the flooring. Mold can spread and create health risks for your family.
Uneven surfaces make installation difficult. You need a level subfloor for a smooth finish. High spots need sanding. Low spots require filling. If you skip these tasks, your floor will look uneven. Planks may not lock together properly. You might notice loose or squeaky sections. Older subfloors often need re-securing to prevent creaks.
Tip: Always check for mold or mildew before you install vinyl plank flooring. Cleaning and treating the area keeps your home safe.
Neglecting proper subfloor preparation can compromise the integrity of your installation. You may see bumps, gaps, or movement in the planks. These issues reduce the lifespan of your floor and make your bedroom less comfortable.
- Unstable foundation affects longevity.
- Moisture problems lead to damage and health risks.
- Uneven surfaces cause installation errors.
- Loose or squeaky sections create noise.
- Mold or mildew must be removed before installation.
You protect your investment by preparing the subfloor. This step ensures your vinyl plank flooring looks beautiful and lasts for years.
Expert Tips from skspcflooring for a Professional Finish
Using Spacers for Expansion Gaps
You need to use spacers when you install vinyl plank flooring. Spacers help you keep a consistent gap between the planks and the wall. This gap lets the floor expand and contract with changes in temperature and humidity. If you skip this step, your floor may buckle or lift over time. You should leave at least a 1/4-inch gap around the entire room. Place spacers along each wall before you start laying planks. After you finish, you can remove the spacers and cover the gap with baseboards or trim.
Tip: Always check the manufacturer’s instructions for the recommended expansion gap. This helps protect your investment and keeps your floor looking great.
Ensuring a Level Subfloor
A level subfloor is important for a smooth and durable finish. You should sweep and clean the subfloor before you begin. Use a straightedge or level to check for bumps or dips. If you find high spots, sand them down. Fill low spots with a leveling compound. A flat surface helps the planks lock together tightly. This step prevents gaps, squeaks, and movement in your luxury vinyl plank flooring. You may also need to install underlayment if your product requires it. Underlayment can reduce noise and add a moisture barrier.
| Step | Purpose |
|---|---|
| Sweep and clean | Remove dust and debris |
| Check for level | Find bumps or dips |
| Sand or fill spots | Create a flat surface |
| Add underlayment | Reduce noise, block moisture |
Blending Plank Colors and Patterns
You want your floor to look natural and beautiful. Open several boxes of planks before you start. Mix planks from different boxes as you lay them. This blends colors and patterns for a more realistic look. Avoid placing planks with similar shades or patterns next to each other. Stagger the seams by at least 6 inches in each row. This technique gives your floor a strong structure and a pleasing appearance.
Note: Take your time to plan the layout. A little extra effort at the start leads to a professional finish.
You can achieve a stunning result by following these expert tips from skspcflooring. The right tools, careful planning, and attention to detail make all the difference.
Cleaning Up After Installation
You have finished installing your vinyl plank flooring. Now, you need to clean up the area and make sure your new floor looks perfect. Cleaning up after installation helps protect your investment and keeps your bedroom safe.
Start by removing all tools and leftover materials. Pick up spacers, scraps, and packaging. Sweep the floor with a soft broom to clear away dust and small debris. Use a vacuum with a hard floor setting to reach corners and edges. Avoid using a vacuum with a beater bar because it can scratch the surface.
Next, wipe the floor with a damp microfiber mop. This step removes any remaining dust or adhesive. Do not use too much water. Vinyl plank flooring from skspcflooring resists moisture, but excess water can seep into seams. If you see sticky spots, use a gentle cleaner recommended by skspcflooring.
Tip: Always check the cleaning instructions from skspcflooring. Using the right products keeps your warranty valid and your floor looking new.
Check the trim and baseboards. Make sure they sit flush against the wall. If you see gaps, use caulk or touch-up paint. Inspect the expansion gaps along the walls. Cover these gaps with baseboards or quarter-round molding.
Here is a simple checklist for cleaning up after installation:
| Task | Action Needed |
|---|---|
| Remove tools and materials | Pick up and store safely |
| Sweep and vacuum | Use soft broom and vacuum |
| Mop floor | Use damp microfiber mop |
| Inspect trim and baseboards | Check for gaps, touch up |
| Review expansion gaps | Cover with molding |
You can keep your vinyl plank flooring looking beautiful by cleaning regularly. Avoid harsh chemicals and abrasive tools. Place mats at doorways to catch dirt. Sweep or vacuum often to prevent scratches.
Callout: Clean up carefully after installation. Proper care helps your floor last for years and keeps your bedroom comfortable.
You can make your bedroom look bigger and brighter by choosing the right direction for your vinyl plank flooring. Think about room shape, natural light, and how people move through the space. Careful planning helps you get a smooth and beautiful floor.
Trust skspcflooring for expert advice and high-quality flooring. Visit skspcflooring.com for durable solutions.
- Select the best direction for your needs.
- Plan each step for a professional finish.
- Enjoy a comfortable and stylish bedroom.
FAQ
What is the best direction to lay vinyl plank flooring in a bedroom?
You should lay vinyl planks parallel to the longest wall or toward the main light source. This method makes your bedroom look bigger and brighter.
Can you install vinyl plank flooring over carpet?
You cannot install vinyl plank flooring over carpet. Remove the carpet first. Make sure the subfloor is clean and level before you start.
How do you clean vinyl plank flooring after installation?
Sweep with a soft broom. Use a damp microfiber mop for dust. Avoid harsh chemicals. Check skspcflooring’s cleaning instructions for best results.
Do you need underlayment for vinyl plank flooring?
You may need underlayment if your subfloor is uneven or if you want extra sound protection. Always check the manufacturer’s guidelines before you install.




