
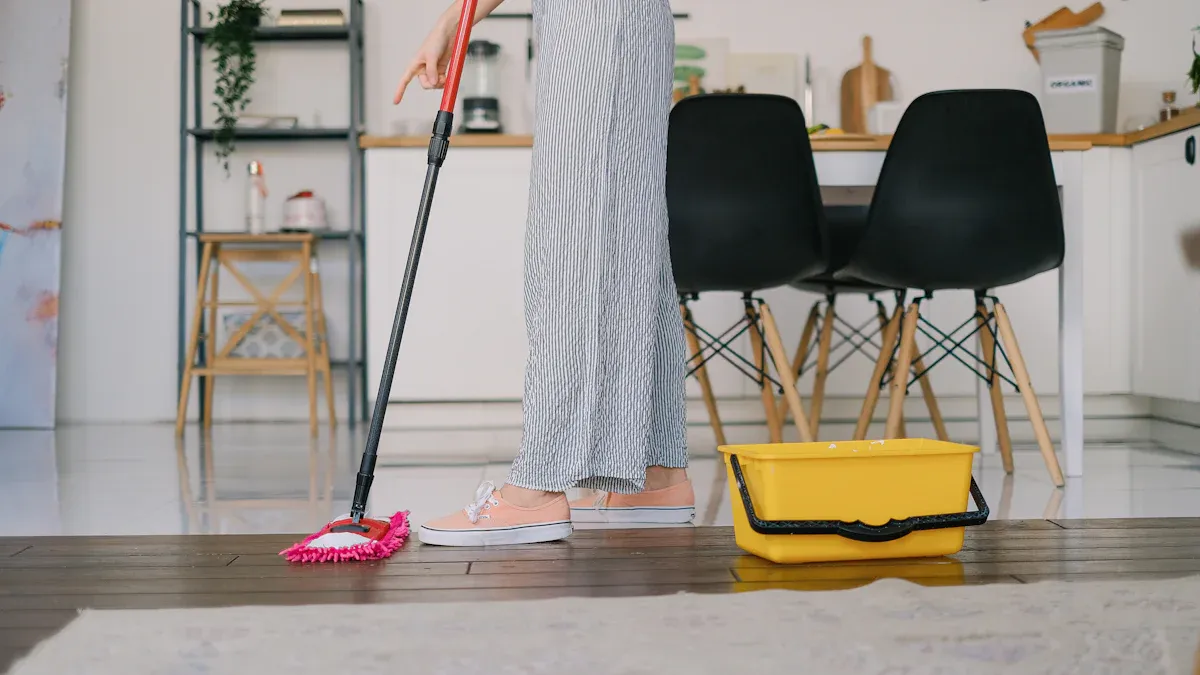
You help your vinyl plank flooring on concrete look new when you follow simple cleaning habits. Daily care stops scratches and scuffs from soil and keeps stains away. Quick action after spills protects durability and shine. You use the right tools and safe cleaners to avoid slippery surfaces. When you learn how to lay vinyl plank flooring on concrete, you set the stage for lasting durability. Good routines give your home long-lasting durability and beauty.
How to Lay Vinyl Plank Flooring on Concrete for Lasting Results
Preparing the Concrete Surface
You want your floor to last for years. Start by learning how to lay vinyl plank flooring on concrete the right way. Begin with a clean and smooth surface. Follow these steps to prepare your concrete:
- Inspect and clean the surface. Remove any old flooring. Use a vacuum and safe cleaners to get rid of dust and debris.
- Test for moisture. Use a moisture meter to check the concrete. If you find too much moisture, fix the problem before you move forward.
- Level and repair the floor. Look for high or low spots. Fill in cracks and holes. Make sure the surface is flat and even.
When you follow these steps, you set a strong foundation. This helps you avoid problems later and keeps your floor looking new.
Choosing Quality Vinyl Plank Flooring from skspcflooring
You need to pick the right materials when you learn how to lay vinyl plank flooring on concrete. SK-Floor offers many options that meet high standards. Look for these features:
- Wear layer thickness. Thicker layers protect against scratches and wear.
- Plank thickness. Thicker planks give better stability and sound insulation.
- Core material. SPC cores make the floor rigid and strong.
- Design and texture. Choose patterns and textures that fit your style.
- Brand reputation. SK-Floor is known for quality and customer satisfaction.
SK-Floor’s products meet international standards. You get durability and beauty in every plank.
Allowing Adhesives to Cure Before Cleaning
After you install the planks, wait for the adhesives to cure. This step is important when you learn how to lay vinyl plank flooring on concrete. Give the glue enough time to set. Check the instructions for the right waiting period. Avoid cleaning or walking on the floor until the adhesive is dry. This helps the planks stay in place and keeps your floor looking great.
Tip: Patience during this step leads to a stronger, longer-lasting floor.
You now know how to lay vinyl plank flooring on concrete for the best results. Careful preparation, quality materials, and proper curing make all the difference.
Daily Maintenance for Vinyl Plank Flooring
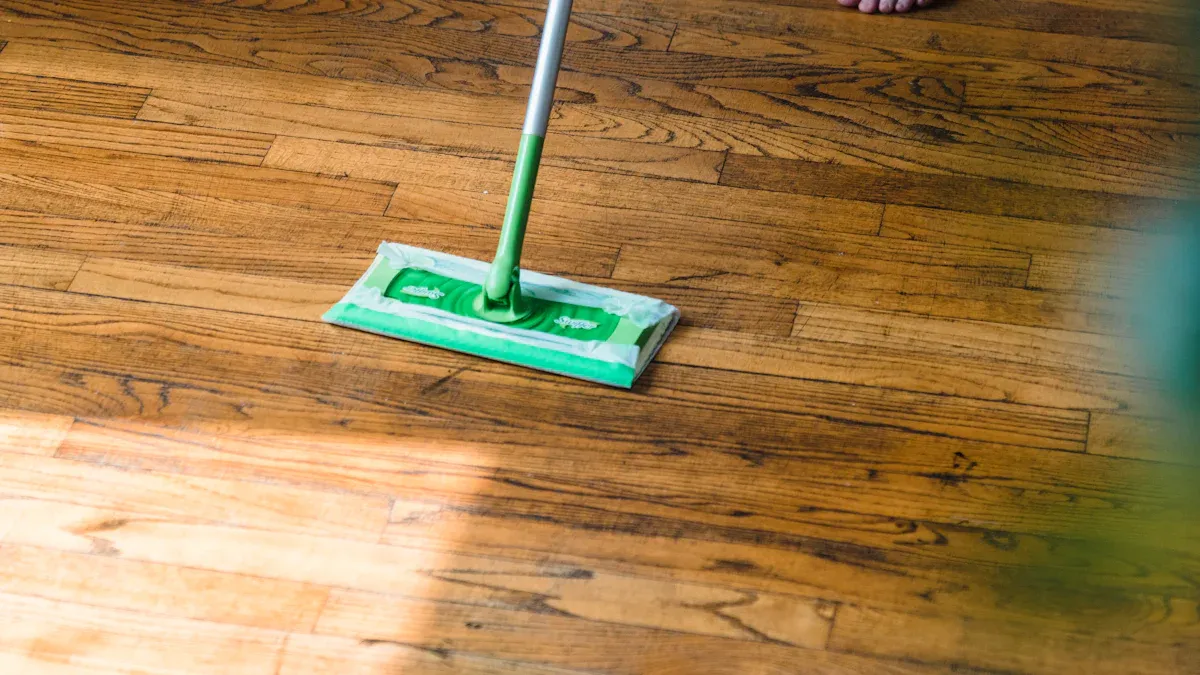
You keep your floors looking new when you follow a daily maintenance routine. Simple habits protect your investment and make cleaning easy. You do not need special tools or harsh chemicals. You only need the right approach and a few minutes each day.
Sweeping and Vacuuming with Soft Attachments
You start by removing dust and dirt. Loose debris can scratch the surface if you leave it too long. Use a broom with soft bristles or a vacuum with a gentle brush attachment. Many experts recommend these steps:
- Sweep, vacuum, or dust every day to pick up dirt and debris.
- Choose vacuums like the Dyson V12 or Shark Stratos Ultralight. These models use soft brush rolls that clean well without scratching.
- The Bissell Hard Floor Expert Canister Vacuum uses an air-powered soft brush. It works well on vinyl and does not cause damage.
- Avoid vacuums with beater bars or stiff brushes. These can leave marks on your floor.
Tip: Always check your vacuum for sharp edges or worn parts before you use it. This helps prevent accidental scratches.
Damp Microfiber Mopping Techniques
After you sweep or vacuum, you can mop the floor. Use a damp microfiber mop for best results. Wet mopping is not safe for vinyl plank flooring because too much water can seep into the seams. Follow these best practices:
- Use a damp mop, not a wet one. Wring out excess water before you start.
- Never let water or cleaning agents pool on the floor.
- Clean with a pH-neutral floor cleaner or a mix of vinegar and water.
- Mop in a figure-eight motion. Begin at the far corner and work toward the exit.
- If you see water left behind, dry it with a towel right away.
Note: Microfiber mops trap dirt and use less water, making them ideal for daily maintenance.
Cleaning High Traffic Areas More Frequently
Some spots in your home get more use than others. Hallways, kitchens, and entryways collect more dirt and need extra care. You should clean these areas more often to keep them looking fresh.
- Vacuum, sweep, or dry mop high traffic areas every day.
- Clean less-used spaces once a week.
- Deep clean low-traffic rooms once a month.
Keeping up with these habits helps your vinyl plank flooring stay beautiful and last longer.
You protect your floors and save time when you follow these simple steps. Daily maintenance keeps your home clean and your floors shining.
Weekly and Deep Cleaning Routines
You keep your vinyl plank flooring looking its best when you follow a weekly cleaning routine. Regular maintenance helps you remove dirt that daily cleaning might miss. You also protect your floor from stains and damage.
Using Mild, Vinyl-Safe Cleaners
You should choose the right cleaners for your vinyl plank flooring. Strong chemicals can harm the surface. Mild, vinyl-safe cleaners work best for deep cleaning. Here are some top choices:
| Product Name | Key Features |
|---|---|
| Basic Coatings Squeaky Cleaner 32 oz. | pH-neutral, low-VOC, effective on vinyl and other resilient flooring types. |
| COREtec Encore 12x Clean Spray 32 oz. | pH-neutral, versatile for all hard surfaces, effective on smudges, dirt, and stains. |
| Bona Pro Stone, Tile & Laminate Cleaner Spray | Reliable for deep cleaning, lasts several weeks, suitable for various flooring types. |
You use these cleaners to keep your floor clean without causing damage. Always follow the instructions on the label.
Avoiding Overuse of Soap and Water
You want to avoid using too much soap or water during cleaning. Too much soap can leave a sticky residue. This residue attracts more dirt and makes your floor look dirty. Too much water can seep into the seams and cracks. This can cause warping and even mold growth. Continuous moisture may lead to structural damage. You protect your floor when you use only a small amount of cleaner and water.
Tip: Less is more. Use just enough cleaner to get the job done.
Removing Stubborn Dirt and Debris
Sometimes, you find stubborn dirt or debris that regular cleaning does not remove. You can use these methods to tackle tough spots:
| Method | Description |
|---|---|
| Regular sweeping and vacuuming | Removes loose dirt and debris to prevent scratches. |
| Mopping with vinegar solution | Mix 8 cups of water with 1/2 cup of vinegar to remove deep dirt and grime. |
| Baking soda for stains | Make a paste with baking soda and water. Scrub tough stains, then clean with vinegar. |
| Microfiber mops | Use to avoid excess moisture and prevent scratching during cleaning. |
- Clean up spills right away to prevent stains.
- Use a microfiber mop to keep moisture low and avoid scratches.
- Never use steel wool, as it will scratch your floor.
You keep your vinyl plank flooring in top shape when you follow these weekly and deep cleaning routines.
Preventing Damage and Preserving Shine
Mats and Rugs at Entrances
You can protect your vinyl plank flooring by placing mats and rugs at every entrance. Walk-off mats serve as your first line of defense. Scraper mats outside your doors catch dirt and grit before you step inside. Absorbent mats just inside the entryway soak up moisture and oils. These mats trap particles that can scratch or stain your floor. You keep your floors looking new when you stop dirt at the door.
- Use walk-off mats at all entrances.
- Place scraper mats outside and absorbent mats inside.
- Mats capture grit, moisture, and oils that damage floors.
Tip: Clean your mats often so they keep working well.
Protective Pads Under Furniture
Furniture can leave dents and scratches if you do not use protection. You should add pads under every chair, table, and heavy item. High-quality pads prevent sliding and reduce marks on your floor. Here are two top choices:
| Product Name | Function | Material | Ideal For |
|---|---|---|---|
| Gripper™ Pads | Prevent sliding, reduce dents and scratches | Flexible no-slip vinyl | Washers, dryers, beds, tables, desks, more |
| Scratch no More Glides | Protect against scratches from furniture movement | Polyamide fibers | All furniture, reduces repair costs |
You can find these pads in many sizes. They work well on vinyl plank flooring and other surfaces. Always check the pads and replace them if they wear out.
Managing Pet Nails and High Heels
Pet nails and high heels can scratch your vinyl plank flooring. You should trim your pet’s nails often to keep them short and smooth. This simple habit stops scratches before they start. High heels can also cause scuffs and dents. Try to avoid wearing high heels indoors. Both pet nails and high heels can make your floor look dull over time.
- Trim your pet’s nails regularly.
- Ask family and guests to remove high heels before walking on the floor.
Note: Small changes in your daily routine help your floor stay shiny and beautiful for years.
What to Avoid with Vinyl Plank Flooring
Harsh Chemicals and Abrasive Tools
You want your vinyl plank flooring to last and look its best. Some cleaning products and tools can cause serious damage. Always avoid the following:
- Bleach: This can discolor or weaken your floor’s surface.
- Ammonia-based cleaners: These soften the wear layer, making your floor easier to scratch.
- Acetone or mineral spirits: These can melt the protective layer.
- Abrasive cleaners or powders: These create scuffs and dull the finish.
- Oil-based products or wax: These leave a slippery residue and attract dirt.
- Undiluted vinegar: This is too acidic and can erode the protective layer.
- Steel wool or abrasive scrubbers: These scratch the surface.
- Stiff-bristle brushes: These are too rough for vinyl flooring.
Tip: Always choose gentle, pH-neutral cleaners and soft tools for your vinyl plank floors.
Excess Water and Steam Mops
Water is not always your friend when it comes to vinyl plank flooring. Using too much water or steam can cause problems that are hard to fix. Here is what can happen:
- Excess water can seep between planks and cause water damage.
- Moisture can lead to mold growth under your floor.
- Warping may occur if the planks absorb too much water.
- The wear layer can break down, making your floor look dull.
- Steam mops use heat and moisture that can damage the inner layers.
- Steam can get into gaps and cause uneven surfaces.
Note: Always use a damp mop, not a wet one, and never use steam mops on your vinyl plank flooring.
Prolonged Sunlight Exposure
Sunlight can change the look of your vinyl plank flooring over time. Direct sunlight may cause fading or discoloration. Many high-quality vinyl floors now include UV-resistant coatings, but you still need to protect your floors. You can use window treatments or UV-filtering film to help.
| Effect of Sunlight on Vinyl Plank Flooring | How to Prevent It |
|---|---|
| Prolonged direct sunlight can cause fading over time. | Use curtains or blinds. |
| UV-resistant coatings help reduce fading but do not stop it completely. | Install UV-filtering window film. |
| Window treatments can lower the risk of color change and surface damage. | Move rugs and furniture often. |
Tip: Change the position of rugs and furniture from time to time so your floor fades evenly.
Extra Tips from skspcflooring for Long-Lasting Beauty
Regularly Rotate Furniture and Rugs
You can keep your vinyl plank flooring looking even and bright by moving your furniture and rugs from time to time. When you leave heavy items or rugs in one spot for too long, you may notice fading or uneven wear. Try to rotate your rugs and rearrange your furniture every few months. This simple habit helps your floor wear evenly and keeps colors from fading in certain spots. You also give your floor a fresh look each time you change things up.
Tip: Use felt pads under furniture legs to prevent scratches when you move items.
Maintain Indoor Humidity Levels
You protect your vinyl plank flooring when you keep the right humidity in your home. The best range for indoor humidity is between 35% and 55%. If the air gets too dry or too damp, your floor can expand or contract. This may lead to gaps or warping. You can use a dehumidifier to lower humidity or a humidifier to add moisture if needed. Good airflow also helps, so open windows or use fans in rooms that get stuffy. Proper moisture control keeps your floor stable and looking new.
Note: Check humidity levels with a simple indoor monitor to make sure they stay in the safe range.
Address Scratches and Scuffs Promptly
You can fix small scratches and scuffs before they become big problems. For light scratches, clean the area with warm water and mild soap. Use a soft cloth to wipe gently. For deeper marks, try a baking soda paste or a color-matched touch-up marker. If you see a large scratch, you may want to use a vinyl floor repair kit or call a professional. Always sweep or vacuum before you repair to remove dirt. This keeps your repairs clean and smooth.
- Place area rugs in busy spots to prevent new scratches.
- Avoid dragging heavy objects across the floor.
Quick action keeps your floor looking its best for years.
Quick-Reference Cleaning Checklist
You want to keep your vinyl plank flooring on concrete looking new. A simple checklist helps you remember what you need for daily and weekly cleaning. You can use this list before you start your routine.
Essential Cleaning Tools 🧹
- Broom with soft bristles
- Microfiber mop
- Soft microfiber towel
- Vacuum with a gentle brush attachment
These tools remove dust, dirt, and debris without scratching your floor. You use the broom or vacuum every day. The microfiber mop and towel help you clean up spills and keep the surface shiny.
Safe Cleaning Products 🧴
- Mild detergent (pH-neutral)
- Tile cleaner made for vinyl floors
- Apple cider vinegar (for homemade solutions)
- Baking soda (for tough stains)
- Wax floor polish (for extra shine, if recommended by the manufacturer)
You choose gentle cleaners to protect the wear layer. Mix apple cider vinegar with water for a natural solution. Use baking soda to scrub away stubborn marks. Always check the label before you use any product.
Tip: Store your cleaning supplies together in a basket or caddy. This makes it easy to grab everything you need.
Quick Cleaning Table
| Task | Tool/Product | How Often |
|---|---|---|
| Sweep or vacuum | Broom/vacuum | Daily |
| Damp mop | Microfiber mop, detergent | 2–3 times/week |
| Spot clean spills | Microfiber towel | As needed |
| Deep clean | Tile cleaner, vinegar | Weekly |
| Remove stains | Baking soda | As needed |
| Polish (optional) | Wax floor polish | Monthly |
You can print this checklist or save it on your phone. Quick reference helps you stay on track and keeps your vinyl plank flooring looking its best every day.
You keep your vinyl plank flooring on concrete looking new when you follow simple cleaning habits and take preventative steps. Regular routines help you avoid scratches, stains, and dullness. Try these habits:
- Sweep or vacuum often to remove dirt and debris.
- Use pH-neutral cleaners and a damp mop for deeper cleaning.
- Place doormats at entryways and pads under furniture.
- Wipe up spills right away.
skspcflooring recommends using the cleaning checklist for an easy routine. Consistency and care help your floors stay beautiful and last longer.
FAQ
How often should you clean vinyl plank flooring on concrete?
You should sweep or vacuum every day. Damp mop two to three times each week. Deep clean once a week. Quick action after spills keeps your floor looking new.
Can you use a steam mop on vinyl plank flooring?
No, you should not use a steam mop. Steam and excess water can damage the planks and weaken the adhesive. Always use a damp microfiber mop for safe cleaning.
What is the best cleaner for vinyl plank flooring?
Choose a pH-neutral cleaner made for vinyl floors. Avoid harsh chemicals. You can also use a mix of water and a small amount of apple cider vinegar for daily cleaning.
How do you remove scuff marks from vinyl plank flooring?
Use a soft cloth with a little baking soda paste. Rub the mark gently. Wipe the area with a damp towel. For deeper marks, try a vinyl floor repair kit.




