
You might wonder if you can safely install floor heat under vinyl plank in your home. Many homeowners face risks such as moisture damage and installation mistakes. Industry reports show that exceeding the maximum temperature, choosing incompatible vinyl types, and poor insulation often cause problems. Take a look at these common risks:
| Risk | Description |
|---|---|
| Temperature Limits | High temperatures can damage or discolor your vinyl plank flooring. |
| Compatibility | Not all vinyl planks work well with heated floors. |
| Insulation | Lack of insulation leads to heat loss and overheating. |
You can enjoy warm, comfortable floors if you follow the right steps.
Why Misunderstandings About Floor Heat Under Vinyl Plank Happen
Confusion Over Manufacturer Guidelines
You may find it hard to understand the many rules from different flooring brands. Each manufacturer sets unique requirements for floor heat under vinyl plank. Some brands allow floor heat, while others warn against it. You might see different advice for laminate and vinyl, which adds to the confusion. Many people mix up the installation steps for these materials. You need to check if your vinyl plank is rated for radiant heat. If you skip this step, you risk damaging your floor.
Tip: Always read the product label and installation guide before you start. This helps you avoid costly mistakes.
Here are some reasons why confusion happens:
- You may not know that laminate and vinyl have different heat compatibility.
- You might overlook the need for proper embedding of heating systems.
- Manufacturer specifications about heat exposure can change from one product to another.
- You may ignore the importance of following temperature limits.
Overlooking Subfloor and Climate Factors
You must pay attention to your subfloor and local climate. These factors affect how well floor heat works under vinyl plank. High temperatures can cause thermal expansion. This may lead to gaps or lifted edges. If you use the wrong adhesive, it can soften when exposed to heat above 95°F. This can make planks shift or come loose. You should always test for moisture in the subfloor before installing. Moisture can weaken adhesives and cause mold.
- The color of your flooring and any air layers between the floor and subfloor can change how heat moves through the floor.
- Uneven temperatures can cause expansion and contraction, which may damage your floor.
- Overheating can deform vinyl and cause surface rippling.
- Moisture issues can get worse if you do not prepare the subfloor properly.
You also need to think about vapor movement. Vapor can travel from the subfloor into your vinyl plank. If you do not use a vapor barrier, you risk trapping moisture. This can lead to mold, mildew, and even damage to your heating system. Vapor barriers help stop moisture from rising. You should place the vapor barrier between the subfloor and the vinyl plank. This step protects your floor from vapor and moisture problems. Vapor can move through concrete and wood, so you need to block it. Vapor can also carry moisture that harms adhesives and the vinyl itself. Vapor control is key for a long-lasting heated floor.
Misunderstanding #1: Compatibility of Luxury Vinyl Flooring With Floor Heat
Not All Vinyl Plank Is Suitable for Heating Systems
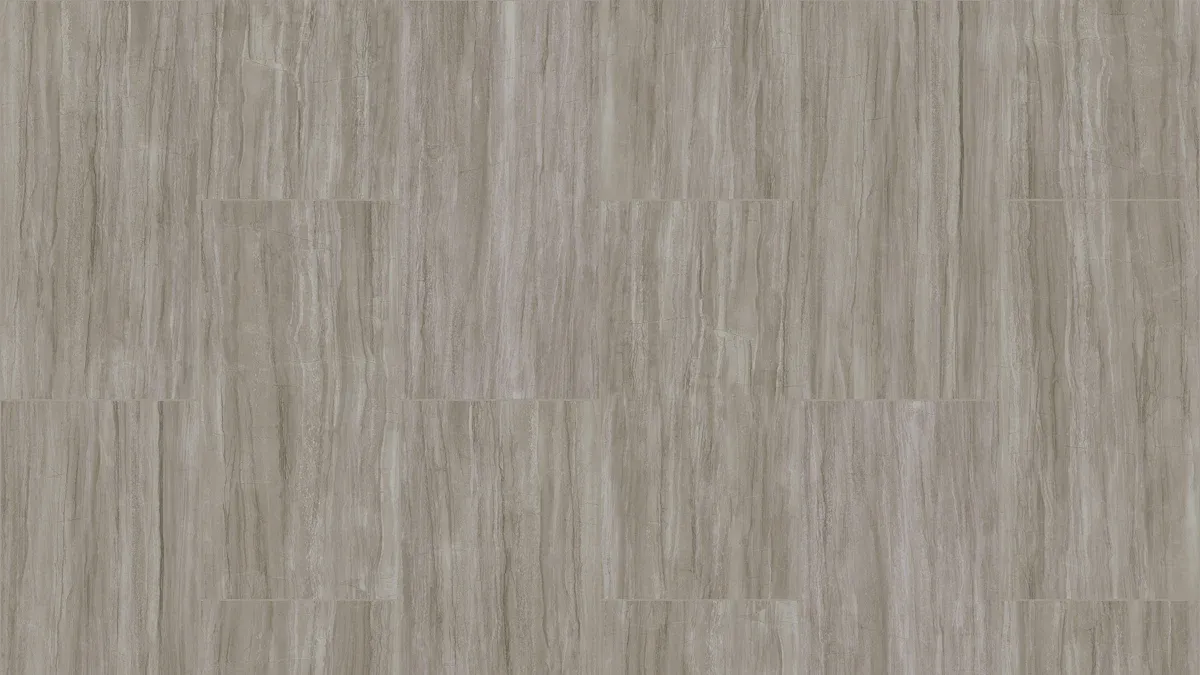
You may think every luxury vinyl flooring works with floor heat under vinyl plank. This is not true. Manufacturers design some products for heated floors, but others may not handle the temperature changes. You need to check the product details before you install. Some brands, like Amtico and Karndean, make luxury vinyl flooring that works well with radiant heating. MSI’s Everlife® Luxury Vinyl does not need acclimation, which makes installation easier. You should look for flooring that passes thermal cycling tests.
Here is a table showing which types of luxury vinyl flooring are compatible with underfloor heating:
| Type of Flooring | Compatibility with Underfloor Heating |
|---|---|
| Luxury Vinyl Planks (LVP) | Generally compatible with radiant heat |
| Luxury Vinyl Tiles (LVT) | Suitable for use with underfloor heating |
| MSI’s Everlife® Luxury Vinyl | Does not require acclimation for installation |
| Amtico and Karndean ranges | Well-suited for underfloor heating systems |
You should also know about common misconceptions. Many people believe you must glue luxury vinyl flooring over heat, but floating click systems work better. Some think electric mats cannot go on concrete slabs, but foil mats perform well if you add a vapor retarder and self-leveler.
Temperature Limits and the Risk of Warping
You must watch the temperature when using floor heat under vinyl plank. Most luxury vinyl flooring can handle heat up to 85°F, but it is safer to keep it below 80°F. High temperatures can cause shrinkage or color changes. If you go above the recommended limit, you risk warping and buckling.
Here is a table with temperature guidelines:
| Temperature Limit | Recommendation |
|---|---|
| Up to 85°F | Maximum tolerance for vinyl flooring |
| Below 80°F | Recommended to prevent shrinkage/color degradation |
If you ignore these limits, moisture can enter through seams and cause warping or swelling. A damp subfloor can lead to flooring failures. You need to test for moisture before installation to ensure moisture resistance. This step helps prevent problems like buckling and mold. Always follow manufacturer instructions for best results.
- Moisture can enter through seams in vinyl flooring, leading to warping, buckling, and swelling.
- If the subfloor is damp, it can cause flooring failures, including warping.
- Adequate moisture testing is crucial to prevent negative impacts on the flooring.
Tip: Choose luxury vinyl flooring designed for heated floors and always check the temperature limits. This helps you avoid costly repairs and keeps your floor looking great.
Misunderstanding #2: The Role of Moisture Barriers in Preventing Moisture Damage
When a Moisture Barrier Is Essential
You need to understand when to use moisture barriers under heated vinyl plank flooring. Moisture can rise from concrete or gypcrete subfloors and cause serious damage. If you skip this step, you risk moisture damage, which can lead to buckling, cupping, or even mold growth. Most manufacturers require a vapor barrier over concrete to keep your warranty valid. This simple layer can make a big difference in how long your floor lasts.
Here is a table showing the benefits of using moisture barriers:
| Benefit | Description |
|---|---|
| Extends floor lifespan | Floors last 20-30+ years instead of failing in 3-7 years |
| Protects your warranty | Most manufacturers require moisture barriers for warranty coverage |
| Prevents cupping and buckling | Stops moisture-induced expansion that causes visible floor damage |
| Reduces repair costs | Lowers the risk of expensive moisture remediation and floor replacement |
| Improves indoor air quality | Prevents musty odors and airborne mold spores from moisture problems |
| Adds peace of mind | You know your investment is protected |
You also get extra protection against mold and wood rot. A moisture barrier stops water or vapor from building up under your floor. This keeps your home safe and your floor looking great.
Correct Placement for Maximum Protection
You must place the moisture barrier in the right spot to get the best results. For concrete or gypcrete slabs, use a 6 mil plastic vapor barrier. Overlap the seams by 12 inches and seal them with moisture-proof tape. This step blocks moisture from reaching your vinyl plank flooring and heating system.
Tip: You do not need a moisture barrier for wood subfloors over finished basements or crawl spaces that meet job site standards.
Follow these steps for proper placement:
- Lay the vapor barrier flat on the subfloor before installing the heating system or vinyl planks.
- Make sure all seams overlap and are tightly sealed.
- Check that the barrier covers the entire floor area, including corners and edges.
If you install the barrier correctly, you prevent moisture from causing damage. You also avoid costly repairs and keep your floor strong for years. Always check manufacturer instructions and local building codes for extra guidance.
Misunderstanding #3: Underestimating Humidity and Moisture Damage Risks
How Humidity Impacts Heated Vinyl Floors
You might think that heated vinyl plank flooring can handle any indoor climate. In reality, humidity plays a big role in how your floor performs. Luxury vinyl resists water and humidity because of its waterproof design. This helps keep your floor stable, even when indoor moisture levels rise. You will notice less expansion or contraction compared to other materials. However, extreme temperature changes can still cause problems like peeling or warped planks.
You should keep your home’s humidity between 30% and 50% all year. This range protects your floor from damaged flooring and keeps it looking new. If you let humidity get too high or too low, you risk cracks, gaps, or swelling. These issues can lead to damaged flooring and higher repair costs.
- Luxury vinyl resists most moisture, but you still need to control indoor humidity.
- Sudden changes in temperature or humidity can cause the planks to move.
- Rooms above an unconditioned crawl space need extra attention because moisture can rise from below.
Keeping humidity in check also improves indoor air quality and energy efficiency. You will use less energy to heat or cool your home when you control moisture and temperature.
Preventing Mold and Mildew Issues
Mold grows fast in damp places, especially under heated floors. You need to control moisture to stop mold and mildew from forming. Kitchens, bathrooms, and rooms above an unconditioned crawl space face the highest risk. Fix leaks right away and keep the area dry.
Here are some top methods to prevent mold and mildew:
| Method | Description |
|---|---|
| Moisture barrier and underlayment | Use a vapor retarder like a 6 mil polyethylene sheet over damp subfloors. Overlap and tape seams. |
| Acclimation and stable conditions | Let flooring adjust to the room for 48–72 hours. Keep HVAC running for steady conditions. |
| Expansion gaps and movement | Leave gaps around the edges for floor movement. This stops buckling and moisture buildup. |
| Subfloor prep and flatness | Make sure the subfloor is flat and clean. This prevents moisture pockets and ensures good contact. |
| Adhesives and below grade notes | Use the right adhesive for the room’s humidity, especially in basements. |
| Rooms with water and radiant heat | Seal and maintain floors in wet areas to block moisture. |
You can clean vinyl floors with a vinegar and water mix to kill mold spores. For tough spots, use a mild bleach solution. Always keep humidity between 30% and 50% to stop mold. Regular cleaning and moisture control help your floor last longer and boost energy efficiency.
Misunderstanding #4: Ignoring Manufacturer and skspcflooring Recommendations
Importance of Following Installation Instructions
You need to follow the instructions from both the manufacturer and skspcflooring when you install heated vinyl plank flooring. These guidelines help you avoid problems that can damage your floor and cost you money. If you skip steps or ignore advice, you risk losing your warranty and facing expensive repairs. Proper installation methods protect your investment and keep your floor looking great for years.
If you do not follow the recommended installation steps, you may face these issues:
- Warranty voidance
- Flooring damage
- Performance problems
- Lifting of vinyl plank flooring
- Mold growth
- Adhesive failure
- Denial of warranties due to missing expansion gaps, unapproved underlayment, excessive moisture, and ignoring acclimation requirements
You should always read the installation guide before you start. This helps you understand the best way to lay your floor and avoid common mistakes. The right installation steps also help control moisture and prevent mold.
Commonly Missed Details That Matter
Many people miss important details during installation. These small steps can make a big difference in how safe and durable your heated vinyl plank flooring will be. You need to pay attention to proper installation methods to avoid problems like buckling or gaps.
Here are some details you should never overlook:
- Improper subfloor preparation can lead to buckling and gaps.
- Neglecting acclimation may cause the flooring to buckle or tent.
- Ignoring moisture and temperature considerations can result in lifting and mold growth.
- Failing to maintain proper expansion gaps can cause the floor to buckle or lift.
You should check the subfloor for moisture before installation. Make sure the room stays at a stable temperature. Always leave expansion gaps around the edges. These steps help your floor last longer and perform better. When you follow the manufacturer and skspcflooring recommendations, you get a safe and reliable installation.
Misunderstanding #5: Long-Term Durability of Floor Heat Under Vinyl Plank
Wear and Tear Over Time
You may wonder how floor heat under vinyl plank affects your flooring after many years. Heated floors can change how vinyl planks wear compared to regular installations. You should know that vinyl plank flooring is not rated for outdoor use or places with extreme temperatures, such as unheated sunrooms or garages. If the temperature rises above 85°F, vinyl planks can expand. Direct sunlight also causes damage over time.
Common types of wear and tear include:
- Buckling from heat exposure when the floor gets too warm.
- Moisture problems that weaken adhesives and cause planks to shift.
- Lack of expansion gaps, which leads to planks pushing against each other and buckling.
- Some vinyl planks may warp if they are not compatible with radiant heating systems.
You can avoid most problems by choosing the right product and following installation guidelines. Heated floors work best in rooms with stable temperatures. You should protect your floor from direct sunlight and keep the temperature within safe limits. This helps maintain the efficiency of your heating system and the durability of your vinyl plank flooring.
Maintenance Tips for Lasting Performance
You want your floor heat under vinyl plank to last for many years. Regular care keeps your floor looking new and helps your heating system work with maximum efficiency. You should sweep or vacuum every week to remove dirt and grit. Mop with a gentle cleaner every few weeks to keep the shine. Inspect your floor for damage and fix problems quickly.
Here are easy ways to maintain your heated vinyl plank flooring:
- Use entry mats to trap dirt and moisture.
- Place felt pads under furniture legs to prevent scratches.
- Avoid dragging heavy items to stop scuffs.
- Clean spills right away to prevent stains.
- Rotate rugs and furniture to avoid uneven wear.
- Protect your floor from direct sunlight to prevent fading.
- Schedule annual inspections to catch issues early.
You should also conduct a deeper clean every six months using a vinyl floor cleaner. Applying floor wax after deep cleaning adds extra protection. If you use manufacturer-recommended cleaning solutions, you help preserve the finish. Electric heating systems usually need little maintenance if installed correctly. Hydronic systems cost more upfront but can be more efficient for large areas. Annual boiler tune-ups and occasional repairs keep them running well.
Taking these steps helps your floor heat under vinyl plank stay strong and beautiful for years.
You can enjoy safe and comfortable floor heat under vinyl plank by following these steps:
- Start with a clean, dry, and level subfloor.
- Let your vinyl planks adjust to room temperature for 48 hours.
- Add a moisture barrier for extra protection.
- Test your radiant heat system before installation.
- Keep the heat below 85°F (29°C).
- Choose floating planks for best results.
Following manufacturer and skspcflooring guidance gives you durable, cost-effective, and energy-efficient floors. You also get more design options and even warmth throughout your space.
- The World Floor Covering Association recommends hiring a professional for complex projects. This helps your floor last longer and perform better.
FAQ
Can you install floor heat under any vinyl plank flooring?
You need to check the product label. Not all vinyl plank flooring works with heated floors. Look for flooring rated for radiant heat. Ask your supplier if you are unsure.
What temperature should you set for heated vinyl plank floors?
Keep the temperature below 85°F. Most experts recommend staying under 80°F for safety. Use a thermostat to control the heat.
| Setting | Recommendation |
|---|---|
| Maximum | 85°F |
| Best Practice | 80°F or less |
Do you need a moisture barrier under vinyl plank with floor heat?
You should use a moisture barrier over concrete or gypcrete subfloors. This layer protects your floor from moisture damage. Always follow manufacturer instructions.
Tip: Overlap seams and seal them with tape for best results.
How do you maintain heated vinyl plank flooring?
Sweep or vacuum weekly. Mop with a gentle cleaner every few weeks. Clean spills right away. Use entry mats to trap dirt and moisture.
- Sweep weekly
- Mop monthly
- Clean spills quickly




