
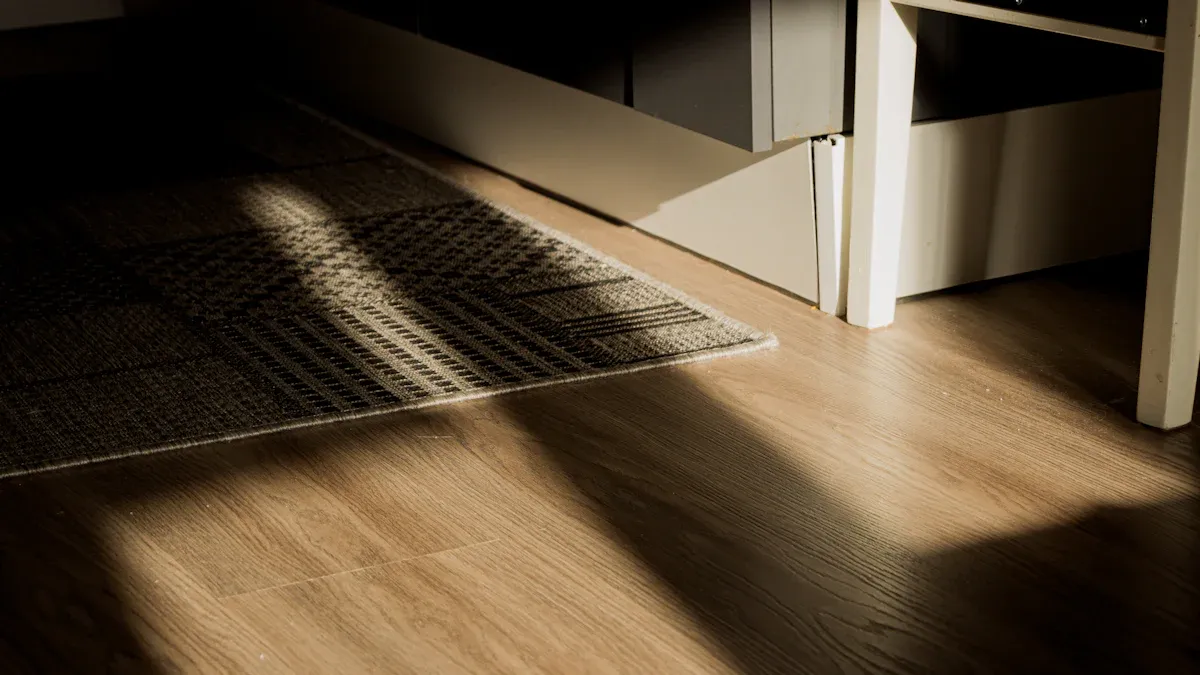
You notice a scratched vinyl floor and wonder if you can fix it without losing the matte finish. Everyday life brings scratches to vinyl plank flooring from grit, pet nails, and moving furniture. When you repair these marks, you avoid shiny patches and keep your floor looking smooth. Choosing repair over replacement saves money.
| Service | Average Cost Range |
|---|---|
| Vinyl Floor Scratch Repair | $75 – $300 |
| Vinyl Floor Replacement | $500 – $2,000 |
What You’ll Need for Scratched Vinyl Floor Repair
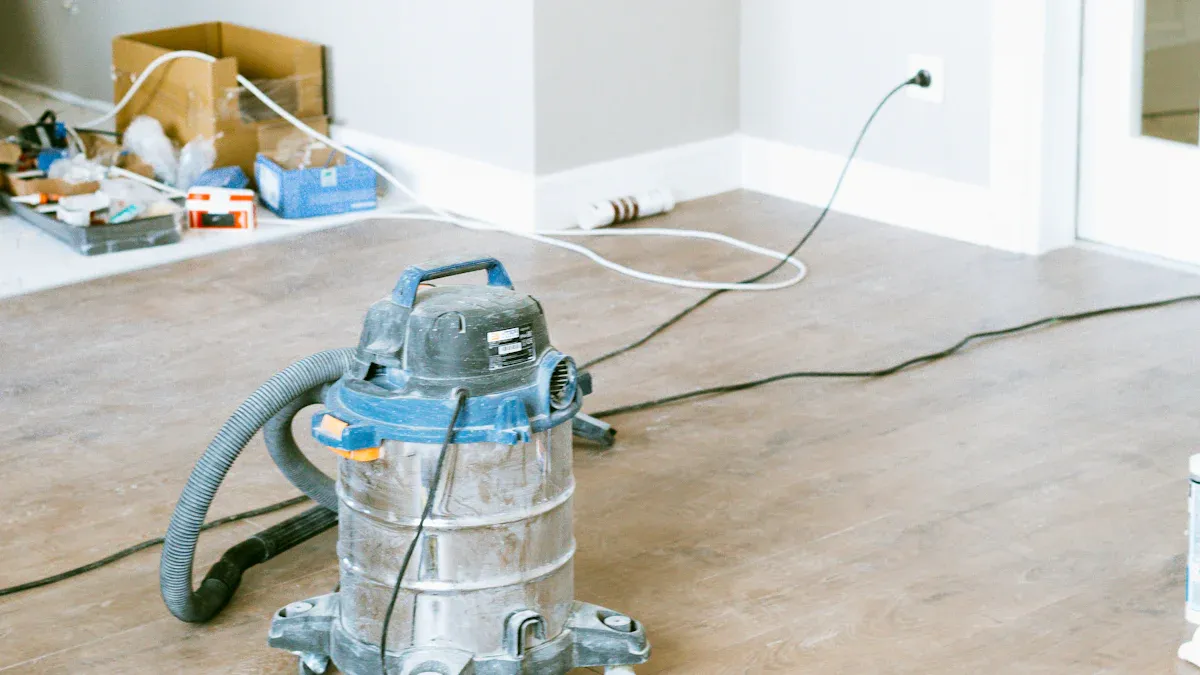
Before you start to repair scratches on your vinyl plank flooring, gather the right materials and tools. You want your repair to blend in and keep the matte finish. Using the correct products helps you avoid shiny spots and keeps your floor looking new.
Materials List for Repair Scratches
You need a few simple items to fix scratches and scuffs. These materials help you clean, sand, and conceal marks on your vinyl plank flooring.
- Dish detergent for cleaning the area
- P320, P500, and P800 sand paper for smoothing scratches
- Car wax to polish and protect the repaired spot
- Clean cloth for wiping and buffing
- Vinyl floor repair kit for deeper scratches
- Vinyl floor repair marker or color-matched marker for blending color
- Vinyl scratch concealer for hiding surface marks
- Touch-up kits for small repairs
Tip: Always test your vinyl floor repair kit or marker on a hidden spot first. This helps you check the color match before you repair the visible area.
Tools List for a Matte Finish
You need the right tools to achieve a seamless matte finish after you repair scratches. Many scratch repair kits include everything you need.
- Dr. Schutz ScratchFix kit with a scratch repair pen for filling deep scratches
- PU Repair Spray for restoring the surface
- Wedge for removing rough edges
- Abrasive gray sanding tool for prepping the area
- Instructions for cleaning and applying products to keep the matte look
Note: Follow the instructions in your vinyl floor repair kit closely. This ensures you get the best results and maintain the matte finish.
You also want to protect your vinyl plank flooring from future damage. Use furniture pads under chair and table legs. Place area rugs and runners in busy spots. Put doormats at entrances to catch dirt. Sweep or vacuum often to remove grit. Clean up spills right away. Mop with a damp cloth and pH-neutral cleaner. Avoid harsh chemicals that can harm your floor.
Step-by-Step Guide to Repair Scratches on Vinyl Floors
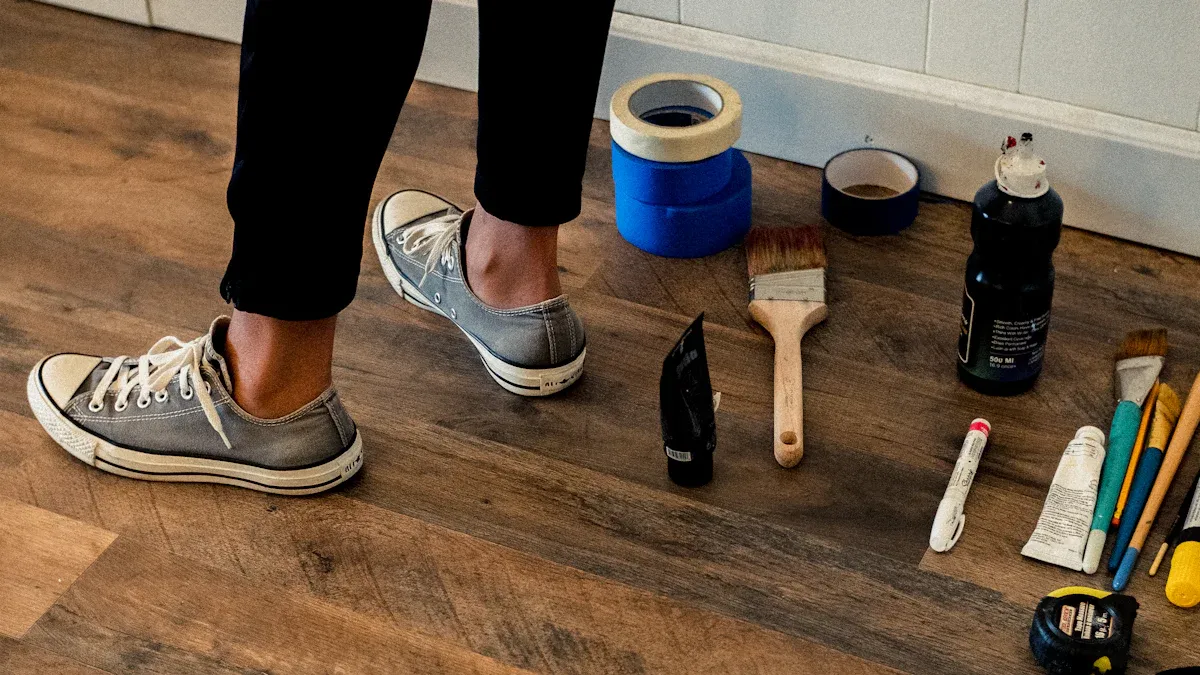
Fixing Light Surface Scratches
You can fix light surface scratches on your vinyl plank flooring with simple tools and products. These marks often come from shoes, pets, or moving furniture. You do not need to replace the floor for these small problems. Follow these steps to disguise minor marks and restore your scratched vinyl floor:
- Pour a small amount of rubbing alcohol or mineral spirits onto a clean cloth. Gently rub the scuff or scratch until it disappears. Wipe the area with a damp cloth to remove any residue.
- Use a clean white pencil eraser to remove minor scuffs. Rub the eraser over the surface-level scratches until they fade.
- Dab a tiny amount of jojoba oil or WD-40 on a soft cloth. Buff out very faint surface scratches, especially on LVT or LVP. Always test in a hidden spot first to check the result.
Most general repairs for surface-level scratches take less than an hour. Small repairs often finish in under 30 minutes.
| Repair Type | Time Estimate |
|---|---|
| General Repairs | An hour or less |
| Small Repairs | Less than 30 minutes |
Tip: Always clean the area before you start. This helps you see the scratches clearly and prevents dirt from getting trapped during the repair.
Repairing Deep Scratches or Gouges
Deep scratches or gouges in your vinyl plank flooring need a different approach. These marks may come from dropped objects or heavy furniture. You may need to repair dents or replace a section of the floor. Here are some repair recommendations for deeper damage:
- Remove the damaged section of vinyl plank flooring if the scratch is deep or if you need to repair dents.
- Use a vinyl floor repair kit to fill the gouge. Follow the instructions closely for best results.
- Apply a thin layer of liquid seam sealer with the applicator tip. Let it dry completely. Apply a second coat if needed.
- Buff the area lightly with a soft cloth to blend the repair with the surrounding floor.
| Step | Action |
|---|---|
| 1 | Clean the area thoroughly. |
| 2 | Apply a thin layer of liquid seam sealer using the applicator tip. |
| 3 | Let it dry completely. |
| 4 | Apply a second coat if needed. |
| 5 | Buff lightly to blend the repair with the surrounding floor. |
Note: After the compound dries, buff the area with a soft cloth. This helps the repaired spot match the rest of your scratched vinyl floor.
Common mistakes can make repairs stand out. Avoid using the wrong filler material. Always test products in a hidden area. Seal the repair correctly to prevent future wear.
Tips for Keeping a Matte Finish
You want your vinyl plank flooring to look natural and avoid shiny patches after you repair scratches. Use these repair tips to keep a matte finish:
- Choose products designed for matte floors, such as Extends LVT Matte Floor Finish. This product repairs scratches and abrasions while keeping the surface non-slip.
- Try the Dr Schutz ScratchFix Kit for luxury vinyl floors. Adjust the gloss level to match your floor’s natural matte look.
- Buff the repaired area gently with a soft cloth. This step helps blend the repair and maintain the matte finish.
- Always follow the instructions on your repair kit. This ensures the finish stays even and smooth.
Tip: Test all products in a hidden spot before you use them on your scratched vinyl floor. This helps you avoid color mismatch and keeps the repair invisible.
You can repair scratches and repair dents on your vinyl plank flooring with the right materials and techniques. These repair recommendations help you disguise minor marks and keep your floor looking new. Use these repair tips to maintain a flawless matte finish and enjoy your floor for years.
Troubleshooting Scratched Vinyl Floor Repairs with skspcflooring
Dealing with Shiny Spots After Repair
You may notice shiny spots after you repair scratches on your vinyl plank flooring. These spots can stand out against the matte finish. To fix this, start by checking the products you used. Some repair kits contain glossy compounds. You want to use a matte finish product for the final layer. If you see a shiny patch, gently buff the area with a soft, dry cloth. This helps blend the repaired spot with the rest of the floor.
You can also use a matte floor finish spray. Spray a light coat over the shiny area. Let it dry and check the result. Repeat if needed. Always test the spray on a hidden part of your vinyl plank flooring first. This ensures the finish matches the rest of your floor.
Tip: Use a microfiber cloth for buffing. It reduces the risk of adding new scratches.
Fixing Color Mismatch
Sometimes, the color of the repaired area does not match the rest of your floor. This can happen if the repair kit or marker is not the right shade. You want your vinyl plank flooring to look seamless. To solve this, choose a color-matched repair marker. Test the marker on a small, hidden spot before using it on the visible area.
If the color still does not match, try blending two shades. Apply the lighter color first, then add a small amount of the darker shade. Use a clean cloth to blend the edges. You can also use a touch-up kit designed for vinyl plank flooring. These kits often include several colors for mixing.
| Problem | Solution |
|---|---|
| Shiny Spots | Buff and use matte finish spray |
| Color Mismatch | Use color-matched marker or kit |
Note: Always follow the instructions on your repair products. This helps you avoid mistakes and keeps your floor looking new.
You can fix most problems after you repair scratches. With the right products and techniques, your vinyl plank flooring will keep its matte finish and natural look.
Prevention Tips from skspcflooring
Daily Care Suggestions
You can keep your vinyl plank flooring looking new by following a few daily routines. Dirt and grit cause scratches, so regular cleaning is important.
- Sweep or vacuum every day to remove dust and debris.
- Clean spills as soon as they happen to prevent stains and damage.
- Mop once a week with a damp mop and a pH-neutral cleaner.
- Avoid harsh chemicals because they can harm the surface and make future repair harder.
Daily dust mopping helps prevent dirt from building up. Weekly deep cleaning keeps your vinyl plank flooring smooth and free from scratches. When you use the right cleaning products, you protect the matte finish. Products like VinylGuard and Emerald Cleaner help maintain the look and feel of your floor.
| Benefit | Description |
|---|---|
| Enhanced Appearance | Regular cleaning improves the look of vinyl plank flooring. |
| Increased Durability | Cleaning strengthens the wear layer and prevents scratches. |
| Prevention of Damage | A cleaning schedule helps you avoid costly repair and damage. |
| Cost Savings | Maintenance saves money by reducing the need for early replacement. |
| Improved Air Quality | Clean floors trap fewer allergens and improve indoor air quality. |
Protective Measures for Vinyl Floors
You can reduce the risk of scratches and make repair easier by using simple protective steps.
- Use furniture pads, such as heavy-duty felt protectors or Scotch™ Self-Stick Felt Pads, under chair and table legs.
- Place rugs and mats in busy areas to catch dirt and lower friction.
- Sweep and mop regularly to keep your vinyl plank flooring clean.
- Lift heavy objects instead of dragging them to avoid scratches.
- Trim pet nails often to protect the floor from marks.
- Choose cleaning tools that are safe for vinyl plank flooring.
Chair pads work well under rolling chairs. High-quality furniture glides, like those from Scratch no More, offer extra protection. When you follow these steps, you extend the lifespan of your vinyl plank flooring. With proper care, your floor can last between 15 to 25 years, and high-quality options may last even longer.
Tip: Regular maintenance and protective measures help you avoid large repair bills and keep your vinyl plank flooring looking its best.
You can repair scratches on your vinyl floor quickly and keep a matte finish. Address marks early to maintain the floor’s appearance. Use DIY kits for small scratches and seek professional help for deep damage. Clean the area well and use the right materials for best results.
- Tackle scratches promptly for lasting beauty.
- Use proper sanding and buffing techniques.
- Follow manufacturer guidelines for durability.
| Standard/Protocol | Description |
|---|---|
| EN 16094 | Tests scratch resistance in vinyl flooring. |
| IEC 62719 | Simulates scratching on SPC flooring. |
| Mohs Hardness Scale | Measures material hardness. |
| Class 33/42 | Indicates durability for commercial use. |
Regular care keeps your floor looking new for years.
FAQ
How do you prevent scratches on vinyl floors?
You can prevent scratches by using felt pads under furniture, placing rugs in high-traffic areas, and keeping pet nails trimmed. Sweep or vacuum often to remove grit that can cause damage.
Can you repair deep gouges in vinyl flooring yourself?
You can fix deep gouges with a vinyl floor repair kit. Follow the instructions closely. For large or complex damage, you may want to contact a flooring professional.
Will repairs make my floor look shiny?
Repairs can look shiny if you use the wrong products. Always choose a matte finish repair kit. Buff the area gently with a microfiber cloth to blend the repair with the rest of your floor.
What cleaning products are safe for vinyl floors?
Use pH-neutral cleaners and avoid harsh chemicals. Products like VinylGuard or Emerald Cleaner work well. Always follow the manufacturer’s instructions for best results.




