
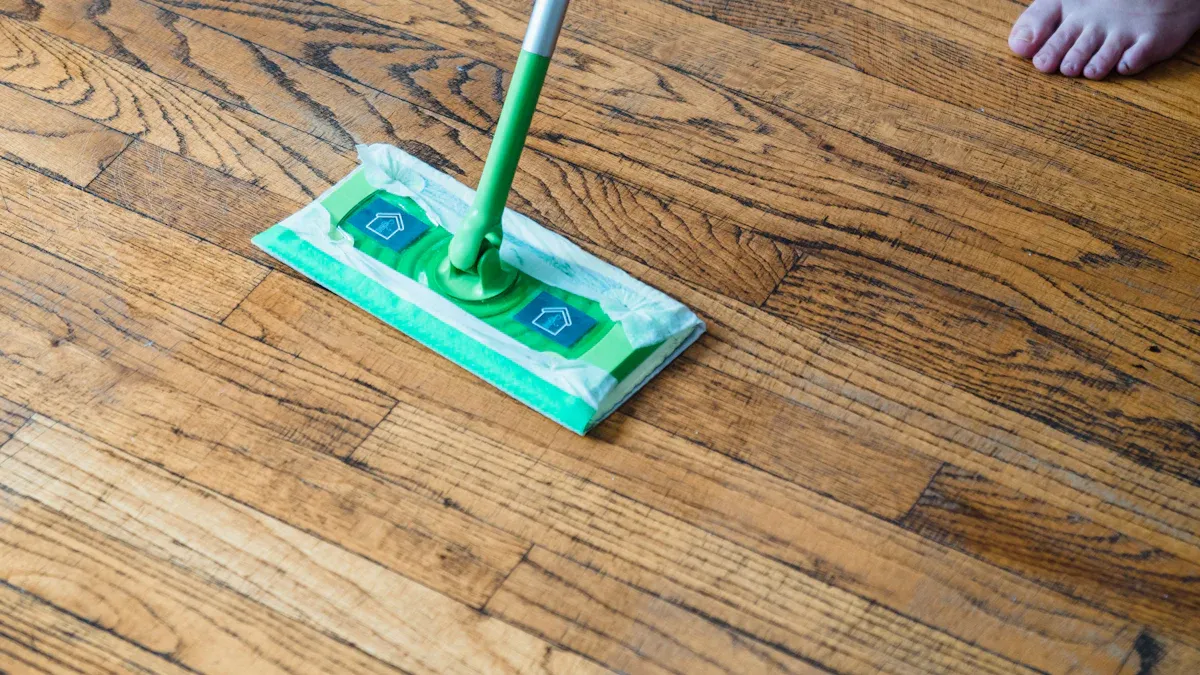
You want your new PVC wood flooring to look great for years. The advantages of pvc wood flooring, like its durability, depend on proper installation and consistent maintenance. A successful installation starts with the subfloor. Experts note 25% of all flooring failures stem from poor preparation, which impacts the durability of your luxury vinyl flooring. This PVC flooring is a type of waterproof flooring.
Pro Tip: This low maintenance luxury vinyl flooring thrives on gentle care. Regular cleaning keeps your luxury vinyl plank and luxury vinyl tile looking their best, making the easy installation of your PVC flooring a breeze. This is the best luxury vinyl flooring. This PVC product is a great flooring choice.
This guide helps you protect your investment in luxury vinyl flooring. The easy to install nature of this PVC flooring makes it a popular choice.
Getting Started: Pre-Installation Essentials
Proper preparation is the key to a successful project. Before you lay the first plank, you need to make a few important decisions and gather your supplies. This initial phase sets the stage for a smooth installation and ensures the long-term durability of your new luxury vinyl flooring.
Choosing Your Installation Method: Click-Lock vs. Glue-Down
Your first decision involves choosing between the two main types of luxury vinyl flooring installation. Click-lock luxury vinyl flooring uses a tongue-and-groove system. The planks simply snap together, making it a great choice for an easy installation. Glue-down luxury vinyl flooring requires you to apply an adhesive to the subfloor. This method offers excellent durability and is often preferred for large rooms or commercial spaces. Your choice depends on your skill level and the needs of your space.
Your Complete Tools and Materials Checklist
Having the right tools makes the job much easier. For a click-lock PVC installation, you will need several specific items. Gather everything before you begin to avoid interruptions.
- Utility knife
- Tape measure
- Straightedge or carpenter’s square
- Spacers
- Rubber mallet
- Tapping block
- Jigsaw for complex cuts
- Safety glasses and gloves
Acclimating Your Flooring: The Step You Can’t Skip
You cannot skip the acclimation step. This part of the installation process pvc wood flooring is critical. Your new luxury vinyl plank or luxury vinyl tile needs to adjust to your home’s environment. You should let the flooring acclimate for at least 48 hours. Open the boxes in the room where you will install the PVC flooring.
Important: Maintain the room’s temperature between 65°F and 80°F (18°C and 27°C). The humidity should stay between 35% and 75%. Following this step helps you get the best luxury vinyl flooring performance and prevents future problems. The advantages of this PVC product rely on this simple but vital preparation.
The Foundation: How to Prepare Your Subfloor
A flawless finish for your luxury vinyl flooring depends entirely on the subfloor. This is the most important part of the installation process pvc wood flooring. A well-prepared surface ensures your new PVC flooring looks great and performs well for years. Taking time here prevents problems later.
Ensuring Your Subfloor is Clean, Dry, and Level
You must start with a clean slate. First, sweep and vacuum the subfloor to remove all dust and debris. Any small particle can create a bump under your new luxury vinyl plank. Next, check for moisture. Your subfloor must be completely dry. A damp subfloor can damage your PVC flooring over time. Finally, check if the surface is level. Use a long straightedge to find any high or low spots across the flooring area. A level subfloor is critical for a successful installation.
How to Fix an Uneven Subfloor
You have several options to fix an uneven subfloor. The right method depends on your specific issue. For minor problems, you can use a combination of techniques to create a perfectly flat surface for your luxury vinyl flooring.
- Grinding High Spots: Use a concrete grinder to smooth out any raised areas.
- Self-Leveling Compounds: Pour this product over low spots. It flows into depressions and dries to a smooth, level surface.
- Foam Leveling: Professionals can pump a special polyurethane foam under a concrete slab to lift it. This is a clean option for interior projects.
Removing Old Flooring and Baseboards
You need to remove old flooring before starting your new PVC project. Carefully pry off the baseboards first. You can reuse them later if they are in good condition. For old luxury vinyl tile, the removal process is straightforward.
Pro Tip: Removing old flooring can be dusty. Always wear safety glasses and gloves to protect yourself. This step is key to achieving the best luxury vinyl flooring result and an easy installation.
- Find a crack and press a floor scraper into it. Tap the scraper with a hammer.
- This action should pop up the first tile.
- Use a flat bar to work any stubborn tiles loose.
- Once a tile is gone, place the scraper at the edge of the next one and drive it underneath.
- Continue this process until you remove all the old luxury vinyl tile.
- Finally, clean the subfloor thoroughly to prepare it for your new pvc wood flooring.
Laying Your New PVC Wood Flooring
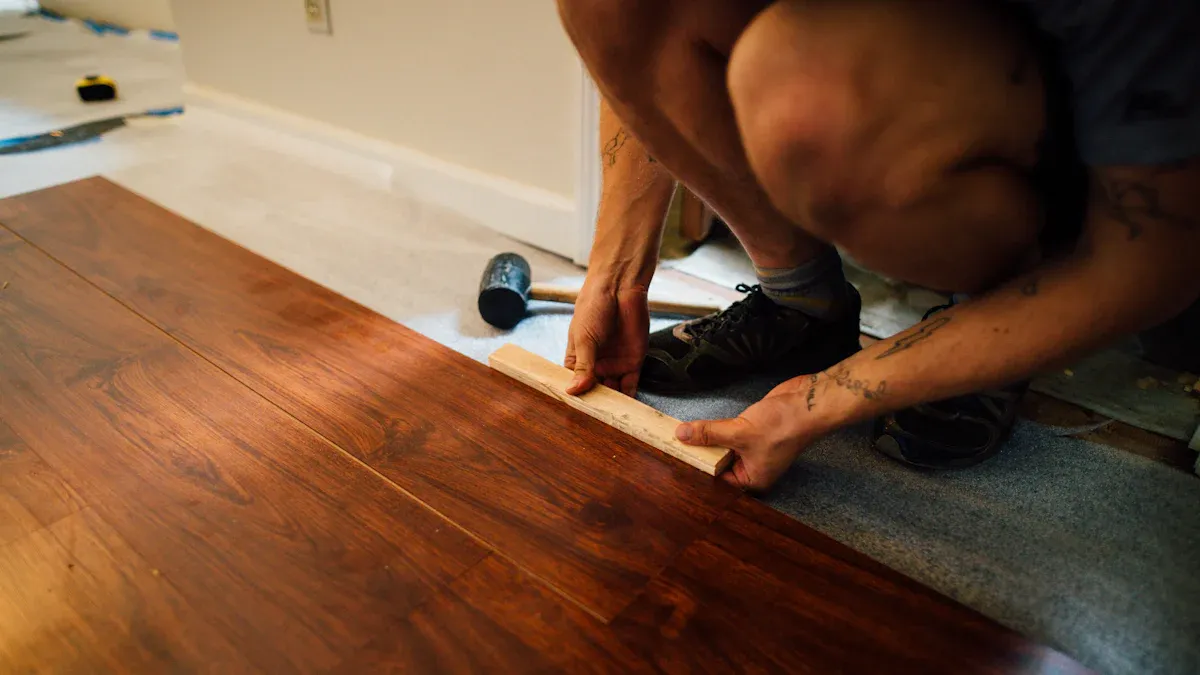
You are now ready for the most rewarding part of the project. Laying your new luxury vinyl flooring transforms the room. This stage requires precision and patience. A methodical approach ensures your new flooring looks professional and lasts for years. Follow these steps carefully for a successful installation.
Laying the First Row and Using Spacers
The first row sets the standard for the entire floor. A straight and secure first row makes the rest of the installation much smoother. Proper planning here prevents alignment issues later.
- Plan Your Layout. You should start on the most visible wall. Lay your planks parallel to it. Check that the last plank in the row will be at least six inches long. You may need to trim your first plank to ensure this.
- Lay the First Plank. Trim the short tongue edge off the very first plank. This creates a clean, flat edge against the wall. Place this plank about ¼ inch from the wall. Use spacers to maintain this gap. The gap allows the flooring to expand and contract.
- Connect the Row. Continue laying planks along the wall. You will connect the short ends of the luxury vinyl flooring planks. Gently tap the ends together with a rubber mallet and a tapping block. This action clicks them securely into place.
Cutting Planks to Fit Around Obstacles
Your room will likely have obstacles like door frames, pipes, or corners. You must cut your luxury vinyl plank to fit perfectly around these areas. Using the right tools makes these cuts clean and accurate.
- Door Frames: You get the cleanest look by undercutting the door frame. Use a multitool to cut away the bottom of the frame. Then you can slide the PVC plank directly underneath. This avoids a difficult cut around the frame’s shape.
- Pipes and Corners: A jigsaw is your best tool for these cuts. You can use a regular fine-toothed wood blade. For curved or intricate shapes, mark your desired line on the PVC plank. Drill a pilot hole if you are starting a cut from the middle of the plank. Guide the jigsaw slowly along your line for maximum control.
- Complex Shapes: Some projects may require very detailed designs. For these highly intricate patterns, professionals often use CNC machines to cut the PVC flooring with perfect precision.
Safety First! 👷 Always wear safety goggles and gloves when cutting your PVC flooring. Secure the luxury vinyl plank with clamps on a flat surface. This prevents it from moving while you cut.
Finishing Touches: Installing Transitions and Baseboards
The final details complete your project. Transitions cover the gaps between your new PVC wood flooring and other surfaces. Reinstalling your baseboards hides the expansion gap and gives the room a polished look. This final step makes your easy installation look seamless.
Choosing the right transition piece is key to making your project look like the best luxury vinyl flooring. You have several options for your luxury vinyl tile or plank.
- T-Molding: This creates a stylish bridge between two floors of the same height.
- Surface Reducer: Use this to connect your new luxury vinyl flooring to a lower floor, like thin carpet or vinyl.
- End Cap: This piece finishes the edge of the flooring at a doorway or against a sliding glass door.
- Stair Nose: This provides a safe and attractive transition from your flooring to a step down.
You can also use aluminum strips for certain transitions. They are inexpensive and work well in specific situations. After you install all transitions, you can reinstall your baseboards to cover the expansion gap along the walls.
Common Installation Mistakes to Avoid
You can achieve a professional-looking finish by avoiding a few common errors. Many of the perceived disadvantages of pvc wood flooring stem from mistakes made during the installation process. A successful project requires you to be patient and precise. Taking your time now prevents major headaches later and ensures you get the best luxury vinyl flooring performance.
Ignoring the Manufacturer’s Instructions
Each brand of luxury vinyl flooring has specific guidelines. You must read and follow the manufacturer’s instructions for your particular PVC product. These documents contain vital information about acclimation times, approved adhesives, and required underlayment. Ignoring these rules is a frequent mistake that can void your warranty. The instructions are your roadmap to a successful installation.
Warning: Failure to follow the manufacturer’s guidelines can lead to serious problems with your new flooring. This includes issues like buckling, poor adhesion, or a noisy floor.
Forgetting to Leave an Expansion Gap
Your new luxury vinyl flooring needs room to breathe. PVC materials expand and contract with temperature changes in your home. You must leave a ¼-inch expansion gap between the flooring and all walls or fixed objects. Forgetting this step is one of the biggest disadvantages of a rushed job. Without this space, your luxury vinyl plank or luxury vinyl tile can buckle or warp over time. This simple step protects your entire flooring investment.
Rushing Subfloor Preparation
A poor subfloor is the number one cause of flooring failure. Rushing this step guarantees problems for your luxury vinyl flooring. An uneven or dirty subfloor creates long-term issues that are difficult and costly to fix. This is not an area to cut corners, even with an easy installation product. The quality of your PVC flooring depends on the foundation beneath it.
Common long-term consequences of a poorly prepared subfloor include:
- Visible Gaps: Planks or tiles can separate at the seams.
- Hollow Sounds: Your PVC flooring may shift and make noise when you walk on it.
- Uneven Wear: High spots cause premature wear and can damage your luxury vinyl plank.
- Safety Hazards: An uneven surface creates a tripping hazard.
Properly preparing your subfloor ensures your new luxury vinyl tile looks and performs beautifully for years.
Daily and Weekly Maintenance Routine
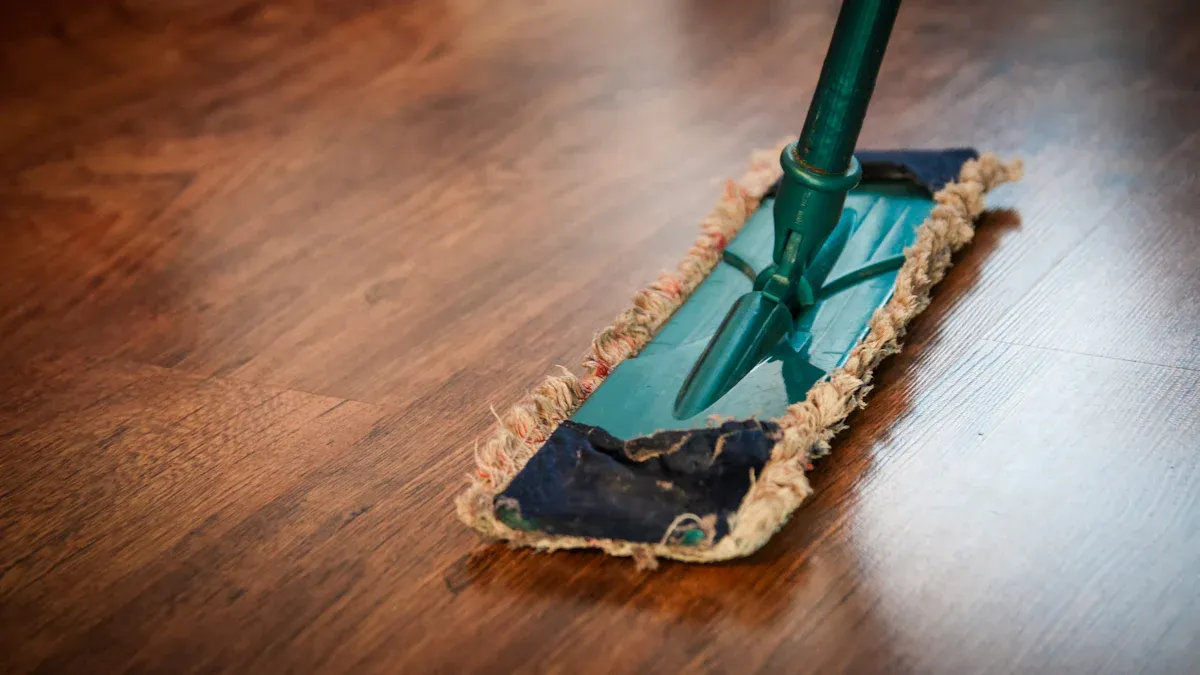
Your new luxury vinyl flooring is installed and looks fantastic. Now you can enjoy its low maintenance benefits. A simple cleaning routine keeps your flooring looking its best. This maintenance guide provides easy steps for daily and weekly care. Consistent, gentle cleaning is the secret to preserving the beauty of your luxury vinyl flooring for years.
Best Practices for Sweeping, Vacuuming, and Mopping
Regular cleaning removes dirt and grit that can scratch your flooring. You should sweep or dust mop your luxury vinyl flooring daily. This simple action prevents the buildup of abrasive particles. For a deeper clean, you can vacuum your flooring weekly.
When you vacuum, you must protect the surface of your flooring. Use a vacuum with a soft roller or a brush you can turn off. A spinning beater bar can damage your luxury vinyl flooring. Canister vacuums with soft-bristle hard-floor attachments are also a great choice. They offer powerful suction without scratching the flooring.
Mopping correctly is essential for the long-term health of your flooring. You should follow these maintenance and care tips to prevent water damage.
- Use a microfiber mop. Wring it out thoroughly so it is damp, not soaking wet.
- Work in small, manageable sections. This method ensures the floor dries quickly.
- Never let your luxury vinyl flooring air dry. Wipe up any remaining moisture with a clean, dry cloth.
Important: You should never use a steam cleaner on your luxury vinyl flooring. The high heat and moisture can get into the seams. This can cause your flooring to warp, peel, or bubble.
Recommended Cleaning Solutions (and What to Avoid)
Choosing the right cleaner is a key part of your maintenance routine. The best option for your luxury vinyl flooring is a pH-neutral cleaner. You can mix it with warm water for a streak-free shine. Many excellent products are available. Cleaners like Bona Hard-Surface Floor Cleaner and COREtec Encore 12x Clean Spray are specifically designed for this type of flooring. They effectively remove dirt and scuffs without harming the finish.
Just as important is knowing what products to avoid. Certain common household cleaners can cause permanent damage to your flooring.
| Cleaner to Avoid | Why It’s Harmful |
|---|---|
| Bleach | Its corrosive chemicals can break down the flooring and cause it to peel. |
| Ammonia | This can cause cracks and bubbles to form on the surface. |
| Abrasive Powders | These will scratch the wear layer and permanently dull the finish. |
| Detergents | Many soap-based cleaners leave behind a dulling film on your flooring. |
Using the wrong cleaner is a mistake that can ruin the look of your beautiful new flooring. Always stick to manufacturer-approved or pH-neutral solutions for safe and effective cleaning. This is a core part of low maintenance care.
How to Deal with Spills to Prevent Stains
Accidents happen. The key to preventing stains on your luxury vinyl flooring is to act quickly. The protective wear layer on your flooring gives you time to clean up, but you should not wait.
For spills like juice, coffee, or red wine, you need to take immediate action.
- Blot the spill immediately with a clean, white cloth. Do not rub, as this can spread the stain.
- Dampen a new cloth with plain water.
- Gently wipe the area from the outside of the spill toward the center.
- Dry the area completely with another clean cloth.
Most everyday spills will come up easily with just water if you address them right away. This quick response is the best way to keep your flooring spotless.
Protecting Your Floor from Damage
Your luxury vinyl flooring offers excellent durability, but you can extend its life with simple protective measures. This part of the maintenance guide focuses on preventing common types of damage. Following these maintenance and care tips ensures your flooring stays beautiful. Proactive care is the best way to enjoy the low maintenance benefits of your new flooring.
Preventing Scratches with Furniture Pads and Mats
You can easily prevent scratches from furniture. Place high-quality furniture pads on the legs of chairs, tables, and sofas. This simple step is crucial for maintaining the scratch resistance of your luxury vinyl flooring. Durable felt pads create a gentle barrier between your furniture and the flooring. Products with extremely durable felt tips are designed to prevent scratches and scuffs on luxury vinyl flooring. Rubber and plastic pads also offer good protection and durability. You should also place mats at all entryways to trap dirt and grit before they reach your flooring.
Pro Tip: Regularly check your furniture pads for wear. Replace them when they become thin or dirty to maintain the scratch resistance of your flooring. This small maintenance task makes a big difference.
Managing Sunlight to Prevent Fading
Direct sunlight can cause your luxury vinyl flooring to fade over time. You have several effective options to manage sunlight and protect your flooring’s color. Using window treatments is a great way to control light exposure.
- UV-Blocking Window Films: You can apply these films directly to your windows. Clear films block most UV rays while letting in natural light. Tinted or spectrally selective films offer even better protection by also blocking heat and visible light.
- Low-E Glass: If you are replacing windows, consider Low-E glass. It reflects heat and filters a significant amount of UV rays, offering more protection than standard glass.
- Curtains and Blinds: You can use curtains, blinds, or shades to block sunlight during peak hours. This is a simple and effective way to protect your luxury vinyl flooring.
Avoiding Dents from Heavy or Sharp Objects
Your flooring has good scratch resistance, but heavy or sharp objects can still cause dents. You should use caution when moving heavy appliances or furniture. Place a sheet of plywood on the floor to distribute the weight. Avoid dropping sharp items like knives or tools on your luxury vinyl flooring. For rolling office chairs, use a protective chair mat designed for hard surfaces. This simple precaution preserves the smooth surface of your low maintenance flooring and supports its long-term durability.
Deep Cleaning and Repair
Even with regular care, your luxury vinyl flooring may need extra attention from time to time. This section covers how to handle tougher cleaning jobs and repairs. Proper deep cleaning and stain removal will protect the long-term durability of your flooring. This advanced maintenance keeps your floor looking new.
How to Safely Remove Scuffs and Tough Stains
Scuff marks from shoes or furniture are common. You can safely remove them without damaging your luxury vinyl flooring. For tough stains like ink or crayon, use a small amount of isopropyl alcohol on a soft cloth and rub gently. For scuffs, you can try a different method.
Pro Tip: Always test any cleaning solution on a hidden spot of your flooring first. This ensures it will not damage the finish.
- Apply a small amount of jojoba oil or WD-40 to a soft, clean cloth.
- Rub the cloth gently over the scuff mark. Surface marks should lift easily.
- For deeper marks, you may need to apply a little more pressure with the soft cloth.
When and How to Perform a Deep Clean
Your luxury vinyl flooring does not need frequent deep cleaning. You should perform a deep clean every few months or when the flooring looks dull. First, thoroughly sweep or vacuum the floor to remove all loose dirt. Next, mop the flooring with a pH-neutral cleaner mixed according to the product’s directions. Work in small sections and use a damp microfiber mop. This process restores the shine and enhances the durability of your flooring.
Products to Never Use on Your PVC Floor
Using the wrong products can permanently damage your luxury vinyl flooring. You must avoid harsh chemicals and abrasive tools. Ammonia or bleach-based cleaners are too strong for your flooring. They can strip away the protective finish, making the luxury vinyl flooring vulnerable to scratches and discoloration. This damage can create a faded, uneven appearance over time.
You should also never use abrasive cleaners like scouring powders. These products will leave tiny scratches on the surface. The scratches trap dirt, making your beautiful flooring look worn and dull. Sticking to approved cleaners is the best way to protect your investment.
You now have the knowledge for a successful luxury vinyl flooring project. A great installation and simple maintenance unlock the durability of your new PVC flooring. The durability of this PVC flooring is one of its main advantages. Your well-maintained luxury vinyl flooring can last for decades, often 10 to 20 years. This impressive lifespan comes from the strong core of the PVC flooring. Following these steps unlocks all the advantages of pvc wood flooring. You ensure your luxury vinyl flooring remains a beautiful and resilient flooring in your home. This PVC flooring is a great choice of luxury vinyl flooring.
FAQ
Can you install PVC flooring over an existing floor?
You can often install new flooring over an old floor. The existing surface must be hard, flat, and smooth. You should always check the manufacturer’s instructions first. A poor base will cause problems for your new luxury vinyl flooring.
How do you fix a single damaged plank?
You can replace a single damaged plank. For click-lock floors, you carefully cut out the damaged piece and insert a new one. Glue-down planks require more effort. You must remove the old plank and adhesive before installing the replacement.
Is PVC wood flooring truly waterproof?
The planks themselves are waterproof. However, water can still seep through the seams between planks. You should clean up spills quickly. This action prevents moisture from reaching your subfloor and causing damage to your luxury vinyl flooring.
Do you need an underlayment for your PVC flooring?
Many PVC planks have a pre-attached underlayment. You do not need an extra layer for these products. For planks without a pad, you may need a separate underlayment for sound reduction or comfort.
Remember: Always check your specific product’s installation guide. Following the manufacturer’s rules is the best way to ensure a successful project.




