
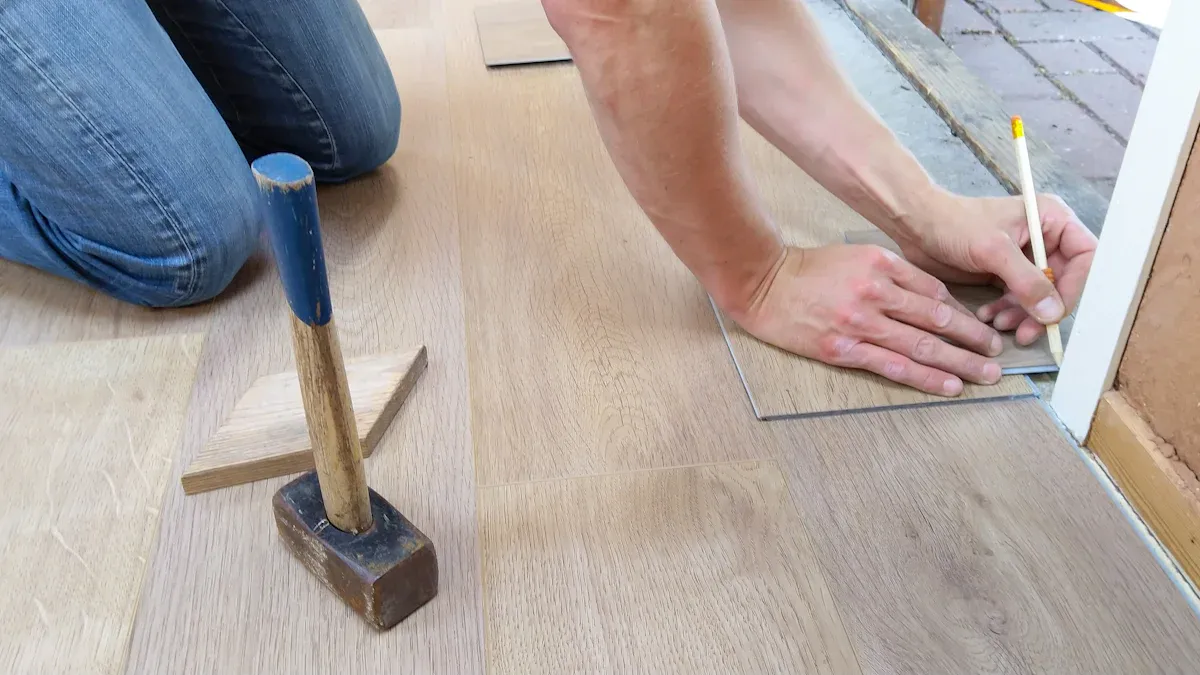
You can successfully install engineered wood in a bathroom. Success requires choosing the right moisture-resistant engineered flooring and a specific installation method. This process creates a barrier to block water effectively. Your new engineered wood floors must withstand bathroom humidity.
Note: A proper glue-down installation is crucial for this type of flooring project.
This step-by-step guide provides the essential details. You can install engineered wood that results in a beautiful, durable surface. A successful engineered wood in bathroom installation is achievable with the correct approach.
Step 1: Choosing the Right Engineered Wood for a Bathroom
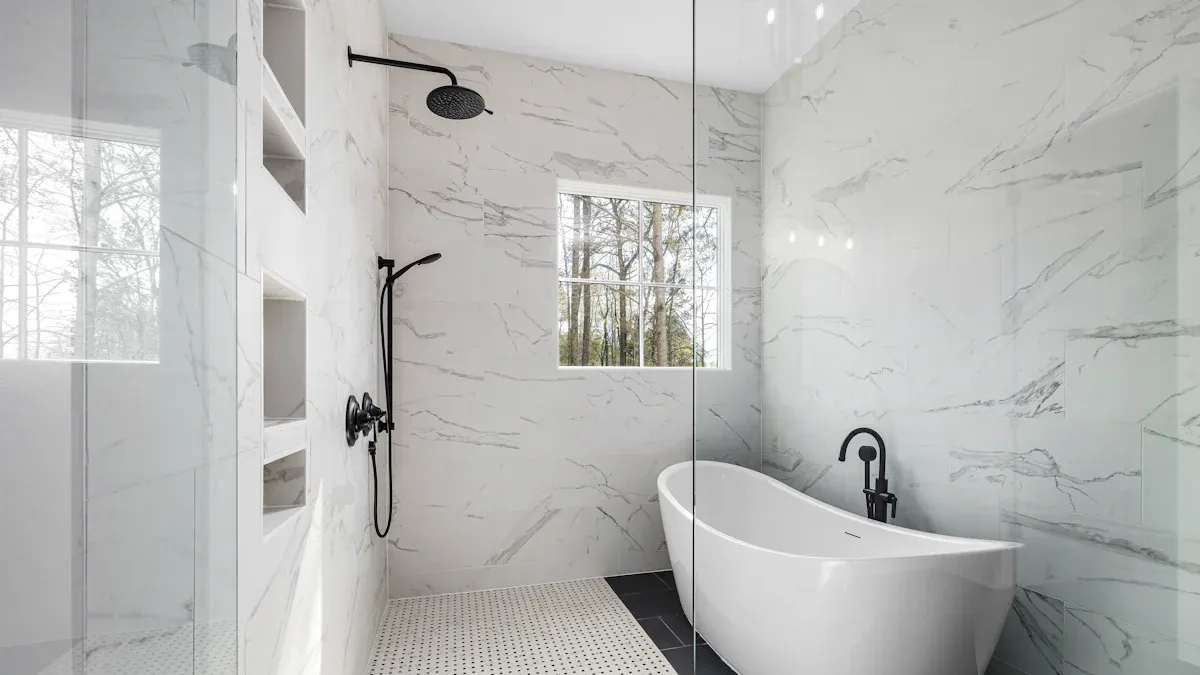
Your project’s success starts with the right product selection. Not all engineered wood is suitable for a high-humidity space. You must choose specific materials designed to handle the bathroom environment. This step guides you through picking the best flooring for the job.
Why Core Material Matters
The core is the heart of your engineered flooring. It provides stability and resistance to moisture. A multi-ply core is better than a three-ply core for bathrooms. Its layered construction offers superior stability against temperature and humidity changes. You should also consider the core’s material.
| Core Type | Moisture Resistance |
|---|---|
| High-Density Fiberboard (HDF) | Excellent moisture resistance; suitable for moisture-prone areas like basements or bathrooms. |
| Plywood | Good dimensional stability; generally durable. |
While most engineered wood floors are water-resistant, some advanced options offer 100% waterproof protection. A proper installation over a prepared subfloor is essential for performance.
The Importance of a Waterproof Finish
The top finish on your flooring is its first line of defense. A factory-applied finish provides the best durability. These strong coatings protect the wood veneer from spills and humidity. Look for engineered flooring with high-performance finishes.
- Aluminum Oxide: This common finish is mixed with urethane for excellent wear resistance.
- Ceramic Finishes: These use tiny ceramic particles to create a very tough surface.
- UV-Cured Polyurethanes: Manufacturers use this process to create an extremely durable and protective layer.
A strong finish is a key part of the required materials for a lasting installation.
Best Wood Species for Humid Areas
The top wood layer, or veneer, also plays a role. Certain wood species are naturally better at handling damp conditions. Your selection of an engineered product with the right species can improve its longevity. White oak and teak are excellent choices. They have a natural resistance to water that makes them ideal for an engineered wood in bathroom installation. The Janka hardness scale measures a wood’s resistance to dents, but it does not measure its stability in humid areas. The overall construction of the engineered plank and a proper glue-down installation are more important for your engineered wood floors.
Step 2: Pre-Installation Checks and Subfloor Preparation
Properly preparing for installation is the most important part of a successful project. A solid foundation ensures your new engineered wood floors will last. This step involves assessing and preparing the subfloor for the glue-down installation.
Inspecting and Leveling the Subfloor
You must have a flat subfloor for a glue-down hardwood floor installation. An uneven subfloor will create gaps and weak spots in your flooring. Use a long, straight edge to check the subfloor for high or low spots.
- The subfloor must be flat to within 1/8” in a 6-foot radius.
- Alternatively, the subfloor must be flat to within 3/16” in a 10-foot radius.
If your subfloor is not level, you must fix it. You can use a self-leveling compound to create a smooth, flat surface. These products are easy to mix with water and create a flowable mixture that fills in low areas on the subfloor. This is a critical step for any hardwood floor installation on a concrete or wood subfloor.
Installing a Moisture Vapor Barrier
Your bathroom subfloor needs protection from moisture. You must install a proper vapor barrier underlayment. This underlayment blocks moisture from rising through the subfloor and damaging your engineered flooring. The effectiveness of an underlayment is measured by its perm rating.
| Classification | Permeance |
|---|---|
| Vapor Impermeable | 0.1 perm or less |
| Vapor Semi-Impermeable | 1.0 perm or less and greater than 0.1 perm |
For a bathroom installation, you need a “Vapor Impermeable” underlayment. A 6-mil polyethylene sheeting is an excellent choice for an underlayment, as it has a very low perm rating of 0.06. This underlayment provides superior protection for your engineered flooring. Always seal the seams of the underlayment according to the manufacturer’s directions to create a complete barrier.
Acclimating Your Engineered Wood Planks
Your engineered flooring planks need to adjust to their new environment. This process is called acclimation. It allows the engineered wood to match the temperature and humidity of your bathroom before installation. This prevents the flooring from expanding or shrinking after it is installed. You should place the open boxes of flooring in the bathroom for at least 48 hours.
Important Tip: Always read the manufacturer’s guide. Your specific engineered wood floors may have unique acclimation requirements for this type of installation. Following these instructions is essential for the long-term performance of your flooring.
Step 3: The Glue-Down Installation Process
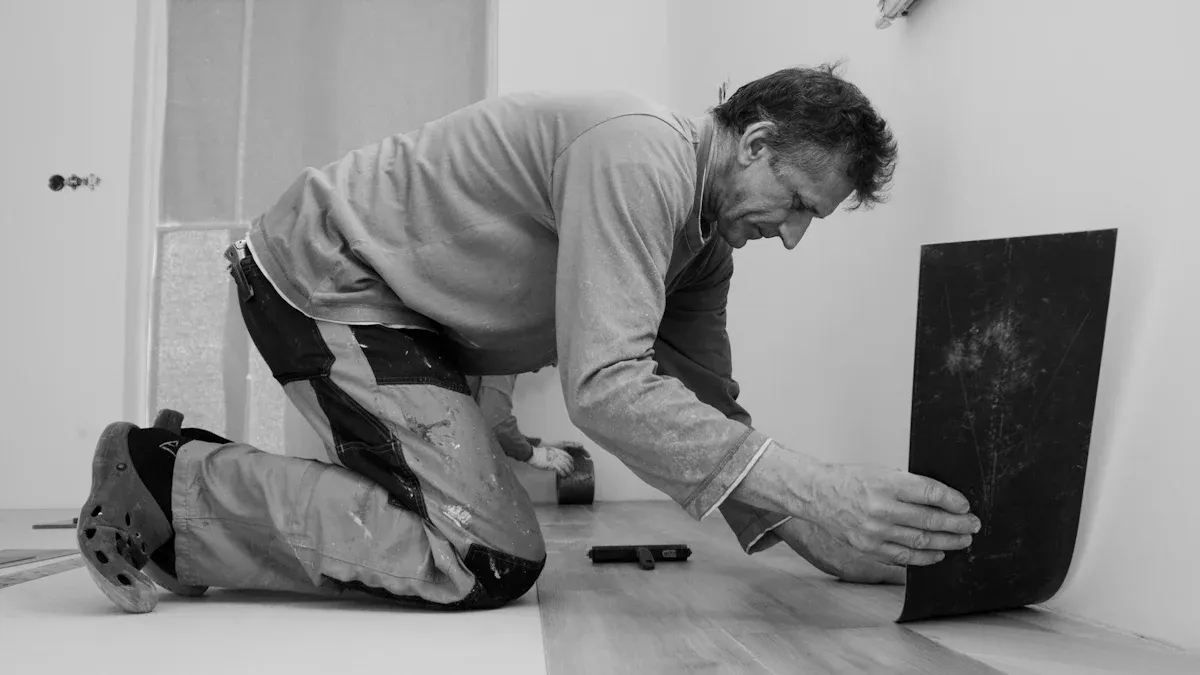
You are now ready for the main event: the glue-down installation. This installation method is the only one you should use for a bathroom project. It creates a solid, water-resistant bond between your engineered flooring and the subfloor. This step is crucial for a successful DIY hardwood floor installation.
Why Glue-Down is Best for Bathrooms
When choosing your installation method, the glue-down technique offers superior protection in a wet environment. A floating floor can shift, creating gaps where water can seep underneath. The glue-down installation provides a more secure barrier.
- Better Performance: The adhesive reduces the risk of water getting under the flooring and causing damage.
- No Movement: Unlike a floating floor, a glued floor does not shift, buckle, or create gaps due to humidity changes.
This process makes your engineered wood floors a single, solid unit with the subfloor.
Applying Waterproof Flooring Adhesive
You must use a 100% urethane-based, waterproof flooring adhesive. These products create a strong bond and act as an additional moisture barrier. Some excellent options include:
- Bostik’s BEST®
- Vapor-Lock™
- GREENFORCE®
You will spread the adhesive with a trowel. The trowel size depends on your specific installation needs.
| Application Condition | Trowel Size and Type |
|---|---|
| No moisture mitigation | 1/4 in. Flat V-Notch |
| For moisture mitigation | 1/4 in. x 3/16 in. Tiger Tooth |
Only spread enough adhesive to lay a few rows of flooring at a time. This prevents the glue from drying before you can place the engineered planks.
Laying the First and Subsequent Rows
A straight start is essential for a professional-looking hardwood floor installation. You should not start against a wall, as most walls are not perfectly straight. Instead, you will snap a chalk line to guide your first row.
Once you install engineered wood along your chalk line, you can work your way across the room. To ensure tight seams between each piece of engineered flooring, you will need a few tools.
- Use a rubber mallet and a tapping block to gently tap the planks together.
- A pull bar helps you tighten the last plank in a row.
This DIY hardwood floor installation requires careful work, but these tools make the job much easier. Taking your time on this part of the installation ensures a beautiful, gap-free finish.
Step 4: Sealing Your New Engineered Wood Floors for Protection
Your installation is not complete until you seal every edge and gap. This final waterproofing step is what protects your new engineered wood floors from moisture damage. You must create a complete barrier to keep water on top of the flooring.
Filling the Perimeter Expansion Gap
You left an expansion gap around the room’s perimeter during the installation. Now you must seal it correctly. Since engineered flooring is not typically recommended for bathrooms, you must use a flexible method to seal this gap and allow for movement.
Pro Tip: A 100% silicone sealant is your best choice for a waterproof, flexible seal.
For a professional finish on your engineered flooring installation, follow these steps:
- Insert a compressible foam backer rod into the gap. This fills the space.
- Apply painter’s tape along the edge of the flooring and the base of the wall.
- Apply a bead of silicone sealant over the foam rod.
- Smooth the bead with a wet finger or a caulking tool.
- Remove the tape before the sealant dries for a clean line.
Sealing Around Toilets, Tubs, and Vanities
Water often splashes around fixtures. You must create a watertight seal in these high-risk areas. Sealing around your toilet, tub, and vanity is a critical part of the installation.
You can achieve a perfect seal with this process:
- Clean the Area: First, you need to remove any old caulk or dirt. The surface must be clean for the new sealant to stick properly.
- Apply the Sealant: Use a high-quality, 100% silicone caulk. Apply a steady, thin bead where the engineered flooring meets the base of the toilet or tub.
- Smooth the Bead: Use a gloved finger to smooth the caulk line. This ensures a good seal and a clean look for your engineered flooring.
Curing Times for Adhesives and Sealants
Patience is key after your hard work. Your adhesive and sealants need time to cure fully. Curing is the chemical process that gives the products their final strength and water resistance. Walking on the flooring too soon can ruin the installation.
Always check the manufacturer’s instructions for your specific products. Curing times can vary greatly.
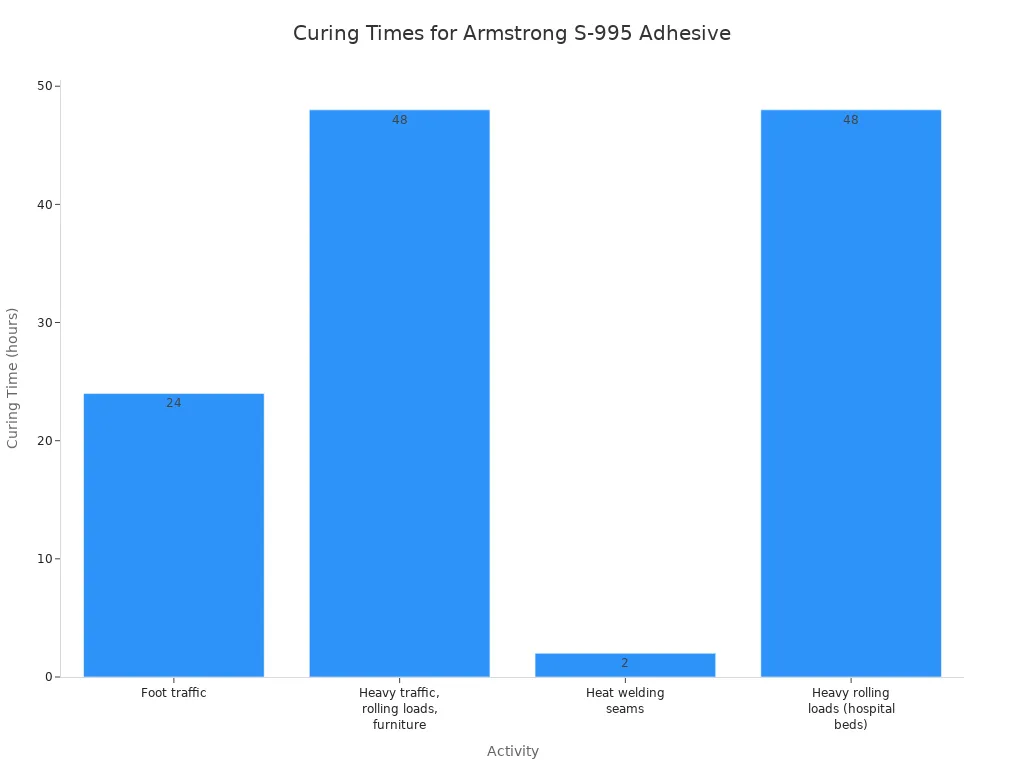
| Adhesive Example | Activity | Curing Time |
|---|---|---|
| SikaBond®-T100 | Light foot traffic | ~8 hours |
| Armstrong Flooring S-995 | Foot traffic | 24 hours |
| Armstrong Flooring S-995 | Heavy traffic/furniture | 48 hours |
Silicone caulk typically needs 24 hours to cure. Do not expose your new engineered wood floors to water during this period.
Step 5: Finishing Touches and Long-Term Maintenance
You have almost completed your bathroom flooring project. The final steps involve adding trim and learning how to care for your new floor. Proper maintenance ensures your DIY installation looks great for years.
Installing Baseboards and Trim
Your installation requires trim to cover the perimeter expansion gap. You can install quarter-round or shoe molding over the existing baseboards. This trim piece covers the gap and allows the engineered flooring to expand and contract freely underneath. This is a crucial final step for a professional-looking installation. Nailing the trim to the baseboard, not the flooring, completes your DIY project correctly.
Daily and Weekly Cleaning Routines
You must clean your new engineered wood floors carefully. Regular cleaning protects the finish and prevents damage. For daily care, you can sweep or vacuum with a soft-bristle head.
A microfiber flat mop is the best tool for weekly cleaning. You can lightly mist a pH-neutral cleaner onto the mop pad, not directly on the floor. Microfiber pads are designed to scrub and absorb moisture effectively.
| Microfiber Pad Feature | Function |
|---|---|
| Polyester Threads | Provide scrubbing ability to lift dirt. |
| Polyamide Threads | Offer absorbency to pick up liquid. |
Managing Bathroom Humidity and Spills
Bathrooms have high humidity. You must manage moisture to protect your engineered flooring. Use your bathroom’s exhaust fan during and after showers to control humidity levels. Manufacturers recommend keeping the room’s ambient humidity between 35% and 55%.
You must also clean up spills immediately. Quick action prevents water from damaging the wood.
- Clean any liquid spills promptly.
- Use a soft, absorbent cloth to blot the spill.
- Wipe the area dry.
Following these maintenance steps will protect your DIY flooring installation and keep it beautiful.
A successful engineered wood in bathroom project relies on three elements: the right materials, a waterproof glue-down installation method, and completely sealed edges.
This step-by-step guide gives you the confidence to add beautiful wood flooring to your space. With proper maintenance, your new flooring will look great for years. You can enjoy the warmth of an engineered wood in bathroom floor with this correct approach.
FAQ
Can I install engineered wood over an existing tile floor?
Yes, you can install engineered wood over tile. Your tile subfloor must be perfectly flat, clean, and stable. You will need to use a self-leveling compound to fill in grout lines. This creates a smooth surface for the adhesive to bond correctly.
What are the typical installation costs for this project?
The installation costs can vary. Factors include your bathroom’s size, the flooring you choose, and local labor rates. Professional installation costs more than a DIY project. You must also budget for adhesive, sealant, and tools, which add to the overall installation costs.
Is engineered wood better than luxury vinyl plank (LVP) for a bathroom?
LVP is 100% waterproof and often easier to install, making it a safer choice for bathrooms. Engineered wood offers the authentic look and feel of real wood. Your choice depends on your priority: the natural beauty of wood or the superior water protection of vinyl.
What happens if my engineered wood floor gets a deep scratch?
You can repair deep scratches on your engineered wood floor. Use a wood filler putty or a wax repair kit that matches your floor’s color. For widespread damage, you may need to replace the affected plank, which is more complex with a glue-down installation.




