
You must control moisture to protect your bathroom wood floor. This is the single most important action for your hardwood floor. Wiping up every drop of water immediately is non-negotiable in the bathroom. This simple habit is your best defense against damage. It helps with preventing mold and mildew in your bathroom. Ignoring small spills can lead to expensive water damage. Repairing hardwood wood flooring from moisture damage can cost between $1,000 and $5,000.
Pro Tip: Make a quick wipe-down part of your daily bathroom routine. This small step protects your beautiful wood flooring and prevents serious damage to the hardwood floor. Consistent care keeps your bathroom wood flooring looking its best.
Daily Care: Your First Line of Defense
Consistent daily habits are the foundation of effective bathroom wood floor maintenance. These simple actions protect your investment and prevent small issues from becoming costly problems. Proper care starts with managing the most immediate threat in any bathroom: water.
Wipe Up Water Instantly
You must act fast when water gets on your hardwood floor. Even with a protective seal, water begins to seep into the wood’s microscopic pores instantly. Splashes and spills are not harmless. Within just a few minutes, standing water can cause a subtle white haze on the finish. If you leave spills for a day or two, the finish can start to bubble or peel as moisture compromises its bond with the wood flooring. This accelerates water damage.
Knowing the early signs of water damage helps you act quickly. Careful maintenance includes watching for these red flags on your wood flooring:
- Dark or discolored areas where water has stained the hardwood.
- Warped or cupped boards that look wavy or have raised edges.
- A blistering or peeling finish on the surface of the wood flooring.
- Loose or buckling boards that lift away from the subfloor.
Treating all spills as urgent is the best strategy for preventing water damage to your beautiful wood flooring.
Use High-Quality Bath Mats
A good bath mat is your first tool to stop spills before they happen. However, you must choose the right kind. The wrong mat can trap moisture, causing the very damage you want to prevent. Your choice of bath mat is a key part of your bathroom wood flooring care routine.
| Recommended Mats 👍 | Mats to Avoid 👎 |
|---|---|
| Wooden or Diatomaceous Earth (DE) Mats: These materials are excellent for a bathroom with wood flooring. Their designs are often elevated, which promotes airflow and quick evaporation. DE is naturally absorbent and antibacterial, helping to prevent mold. | Rubber or Latex-Backed Mats: You should never use mats with a solid rubber or latex backing on hardwood. These backings can trap condensation against the floor. Over time, the backing can also deteriorate and stick to your wood flooring’s finish, causing permanent damage. |
Always lift your mats periodically to ensure the area underneath is completely dry. This simple check helps protect your floor.
Run Your Exhaust Fan
Water does not just come from spills. Every hot shower or bath releases a large amount of steam into your bathroom. This airborne moisture is a serious threat to your hardwood floor. It can settle on the wood flooring, seep into seams, and increase overall humidity.
Your bathroom exhaust fan is essential for removing this excess moisture.
Pro Tip: To make this step effortless, consider installing a timer switch for your fan. You can set it and forget it, ensuring your bathroom gets the ventilation it needs every time.
For effective moisture control, you should run your fan for at least 15 to 30 minutes after you finish showering. This duration gives the fan enough time to pull the damp, heavy air out of the room, protecting your wood flooring from the slow, cumulative effects of high humidity. This small habit is a critical part of long-term maintenance.
The Right Way to Clean Your Bathroom Wood Floor
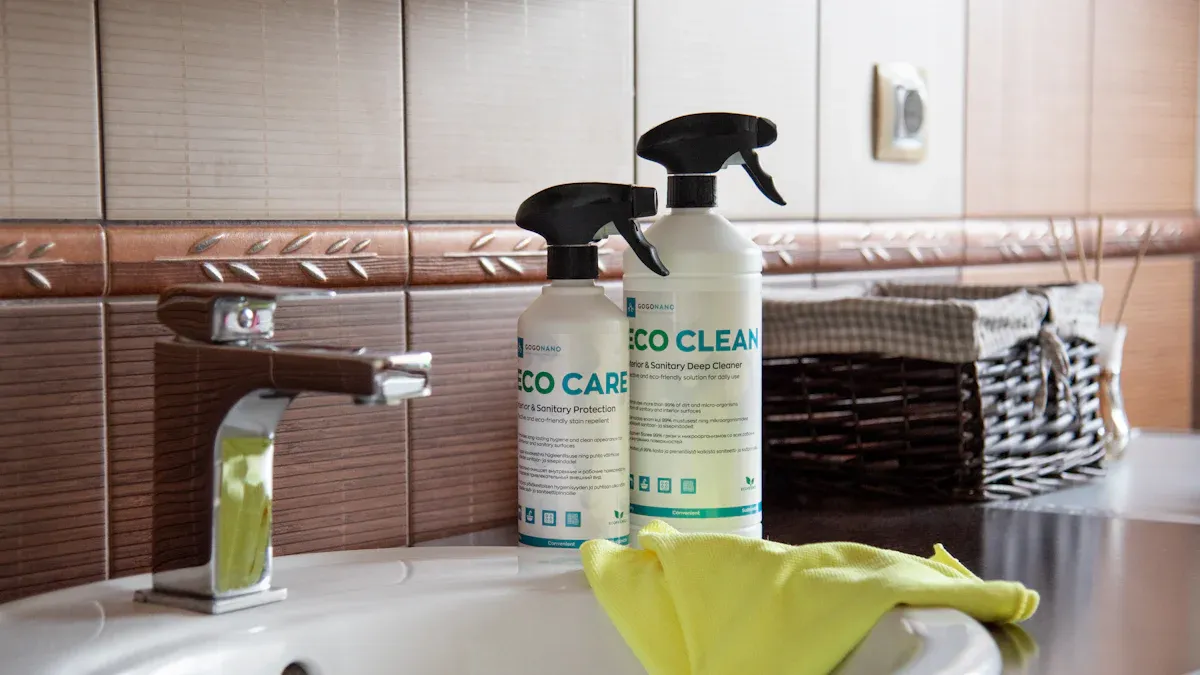
Proper cleaning goes beyond daily spill management. Your weekly cleaning routine is a crucial part of long-term maintenance for your bathroom wood floor. Using the right cleaning techniques and tools protects the finish and structure of your hardwood.
Your Weekly Cleaning Routine
A consistent cleaning schedule prevents dirt and grit from scratching your wood flooring. Follow these steps for effective weekly maintenance in your bathroom.
- Start Dry: First, remove all loose debris. You can use a soft-bristle broom or a vacuum with the correct attachment. This step prevents you from grinding dirt into the wood flooring during the next phase of cleaning.
- Damp Mop: Next, use a microfiber mop. You should lightly mist your cleaner directly onto the mop pad, not the floor. The mop should be barely damp to the touch. This method gives you control over the amount of moisture on your hardwood.
- Work in Sections: Clean the floor in small, manageable sections. This ensures no part of the wood flooring stays wet for too long.
Choose the Right Cleaner
The cleaner you choose is just as important as your technique. You must use a pH-neutral cleaner made specifically for hardwood floors. These formulas are designed to clean effectively without damaging the protective finish on your wood flooring. Avoid using vinegar, ammonia-based cleaners, or oil soaps. These can dull the finish or leave a residue that attracts more dirt.
Pro Tip: Always read the manufacturer’s instructions for your specific wood flooring. They often recommend products tested to be safe for their finish. This simple check is a key part of your cleaning and maintenance plan.
Cleaning Tools You Must Avoid
Using the wrong tools can cause irreversible damage to your bathroom wood flooring. Certain cleaning tools are too aggressive for any hardwood floor.
You must never use a steam mop on your hardwood floor. The high heat and pressure force steam deep into the wood flooring. This can cause the seams between boards to swell and crack, even on a sealed floor. The temperature of steam is far higher than what most wood flooring finishes can handle.
Your vacuum can also be a threat. Avoid attachments that can scratch the surface.
| Tool to Avoid 👎 | Why It’s Harmful |
|---|---|
| Beater Bars | These rotating bars are great for carpet but can dent and scratch the finish of your hardwood. |
| Rotating Brush Rolls | Similar to beater bars, these stiff, spinning bristles can damage the surface of your wood flooring. |
Always turn these features off or use a soft-bristled floor head attachment designed for hardwood. Proper cleaning in the bathroom protects your beautiful floor.
Essential Long-Term Maintenance for Wood Flooring
Daily habits protect your floor, but long-term maintenance ensures its survival. The protective sealant on your wood flooring is its armor against moisture and wear. Over time, this finish wears down. Regular inspections and timely resealing are essential for preventing serious water damage in the bathroom.
Inspect Your Floor’s Sealant
You should check your sealant’s condition every few months. This proactive step is a core part of maintaining hardwood floors. A strong seal prevents moisture from penetrating the hardwood. A worn seal leaves your wood flooring vulnerable to damage.
Look for visual signs that your finish is wearing thin. These clues tell you that your wood flooring needs attention.
- Dullness: The floor loses its shine in high-traffic areas. Cleaners no longer restore its luster.
- Discoloration or Fading: You may see patchy spots where the color looks faded or less uniform.
- Streaks: The surface appears streaky or hazy, even after cleaning.
A simple water test can confirm your suspicions. This test shows you exactly how well your sealant is working.
- Choose a Spot: Pick a high-traffic area in the bathroom, like in front of the vanity or shower.
- Apply Water: Pour about one tablespoon of water onto the wood flooring.
- Observe: Watch the water for a few minutes. If it beads up tightly, your seal is strong. If the water soaks in and darkens the hardwood, the seal has failed. This means moisture can cause damage, and it is time to take action.
When and How to Reseal
When the water test shows your finish is weak, you must reseal the wood flooring. A process called “screening and recoating” is often enough. This process roughs up the existing finish so a new coat can bond to it. This is a key task for maintaining hardwood floors.
Pro Tip: You can rent the necessary tools for this job. A screen-and-recoat is a manageable DIY project that saves your hardwood floor from more extensive damage.
This maintenance task requires specific materials and careful steps.
| Materials Needed 🛠️ |
|---|
| Floor polisher with sanding screens |
| Palm sander for edges |
| Vacuum and tack cloths |
| Plastic sheeting and tape |
Following a clear process ensures a professional result for your wood flooring.
- Prepare the Room: First, clear the bathroom completely. Seal doorways and cabinets with plastic sheeting to control dust.
- Screen the Floor: Use the floor polisher with a sanding screen to lightly abrade the old finish. Keep the machine moving to avoid creating uneven spots on the floor. Use a palm sander for edges and corners.
- Clean Thoroughly: Vacuum all dust from the bathroom. Wipe the entire wood flooring surface with a tack cloth. The floor must be perfectly clean before you apply the new finish.
Check for Hidden Leaks
Some of the worst water damage comes from leaks you cannot see. Slow drips from pipes or fixtures can silently destroy your subfloor and hardwood from below. Careful maintenance includes regular inspections for these hidden threats.
Common sources of hidden moisture are often near plumbing fixtures.
- Toilets: A failing wax ring at the base of the toilet can cause slow leaks.
- Vanities: Loose pipe connections or a failing valve under the sink are frequent culprits.
- Tubs and Showers: Cracked grout or failing caulk can let water seep into the walls and under the bathroom wood flooring.
Be alert for the subtle signs of a hidden leak. Finding a problem early can save you from costly repairs. Watch for a persistent musty smell, which indicates mold growth from constant moisture. Look for warped or cupped boards on your hardwood floor. These signs mean the wood is absorbing water. Peeling paint on walls near the floor also signals a moisture problem. An unexplained increase in your water bill is another major red flag for hidden water damage. Regular maintenance of your bathroom plumbing is as important as caring for the floor itself.
Preventing Scratches and Physical Damage
Moisture is not the only enemy of your bathroom wood flooring. Scratches, dents, and scuffs from daily life can ruin the finish of your hardwood floor. Proper maintenance includes protecting your floor from physical damage. This keeps your beautiful wood flooring looking new.
Use Felt Pads on Furniture
You can easily prevent scratches from furniture. Place soft felt pads on the bottom of any movable items in your bathroom. This includes vanity stools, storage carts, or freestanding cabinets. These pads allow furniture to glide smoothly across the wood flooring without causing harm. This simple maintenance step is a cheap and effective way to protect your hardwood investment in the bathroom.
Address Scratches Immediately
When you spot a scratch on your hardwood floor, you should act quickly. Fixing minor issues prevents bigger problems later. Your repair method depends on the depth of the scratch on the wood flooring.
| Scratch Type | Recommended DIY Fix |
|---|---|
| Minor Surface Scratches | Use a stain pen that matches your wood flooring. Apply it along the grain to conceal the mark. |
| Medium Scratches | Fill the scratch with a soft wax stick or crayon that matches your hardwood. |
| Deeper Scuffs & Scratches | For widespread scuffs, you can lightly sand the entire board and reapply a polyurethane finish. This ensures a uniform look for your wood flooring. |
Note: Some products like orange oil polish may not work on light scratches. Prompt and correct repairs are a key part of your bathroom floor maintenance.
Be Mindful of Foot Traffic
The shoes you wear can cause serious damage to your hardwood floor. High heels are especially dangerous for any wood flooring. A 125-pound person in stilettos puts more pressure on a floor than an elephant. This pressure creates dents and dings in the hardwood.
You should also watch out for other types of footwear in the bathroom.
- Shoes with debris: Dirt and sand stuck to soles act like sandpaper on your wood flooring.
- Black rubber soles: These can leave ugly scuff marks on the floor surface.
The best policy for your bathroom is to go barefoot or wear soft slippers. This simple habit protects your wood flooring from unnecessary wear and tear.
Managing Humidity: The Unseen Threat to a Hardwood Floor in Bathroom
High humidity is a silent threat to your hardwood floor in bathroom. While you can see spills, you cannot see the moisture in the air. This airborne moisture can cause significant damage to your wood flooring over time. Managing the humidity in your bathroom is just as important as wiping up water. Constant high humidity creates the perfect environment for problems that can ruin your beautiful hardwood.
Why Humidity Matters
Wood is a natural material. It breathes, expands, and contracts based on the amount of moisture in the air. This movement is normal, but extreme changes in humidity cause damage. Your hardwood floor in bathroom is especially vulnerable to high humidity.
Understanding these changes helps you protect your wood flooring.
- Gapping: When humidity is low, your hardwood loses moisture and shrinks. This can create small gaps between the boards of your wood flooring.
- Cupping: When high humidity is present, your hardwood absorbs moisture and expands. The edges of the boards can rise higher than the center, creating a cupped or wavy look. This is a common form of damage for a hardwood floor in bathroom.
Controlling the humidity in your bathroom prevents this cycle of expansion and contraction, protecting the structure of your wood flooring.
Monitor Your Home’s Humidity
You cannot control what you do not measure. You should monitor the humidity in your home to protect your hardwood. A digital hygrometer is an excellent tool for this job. It gives you precise readings of the moisture levels in your bathroom. Look for a model with an easy-to-read digital display and good accuracy. Some devices can even log data over time, helping you see humidity patterns. Keeping an eye on the humidity is a simple step to prevent long-term damage to your wood flooring.
How to Control Humidity Levels
You have several options to control high humidity in the bathroom. Your exhaust fan is your first line of defense. However, for persistent high humidity, you might need more. A dehumidifier is another powerful tool. It actively pulls moisture from the air. This is very effective for a hardwood floor in bathroom.
Choosing between a dehumidifier and a high-powered exhaust fan depends on your needs. Both can protect your wood flooring.
| Feature | Dehumidifier | Exhaust Fan |
|---|---|---|
| Primary Function | Reduces moisture | Ventilates air |
| Installation | None, it is portable | Requires professional installation |
| Energy Use | Moderate | Low |
| Maintenance | Regular tank emptying | Occasional cleaning |
For the best results, you might consider a whole-home solution. An Energy Recovery Ventilator (ERV) can manage humidity throughout your house, including the bathroom. This system helps balance the moisture levels, offering constant protection for all the wood flooring in your home. Proper humidity control is the key to a long-lasting hardwood floor.
Protecting your bathroom wood floor relies on three key actions. You must control moisture, clean gently, and maintain the protective finish. This proactive care ensures the durability of your hardwood. Consistent attention to moisture in the bathroom is vital for the durability of the hardwood. Your bathroom wood flooring requires this focus.
Your effort protects your investment. Proper maintenance increases your home’s value and ensures the long-term durability of your hardwood. This simple care prevents costly repairs from moisture damage.
The durability of your hardwood floor in the bathroom depends on you. A beautiful bathroom with a lasting hardwood floor is your reward.
FAQ
What is the best hardwood flooring for bathroom use?
When choosing hardwood flooring, you should prioritize moisture resistance. The best types of wood flooring for a bathroom are engineered hardwood or site-finished solid hardwood. These options offer better resistance to moisture than pre-finished solid hardwood. The best hardwood flooring for bathroom applications has a strong, professionally applied finish.
How long does hardwood last in a bathroom?
The lifespan in moisture-rich areas depends entirely on your care. With diligent maintenance, a well-sealed hardwood floor can last for decades in a bathroom. Your floor’s resistance to damage relies on you controlling spills and humidity. Proper care is essential for any hardwood in the bathroom.
Are there better alternatives to hardwood in a bathroom?
Yes, you have many water-resistant options. For example, waterproof laminate flooring provides a wood look with superior water resistance. Luxury vinyl tile is another excellent choice for a bathroom. These materials offer great durability and resistance to moisture, making them practical for a busy bathroom.
| Alternative | Key Benefit |
|---|---|
| Waterproof Laminate Flooring | Excellent water resistance and realistic wood look. |
| Luxury Vinyl Tile (LVT) | 100% waterproof and highly durable for any bathroom. |
How can I improve my bathroom hardwood’s water resistance?
You can boost your hardwood floor’s resistance by maintaining its protective finish. Regularly inspect the sealant and reapply it when it wears down. This action is your best defense. It ensures the hardwood has maximum resistance against water and protects your bathroom floor from damage.




