
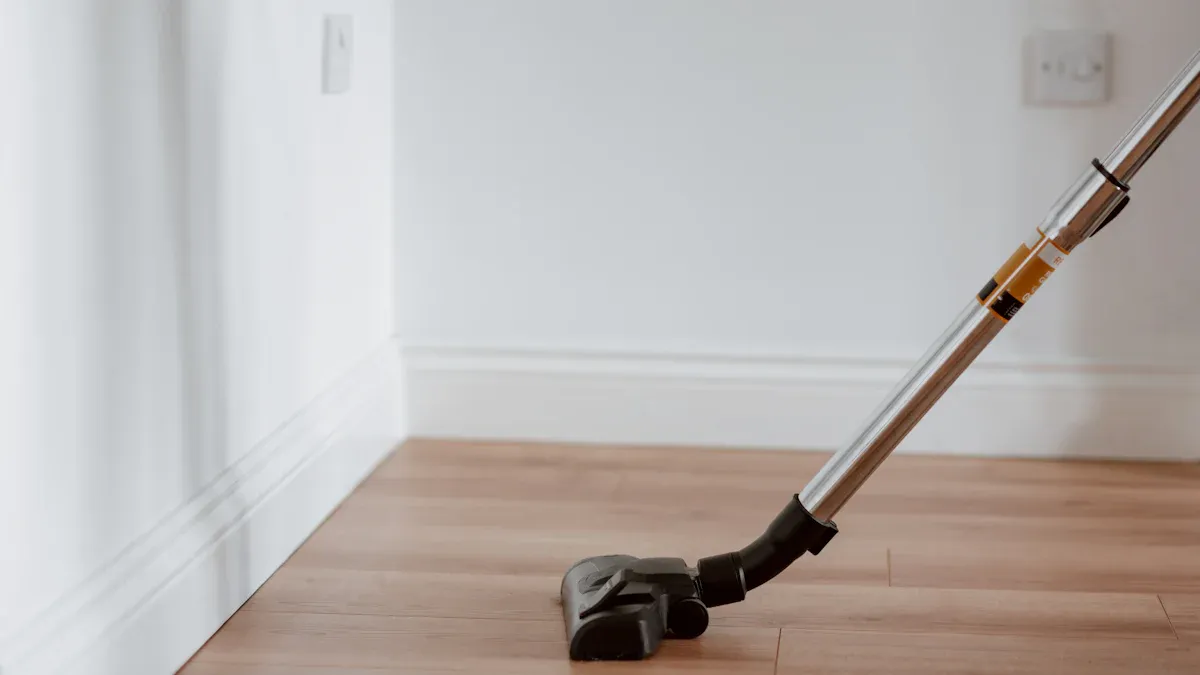
Proper buffing techniques for vinyl floors are crucial for maintaining their appearance and longevity. You can achieve a mirror-like finish that enhances the beauty of your floors. Here are some key benefits of using a buffer for maintenance:
- Buffing smooths out scratches and wear, restoring the glossy finish.
- Regular buffing extends the life of the wax, delaying the need for a full strip and recoat.
- This process contributes to a cleaner, more sanitary floor surface.
By learning how to buff vinyl floors effectively, you can keep your floors looking their best for years to come.
Preparation for Buffing
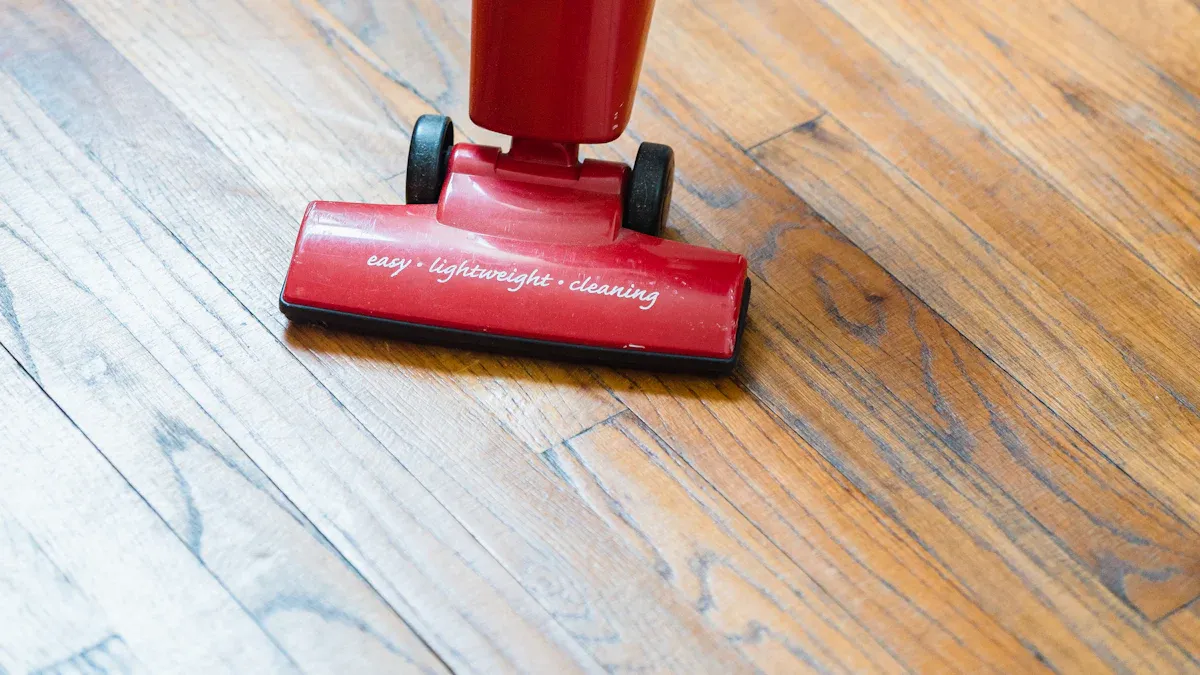
Before you start buffing your vinyl floors, proper preparation is essential. This ensures a smooth process and helps you achieve the best results. Here’s what you need to know.
Necessary Tools for Buffing
Gathering the right tools is crucial for effective buffing. Here’s a list of essential items you will need:
- Floor Buffer: Choose a low-speed buffer for spray buffing or a high-speed buffer for a deeper shine.
- Buffing Solution: Select a solution that is appropriate for your specific floor type.
- Spray Bottle: Use this for applying the buffing solution evenly.
- Clean Mop and Bucket: These are necessary for rinsing or applying solutions.
- Clean Buffing Pads: Different pads are available for polishing, scrubbing, and stripping.
- Safety Gear: Gloves protect your skin during the process.
Safety Measures for Buffing
Safety should always come first when you buff your vinyl floors. Here are some effective measures to prevent accidents:
- Prepare the Area: Use a stripping solution to remove old wax and thoroughly clean the floor. This helps avoid slips and falls.
- Ventilation: Ensure good airflow by opening windows or using fans. This is especially important when using chemicals.
- Wear Protective Gear: Equip yourself with gloves, goggles, and a mask. This protects you from harmful fumes and potential injuries.
- Wet Floor Signs: Place signs to warn of slippery areas. Ensure they are visible where surfaces are wet.
- Training: Train maintenance staff to promptly place signs after cleaning. This helps prevent accidents.
By following these preparation steps and safety measures, you set yourself up for a successful buffing experience.
How to Buff Vinyl Floors: Step-by-Step Process
To achieve a beautiful finish on your vinyl floors, follow this step-by-step process. Each step is crucial for ensuring that you buff effectively and safely.
Setting Up the Buffer
Begin by preparing your buffer. Here’s how to set it up correctly:
- Clear the Area: Remove furniture and any obstacles from the floor. This ensures you have a clear space to work.
- Choose the Right Pad: Use a low-speed single-disc buffer with a white scrubbing pad. This type of pad is ideal for vinyl floors and helps avoid damage.
- Prepare the Cleaning Solution: Mix a pH-neutral cleaner in a spray bottle. This cleaner will help lift dirt and grime without harming the vinyl.
- Test the Buffer: Before starting, test the buffer on a small, inconspicuous area. This helps you ensure that the buffer works well with your specific floor type.
Buffing Technique
Now that your buffer is set up, it’s time to buff your vinyl floors. Follow these techniques for the best results:
- Work in Sections: Divide the floor into manageable sections. This allows you to focus on one area at a time.
- Spray the Cleaner: Lightly spray the pH-neutral cleaner on the section you are working on. Avoid soaking the floor, as excess moisture can damage the vinyl.
- Buff with Care: Use side-to-side motions with steady pressure. This technique ensures complete coverage and prevents streaks. Remember to keep the buffer moving to avoid overheating any one spot.
- Monitor the Floor: Keep an eye on the cleaner. If it starts to dry, spray a little more to maintain a wet surface while buffing.
Professional cleaners often follow these steps:
- Prepare the area by ensuring it is free of debris.
- Use a low-speed buffer equipped with a white scrubbing pad.
- Work in sections, spraying the floor with a pH-neutral cleaner before buffing.
- Buff the area using side-to-side motions with steady pressure.
- Mop the floors again if necessary to remove any residue left from buffing.
Post-Buffing Cleanup
After buffing, it’s essential to clean up properly. Here’s how to do it:
- Remove Residue: Use a clean mop and bucket to remove any leftover cleaning solution. This prevents buildup and keeps your floors looking fresh.
- Inspect the Floor: Check for any missed spots or areas that need additional buffing. Touch up as necessary.
- Use Safe Cleaning Agents: For stubborn stains, consider using safe cleaning agents. Here’s a quick reference table:
| Cleaning Agent | Use Case |
|---|---|
| WD-40 | Effective for tackling scuffs on vinyl floors. |
| Baking Soda | Ideal for removing stubborn stains like red pasta sauce or wine. |
| Baby Oil | Restores shine to dull vinyl floors; can be mixed with vinegar for added cleaning power. |
| Rubbing Alcohol | Useful for removing tough stains like grease, ink, or permanent markers. |
| Bona Hard-Surface Floor Cleaner | An eco-friendly option safe for children and pets. |
| Aunt Fannie’s Floor Cleaner | A multi-surface cleaner that is effective for vinyl floors. |
| Swiffer WetJet Multi-Purpose Cleaner | Specifically designed for cleaning vinyl, tile, and laminate floors. |
By following these steps, you ensure that your vinyl floors remain in excellent condition and maintain their shine.
Tips for Achieving Optimal Buffing Results
Selecting the Right Polish
Choosing the right polish can significantly enhance the shine and durability of your vinyl floors after buffing. Here are some effective options to consider:
- High gloss vinyl floor polish: This polish provides a protective layer that enhances the floor’s appearance and extends its lifespan.
- Quick Shine Pure Wax Floor Polish: This product revitalizes and safeguards your floors. It is easy to apply and enhances the natural beauty while protecting against wear.
- Vinyl flooring wax: This option fills in scratches and scuffs, creating a smooth surface that reflects light better.
Using the right polish not only improves the look of your floors but also helps maintain their condition over time.
Maintenance Tips for Vinyl Floors
Regular maintenance is key to prolonging the life of your vinyl floors. Here are some recommended routines:
- Damp Mopping/Spot Mopping: Regularly remove dust and spills with a mop dampened with a neutral detergent solution.
- Wet Mopping: Use a detergent solution to clean the floor, especially for soils not removed by sweeping.
- Scrubbing: For heavily soiled floors, use a detergent solution with a moderately abrasive pad or brush.
- Wet Vacuuming: Employ a vacuum designed for aqueous solutions, useful during scrubbing or rinsing.
- Polishing/Finishing the Floor: This protects the flooring from wear, enhances appearance, and eases maintenance.
To maintain optimal appearance and durability, buff your floors based on the setting. For homes, buff every 4–6 months. High-traffic businesses should buff every 2–3 months, while healthcare settings require monthly buffing. Following these tips will keep your vinyl floors looking their best.
Common Buffing Mistakes to Avoid
When buffing your vinyl floors, avoiding common mistakes can save you time and money. Two significant issues to watch out for are over-buffing and using incorrect products.
Over-Buffing Issues
Over-buffing can lead to serious problems for your vinyl floors. Here are some consequences you should be aware of:
- Indoor Air Quality: Over-buffing releases fine particulate matter (PM2.5) and volatile organic compounds (VOCs) into the air. This can significantly impact indoor air quality.
- Air Pollution: The buffing process generates air pollution, including large particles (PM10) and fine inhalable particles (PM2.5). These particles can remain airborne for extended periods, affecting your health.
- Dust and Mold Disturbance: Buffing can disturb dust, mold, and pathogens, further degrading indoor air quality. This may lead to respiratory issues for you and your family.
To prevent these issues, always buff your floors with care and avoid excessive pressure or repeated passes over the same area.
Using Incorrect Products
Using the wrong products during the buffing process can ruin your vinyl floors. Here are some risks associated with incorrect product usage:
- Unsatisfactory Results: The wrong solutions can lead to poor results, leaving your floors looking dull or damaged.
- Chemical Burns: Incorrect chemical-to-water dilution ratios may cause chemical burns and expose you to harmful fumes, including VOCs.
- Sticky Buildup: Applying wax or polish can create a sticky buildup that attracts dirt and debris. This buildup can further damage the vinyl surface.
- Unnecessary Damage: The protective coating on vinyl flooring means that wax and polish are unnecessary. Applying them can lead to irreversible damage.
To keep your floors in top shape, always choose products specifically designed for vinyl. Avoid harsh chemicals like ammonia and bleach, as they can scratch or discolor the surface.
By being mindful of these common mistakes, you can maintain the beauty and longevity of your vinyl floors.
Buffing your vinyl floors can significantly enhance their appearance and longevity. Remember these key points:
- Regular sweeping and prompt spill cleanup are essential.
- Use the right cleaning products to maintain your floors.
- Evaluate the condition of your floors before buffing.
By committing to regular maintenance, you can extend the life of your vinyl floors. This includes periodic deep cleaning and using manufacturer-recommended cleaners. Professional buffing techniques not only restore shine but also prevent long-term damage. They create a healthier living environment by removing allergens and bacteria. Investing in proper care saves you money in the long run, as it reduces the need for costly repairs or replacements. Keep your floors looking their best with these practices!
FAQ
How often should I buff my vinyl floors?
You should buff your vinyl floors every 4 to 6 months for homes. For high-traffic areas, consider buffing every 2 to 3 months. Regular buffing helps restore shine and keeps your floors looking fresh.
Can I use any cleaner for buffing?
No, avoid harsh cleaners. Use a pH-neutral cleaner specifically designed for vinyl floors. This prevents damage and helps restore shine without leaving residue.
What should I do if my buffer leaves streaks?
If your buffer leaves streaks, check the buffing pad for dirt or residue. Clean or replace the pad, and ensure you apply the cleaner evenly. This will help achieve a smooth finish.
Is it necessary to wax vinyl floors?
Waxing is not necessary for vinyl floors. Instead, focus on regular cleaning and buffing to maintain their shine. Wax can create buildup and damage the surface over time.
Can I buff vinyl floors myself?
Yes, you can buff vinyl floors yourself. Follow the proper techniques and use the right tools. This will help you achieve professional-looking results while saving money.




