
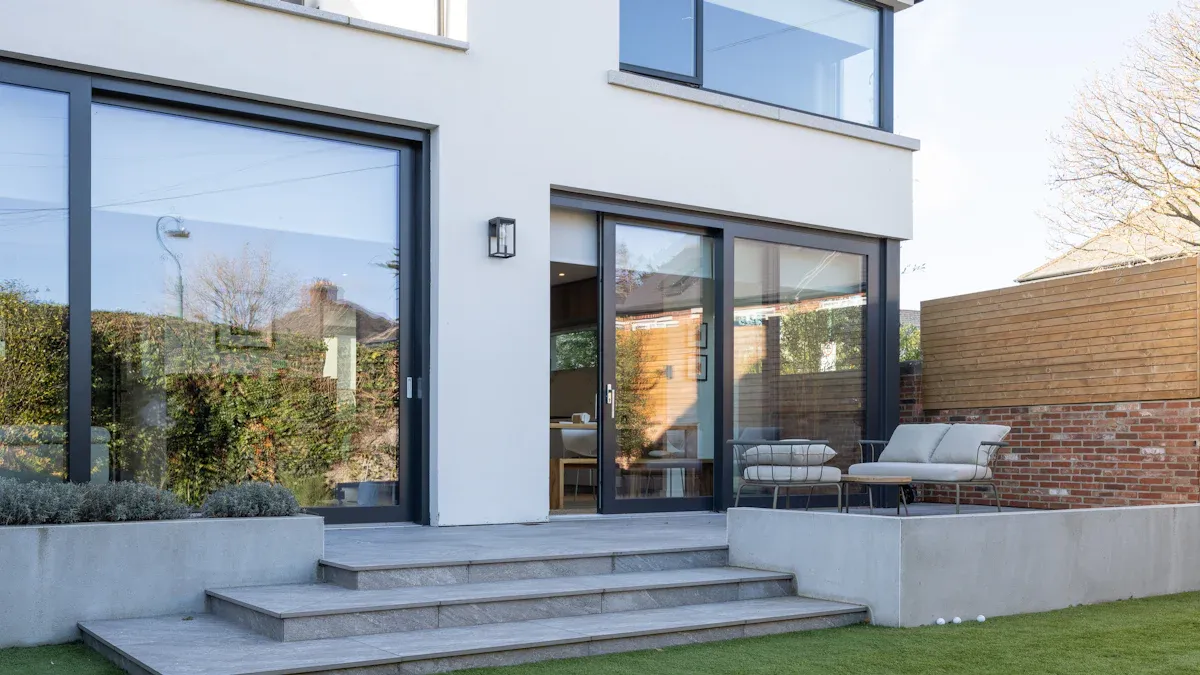
You can transform your outdoor space with vinyl plank flooring exterior. This flooring stands out because it is 100% waterproof and handles moisture on patios or pool areas with ease. You get a durable surface that resists scratches and dents from heavy use or outdoor furniture. Vinyl plank flooring exterior also keeps its shape during hot or cold weather. Cleaning takes little effort—just sweep or rinse. Many styles let you match your favorite outdoor look. Choose this option for lasting durability and simple care.
Outdoor Vinyl Flooring: Materials and Tools Checklist
Essential Materials for Vinyl Plank Flooring Exterior
When you plan your outdoor vinyl flooring project, you need to gather the right materials. Start with planks that are rated for use installed outdoors. These planks should have a thick wear layer and a waterproof core. You also need a moisture-resistant underlayment to protect the subfloor. Choose an outdoor-grade adhesive if you use a glue-down method. For click-lock systems, make sure you have spacers to keep expansion gaps even. You may also want edge trims and transition strips for a clean finish.
Tip: Always check the warranty and product details to confirm the planks are designed for outdoor use.
Recommended Tools for Install Vinyl Plank Flooring
You can make your installation easier with the right tools. Professionals recommend these items for installing luxury vinyl plank flooring outdoors:
- Tape measure
- Chalk line
- Level
- Square tool
- Utility knife or tough plank cutter
- Power saw (for thick planks)
- Crowbar
- Floor roller
- Trowel (for glue-down)
- Sander (for surface prep)
- Spacers
- Knee pads
- Dead blow hammer
- Plank puller
- Linoleum or tuck knife
These tools help you cut, fit, and secure each plank. They also keep your work safe and comfortable.
Best Brands and Product Picks for Installed Outdoors
Choosing the right product makes a big difference. Look for brands known for durability, waterproofing, and scratch resistance. Many top brands offer luxury vinyl plank options made for outdoor vinyl flooring. Use this table to compare features:
| Brand | Wear Layer | Waterproof | Install Method | Warranty |
|---|---|---|---|---|
| COREtec | 20 mil | Yes | Click-lock | 15-25 years |
| Shaw Floorté | 20 mil | Yes | Click-lock | 20 years |
| Armstrong | 22 mil | Yes | Glue-down | 15 years |
You should always check for thick planks (5mm to 8mm) and a strong warranty. This helps your flooring last longer when installed outdoors.
Preparing for Vinyl Plank Flooring Exterior Install
Cleaning and Leveling the Outdoor Surface
You need to start with proper floor preparation before any installation. A clean, flat surface helps your vinyl plank flooring exterior last longer. Follow these steps for best results:
- Check the surface for nails or screws. Sink any fasteners below the surface to avoid damage.
- Use a long bubble level to spot dips or bumps. Uneven spots can cause gaps or noises after installation.
- Fill low areas with floor patch or thinset. Spread it with a trowel and use a straight edge to make the surface flat.
- Remove baseboards if possible. This step helps you create a clean look and allows for expansion gaps.
A smooth, level base gives your outdoor vinyl flooring the right environment to perform well.
Ensuring Proper Drainage and Moisture Protection
You must protect your flooring from water and moisture. Good drainage and protection keep your installation strong and safe. Here are some important tips:
- Use a solid, flat subfloor like concrete or pressure-treated plywood. Do not install over dirt or grass.
- If you have decking, add an exterior-grade underlayment for a flat surface.
- Choose adhesives made for outdoor use or moisture-cured types for glue-down installation.
- Leave a 1/4 inch expansion gap around all edges. This gap lets the planks expand and contract with temperature changes.
- Add transition strips or caulking at thresholds to block water.
- Plan for shade with awnings or rugs to reduce sun damage.
- Make sure water flows away from the subfloor by creating a slight slope or drainage gaps.
These steps help prevent mold, rot, or adhesive failure under your vinyl plank flooring exterior.
Subfloor and Underlayment Tips for Outdoor Vinyl Flooring
You want a strong base for your outdoor vinyl flooring. Always use a subfloor that resists moisture. Concrete slabs work well, but pressure-treated plywood is also a good choice. For extra protection, install a moisture-resistant underlayment. This layer blocks water and keeps your flooring stable. Follow the manufacturer’s instructions for underlayment and adhesives. With the right materials and careful floor preparation, your installation will last for years.
Choosing and Installing Vinyl Plank Flooring Exterior
Selecting Planks Rated for Installed Outdoors
You need to choose the right planks before you install vinyl plank flooring outside. Not all vinyl planks work for outdoor use. Standard residential vinyl flooring does not handle full outdoor exposure. Some commercial-grade vinyl products work in covered outdoor areas, but you must check the label. Outdoor-rated vinyl planks have special features that help them last longer in harsh conditions.
- UV resistance protects the planks from fading in sunlight.
- Enhanced temperature stability keeps the planks from expanding or shrinking in hot or cold weather.
- Thicker wear layers and cores add strength and durability.
- Stronger warranties show the product can handle outdoor use.
Here is a quick comparison:
| Feature | Indoor-Rated Vinyl Planks | Outdoor-Rated Vinyl Planks |
|---|---|---|
| Wear Layer Thickness | Typically 12 mil | Typically 20 mil |
| Overall Thickness | Around 5 mm | Around 6.5 mm |
| Core Construction | Rigid core | Rigid core with enhanced durability |
| Locking System | Patented locking system for easy install | Patented locking system for stability |
| Waterproof | 100% waterproof | 100% waterproof |
| Backing | Pre-attached for comfort and sound | Pre-attached for comfort and sound |
| Warranty | Limited residential warranty | Lifetime residential, 20-year commercial |
| Additional Features | For indoor/light commercial use | For harsher outdoor environments |
You should look for planks with a stone plastic composite (SPC) core. This core gives you more stability and resists dents. A wear layer of at least 20 mil helps your floor stay durable. Always check the warranty and make sure it covers floors installed outdoors.
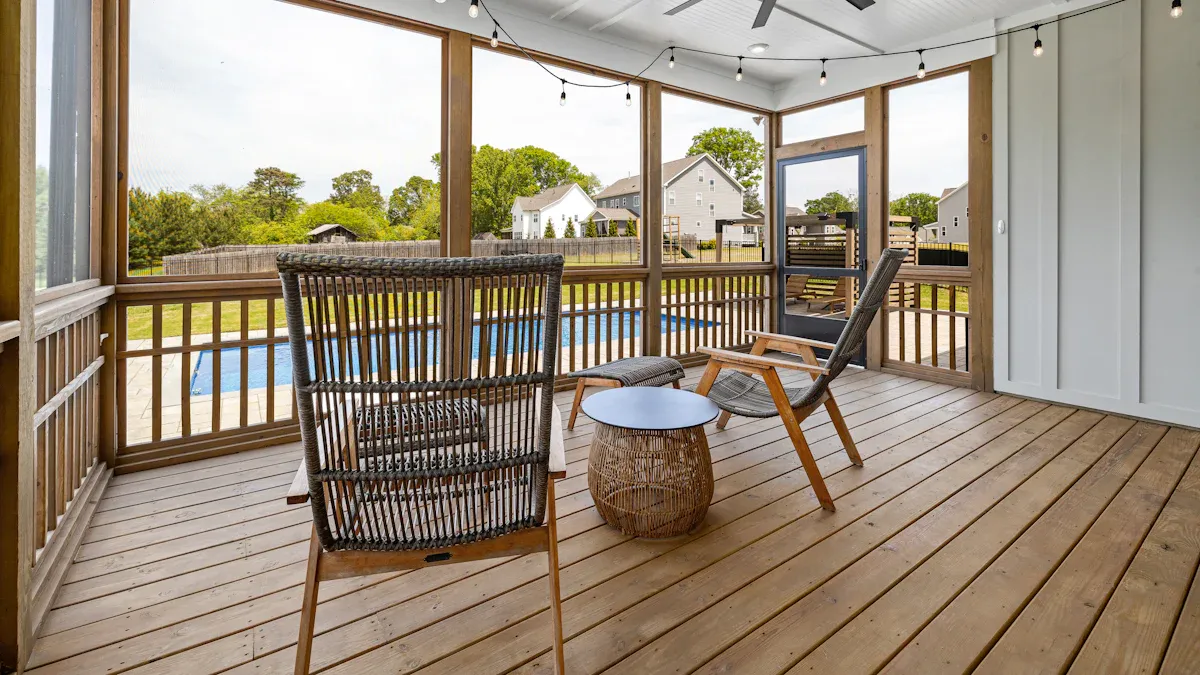
Tip: Vinyl plank flooring exterior works best in covered or semi-protected spaces like sunrooms or screened porches. Fully exposed areas can cause damage from temperature swings and moisture.
Planning Layout and Expansion Gaps
Planning your layout helps you avoid problems during installation. You should always leave expansion gaps around the edges. These gaps let the floating vinyl plank flooring move as temperatures change. If you remove baseboards, you can hide these gaps when you put them back.
- Use spacers to keep a 1/4-inch gap along all walls and fixed objects.
- Place transition strips between large or oddly shaped areas. This prevents stress and popping.
- Undercut door casings and jambs so the planks can slide underneath. This hides gaps and keeps the floor looking neat.
- Lay vinyl plank flooring in the direction that looks best for your space. Many people choose to run planks perpendicular to the main light source.
Always follow the manufacturer’s vinyl flooring installation instructions for expansion gaps. Each product may have different requirements.
Note: Expansion gaps are important for floating vinyl plank flooring. Without them, your floor can buckle or warp.
Step-by-Step Install Vinyl Plank Flooring Process
You can install vinyl plank flooring with a floating or glue-down method. Floating vinyl plank flooring is popular because it is easy and quick. Here are step-by-step instructions to help you lay vinyl plank flooring outdoors:
- Acclimate the Planks: Place the planks in the installation area for at least 48 hours. This helps them adjust to the temperature and humidity.
- Prepare the Subfloor: Make sure the surface is clean, dry, and level. Fix any dips or bumps. Install a moisture-resistant underlayment if needed.
- Plan Your Layout: Measure the area. Snap a chalk line to guide your first row. Dry-lay a few planks to see how they fit.
- Start Laying Planks: Begin in one corner. Place spacers along the wall for expansion gaps. Click or glue the first row in place.
- Stagger the Joints: Cut the first plank of the second row to create a staggered pattern. This makes the floor stronger and looks better.
- Continue Installing: Connect each plank using the locking system or adhesive. Use a tapping block and dead blow hammer to secure the seams.
- Trim and Fit: Cut planks to fit at the ends and around obstacles. Use a utility knife or power saw for clean cuts.
- Install Transitions and Trims: Add transition strips at doorways and between rooms. Install edge trims for a finished look.
- Remove Spacers and Replace Baseboards: After you finish, take out the spacers. Reinstall baseboards to cover the expansion gaps.
- Final Check: Walk over the floor to check for loose planks. Press down or re-tap any raised edges.
🛠️ Pro Tip: For areas near doors or where water might enter, seal seams with a waterproof adhesive. This step helps prevent moisture from getting under the planks.
You should always follow the manufacturer’s instructions for your specific product. Floating vinyl plank flooring needs careful attention to expansion gaps and layout. If you follow these steps, your installation will be smooth and your floor will stay durable for years.
Sealing and Weatherproofing Outdoor Vinyl Flooring
Sealing Edges, Seams, and Doorways
You need to seal all edges, seams, and doorways to keep your outdoor vinyl plank flooring safe from water and weather. Start by checking every seam between planks. Use a vinyl-specific seam sealer to fill any small gaps. This step blocks water from getting under the floor. At the edges, apply a flexible sealant that moves with the floor as temperatures change. You should also seal around doorways and thresholds. Place waterproof foam tape under threshold strips to stop water from sneaking in. When you seal these areas, you give your floor strong protection against rain, wind, and dirt.
Tip: Always check that your sealant is rated for exterior use and offers uv protection. This helps prevent fading and cracking from the sun.
Applying Outdoor-Grade Sealants and Trims
Choosing the right sealant and trim makes a big difference for outdoor vinyl plank flooring. You want products that stand up to sun, rain, and temperature swings. Many experts recommend using exterior sealants with Weather Max Technology™. These sealants resist UV rays, water, mold, and mildew. They stay flexible and strong, even in harsh weather. For trims, look for one-component, advanced polymer adhesive sealants. These work well with waterproof pvc, wood, metal, and masonry. They bond tightly and flex with the floor, so you get long-lasting protection.
Here is a quick guide to help you pick the best products:
| Feature | Description |
|---|---|
| Product Type | Exterior sealant with Weather Max Technology™ |
| Weather Resistance | UV resistant, water resistant, mold and mildew resistant |
| Flexibility | Flexible and resilient to withstand sun, heat, cold, wind, and rain |
| Application | Suitable for exterior use |
| Durability | Provides a durable, waterproof seal |
| Feature | Description |
|---|---|
| Product Type | One-component, advanced polymer adhesive sealant |
| Suitable For | PVC trim, moulding, deck railing, beadboard installations |
| Adhesion | Bonds PVC to wood, metal, masonry, other PVC trim, and more |
| Weather Resistance | Weatherproof, UV-resistant, flexible, durable |
| Temperature Range | Can be extruded down to 0°F |
| VOC Compliance | Meets major green building specifications |
| Durability | Tenacious bond strength that flexes with PVC |
| UV Resistance | Will not yellow or crack over time |
When you use these products, you add another layer of protection to your outdoor floor. Always follow the instructions on the label for best results.
Drying Times and Final Checks
After you apply sealants and trims, you need to let everything dry fully. Most outdoor-grade sealants need at least 24 hours to cure. Check the product label for exact drying times. Do not walk on the floor or place furniture until the sealant sets. This step keeps the seal strong and waterproof.
Before you finish, perform these final checks:
- Inspect plank alignment. Make sure seams are tight and watertight.
- Seal any gaps between planks with a vinyl seam sealer.
- Check the waterproof perimeter. Look at silicone caulk around baseboards and walls.
- Confirm waterproof foam tape sits under threshold strips at doorways.
- Ensure expansion gaps are filled with flexible sealant. This keeps the floor waterproof and lets it move.
- Inspect weekly for discoloration, bubbling, or seam separation.
- Clean up spills right away to stop water from seeping in.
- Use a dehumidifier if needed to control moisture.
🛡️ Note: Regular checks and quick cleanups help your floor keep its uv protection and weatherproof qualities for years.
You now have a floor with strong protection against water, sun, and daily wear. With the right sealants and trims, your outdoor vinyl plank flooring will last longer and look great.
Maintenance and Common Mistakes for Vinyl Plank Flooring Exterior
Routine Cleaning and Seasonal Care
You want your vinyl plank flooring exterior to look great and last for years. Regular cleaning is simple and helps protect your investment. Sweep or use a leaf blower to remove dirt and leaves. For deeper cleaning, use a mop with mild soap and water. Avoid harsh chemicals because they can damage the surface. After storms or in the fall, check for standing water and dry the area quickly. Clean up spills right away to prevent stains or mildew. In winter, use a soft broom to remove snow and avoid metal shovels that can scratch the floor. Good maintenance keeps your outdoor floor durable and looking new.
🧹 Tip: Set a reminder to sweep your floor weekly and check for any signs of wear each season.
Avoiding and Fixing Installation Errors
Many diy projects run into trouble because of common mistakes. You can avoid these problems by planning ahead and using the right tools. Here are some errors to watch for and how to fix them:
- Failing to plan the layout leads to uneven planks and many short pieces. Measure your space and stagger seams by at least 6 inches.
- Installing the first row crooked causes misalignment. Use a chalk line and spacers to keep it straight.
- Skipping plank inspection can let defects slip through. Check each board before you install it.
- Forgetting the expansion gap causes buckling. Always leave a 1/4 inch gap around the edges.
- Not sealing edges in wet areas can cause water damage. Apply a clear silicone sealer to all edges.
- Using the wrong tools can damage planks. Use a rubber mallet and tapping block, not a regular hammer.
If you make a mistake, measure twice and cut once to avoid waste. Let planks adjust to the outdoor temperature for at least 48 hours before you start your diy project. Always follow the manufacturer’s instructions for best results.
Tips for Longevity in Outdoor Vinyl Flooring
You can boost the durability of your outdoor floor with a few smart habits. Choose outdoor-rated vinyl for better weather resistance. Seal all seams and edges to block out moisture. Place mats at entryways to catch dirt and grit. Use furniture pads to prevent scratches from chairs and tables. Clean up spills right away and avoid letting water pool on the surface. Protect your floor from direct sunlight with shade or outdoor rugs. With proper care, your floor can last 10 to 20 years, even in tough outdoor conditions.
🌞 Note: Regular maintenance and careful installation help your floor stay strong and durable for many seasons.
You can install vinyl plank flooring outdoors with simple steps. This flooring stands up to weather and heavy use because it is 100% water-resistant and has a tough wear layer. You get extra strength from its rigid core.
- Resists water and stains
- Handles heavy traffic
- Stays strong in outdoor conditions
You also have access to guides, videos, and care tips. These resources help you finish your project with confidence and get great results. Start your outdoor upgrade today!
FAQ
Can you install vinyl plank flooring on an uncovered patio?
You can install vinyl plank flooring on an uncovered patio if you use planks rated for outdoor use. These planks resist sun, rain, and temperature changes. Always check the product label for outdoor approval.
How do you keep outdoor vinyl plank flooring from fading?
You protect your floor from fading by choosing planks with UV resistance. Place outdoor rugs or add shade with umbrellas. Clean the floor often to remove dirt that can cause wear.
What is the best way to clean outdoor vinyl plank flooring?
Sweep or use a leaf blower to remove dirt. Mop with mild soap and water for deeper cleaning. Avoid harsh chemicals and metal brushes. Quick cleaning keeps your floor looking new.
Do you need to seal vinyl plank flooring outside?
You should seal all seams, edges, and doorways with an exterior-grade sealant. This step blocks water and dirt. Sealing helps your floor last longer and prevents damage.
How long does outdoor vinyl plank flooring last?
Outdoor vinyl plank flooring can last 10 to 20 years. You get the best results by choosing outdoor-rated planks, sealing edges, and cleaning regularly. Proper care extends the life of your floor.




