
Using a vinyl flooring estimator gives you confidence when planning your next project. You get precise material and cost calculations, which help you avoid waste and control your budget.
| Feature | Benefit |
|---|---|
| Accurate Measurements | Ensures precise calculations based on room dimensions and material type. |
| Automated Takeoffs | Reduces manual errors and speeds up the estimation process. |
| Waste Management Features | Helps in calculating the right amount of material needed, minimizing waste. |
You also avoid common mistakes, such as improper plank staggering or insufficient expansion gaps, which can affect the quality of your flooring.
Importance of Flooring Estimator in Project Planning
Streamlining Flooring Estimating for Homeowners
When you start a flooring project, you want to avoid surprises. A vinyl flooring estimator helps you plan every step. You get realistic estimates for materials and labor, which makes budget planning easier. You can see the importance of flooring estimator in the way it brings transparency to your project. Accurate estimates help you manage your finances and prevent unexpected costs. You also get a clear timeline for installation, so you know when your new flooring will be ready.
Tip: Use a vinyl flooring estimator to compare different flooring options and find the best fit for your space and budget.
| Benefit | Description |
|---|---|
| Accurate Cost Planning | Helps control renovation budgets and prevent unexpected expenses. |
| Prevent Delays | Enables project scheduling and avoids delays from miscalculations or last-minute orders. |
| Optimal Material Selection | Guides selection of quality materials that fit within budget constraints. |
Avoiding Costly Errors with Professional Flooring Estimates
Professional flooring estimates give you confidence in your choices. You avoid mistakes that can lead to extra costs, like buying too much or too little material. Flooring estimating tools and expert advice help you make informed flooring decisions. Professional installers have experience that reduces errors, so you do not face hidden costs from mistakes or delays. You get transparency in cost estimations, which means you know exactly what you are paying for.
- Professional installers minimize costly mistakes.
- DIY projects often face hidden costs from errors and delays.
- Accurate estimate tools help you avoid budget overruns.
Ensuring Material Accuracy and Project Confidence
Material accuracy matters for every flooring installation. When you use flooring estimating tools, you get precise measurements and cost estimation. High-quality materials improve comfort, durability, and appearance. You gain peace of mind knowing your investment will last. Accurate estimates and transparent cost estimations help you choose the right materials and avoid future repairs. You also increase property value and enjoy a better environment in your home.
- High-quality materials enhance satisfaction and comfort.
- Superior materials reduce the need for repairs or replacements.
- Accurate flooring estimates give you confidence in your flooring project.
Step 1: Gather Room Measurements for Flooring Estimating
Measuring Your Space Correctly
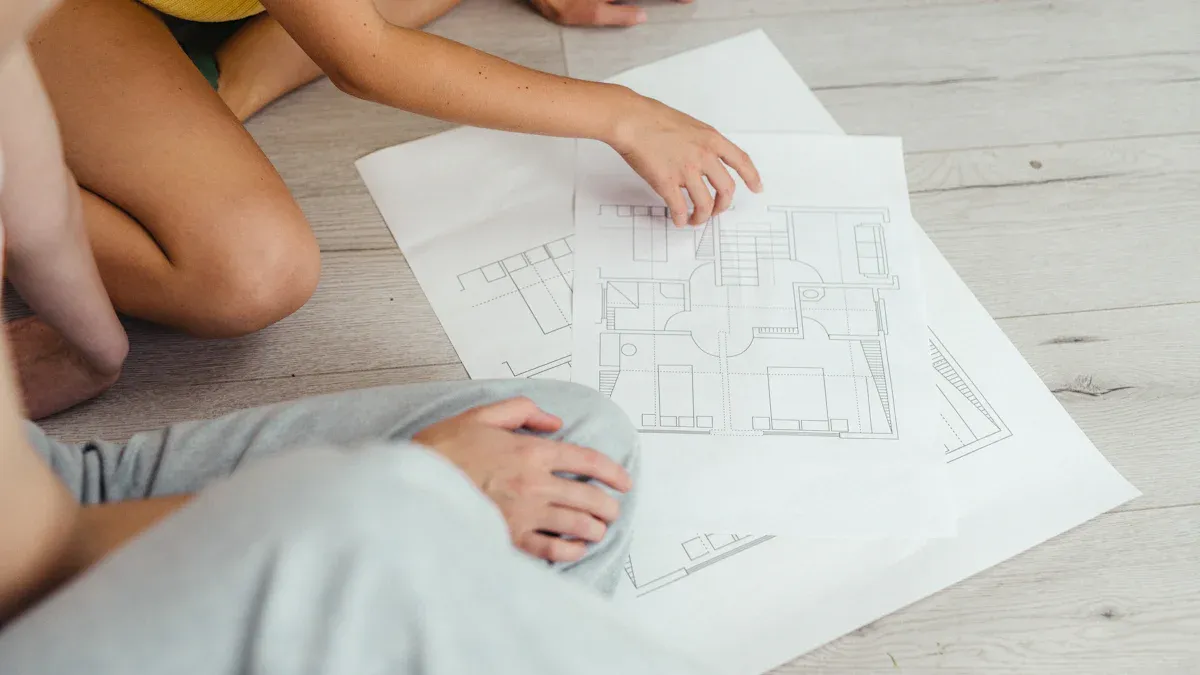
You need to start your vinyl flooring project by measuring your space carefully. Accurate measurements help you buy the right amount of flooring and avoid running short. Gather your supplies first. You will need paper, a pencil, a calculator, and a tape measure. Sketch the shape of your room on the paper. Make sure to include doorways, closets, and any other features that change the shape of the floor.
Follow these steps to measure your room:
- Use your tape measure to find the longest and widest parts of the room. Always round up to the next highest foot.
- Multiply the length by the width to get the area if your room is a rectangle.
- For rooms with odd shapes, break the space into smaller rectangles. Measure each one and add the areas together.
- Add 10% to your total area. This extra amount covers waste from cuts and mistakes.
- Check the packaging of your chosen vinyl flooring. Find out how much area each pack covers. Divide your total area by this number to see how many packs you need.
Tip: Double-check your numbers before you buy. Measuring accurately saves you time and money.
Recording Dimensions and Unique Features
Write down every measurement you take. Label each wall, doorway, and closet on your sketch. If your room has unique features like bay windows or angled walls, note these on your drawing. Mark where you will need to make special cuts. This record helps you plan for extra material and ensures you do not miss any part of the floor.
A clear sketch with all dimensions makes it easier to use a vinyl flooring estimator. You can enter the numbers with confidence, knowing you have not missed anything. This step gives you a strong start and helps you avoid costly mistakes later.
Step 2: Select the Right Vinyl Flooring Type
Comparing Vinyl Flooring Options
You have many choices when you shop for vinyl flooring. Each type offers different features and price points. You want to find the best option for your space and budget. The table below shows the main types of vinyl flooring and their average costs per square foot:
| Type of Vinyl Flooring | Average Cost per Square Foot |
|---|---|
| Standard Vinyl Plank (SVP) | $2 – $5 |
| Luxury Vinyl Plank (LVP) | $4 – $10 |
| Rigid Core Vinyl Plank | $10 – $12 |
| Waterproof Vinyl Plank | $10 – $14 |
Standard vinyl plank gives you a budget-friendly choice. Luxury vinyl plank offers more style and durability. Rigid core and waterproof vinyl planks work well in areas where you need extra strength or water resistance. You should compare these options to see which fits your needs and budget.
Tip: Always check the product specifications for thickness, wear layer, and warranty. These details help you judge the quality and expected lifespan of your flooring.
Matching Flooring to Room Needs
You want your flooring to last and look good. Think about how much traffic your room gets and if it is exposed to moisture. Luxury vinyl tile (LVT) stands out for high-traffic areas like kitchens, hospitals, and restaurants. It resists heavy loads and rarely wears out before you want a new design. LVT installs quickly and costs less than many traditional materials.
- LVT is strong, flexible, and sturdy because it has more vinyl.
- It works well in kitchens since it is waterproof and non-porous.
- You spend less time cleaning and maintaining LVT.
LVT also gives you a high-end look without the high price. Its water resistance makes it perfect for bathrooms and laundry rooms. Many people choose LVT because it combines style, durability, and easy care. When you match the right flooring to your room, you improve comfort and keep your home looking fresh. You also increase the accuracy of your flooring estimate by choosing the right material for each space.
Step 3: Input Data into Vinyl Flooring Estimator
Using Flooring Estimating Software and Online Tools
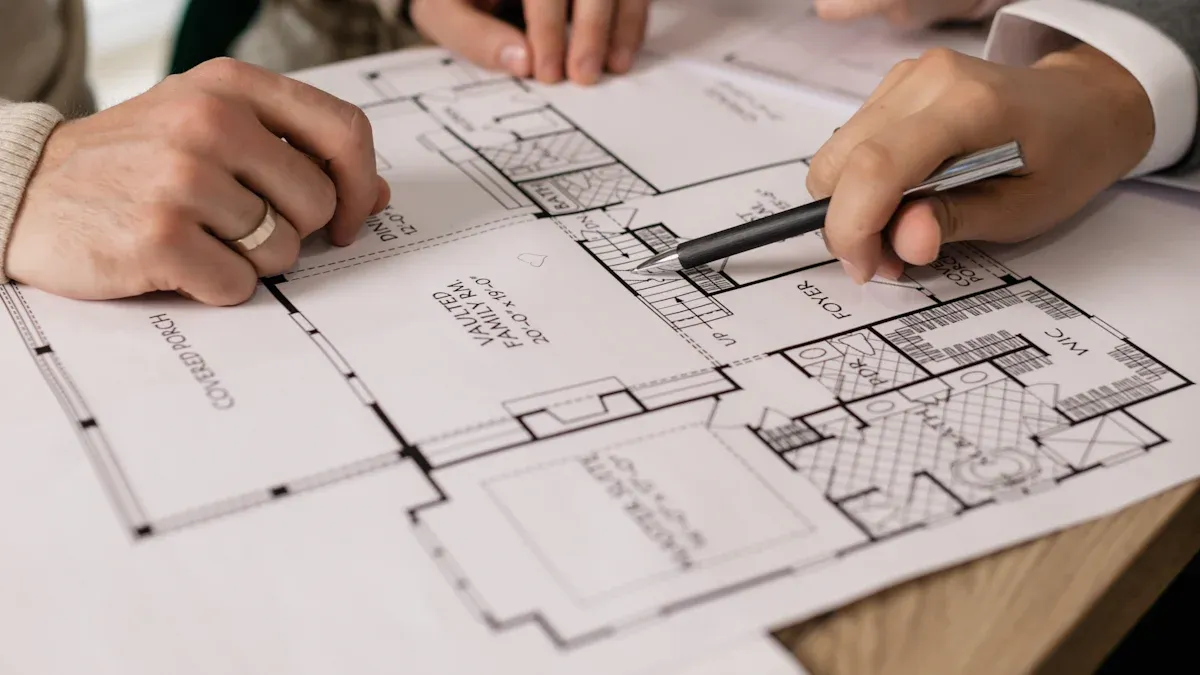
You can make your project easier by using flooring estimating software and online tools. These tools help you enter your room measurements and select your vinyl flooring type. You get an accurate estimate for materials and costs in just a few clicks. The software guides you through each step, so you do not miss important details.
Flooring estimating software automates material quantification and provides accurate measurements. You can see your estimates instantly. The software improves collaboration among team members, making it simple to share your estimation results. You save time and avoid mistakes that often happen with manual calculations.
Here is how flooring estimating software helps you:
- Automates material quantification
- Provides accurate measurements
- Improves collaboration among team members
You enter your room dimensions, select your vinyl flooring type, and let the vinyl flooring estimator do the rest. The software calculates the estimate for you and shows how much material you need. You can adjust your choices and see how changes affect your estimates. This process gives you confidence in your project planning.
Tip: Always double-check your measurements before entering them into the vinyl flooring estimator. Accurate calculations lead to better results.
Manual Calculation Methods for Flooring Estimating
You can also use manual methods for flooring estimating. You measure your space, record the dimensions, and calculate the estimate using simple math. You multiply the length by the width to find the area. You add extra material for waste and special cuts. You check the coverage of each vinyl flooring pack and divide your total area by this number.
Manual calculation methods require careful attention. You must avoid mistakes when estimating. Manual calculations are time-intensive and prone to errors. AI technology in flooring estimation significantly enhances accuracy by eliminating common errors associated with manual calculations. This leads to reduced overrunning costs, project delays, and customer dissatisfaction.
Compare manual and software-based methods:
| Method | Error Rate | Time Efficiency |
|---|---|---|
| Manual Calculation | High due to inconsistencies | Time-intensive, prone to errors |
| Software-Based Method | Significantly reduced | Quick calculations, saves time |
You see that flooring estimating software performs complex measurements quickly. Manual calculations are time-consuming and error-prone. Efficiency allows professionals to focus on other project aspects. You get more accurate estimates and save time when you use a vinyl flooring estimator.
When calculating the estimate manually, you must check your math and add extra material for waste. You need to record every measurement and keep your notes organized. You can use a calculator or spreadsheet to help with your estimation. You should always compare your manual results with those from flooring estimating software to ensure you get an accurate estimate.
Note: Manual methods work for small projects, but flooring estimating software gives you better accuracy and saves time for larger jobs.
Step 4: Review Professional Flooring Estimates
Understanding Material Quantities and Scrap Factor
When you review professional flooring estimates, you need to check the material quantities and the scrap factor. Flooring professionals always add extra material to your order. This extra amount covers mistakes, cuts, and future repairs. You want to make sure you have enough flooring to keep the look consistent if you need to replace a plank or tile later.
Experts recommend buying more flooring than your measured area. For straight installations, you should add 5-10% for waste. Complex layouts need a higher scrap factor, usually 10-15%. If your room has square corners, expect a waste factor of 5-7%. Rectangular rooms need about 10%. Rooms with many angles require up to 15%.
| Installation Type | Recommended Scrap Factor |
|---|---|
| Straight installations | 5-10% |
| More complex layouts | 10-15% |
You improve accuracy by following these guidelines. You avoid running short on material and keep your project on track. Material takeoffs become more reliable when you include the right scrap factor.
Tip: Always ask your installer about the scrap factor they use in their flooring estimates. This helps you understand how much extra material you need.
Breaking Down Costs, Labor, and Accessories
Professional flooring estimates show you a clear breakdown of costs. You see how much you pay for materials, labor costs, and accessories. This breakdown helps you plan your budget and compare different installers.
Labor costs make up a big part of your total cost. You pay for installation, underlayment, transition strips, adhesives, and fasteners. Installers may charge by the hour or offer a flat project rate. Some projects have a minimum service fee. You might see extra charges for peak season or weekend installation.
| Category | Cost Range |
|---|---|
| Installation (Standard Layout) | $1,781 – $5,931 |
| Installation (Complex Patterns) | $1,417 – $3,427 |
| Installation (Staircase) | $1,317 – $6,017 |
| Underlayment Installation | $0.73 – $5/square foot |
| Transition Strips | $1 – $6/linear foot |
| Adhesives/Fasteners | $53 – $218/square foot |
| Hourly Labor Rate | $22 – $40 |
| Flat Project Rate | $1,738 – $7,191 |
| Minimum Service Fee | $73 – $217 |
| Peak Season Surcharge | $117 – $378 |
| Weekend Installation | $87 – $317 |
You boost accuracy by checking every part of the estimate. You see where your money goes and spot any hidden fees. You can ask questions about labor costs and make sure you get the best value. When you understand the breakdown, you feel confident about your flooring project.
Note: Always review the details in your flooring estimates. Accurate information helps you avoid surprises and control your cost.
Step 5: Adjust for Waste, Underlayment, and Installation Complexity
Accounting for Cutting and Layout Waste
When you plan your vinyl flooring project, you must think about waste from cutting and layout. You will always have some leftover pieces after making cuts to fit corners and edges. Most experts recommend adding extra material to your order. For simple rooms, you should allow for 5-10% extra waste. If your room has odd shapes or many angles, you may need 10-15% more. This extra flooring helps you avoid running short and keeps your project on track.
- Standard recommendation for flooring wastage is 5-10% extra.
- Larger or more complex rooms may require 10-15% extra.
- The average waste percentage for vinyl flooring projects is around 5%, but it can increase to 10% or more for complex installations.
Tip: Always round up your measurements and add extra material for waste. This step prevents delays and ensures a smooth installation.
Including Underlayment and Accessories
Underlayment plays a big role in the comfort and durability of your flooring. You can choose basic foam, cork, or rubber underlayment. Thicker and denser options provide better sound insulation and comfort. Some underlayments include moisture barriers, which protect your flooring and increase its lifespan. Higher-quality brands may cost more, but they often come with better warranties.
| Factor | Description |
|---|---|
| Material | Basic foam is affordable; cork and rubber offer better durability and benefits. |
| Thickness and Density | Thicker, denser options improve sound insulation and comfort. |
| Additional Features | Moisture barriers increase cost but enhance performance and longevity. |
| Brand and Quality | Higher-end brands may charge more but provide better warranties. |
| General Price Ranges | Basic foam: $0.15-$0.30/sq ft; Cork/Rubber: $0.50-$1.00/sq ft; Specialty: $1.50+/sq ft. |
| Long-term Savings | Quality underlayment saves money and hassle over time due to enhanced durability. |
Accessories like transition strips and adhesives also affect your total cost. You should include these items in your estimate to avoid surprises.
Factoring in Installation Complexity
Installation complexity can change your project’s timeline and budget. Simple rectangular rooms with standard materials need basic installation. Rooms with angles, closets, or patterns require moderate skill. Intricate patterns or layouts need master craftsman skills and cost more.
| Installation Complexity Level | Cost per sq ft | Description |
|---|---|---|
| Basic Installation | $2-$4 | Simple rectangular rooms with standard materials. |
| Moderate Installation | $4-$7 | Rooms with angles, closets, or basic pattern work. |
| Complex Installation | $7-$15 | Intricate patterns or challenging layouts. |
You should review your room’s layout and choose the right level of installation. This step helps you set a realistic budget and avoid unexpected costs.
Step 6: Compare Flooring Estimating Results and Finalize Your Plan
Evaluating Multiple Professional Flooring Estimates
You want to make smart choices for your flooring project. When you receive several flooring estimates, you should compare them carefully. Each estimate may look different because material costs can change with supply and demand. Labor costs often depend on how complex your flooring project is. If your room has many corners or patterns, you may pay more for skilled labor and extra work hours. Market conditions also play a role. Prices can rise quickly, like during the 2021 lumber crisis or when cement is hard to find.
You can use this checklist to compare your estimates:
- Check if material costs match your expectations for quality and coverage.
- Look at labor costs and see if they reflect the complexity of your flooring project.
- Watch for sudden price changes caused by market shortages.
- Review each estimate for hidden fees or extra charges.
Tip: Ask each contractor to explain their pricing. Clear answers help you understand what you are paying for and avoid surprises.
Consulting Flooring Professionals for Accuracy
You improve your results when you talk to flooring professionals. They know how different flooring types affect installation and waste. You should ask questions about the materials and methods they use. Good communication helps you set clear goals for your flooring project and avoid mistakes.
Follow these best practices to get accurate estimates:
- Learn about the flooring types you want to install. Each material has special needs and waste factors.
- Talk openly with your contractor. Share your project details and ask for updates if anything changes.
- Use AI-based takeoff software. Tools like Beam AI help professionals create fast and precise flooring estimates without manual errors.
You gain confidence in your flooring project when you follow these steps. Accurate flooring estimates save you time and money. You finish your project with fewer problems and better results.
Practical Tips for Accurate Vinyl Flooring Estimator Results
Measure Twice, Cut Once
You want your flooring project to go smoothly. Start by measuring your space with care. Use a tape measure and write down each number. Always measure the length and width of your room. Begin from straight walls, not sloped ones. Mark any areas where cabinets or appliances break up the floor. Double-check your numbers before you move to the next step. This careful approach helps you avoid mistakes in your flooring estimating process.
To ensure an accurate estimate for your flooring, you must measure precisely by taking into account all necessary variables. Follow these six steps to make sure you are measuring accurately:
- Determine the area of the room by measuring the length and width.
- Start from solid and straight surfaces instead of sloping ones.
- Mark out areas where appliances or built-ins interrupt the floor surface.
- Add extra coverage for mistakes or oversights.
- Incorporate testing costs if necessary.
- Multiply square footage measurements by an extra 10% for likely difficulties.
Plan for Extra Materials and Scrap Factor
You should always plan for extra materials when doing flooring estimating. Mistakes can happen during installation. Pieces may get damaged or cut too short. Industry experts suggest adding 10% to your total estimation to cover waste and errors. This extra amount is called the scrap factor. It helps you avoid running out of material before the job is done.
- Consider adding supplementary materials to prevent unforeseen issues.
- Factor in waste during the installation process.
- Calculate labor expenses to avoid pricing discrepancies.
A good estimation includes all these details. You save time and money by planning ahead. You also reduce stress during your flooring project.
Double-Check All Flooring Estimating Calculations
Never skip the step of checking your numbers. Even a small mistake in your estimation can lead to big problems. You might order too little material or spend more than you planned. Double-check every calculation before you buy anything.
“A flooring takeoff isn’t just a rough estimate—it’s the foundation of a successful project. Even a small miscalculation can throw off your budget or delay installation. The key is to measure carefully, factor in waste, and double-check every number before ordering materials. It’s not about guessing—it’s about getting it right the first time.” – Mika Sievinen, Sales Director at Fondion
When you review your flooring estimating results, you prevent shortages and avoid extra costs. You also make sure your estimation matches your budget. If you feel unsure, ask a professional for help. Experts can review your estimating process and give advice for better results.
You streamline your flooring installation when you use a vinyl flooring estimator. Accurate estimating helps you control your budget and finish your project on time. Industry reports show that realistic budgeting and optimized timing lead to cost savings and higher success rates.
| Evidence Type | Description |
|---|---|
| Realistic Budgeting | Helps control flooring construction budget, minimizing discrepancies between estimates and actual expenses. |
| Optimized Timing | Reduces time overruns, allowing for timely project execution and freeing up time for other tasks. |
Professional estimates and software give you precise measurements, reduce waste, and improve teamwork.
| Benefit | Description |
|---|---|
| Accuracy | Automated measurements and material takeoffs ensure precise calculations for flooring projects. |
| Efficiency | Reduces time spent on manual calculations, allowing for quicker project completion. |
You gain confidence and avoid errors when you choose expert tools for your installation.
FAQ
How do you use a vinyl flooring estimator?
You enter your room measurements and select your flooring type. The estimator calculates how much material you need. You see the cost and can adjust your choices. This tool helps you plan your project with confidence.
What is the scrap factor in flooring estimation?
The scrap factor is extra material you add for mistakes and cuts. Most experts suggest 5-10% for simple rooms. Complex layouts may need up to 15%. This helps you avoid running short during installation.
Tip: Always round up your measurements to include the scrap factor.
Can you trust online flooring estimators?
Online estimators give quick results. You should double-check your measurements and compare with professional advice. These tools work well for basic projects. For complex rooms, ask a flooring expert for help.
What accessories should you include in your estimate?
You need underlayment, transition strips, adhesives, and fasteners. These items improve comfort and durability. Always add them to your estimate to avoid surprises.
| Accessory | Purpose |
|---|---|
| Underlayment | Comfort, insulation |
| Transition strips | Smooth edges |
| Adhesives | Secure flooring |
| Fasteners | Hold planks in place |




