
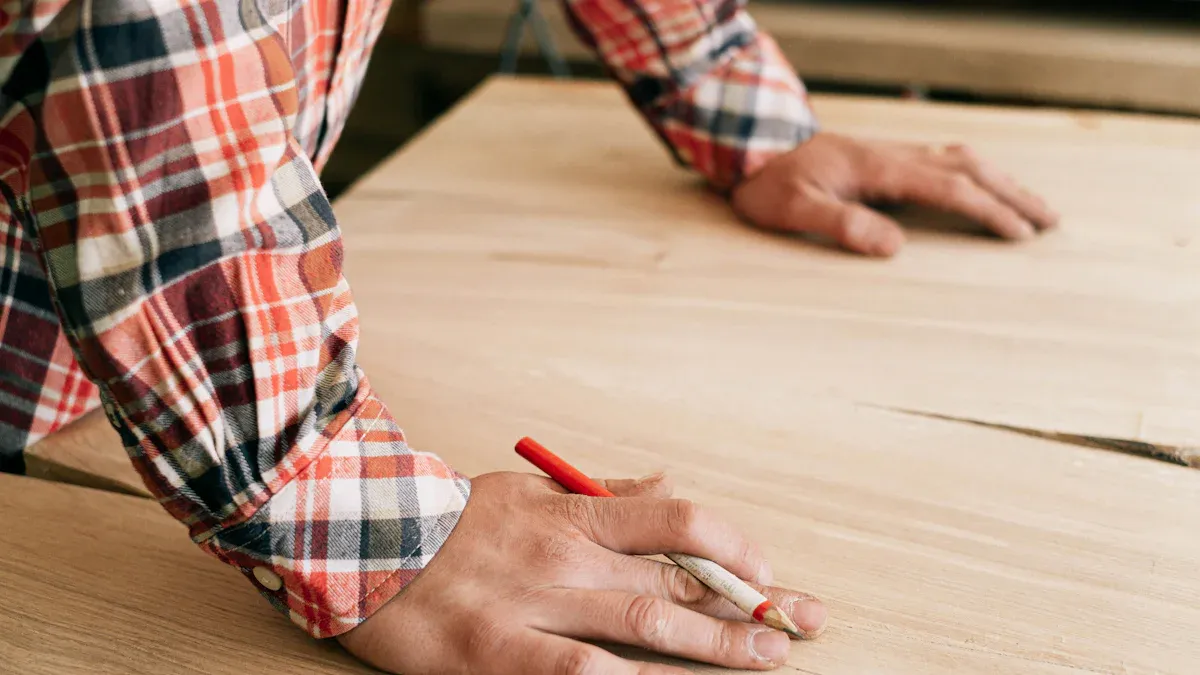
You can choose a simple wood floor installation pattern for your first project. The straight plank pattern is your best choice for new hardwood floors. More ambitious flooring patterns, like a diagonal pattern, are achievable challenges for experienced DIYers. However, some advanced wood floor patterns demand professional installation for a quality design.
Pro-Level Patterns 💡 Intricate flooring patterns like herringbone, chevron, and parquet use a complex pattern. This pattern requires expert-level precision.
Start Here: The Best Wood Floor Patterns for Beginners
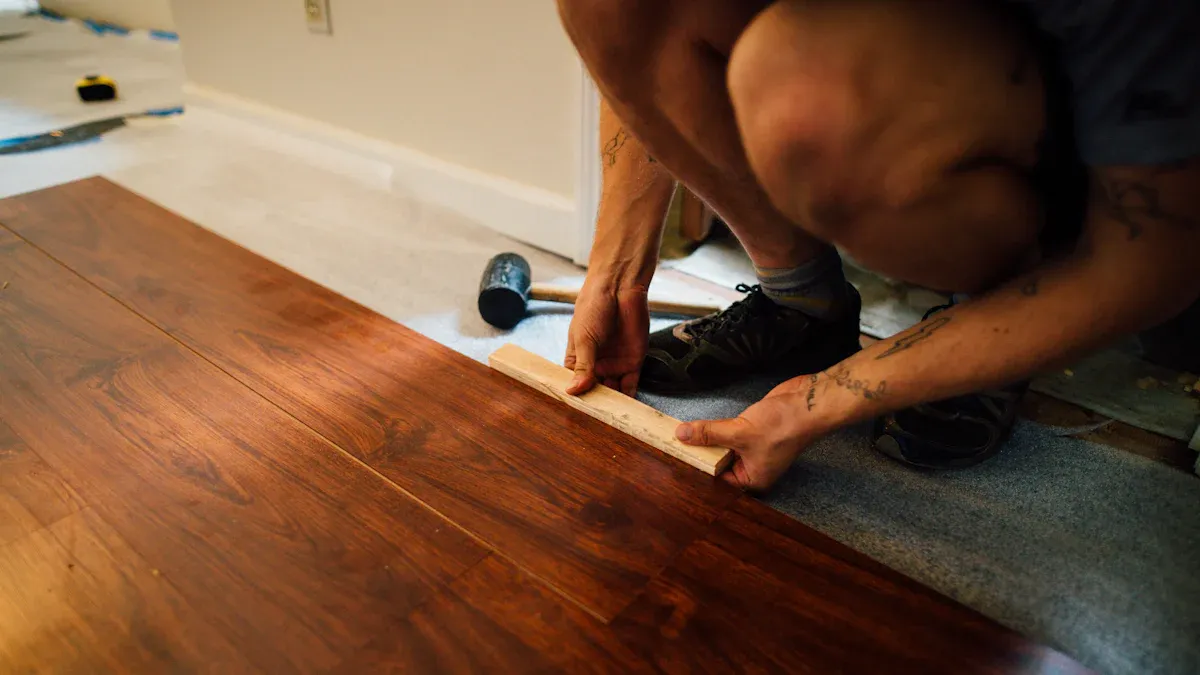
You can start your DIY journey with flooring patterns that are simple and forgiving. These styles look great and help you build confidence. They are the perfect entry point for creating beautiful hardwood floors in your home.
Straight Plank: The Easiest DIY Pattern
The straight plank pattern is the most common wood floor installation pattern. You lay the planks parallel to the walls. This straightforward installation makes it ideal for beginners. The simple, linear pattern creates a clean and timeless look for your hardwood floors. This pattern works well in almost any room.
Planning for waste is a key part of any installation. You will always need more hardwood flooring than the room’s square footage. This extra material covers cuts and mistakes. For a straight plank pattern, a 10% waste factor is a safe estimate.
Material Waste Estimates 📋 Your chosen pattern directly impacts how much extra wood you need. A more complex pattern requires more cuts, creating more waste.
Flooring Pattern Waste Estimate Straight 10% Diagonal 25%
Random Width: Adding Style with Simple Planning
The random width pattern offers more visual interest than a standard straight pattern. This pattern uses planks of different widths. You still follow a straight installation, but the varied boards create a unique, rustic charm. This is one of the most popular hardwood floor styles.
You can achieve this look by mixing two or three different board widths. This pattern adds character to your hardwood floors. Planning the layout is the most important step for this pattern. You must arrange the boards to create a balanced and random-looking pattern. Some common width combinations for this hardwood flooring pattern include:
- 3-inch, 5-inch, and 7-inch boards
- 4-inch, 6-inch, and 8-inch boards
- 5-inch and 7-inch boards
These flooring patterns give you creative control without the difficulty of complex cuts.
Key Factors That Determine DIY Success
A successful hardwood flooring installation depends on more than just your chosen pattern. You need the right tools, a prepared subfloor, and the correct type of wood. These factors are crucial for any wood floor installation pattern you attempt.
Essential Tools for Any Wood Floor Installation Pattern
Your project requires specific tools for a professional-looking installation. You can rent many of these tools to save money. A complete kit rental is often very affordable.
| Category | Member Daily Rate | Non-Member Daily Rate |
|---|---|---|
| Hardwood Floor Install Kit Bundle | $19.00 | $25.00 |
A good flooring nailer is a key investment for your installation. Many DIYers find the Bostitch MIIIFN is a reliable and easy-to-use option for various types of hardwood floors. Other essential tools for this pattern include:
- Miter saw
- Chalk line
- Nail punch
Why Subfloor Preparation is Non-Negotiable
You cannot skip subfloor preparation. A clean, flat, and dry subfloor is the foundation for beautiful hardwood floors. An uneven surface will show through your new hardwood flooring.
If your subfloor has anything more than small high or low spots those too can telegraph through in the finished floor.
Your subfloor must meet a specific flatness tolerance for this pattern. The industry standard is a variation of no more than 3/16 of an inch over a 10-foot span. You also need to check moisture levels. The subfloor’s moisture content should be below 12% before you begin the installation. This step prevents future problems with your hardwood floors. A bad subfloor will ruin any installation pattern.
Choosing the Right Wood: Solid vs. Engineered for DIY
You have two main choices for hardwood floors: solid and engineered. Engineered hardwood flooring is often a better choice for DIY projects. Its layered construction makes it more stable. This pattern of layers resists changes in temperature and humidity better than solid wood. This stability makes the installation process more forgiving. Engineered wood is also generally more affordable.
| Flooring Type | Typical Cost Per Square Foot |
|---|---|
| Engineered Hardwood | $4.50 to $16 |
| Solid Hardwood | $5 to $28 |
This makes engineered wood a great choice for your first hardwood flooring installation. The material’s stability helps ensure your chosen pattern looks great for years.
Advanced DIY: Challenging Wood Floor Patterns
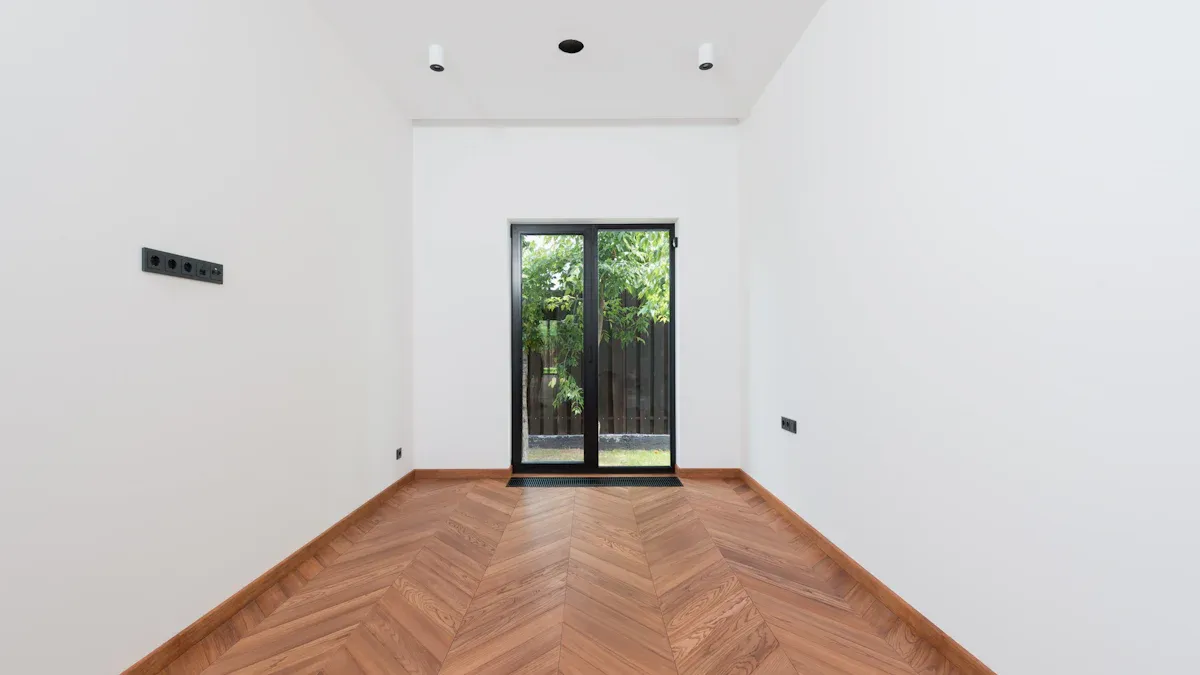
You are ready for a bigger challenge after mastering the basics. Advanced flooring patterns require more skill, patience, and precision. These projects offer a significant payoff in visual impact, but they also increase the potential for costly mistakes.
Diagonal Pattern: Upping the Angle and the Difficulty
The diagonal pattern takes the simplicity of a straight plank layout and turns it on its head—literally. You install the planks at a 45-degree angle to the walls. This installation creates a dynamic sense of movement and can make a room feel larger. The diagonal pattern is a popular choice for adding a custom touch to hardwood floors.
This wood floor installation pattern is significantly more difficult than a straight layout. The complexity comes from the constant angle cuts.
- Starting Line: You must establish a perfect 45-degree starting line in the center of the room. An incorrect starting point will throw off the entire pattern.
- Angle Cuts: Every board that meets a wall needs a precise 45-degree cut. This requires careful measurement for each piece.
- Increased Waste: The diagonal installation creates more waste material. You should plan for a 25% waste factor for this pattern, a big jump from the 10% for a straight pattern.
Start Strong for a Straight Finish 📐 Your first row is the most critical part of a diagonal installation. You must snap a chalk line at a perfect 45-degree angle from a corner. This line guides your entire pattern and ensures your hardwood floors look professional.
The diagonal pattern demands careful planning for a successful hardwood flooring installation. The unique visual pattern is a rewarding achievement for a skilled DIYer. This is one of the most striking flooring patterns you can attempt yourself.
Patterns Best Left to the Pros
Some flooring patterns are famous for their beauty and complexity. These advanced styles require a level of precision and experience that goes beyond most DIY projects. You should hire a professional for these installations to protect your investment and guarantee a stunning result for your hardwood floors.
Herringbone: The Classic Pro-Level Challenge
The herringbone pattern creates a timeless, luxurious look. Its history dates back centuries to European palaces and even ancient Roman roads. The herringbone pattern uses rectangular planks arranged in a staggered, interlocking design. This installation is incredibly difficult because it requires perfect alignment of hundreds of small boards. A single misplaced board can disrupt the entire pattern.
A Costly Challenge 💰 The skill needed for a herringbone installation significantly increases labor costs. You can expect to pay a professional $4 to $8 per square foot, with more complex jobs costing even more. This is much higher than a standard installation.
Attempting this intricate herringbone pattern yourself is a major risk. A professional ensures the classic herringbone design is executed flawlessly.
Chevron: Precision Angles That Demand Perfection
The chevron pattern is defined by its clean, continuous “V” shapes. Unlike herringbone, the chevron pattern requires boards with angled ends. These planks must be custom-milled to fit together perfectly, forming the sharp points of the chevron design. This specific material requirement makes the chevron pattern unsuitable for a DIY project.
The entire visual impact of the chevron flooring design depends on perfect angles.
- Each plank must be cut precisely.
- The installation must maintain a perfect centerline.
- Any error will be immediately obvious in the chevron pattern.
The chevron is a beautiful but unforgiving pattern. The precision needed for a successful chevron installation demands a professional touch. You want your chevron hardwood floors to look perfect.
Parquet: The Art of Geometric Complexity
Parquet flooring elevates a room from simple to spectacular. This style involves arranging small pieces of wood into geometric flooring patterns. Famous examples of historic parquet can be found in European palaces like Ham House and Boughton House. These intricate parquet designs are true works of art. Installing a parquet pattern is like assembling a complex wooden mosaic directly on your subfloor.
| Parquet Pattern | Typical Pro Install Cost (per sq. ft.) |
|---|---|
| Versailles | $20 – $45+ |
| Chantilly | $20 – $45+ |
The high cost of parquet hardwood flooring reflects its complexity. The installation of a parquet pattern like Versailles or Chantilly is a specialized skill. For these elaborate parquet styles, you must rely on an experienced installer to bring the artistic parquet vision to life.
You should choose your wood floor installation pattern wisely. For a successful first project, the straight plank pattern is your best option. Assess your skills before attempting more complex flooring patterns like the diagonal pattern. Many beautiful styles are achievable with careful planning.
Protect Your Investment 🛡️ A professional installation protects your warranty and avoids issues like gaps or warping. For a flawless design with a high return on investment, hire an expert for the herringbone pattern, chevron pattern, and parquet pattern. A pro ensures your herringbone and chevron design is perfect.
FAQ
What is the easiest wood floor pattern for a beginner?
The straight plank pattern is your best choice. You install the boards parallel to the walls. This simple layout requires fewer angle cuts and less planning. It is the most forgiving and straightforward pattern for a first-time DIY flooring project.
How much extra wood flooring do I need to buy?
You must account for a waste factor. This covers cuts and mistakes. For a straight pattern, you should buy 10% extra flooring. For a more complex diagonal pattern, you will need to purchase about 25% extra material.
Plan Ahead! 📏 Always calculate your waste factor before you buy materials. Running out of wood mid-project can cause delays and potential color-matching issues with a new batch.
Can I use engineered wood for complex patterns like herringbone?
Yes, manufacturers make engineered wood for these designs. However, the installation is still a pro-level job. The pattern’s complexity requires extreme precision, regardless of the wood type. You should hire an expert for a flawless herringbone or chevron installation.
What makes a pattern difficult for a DIY project?
Complex patterns demand many precise angle cuts. Your layout must be perfect from the start, as one small error can disrupt the entire design. These installations also create significantly more material waste, making mistakes more costly for your project.




