
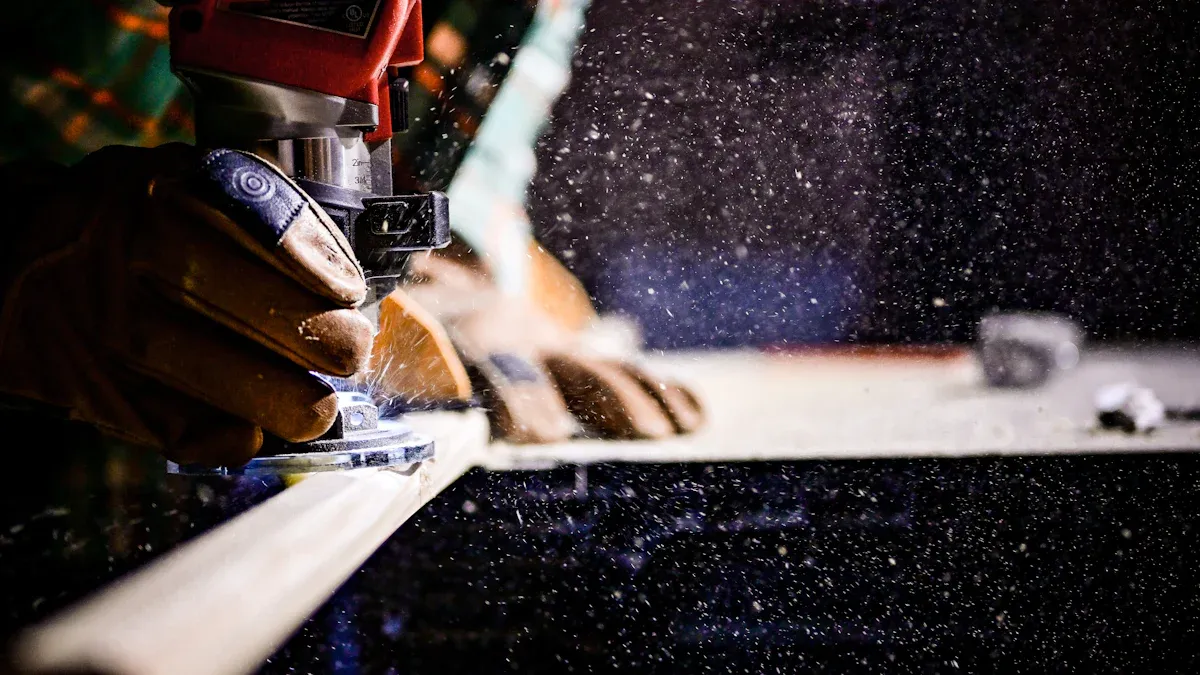
You need the right tools and methods to cut laminate flooring without chips. The key is supporting the laminate plank’s surface during the cut. This action prevents the brittle top layer of the laminate from splintering. Mastering these advanced methods ensures every piece of your oak laminate flooring fits perfectly into place for a professional result.
The Essential Toolkit for Cutting Oak Laminate Flooring
Having the right equipment is the first step toward a flawless installation. The essential tools for cutting laminate flooring range from large power saws to small handheld devices, but the most critical component is always the blade.
Fine-Tooth vs. Laminate-Specific Blades
The secret to a chip-free cut is using the correct blade. A standard wood-cutting blade will tear the surface of the laminate. You need a blade with a high tooth count, often labeled as “fine-finish” or specifically for laminate.
Pro Tip: Always choose a blade with at least 80 teeth (or a high TPI – Teeth Per Inch) for the cleanest cut. A dedicated laminate flooring blade is your best option, as it is designed to slice through the hard wear layer without splintering it.
Power Saws: Miter, Table, and Circular Saws
Different saws excel at different types of cuts. A miter saw is perfect for making quick, precise straight cuts across the width of your planks. For long cuts that run the length of a plank, known as rip cuts, a table saw provides the straightest and most accurate edge. A circular saw offers great versatility and can handle both crosscuts and rip cuts with the help of a guide.
Handheld Tools: Jigsaws and Oscillating Multi-Tools
You will need handheld tools for detailed work. A jigsaw is your go-to for cutting curves or complex shapes. To prevent chipping with a jigsaw:
- Choose down-cut blades. They cut on the downstroke to protect the top surface.
- Flip the plank over and cut from the back if you only have a standard up-cut blade.
- Use a blade with a high TPI for a cleaner finish.
For cutting around door frames, vents, or pipes, an oscillating multi-tool is unmatched. It gives you superior control for precise cuts in tight spaces, helping you fit your oak laminate flooring perfectly against obstacles. This accuracy prevents ugly gaps and ensures a professional-looking result.
Manual Option: The Laminate Floor Cutter
You can cut your flooring without noise or dust. A manual laminate floor cutter is an excellent tool for this job. It works much like a large paper cutter. You place the plank on the base and pull a long handle. A sharp blade presses down, shearing the plank cleanly. This method is perfect for making straight crosscuts inside your home. You avoid the mess and noise of a power saw.
When you choose a manual cutter, you should look for specific features. A high-quality tool makes the job much easier and safer.
- Strong Materials: The best cutters use durable steel and aluminum parts. This ensures they last a long time.
- Comfortable Handle: An ergonomic handle with a rubber grip reduces hand strain and prevents slipping.
- Built-in Guides: Look for models with an attached ruler and an adjustable fence. These features help you make precise straight and angled cuts up to 45 degrees.
- Quiet and Clean: The biggest advantage is its clean operation. It produces no sawdust, so you can work right in the room you are installing the floor.
Note: A manual cutter is designed for straight cuts across the width of a plank. You will still need a jigsaw or another saw for long rip cuts or complex shapes.
This tool offers great convenience. You save time by not having to walk outside for every cut. Its portability allows you to move it easily from room to room. For a simple installation with many straight cuts, a manual laminate cutter is a fantastic, mess-free choice.
Foundational Techniques to Prevent Chipping

Your saw and blade are important, but your technique makes the biggest difference. You can prevent chips and get a perfect finish by preparing the plank before you cut. These foundational methods support the delicate top layer of the laminate, ensuring a clean cut every time.
The Painter’s Tape Method for a Clean Edge
Applying painter’s tape along your cut line is a simple yet highly effective trick. The tape holds the surface fibers of the laminate together during the cut. This added support stops the saw blade from lifting and splintering the decorative layer.
For best results, you should choose a tape that sticks well but removes cleanly.
- Product: Scotch 2090 Blue Painter’s Tape
- Adhesion: Medium
- Best for: Surfaces like countertops and hardwood floors, which are similar to laminate.
This type of tape is designed for delicate surfaces, making it an ideal choice for your project.
| Surface Type | Recommended Tape |
|---|---|
| Vinyl, laminate, linoleum | Scotch 2090 |
Simply apply a strip of tape over your marked line. The blade will cut through both the tape and the plank, leaving you with a crisp, clean edge.
Scoring the Cut Line with a Utility Knife
Scoring creates a pre-cut groove for your saw blade to follow. You use a sharp utility knife and a straightedge to slice through the top wear layer of the plank. This action severs the brittle surface before the saw teeth can grab and tear it.
Pro Tip: For maximum effectiveness, combine this method with painter’s tape. First, apply the tape, and then score your line directly on top of it. This combination of scoring and taping consistently reduces edge damage on visible cuts. Professionals often use this two-step process as part of an “anti-chip kit” for flawless results.
Why You Should Cut from the Backside
Understanding your saw’s cutting direction is one of the most important tips for cutting laminate flooring. The direction the teeth move determines which side of the plank will have a clean cut. You must position the “good face” of the plank correctly to avoid chipping on the visible surface of your oak laminate flooring. This is known as the “Good-Face Rule.”
- Up-Cutting Saws (Table Saws): The blade teeth enter the material from the bottom and exit through the top. You should place the plank with its finished side facing up.
- Down-Cutting Saws (Circular Saws, Jigsaws with standard blades): The blade teeth enter the material from the top and exit through the bottom. You should place the plank with its finished side facing down.
This simple table summarizes how to position your plank for the cleanest cut.
| Saw Type | Blade Direction | Plank Position |
|---|---|---|
| Table Saw | Cuts upward | Finished side UP |
| Miter Saw | Cuts downward | Finished side UP |
| Circular Saw | Cuts upward | Finished side DOWN |
| Jigsaw (Standard Blade) | Cuts upward | Finished side DOWN |
| Jigsaw (Reverse-Tooth Blade) | Cuts downward | Finished side UP |
By following this rule, you ensure any potential chipping happens on the back of the plank, where it will never be seen.
How to Cut Laminate Flooring for Different Layouts
You will make three main types of cuts during your flooring project: straight crosscuts, long rip cuts, and angled cuts. Mastering each one ensures every plank fits perfectly, no matter your room’s layout. Following the correct procedure for each cut will give you a professional result.
Making Straight Crosscuts with a Miter Saw
A miter saw is your best tool for making straight cuts across the width of a plank. You can set the saw to a 90-degree angle for a perfect square cut. Remember to place the laminate plank with its finished side facing up. The miter saw blade cuts downward, so this position protects the visible surface from chipping. Secure the plank firmly against the saw’s fence. This action prevents it from moving during the cut. A steady, controlled motion will give you a clean edge every time.
Executing Long Rip Cuts on a Table Saw
You need a table saw to cut a plank along its length. This is called a rip cut. Safety is critical when you use a table saw. You should always use a featherboard and a push stick to guide the material and protect your hands.
Follow these steps for a safe and precise rip cut:
- Position the Featherboard: Place the featherboard on the saw table. Its angled end should point in the direction you feed the laminate.
- Set the Featherboard: Put your plank against the fence. Press the featherboard snugly against the plank and lock it down.
- Test the Fit: Do a dry run with the saw off. The plank should slide forward smoothly but resist being pulled backward.
- Make the Cut: Raise the blade, turn on the saw, and push the plank through. Use a push stick to guide the final few inches past the blade.
Cutting Planks at an Angle
You will often need to cut laminate flooring at an angle, especially for diagonal layouts or walls that are not square. A compound miter saw or a table saw works best for these cuts.
Pro Tip: 📐 Always use a dedicated laminate blade with a high tooth count. A coarse blade will create a rough edge on your laminate. While a fine-tooth wood blade gives a nice cut at first, it will dull quickly on the hard surface. A proper laminate blade is designed to last longer and produce cleaner results.
Set your saw to the desired angle. Double-check your measurement before you make the cut. A precise angle ensures a tight fit and a seamless look for your finished floor.
Mastering Complex Cuts for a Perfect Fit
Your project’s success often depends on how well you handle the tricky spots. Walls are rarely perfectly straight, and rooms have obstacles like door frames, vents, and pipes. Learning how to cut laminate flooring around objects is what separates an amateur job from a professional installation. These advanced cuts require patience and the right technique for a seamless result.
Cutting Around Door Jambs and Casings
Fitting a plank around a door frame is a common challenge. You have two main options: notching the plank or undercutting the casing. Undercutting the casing gives you a much cleaner, more professional finish because the plank slides underneath the frame, hiding the cut edge completely. For this task, an oscillating multi-tool is your best friend.
- An oscillating multi-tool is perfect for trim and casing projects.
- It excels at making precise cuts in tight spaces, like the bottom of a door frame.
To undercut a door casing, you place a scrap piece of your laminate flooring on the subfloor next to the casing. Rest the blade of your oscillating tool flat on top of the scrap piece. Turn the tool on and cut horizontally into the casing. This removes a section at the perfect height, creating a slot for your new flooring to slide into.
Creating Notches for Vents and Corners
You will need to cut notches for floor vents, around fireplace hearths, or at inside corners. A jigsaw is the primary tool for this job. Accurately measuring and marking the plank is the most critical step.
To cut a notch for a floor vent, you can follow this simple process:
- Remove the vent cover from the floor.
- Lay your laminate planks up to the edge of the vent opening.
- Place the plank that needs cutting next to the opening. Use a pencil to mark the exact location of the vent on the board.
- Use a square to draw straight, clear cutting lines for the notch.
- Drill starter holes in the corners of your marked area. This gives your jigsaw blade a place to start and helps you make sharp turns.
- Cut along the lines with your jigsaw.
Pro Tip: Getting a perfectly sharp inside corner on an L-shaped cut can be difficult with a saw alone. After making your main cut, you can refine the corner. First, score the line deeply with a utility knife. Then, carefully use a hand file to remove the remaining material. Finish by smoothing the edge with fine-grit sandpaper for a flawless corner.
Making Precise Circular Cuts for Pipes
Radiator pipes and plumbing lines require you to make clean, circular cuts. A hole saw or a spade bit attached to your drill is the right tool for this. The key is to make the hole slightly larger than the pipe to allow for expansion. A good rule of thumb is to add 1/4 inch to the pipe’s diameter.
| Pipe Diameter | Recommended Hole Size |
|---|---|
| 1/2 inch | 3/4 inch |
| 3/4 inch | 1 inch |
| 1 inch | 1 1/4 inch |
Here is how you cut laminate flooring around objects like pipes:
- Measure the exact center of the pipe from the two nearest walls.
- Transfer these measurements to your laminate plank and mark the center point for your hole.
- Drill the hole with your hole saw or spade bit. Always drill from the finished side of the plank to prevent chipping on the visible surface.
- Draw a straight line through the center of the hole and cut the plank in half.
- Apply wood glue to the cut edges, fit the two pieces around the pipe, and press them together for a tight seam. You can use a pipe collar or escutcheon to cover the hole for a perfect finish.
Finishing Touches for a Seamless Installation
The final steps of your project make a big difference. You can turn a good installation into a great one with a few finishing touches. These details hide minor imperfections and create a clean, professional look for your new floor. Taking the time for these last tasks ensures your hard work truly shines.
Smoothing Edges with Fine-Grit Sandpaper
Even the best cuts can leave a slightly rough edge. You can easily fix this with sandpaper. A light sanding removes any small burrs or splinters from the cut edge. This step ensures your planks fit together perfectly without any resistance.
- Choose a fine-grit sandpaper, like 220-grit.
- Gently run the sandpaper along the cut edge at a slight angle.
- Wipe away any dust with a clean cloth before installation.
This quick action creates a smooth, clean edge for a tight fit.
Using a Color-Matched Stain Pen for Minor Flaws
You might notice a tiny chip on the surface despite your best efforts. A color-matched stain pen is the perfect tool for these small repairs. These pens are designed to match the color and finish of your oak laminate flooring.
Pro Tip: Always test the stain pen on a scrap piece of flooring first. This lets you check if the color is a perfect match before you apply it to your installed floor.
To use the pen, you simply dab a small amount of stain directly onto the flaw. Immediately wipe away any excess with a soft cloth. The repair will blend in and become nearly invisible.
Applying Color-Matched Caulk for Gaps
You will have small gaps where the flooring meets walls, door casings, or cabinets. You should fill these gaps with a color-matched, flexible caulk. This creates a seamless transition and prevents dirt from getting trapped. It is important to use caulk only in the right places.
| Use Caulk Here | Do Not Use Caulk Here |
|---|---|
| Along baseboards | Between flooring planks |
| Around door frames | In expansion gaps |
| Against cabinets | On top of the floor surface |
Applying caulk correctly gives your installation a polished, finished appearance. It is the final step to a truly professional result.
You can achieve a flawless finish on your oak laminate flooring. Your success hinges on three key rules. You must use a fine-tooth blade, prepare the laminate with tape, and cut from the correct side for your saw. Mastering these advanced techniques helps you cut laminate flooring without frustrating chips. You can now confidently install laminate flooring and ensure a professional-grade installation. Your oak laminate flooring project will be a great success with this knowledge.
FAQ
Can I use a regular wood blade to cut laminate?
You should avoid using a standard wood blade. It will tear and chip the laminate’s hard surface. You need a fine-tooth blade with at least 80 teeth for a clean cut. A dedicated laminate blade is your best option for a professional finish.
What is the easiest saw to use for straight cuts?
A manual laminate cutter is your easiest and safest choice for straight cuts. This tool creates no dust or noise. A miter saw also works very well. It gives you fast, precise cuts across the plank and is great for beginners.
Do I really need to use painter’s tape?
Yes, the painter’s tape method works very well. The tape holds the surface fibers down during the cut. This simple step prevents the saw blade from lifting and chipping the decorative layer. You get a much cleaner edge with this trick.
Why does laminate flooring dull saw blades so quickly?
The top wear layer of laminate contains aluminum oxide. This material is extremely hard and abrasive. It dulls standard steel saw blades much faster than wood does. Using a blade designed for laminate will give you better performance and a longer life.




