
You create a seamless look when you plan transitions and trim for vinyl tile click flooring in your home. Transitions connect different surfaces, protect the edges, and keep your floor strong. You select the right materials to handle height changes. You follow clear steps to achieve professional transitions. Your vinyl tile floor stays beautiful and durable.
The Importance of Transitions for Vinyl Tile Click Flooring
Seamless Appearance and Flow
You want your home to have a smooth, connected look. Transitions help you achieve this by linking rooms with different flooring materials. When you use the right transition piece, you create a seamless flow from one space to another. For example, T-molding works well when two floors are the same height. Reducers help when one floor is higher than the other. These choices keep your vinyl tile click flooring looking neat and stylish. You can also use transitions to highlight pattern changes, which lets each area have its own style while still feeling part of the whole home.
Edge Protection and Durability
Transitions do more than just improve the look of your floor. They protect the edges of your vinyl tile click flooring. Without proper transitions, the edges of your tile can get damaged or worn out. Transitions cover these edges and keep them safe from bumps, scrapes, and moisture. They also allow your floor to expand and contract with changes in temperature. This is important because vinyl tile click flooring needs space to move. If you skip transitions, your floor might buckle or shift over time. You keep your floor strong and long-lasting by planning for transitions.
Functional Connections Between Surfaces
Transitions serve many important functions in your home. They bridge gaps between different types of flooring and connect rooms with different materials. You can see their benefits in several ways:
- Transition strips bridge gaps between different flooring types.
- They connect rooms with different flooring materials.
- They compensate for height differences between floors.
- They allow for floor expansion and contraction, especially important for floating floors.
You also make your home safer with transitions. They prevent tripping hazards and help each flooring material work as it should. When you use transitions, you support both the look and function of your vinyl tile click flooring.
Choosing the Right Transitions and Trim for Your Home
Types of Transitions: Thresholds, Reducers, T-Molding, End Caps
You want your home to have a seamless look. You achieve this by choosing the right transitions for your vinyl tile click flooring. Each transition piece serves a special purpose. You use thresholds to connect rooms with different flooring types. You install reducers when one floor is higher than the other. T-molding works best when two floors are the same height. End caps finish the edge of your floor where it meets a wall or sliding door.
Tip: Always check the location before you pick a transition. Some areas need more protection, while others need a smooth flow.
You should consider these factors when you select transitions and trim for your home:
- Aesthetics
- Location of installation
- Installation technique and order
- Floor height variations and underlayment
- Material thickness and thin-set application
You make your floor look neat and safe by using the right transition. You also protect the edges of your tile and keep your flooring strong.
Matching Color and Style to Vinyl Tile Click Flooring
You want your home to look polished and connected. Matching the color and style of your transitions and trim to your vinyl tile click flooring helps you create a seamless look. When you choose trims that match your tile, you get a smooth visual flow from room to room. If you use mismatched trims, your floor can look broken up and less professional.
- Matching color trims give your floor a seamless appearance.
- Metal trims work well in high-traffic areas because they are strong and durable.
- Consistent style in transitions supports the overall design of your home.
You can find many styles and colors for transitions. You can pick a trim that blends in or one that stands out as a design feature. You make your home look modern and stylish when you pay attention to these details.
Managing Height Differences Between Floors
You often find that floors in your home do not always line up. You need to manage these height differences to keep your floor safe and attractive. You use reducers to connect a higher vinyl tile click flooring to a lower surface. This transition keeps you from tripping and helps your floor look smooth.
Note: Always measure the height of each floor before you buy your transitions. This step helps you pick the right piece for a perfect fit.
You also need to check the underlayment and the thickness of your tile. These details affect how your transitions fit. You can find many tutorials and transition tutorials online to help you with this diy project. You make your luxury vinyl flooring look professional and safe when you plan for height changes.
You create a seamless look and a strong floor when you choose the right transitions and trim for your home. You also make your vinyl tile click flooring last longer and look its best.
Selecting Materials for Moisture and Traffic
You want your vinyl tile click flooring to last in every part of your home. You need to pick the right materials for transitions and trim, especially in places where water and heavy foot traffic are common. Bathrooms, kitchens, and entryways often face moisture. Hallways and living rooms see lots of movement. You protect your floor and tile by choosing materials that handle these challenges.
Moisture can damage your floor if you do not use the right transition piece. Water seeps into gaps and causes mold or mildew. You stop this problem by using moisture-resistant transitions. These strips act as a barrier and keep your subfloor safe.
You find several materials that work well for transitions in moisture-prone and high-traffic areas:
- Vinyl transition strips resist water and match your vinyl tile click flooring. You use them in bathrooms and kitchens for a seamless look.
- Rubber transitions offer extra protection against moisture. You install them in entryways where wet shoes are common.
- Metal transitions stand up to heavy traffic. You use them in hallways and commercial spaces. They protect the edges of your tile and keep your floor strong.
You also want your transitions to look good. Many transition strips come in finishes that match your luxury vinyl flooring. You create a smooth flow from room to room. You avoid tripping hazards by covering gaps between tiles and other flooring types. You make your home safer and more attractive.
You can find transition tutorials and diy guides online. These tutorials show you how to install transitions that fit your tile and floor perfectly. You learn how to cut and place each transition piece for the best look.
You choose materials that match your vinyl tile click flooring and fit your needs. You protect your floor from water and wear. You keep your tile edges safe and your home looking neat. You make your flooring last longer and look its best.
Planning Your Vinyl Tile Click Flooring Installation with skspcflooring
Measuring and Mapping Transition Areas
You start your project by measuring and mapping out where each transition will go. Walk through your home and look for spots where your vinyl tile click flooring meets other surfaces. Mark these areas on a floor plan or sketch. Measure the width and length of each transition area. Write down these numbers so you can buy the right transition piece for every spot. This step helps you avoid mistakes and makes your floor look neat. You also save time during installation because you know exactly where each transition fits.
Preparing Subfloors and Checking Levels
You need a strong base for your vinyl tile click flooring. Before you install transitions, follow these steps to prepare your subfloor:
- Clean the subfloor. Remove dust, debris, old adhesive, paint, or anything that could affect your flooring.
- Level the subfloor. Fill low spots with leveling compound or self-leveling underlayment. Sand down high spots or use shims to create a flat surface. This prevents gaps or buckling in your floor.
- Test for moisture. Use a moisture meter, plastic sheet test, or calcium chloride test. Make sure moisture levels are safe for vinyl flooring.
- If you find too much moisture, apply a moisture barrier or take steps to fix the problem before you continue.
A clean and level subfloor helps your transitions fit perfectly and keeps your tile and floor strong.
Gathering Tools and Materials for Installation
You need the right tools and materials to install transitions and trim. Gather these items before you start:
- Waterproof baseboards and transition strips for a secure finish
- Spacers to keep even gaps between tiles
- A rubber mallet for tapping pieces into place
- A quality utility knife for trimming excess material
- Adhesive, nails, or clips for securing each transition piece
You should also follow manufacturer guidelines for expansion joints. Address any uneven spots in the subfloor before you begin. Many tutorials show you how to use these tools for a professional look. With the right preparation, your vinyl tile click flooring installation will last and look great in every room of your home.
Step-by-Step Guide to Installing Transitions and Trim
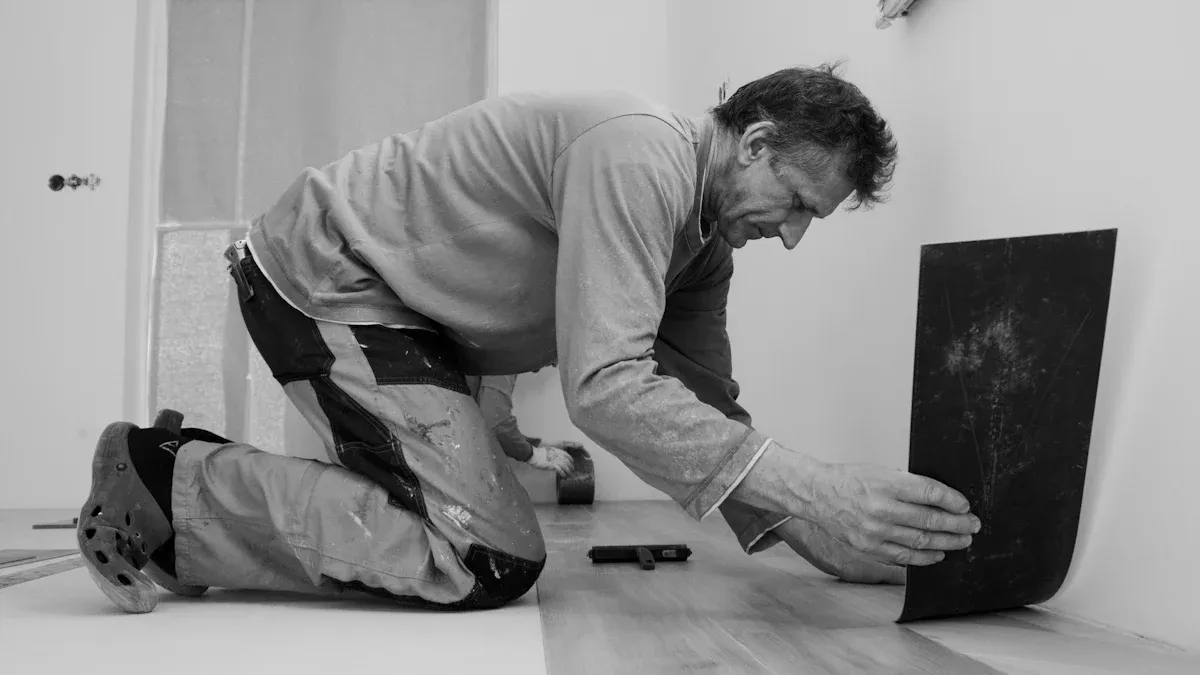
Cutting Transitions and Trim for a Perfect Fit
You want your floor to look smooth and professional. Accurate cutting is the first step. You need to measure each area where a transition will go. Mark the length on your transition piece before you cut. Use the right tool for each type of cut. Here is a table that shows the best techniques for different cuts:
| Technique Type | Description |
|---|---|
| Straight Cuts | Use a utility knife with a straightedge. Score the vinyl, then snap along the line. For long cuts, use a circular saw or vinyl tile cutter. |
| Complex Cuts | Use a jigsaw for curves and shapes. Use a hole saw for cutting around pipes. |
| Trimming Excess Material | Use a utility knife to trim along edges. Leave a small gap for expansion. Cover gaps with molding. |
| Sealing and Joining Seams | Apply seam sealer where planks meet. Use a seam roller for a tight fit. |
You should always double-check your measurements before you cut. If you make a mistake, the transition may not fit. Take your time and use sharp tools. This helps you get clean edges and a perfect fit for your vinyl tile click flooring.
Tip: Practice on a scrap piece before you cut your final transition. This helps you avoid mistakes and gives you confidence.
Fitting and Dry-Testing Transition Pieces
You need to test each transition piece before you secure it. Place the cut transition in the spot where it will go. Check that it fits snugly against the tile and the other flooring. Make sure the edges line up and there are no gaps. If you see a problem, trim the piece a little more. Dry-testing helps you see how the transition will look in your home.
You should also check that the transition does not block doors or create a tripping hazard. Open and close any nearby doors to make sure they move freely. Walk over the transition to feel if it is smooth. If you find a problem, adjust the piece before you move to the next step.
Note: Tutorials often show how to dry-fit transitions. Watching these can help you learn the best way to test your pieces.
Securing Transitions and Trim: Adhesive, Screws, or Clips
You have several ways to secure your transitions. The method you choose depends on the type of transition and the area in your home. Here are the main options:
- Use adhesive for a clean look. Spread glue on the bottom of the transition and press it into place. Hold it down until it sticks.
- Use screws or nails for extra strength. Drill small holes and attach the transition to the subfloor. This works well in high-traffic areas.
- Use clips if your transition comes with a track system. Snap the transition into the track for a secure fit.
You should always install waterproof baseboards and transition strips where needed. These protect your floor from water and damage. Trim any extra material or adjust planks for a polished finish. Follow the manufacturer’s instructions for each product. This helps your vinyl tile click flooring last longer and look its best.
Callout: Leave a small gap under the transition for floor expansion. This keeps your tile from buckling as it moves.
You finish the job by checking every transition. Make sure each one feels solid and looks neat. Clean up any glue or dust. Your floor now has strong, safe, and attractive transitions.
Finishing Touches for a Professional Look
You want your floor to stand out and feel complete. The final steps make your vinyl tile click flooring look polished and professional. You pay attention to details and follow proven techniques. These finishing touches help your floor last longer and impress anyone who visits your home.
You start by making sure every transition fits perfectly. You check that each piece sits flush with the tile and other flooring. This creates a clean look and prevents gaps. You use transition strips to connect different materials. These strips enhance the appearance and keep the edges safe. You choose strips that match your vinyl tile click flooring for a seamless finish.
You can use a border to define spaces in your home. A border blends the flooring and creates intentional designs. You select a color or pattern that complements your tile. This technique gives your floor a high-end look and helps each area feel unique.
Patterns also play a big role in making your floor look natural. You arrange your vinyl tile in a way that flows from room to room. Stylish patterns blend materials and add visual interest. You can find tutorials that show how to lay tile for a natural flow. These guides help you achieve a professional result.
You pay special attention to carpet-to-hard surface transitions. You secure the carpet edge so it stays neat. You use a transition strip that holds the carpet in place and connects it to your vinyl tile. This keeps your floor safe and prevents fraying.
You finish by cleaning up the area. You remove dust, glue, and scraps. You check every transition and trim for a tight fit. You touch up any spots that need extra care. You step back and admire your new floor. The transitions, tile, and trim work together to create a beautiful look in your home.
Tip: Take your time with these finishing touches. Small details make a big difference in how your floor looks and feels.
Here is a quick checklist to help you finish your vinyl tile click flooring installation:
- Check all transitions for flush fit and secure placement.
- Blend flooring with borders or patterns for a stylish look.
- Secure carpet edges with proper transition strips.
- Clean up dust and debris for a neat finish.
- Inspect every tile and trim for gaps or loose spots.
You use these techniques to make your floor strong and attractive. You create a space that feels welcoming and looks professional.
| Finishing Technique | Purpose | Result |
|---|---|---|
| Transition Strips | Connects materials, protects edges | Seamless, safe floor |
| Flush Transitions | Minimizes separation | Clean, modern look |
| Borders and Patterns | Defines spaces, blends materials | High-end, intentional design |
| Carpet-to-Hard Surface Strip | Secures carpet, connects to vinyl tile | Neat, durable transition |
| Final Cleanup | Removes debris, checks fit | Polished, professional floor |
You follow these steps to achieve a professional look with your vinyl tile click flooring. You make your home feel complete and your floor last for years.
Solving Common Transition Challenges
Addressing Uneven Floors
You often find uneven floors when you install vinyl tile click flooring. These differences can cause gaps or make transitions look messy. You start by inspecting height differences with a straight edge or laser level. This helps you spot dips or high spots. You check the subfloor for minor variations. A high-quality underlayment can fix small issues. You use FloorLyft Ultra underlayment to build up thinner flooring types. This matches adjoining rooms and adapts to slight subfloor inconsistencies. If a height difference remains, you apply transition molding like a reducer or threshold. This creates a gradual slope between the two floors and keeps your tile safe.
Tip: Tutorials show how to use underlayment and transition moldings for a smooth finish. Practice these steps for a professional look.
Managing Moisture-Prone Areas
Moisture can damage your floor and tile, especially in bathrooms or kitchens. You use a moisture meter to check subfloor moisture levels before installation. For concrete, you keep moisture content below 5%. For wood, you aim for less than 12%. You fix leaks and improve ventilation if you find moisture issues. You consider using a vapor barrier in moisture-prone areas. This prevents future problems and protects your vinyl tile click flooring. You install a moisture barrier between the subfloor and floating floor. You make sure the barrier stays intact to avoid damage from moisture beneath. High-density foam or cork underlayment adds extra protection.
Note: Always test the subfloor for moisture before you lay tile. This step keeps your flooring strong and prevents tiles from curling or lifting.
Ensuring Durability in High-Traffic Zones
You want your transitions and trim to last in busy areas of your home. You choose the right trim type for each spot. The table below shows the best options for durability:
| Trim Type | Best Use Cases | Key Benefits |
|---|---|---|
| Reducer | Doorways with lower floors; vinyl next to carpet | Gradual slope for safety; versatile |
| End Cap/Square Nose | Perimeter of a room; door thresholds | Covers exposed edges; protects from damage |
| Quarter Round | Along room perimeter walls; base of skirting | Hides expansion gaps; neat finish |
| Baseboards | Every room with vinyl flooring | Covers gaps; hides wall imperfections |
| Stair Nosing | Any staircase with vinyl flooring | Slip-resistant edge; professional finish |
| Material Choices | Varies by room function and style | PVC/vinyl for economy; metal for durability |
You select metal trims for high-traffic zones. These trims protect the edges of your tile and keep your floor looking neat. You clean quarter rounds often to maintain a tidy appearance. You use matching trims for a seamless look.
You solve common challenges by inspecting, preparing, and choosing the right materials. Your vinyl tile click flooring stays strong and beautiful in every part of your home.
You achieve a polished finish for your vinyl tile click flooring when you plan and install transitions and trim with care. Preparation matters most. You clean and level your subfloor, align the first rows, use quality tools, and follow manufacturer guidelines. The right materials and installation steps help your floor stay stable and attractive. Plano Flex Core vinyl adapts to uneven surfaces and prevents tile joint telegraphing.
| Evidence Type | Description |
|---|---|
| Material Quality | Plano Flex Core vinyl adapts to uneven surfaces and prevents tile joint telegraphing. |
| Installation Steps | Correct procedures create a stable flooring system. |
Expert tips guide you to select luxury vinyl with thick wear layers and waterproof construction. You avoid mistakes like leaving baseboards untouched, forgetting expansion gaps, or laying planks in the wrong direction. Choosing suitable transition strips and handling seams and height differences ensures your home looks cohesive and safe. Tutorials and resources help you learn about transition strips and installation tips. Take action with these steps to create a floor you can be proud of.
FAQ
What tools do you need to install transitions and trim?
You need a tape measure, utility knife, rubber mallet, spacers, and adhesive. You may also use a saw for complex cuts. Always wear safety gear.
How do you choose the right transition strip?
You match the strip to your vinyl tile color and the height difference between floors. You check the area for moisture or heavy traffic. You pick a material that fits your needs.
Can you install transitions and trim yourself?
Yes, you can. Many homeowners complete this project with basic tools. You follow step-by-step guides and measure carefully for best results.
How do you keep transitions safe in wet areas?
Use moisture-resistant strips in bathrooms and kitchens. Seal all edges tightly. This keeps water from seeping under your vinyl tile click flooring.
Where can you find more installation tips?
You can visit skspcflooring.com for guides, tutorials, and expert advice. You can also contact the SK-Floor team for support.




