
You want clean, straight edges when you cut vinyl flooring for your home. Many homeowners choose to handle cutting themselves.
- Nearly 20% of homeowners planned to undertake a DIY flooring installation.
You can use a sharp utility knife with a straightedge for scoring, or select a table saw with a fine-toothed blade for a smooth finish. Accurate measuring and marking help you learn how to cut vinyl plank flooring lengthwise. Always follow a careful process to make sure your planks fit perfectly and look professional.
Tip: Keep your workspace tidy and blades sharp for the best results.
Essential Tools and Materials for How to Cut Vinyl Plank Flooring Lengthwise
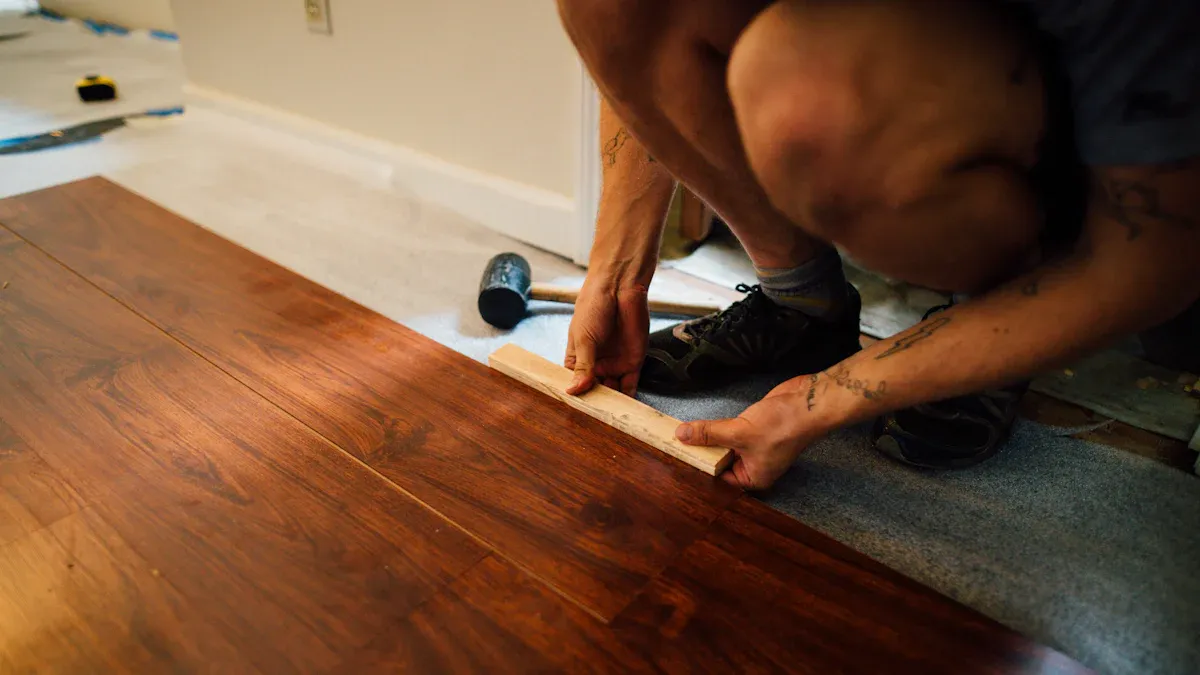
Before you start your project, you need the right tools and materials. These will help you make straight, clean cuts and keep your work safe and easy.
Utility Knife and Replacement Blades
A utility knife is one of the most important tools for cutting vinyl plank flooring. You can use it to score and snap planks for simple cuts. Many flooring installers recommend the ROBERTS 3-In-1 Carpet, Vinyl & Utility Knife. This knife lets you change blades quickly and works well for many types of flooring. Always keep extra blades nearby. Sharp blades make your cuts smoother and safer.
| Brand/Model | Description |
|---|---|
| ROBERTS 3-In-1 Carpet, Vinyl & Utility Knife | This versatile knife is favored by installers for its ability to accommodate various blade types and its quick blade change feature. It is designed for cutting carpet, LVT/LVP, and utility tasks, making it a top recommendation for cutting vinyl plank flooring. |
Tip: Replace your blade often. Dull blades can slip and cause mistakes.
Straightedge or Carpenter’s Square
You need a straightedge or a carpenter’s square to guide your cuts. These tools help you keep your lines straight and your corners square. You can use a chalk line to mark a guide on your subfloor before you lay the first row. Check your angles with a carpenter’s square to make sure you have perfect 90-degree corners. This step helps you avoid crooked planks and gaps.
- Use a straightedge to guide your utility knife.
- Use a carpenter’s square to check your angles.
- Mark your lines with a pencil or chalk for better accuracy.
Table Saw or Jig Saw with Fine-Toothed Blade
For long, straight cuts, a table saw with a fine-toothed blade works best. You can use it to rip vinyl plank flooring lengthwise and get a professional finish. A jig saw is helpful for cutting curves or odd shapes. It is easier to use for complex cuts but slower for straight lines.
| Tool | Advantages | Disadvantages |
|---|---|---|
| Jigsaw | Versatile for curved and irregular cuts | Slower for straight cuts compared to table saw |
| Easier to use for complex cuts | Requires practice to master | |
| Table Saw | Ideal for large, straight cuts | More expensive and requires dedicated workspace |
| High precision for straight cuts | Higher safety risk compared to jigsaw |
Note: Always wear safety gear when using power tools.
Measuring Tape and Pencil
You need a measuring tape and a pencil to mark your vinyl plank flooring before you cut. These tools help you get accurate measurements and clear lines. A measuring tape lets you check the length and width of each plank. You can use a pencil to draw your cut line. This step helps you avoid mistakes and wasted material.
- Choose a measuring tape with easy-to-read numbers.
- Use a pencil with a sharp tip for precise marks.
- Mark both ends of the plank and connect the points with a straightedge.
Tip: Double-check your measurements before you cut. Mistakes can lead to gaps or uneven edges.
A table can help you compare different types of pencils and measuring tapes:
| Tool | Best Feature | Why It Matters |
|---|---|---|
| Measuring Tape | Clear, bold numbers | Helps you read measurements |
| Pencil | Fine, sharp tip | Makes accurate cut lines |
You can erase pencil marks easily. This keeps your planks looking clean after installation.
Safety Gear
You must protect yourself when cutting vinyl plank flooring. Safety gear keeps you safe from sharp blades and dust. You should wear gloves to protect your hands. Safety glasses shield your eyes from flying debris. Ear protection helps when you use power tools.
- Wear cut-resistant gloves for handling planks and blades.
- Use safety glasses to prevent eye injuries.
- Put on earplugs if you use a table saw or jigsaw.
Alert: Never skip safety gear. Injuries can happen quickly.
You can find safety gear at most hardware stores. Choose gear that fits well and feels comfortable. You stay safer and work more confidently when you use the right protection.
Step-by-Step Guide: Best Way to Cut Vinyl Flooring at Home
Prepare Your Workspace
You need a safe and organized area before you start cutting. A clean workspace helps you avoid mistakes and injuries. Follow these steps to get ready:
- Clear your workspace so you do not trip over tools or scraps.
- Make sure you have enough lighting to see your cut lines clearly.
- Wear gloves to protect your hands from sharp edges.
- Put on safety glasses to keep dust and debris out of your eyes.
- Set up a stable cutting surface, like a workbench or a flat piece of plywood.
- Keep your tools close, but not in your main movement area.
Tip: Good preparation is the best way to cut vinyl flooring safely and accurately.
A tidy and well-lit area helps you focus on how to cut vinyl plank flooring lengthwise without distractions. You will work faster and make fewer errors.
Measure and Mark the Cut Line
Accurate measuring is key to a professional look. You want your planks to fit perfectly, so take your time with this step. Here is what you should do:
- Gather your tools: utility knife, straightedge, jigsaw, miter saw, and safety gear.
- Let your vinyl flooring acclimate in the room for 24 to 48 hours before you cut. This prevents warping.
- Use a measuring tape to check the length and width you need.
- Always measure twice to avoid mistakes.
- Leave a 1/4-inch expansion gap around walls to allow for movement.
- Mark both ends of the plank with a pencil.
- Connect the marks with a straightedge or T-square for a straight line.
Note: The principle of “measure twice, cut once” saves you from wasted material and uneven rows.
Dry-fit the plank before you cut vinyl flooring. This helps you see if your measurements are correct. Planning your layout and checking alignment will give your floor a professional finish.
Align and Score the Plank
You need to align your plank and score it for a clean cut. Professionals use the score and snap method because it is simple and effective. Here is how you do it:
- Place the plank on your stable surface.
- Use a T-square or straightedge to guide your line.
- Hold the straightedge firmly against the plank.
- Take your utility knife and score along the marked line. Make several light passes instead of one deep cut.
- Always wear safety goggles and gloves during this step.
The score and snap technique works well for most vinyl planks. After you score the surface, you can snap the plank by applying pressure. Use a table edge or your knee for leverage. This method gives you a clean break without damaging the material.
If you need to make a long, straight cut, a table saw with a fine-toothed blade is the best way to cut vinyl flooring. For intricate shapes, use a jigsaw or vinyl tile cutter. These tools help you handle complex cuts with precision.
Callout: Using the right tools and methods ensures your cuts look neat and your installation goes smoothly.
You now know how to cut vinyl plank flooring lengthwise with accuracy. Careful alignment and scoring make the snap easy and clean. This process helps you achieve a flawless look for your home project.
Snap or Cut Through the Plank
You need to finish the cut after you score the plank. The score and snap method works well for most vinyl planks. Place your hands on each side of the scored line. Hold the plank steady on a flat surface. Apply firm pressure with your hands. You will hear a small crack as the plank snaps along the line. This method gives you a clean edge and saves time.
If you want to know how to cut vinyl plank flooring lengthwise, you should practice the score and snap technique. Many professionals use this method because it is simple and effective. You do not need special tools for most straight cuts. You only need a sharp utility knife and a straightedge.
Sometimes, the plank does not snap cleanly. You can use a table saw or jigsaw for a smoother finish. These tools help when you need to cut vinyl flooring for long or tricky pieces. Always keep your hands away from the blade. Wear safety gear to protect your eyes and fingers.
Tip: If the plank does not snap easily, score the line again with your knife. More passes make the snap cleaner.
You can use this table to decide which method works best for your project:
| Method | Best For | Tools Needed |
|---|---|---|
| Score and Snap | Straight, long cuts | Utility knife, straightedge |
| Table Saw | Multiple planks, speed | Table saw, safety gear |
| Jigsaw | Curves, corners | Jigsaw, fine blade, safety gear |
You can master how to cut vinyl plank flooring lengthwise by practicing the score and snap method. This skill helps you finish your home project with confidence.
Finish and Smooth the Edges
You want your vinyl planks to look neat after cutting. Sometimes, the edge feels rough or has small chips. You can fix this with a sanding block or fine-grit sandpaper. Hold the plank steady. Rub the sandpaper along the cut edge. Move in one direction for a smooth finish.
Check the edge with your fingers. If you feel bumps, sand the area again. You can also use a utility knife to trim small pieces. Work slowly to avoid removing too much material.
Note: Clean edges help your planks fit together without gaps.
Wipe away dust with a damp cloth. This keeps your workspace clean and your planks ready for installation. You can use a vacuum to remove small bits from the floor.
Here are some steps to finish your planks:
- Inspect the cut edge for rough spots.
- Sand the edge with fine-grit sandpaper.
- Trim any small pieces with a utility knife.
- Wipe the edge with a damp cloth.
- Dry-fit the plank to check the fit.
You can achieve a professional look by taking time to finish and smooth the edges. This step makes your flooring project look polished and complete.
Expert Tips for a Professional Cut Vinyl Flooring Finish
Double-Check Measurements for Accuracy
You want your vinyl plank flooring to fit perfectly. Accurate measurements help you avoid gaps and uneven edges. Professionals recommend measuring twice before you cut. This simple habit saves you from costly mistakes. Use a measuring tape with clear numbers. Mark your cut lines with a pencil. Check your measurements again before you start cutting. You can prevent errors when you double-check every step.
Tip: Always measure twice and cut once. This practice ensures your planks fit snugly, even around obstacles.
Use Clamps for Stability
Clamps help you keep your vinyl planks steady while you cut. You can use them to secure the plank to your workbench or cutting surface. This prevents the plank from moving and gives you more control. When you use clamps, your cuts stay straight and clean. You avoid slips that can cause jagged edges or mistakes. Choose clamps that fit your workspace and hold the plank firmly.
- Clamps provide stability for long cuts.
- You can use them to keep your hands safe and away from the blade.
- They help you achieve a professional finish with less effort.
Note: Take your time and make controlled cuts. Rushing can lead to uneven edges.
Maintain Sharp Blades
Sharp blades make cutting vinyl plank flooring easier and safer. Dull blades can slip and damage the plank. You should replace your utility knife blades often. A sharp blade gives you clean, straight cuts. You can also use a fine-toothed blade on your table saw for best results. Keep extra blades nearby so you can switch them quickly.
| Blade Type | Best Use | Benefit |
|---|---|---|
| Utility Knife | Scoring and snapping | Clean, precise cuts |
| Fine-Toothed Saw | Long, straight cuts | Smooth finish |
Tip: Use a straightedge with your sharp blade for the cleanest results.
You can prevent chipping by handling planks carefully. Avoid exposing them to heat or sunlight. Lift heavy objects instead of dragging them across the floor. Use underlayment with a moisture barrier to protect against humidity. Always leave a small expansion gap during installation. These steps help you achieve a flawless, professional finish.
Handle Planks Carefully to Prevent Chipping
You want your vinyl plank flooring to look perfect after installation. Chipping can ruin the clean lines of your floor. You can prevent chips by handling each plank with care. Always lift planks instead of dragging them across your workspace. Dragging can scratch or damage the edges.
When you cut a plank, support both sides of the cut. This keeps the plank from bending or snapping in the wrong place. Hold the plank steady with one hand and use your other hand to guide the tool. If you use a table saw or jigsaw, move the plank slowly through the blade. Fast movements can cause the edges to chip.
Tip: Place a soft cloth or foam pad under the plank while cutting. This protects the surface from scratches and absorbs shock.
Stack planks flat and avoid leaning them against walls. Leaning can cause warping or edge damage. If you need to move several planks, carry only a few at a time. This reduces the risk of dropping and chipping.
Here is a quick checklist to help you prevent chipping:
- Lift, do not drag, planks.
- Support both sides during cutting.
- Move planks slowly through saws.
- Use a soft surface for cutting.
- Stack planks flat.
Clean Up Edges for a Seamless Look
After you cut your vinyl planks, you may notice small rough spots or tiny chips. You can fix these quickly for a smooth, seamless look. Use fine-grit sandpaper or a sanding block to gently smooth the cut edge. Always sand in one direction, not back and forth. This gives you a cleaner finish.
If you see small burrs or loose pieces, trim them with a sharp utility knife. Work slowly and check your progress often. Wipe the edge with a damp cloth to remove dust and debris. Clean edges help planks fit tightly together, making your floor look like it was installed by a pro.
Note: Clean, smooth edges make your flooring easier to install and improve the final appearance.
You can use this simple table to choose the right tool for cleaning up edges:
| Tool | Best Use |
|---|---|
| Fine-grit sandpaper | Smoothing rough edges |
| Utility knife | Trimming small burrs |
| Damp cloth | Removing dust |
Take your time with this step. Careful edge cleanup helps you achieve a flawless, seamless floor.
Safety Tips for DIY Cutting with skspcflooring
Cutting vinyl plank flooring can be safe when you follow the right steps. You protect yourself and your project by using smart safety habits. Here are the most important tips to keep you safe during your DIY flooring installation.
Wear Protective Gear
You need to wear the right gear before you start cutting. This gear keeps you safe from injuries and makes your work more comfortable. Always choose items that fit well and feel sturdy.
- Safety goggles shield your eyes from flying debris.
- A mask helps you avoid breathing in dust and fumes.
- Knee pads protect your knees when you kneel on hard floors.
- Closed-toe, slip-resistant shoes keep your feet safe from falling tools or planks.
- Heavy gloves with reinforced fingertips guard your hands against cuts and chemicals.
Tip: Never skip protective gear. Even small cuts or dust can cause big problems.
Work on a Stable Surface
You need a flat, steady surface for cutting. A stable workspace helps you make straight cuts and prevents accidents. Place your plank on a workbench or a solid piece of plywood. Make sure your tools and planks do not wobble or slide.
- Check your table or bench for stability before you start.
- Keep your workspace clean and free of clutter.
- Use clamps to hold planks in place if needed.
A stable surface gives you better control and helps you avoid slips.
Keep Hands Clear of Blades
You must keep your hands safe when using sharp tools. Always pay attention to where your fingers are. Wear gloves to protect your hands from cuts. Use safety glasses to shield your eyes from chips when you saw. Replace blades often so they stay sharp and do not slip.
- Keep your hands away from the cutting path.
- Hold planks steady with clamps instead of your hands.
- Make sure kids and pets stay out of your workspace.
Alert: Focus on your task and never rush. Careful work keeps you safe and helps you get the best results.
You can cut vinyl plank flooring lengthwise at home with confidence. Start with precise measurements and the right tools. This helps your planks fit snugly along walls and around corners. Use sharp blades for clean, smooth edges. The table below shows how each tool helps you get a professional finish:
| Tool | Description | Benefits |
|---|---|---|
| Jigsaw Blade | Cuts tough vinyl plank and lasts a long time | Clean cuts for a seamless finish |
| Plank Cutter | Simple, precise, and makes angled cuts | Accurate plank fitting |
| Plank Puller | Gives leverage for easier installation | Easier assembly of planks |
With these expert tips and guidance from skspcflooring, you can achieve flawless results on your next flooring project.
FAQ
How do you cut vinyl plank flooring lengthwise without chipping?
You should use a sharp utility knife and a straightedge. Score the plank several times, then snap it cleanly. Sand the edge with fine-grit sandpaper for a smooth finish.
What is the best tool for cutting vinyl plank flooring at home?
A utility knife works best for most straight cuts. For long or thick planks, you can use a table saw with a fine-toothed blade. Always keep your blades sharp.
Can you cut SPC flooring with regular scissors?
No, you cannot use regular scissors. SPC flooring is too rigid. You need a utility knife, jigsaw, or table saw for clean, accurate cuts.
Is it safe to cut vinyl flooring indoors?
You can cut vinyl flooring indoors if you keep your workspace clean and wear safety gear. Open windows for ventilation. Always use a stable surface and keep children and pets away.
Does SK-Floor offer eco-friendly vinyl flooring options?
| Product Type | Eco-Friendly Feature |
|---|---|
| Chevron SPC Flooring | Low VOC, recyclable |
| Rigid Core SPC | ISO14001 certified |
SK-Floor designs products that meet international environmental standards. You can learn more at skspcflooring.com.




