
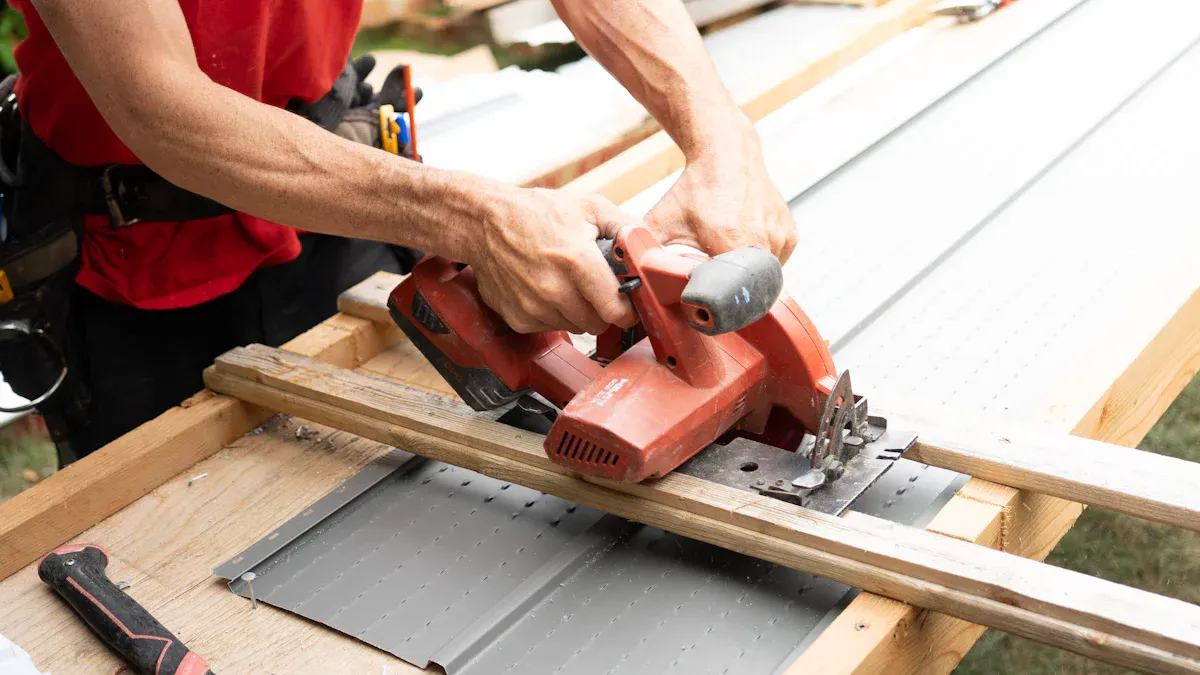
Cutting thick 12mm laminate flooring demands the right equipment for a professional finish. You will use specific saws for different cuts. A miter saw creates perfect crosscuts, while a table saw handles long rip cuts. For complex shapes, you need a jigsaw. A manual laminate cutter also provides an excellent dust-free alternative for straight cuts.
Pro Tip: The most critical factor for success is your blade. Always use a sharp, fine-tooth carbide blade to prevent chipping and ensure a clean edge.
Essential Heavy-Duty Tools for Cutting 12mm Laminate Flooring
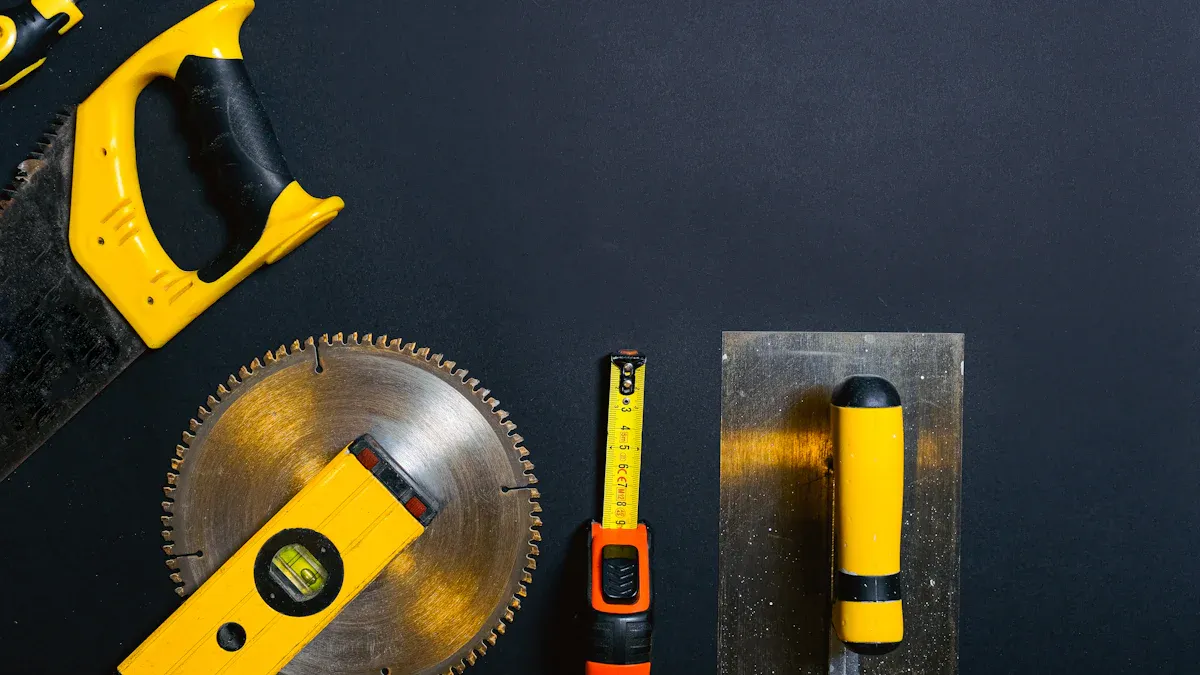
Thick laminate requires powerful and precise tools. You will need a specific saw for each type of cut you encounter. Using the right tool for the job ensures safety, accuracy, and a professional-looking installation.
The Miter Saw: For Perfect Crosscuts
You use a miter saw to make crosscuts. A crosscut is a straight cut across the width of a plank. This is the most common cut you will make when installing flooring. A miter saw provides unmatched speed and accuracy for this task.
- Speed: It allows you to cut planks to length quickly and repeatedly.
- Accuracy: The saw’s fence and guided blade produce perfectly square 90-degree cuts every time.
- Angled Cuts: You can also adjust the saw to make precise angled cuts for walls that are not perfectly straight.
Tool Tip: A 10-inch or 12-inch miter saw works best. Pair it with a fine-tooth blade (80 teeth or more) to get clean, chip-free results on the dense laminate surface.
The Table Saw: For Precise Rip Cuts
You need a table saw for rip cuts. A rip cut is a cut made lengthwise along a plank. You will perform rip cuts on the first and last rows of your flooring to fit them against the walls. The table saw is the best tool for this job because its rip fence acts as a guide. This fence ensures your cut is perfectly straight from one end of the plank to the other. This level of precision is very difficult to achieve with any other saw.
The Jigsaw: For Complex and Curved Cuts
The jigsaw is your problem-solver for all non-straight cuts. You will use it to cut around obstacles and create custom shapes. Common uses include:
- Cutting L-shapes for doorways.
- Notching planks to fit around floor vents.
- Creating circular cutouts for pipes or support columns.
While many brands make excellent jigsaws, the blade you choose is the most important factor. As many professionals say, “The real key is the blades.” For cutting 12mm laminate flooring, many installers recommend specialty blades like the Bosch T503.
Jigsaw Models & Settings Top-tier jigsaws include models from Mafell, Festool, and Hilti. However, quality tools from Bosch or Makita will also serve you well. Even an inexpensive jigsaw can produce good results with the right blade. For laminate, you can use a medium or high orbital setting on your saw. This setting moves the blade in a slight circular motion, which helps clear material and speeds up the cut. Always check the blade’s packaging for the manufacturer’s recommended settings.
The Laminate Cutter: The Dust-Free Option
A manual laminate cutter is a fantastic tool for making straight cuts without mess or noise. It works like a large paper shear. You place the plank on the cutter’s base, align your mark with the blade, and pull down a long handle. The blade cleanly shears the plank to your desired length.
The biggest advantages of this tool are that it produces no sawdust and requires no electricity. You can use it right in the room where you are working, saving you trips back and forth to a saw. This makes your project faster and keeps your home clean. Several reliable models can handle the thickness of heavy-duty laminate.
Highly-rated models capable of handling thick planks include:
- Norske Tools NMAP006 13 inch
- MantisTol 13” Laminate Flooring & Siding Cutter MC-330
- Norske Tools Laminate Flooring and Siding Cutter NMAP001
- Norske Tools Laminate Flooring and Siding Cutter KORR KMAP001
Know Your Tool’s Limits A laminate cutter is only for straight crosscuts. You cannot use it for rip cuts, angled cuts, or curved cuts. You will still need a power saw for those tasks.
The Oscillating Multi-Tool: For Undercuts
You use an oscillating multi-tool for one critical task: undercutting door jambs. For a professional finish, your flooring should slide underneath the door trim, not stop against it. This hides the expansion gap perfectly. The oscillating tool is the ideal instrument for making this precise cut.
To get the right height, you use a scrap piece of your 12mm laminate flooring plus its underlayment as a height guide. You rest the tool’s blade flat on top of the scrap plank and cut directly into the door jamb. This creates a space at the exact height needed for the new floor to slide in smoothly.
Choosing the right blade is essential for a clean result.
- You need a flush-cutting blade that allows you to cut parallel to the floor.
- Look for High Carbon Steel (HCS) blades, which are excellent for cutting wood.
- A blade with a Japanese tooth design provides fast, precise cuts with a very clean finish on wooden door jambs.
Choosing the Right Blade: The Secret to Clean Cuts
Your saw is only as good as the blade you put in it. The hard, brittle wear layer on 12mm laminate is notorious for chipping. Selecting the right blade is the single most important decision you will make to guarantee a clean, professional-looking cut every time.
Why Tooth Count (TPI) Matters
The number of teeth on a saw blade directly impacts the quality of your cut. Think of it this way: more teeth take smaller “bites” out of the material. This results in a much smoother finish. A blade with fewer teeth takes larger, more aggressive bites, which can easily chip the laminate surface.
For cutting thick laminate, you need a blade with a high tooth count.
- Look for a table saw or miter saw blade with 80 to 100 teeth.
- A 12-inch blade with 96 teeth, for example, is specifically engineered for cutting laminate flooring.
This high tooth count ensures the blade slices cleanly through the material instead of tearing it.
Carbide-Tipped vs. Standard Blades
Laminate flooring is an extremely abrasive material. It contains aluminum oxide in its wear layer, which will dull a standard steel blade almost instantly. A dull blade is a primary cause of chipping and burning.
You must use a carbide-tipped blade. Carbide is a much harder material that can withstand the abrasive nature of laminate.
Blade Durability Tip 💡 A carbide-tipped blade will stay sharp significantly longer than a steel one. This ensures you get consistent, clean cuts from the first plank to the last. Investing in a quality carbide blade saves you time and frustration.
Using Specialty Laminate Blades
For the absolute best results, you can use a blade designed specifically for cutting laminate. These blades are engineered to provide a perfectly smooth finish without any chipping, even on delicate surfaces like double-sided laminates and melamine.
Specialty laminate blades often feature a unique tooth design, such as a Triple Chip Grind (TCG). This design uses alternating flat and trapezoidal teeth to score the material before clearing the cut, which is highly effective at preventing chips. While a general-purpose fine-tooth carbide blade will work, a specialty blade is the ultimate tool for a flawless finish on your 12mm flooring project.
Reverse-Cut Jigsaw Blades
A standard jigsaw blade creates a major problem when cutting laminate. Its teeth point upward, so it cuts on the upstroke. This motion lifts and tears the hard wear layer, causing ugly chips on the visible surface of your plank. You can flip the plank over to cut it, but then you cannot see your cut line clearly.
A reverse-cut jigsaw blade is the perfect solution to this problem. These special blades have teeth that point downward. They cut on the downstroke, pushing material away from the saw instead of pulling it up. This downward cutting action is the key to preventing chipping on the top surface. You can place the good face of the laminate upward, follow your line precisely, and get a clean cut.
Blade Tip 💡 For the best results with a reverse-cut blade, you should turn off your jigsaw’s orbital setting. A zero orbital setting prevents the blade from moving back and forth, giving you maximum control for a splinter-free finish.
Many blade sets, like the MRCGTCE contractor set, include these “back-cutting” blades specifically for materials like laminate. Brands like Bosch also make specialty blades, such as the T101AO3, which are designed for clean cuts on both sides of the material.
To guarantee a perfect cut with your reverse-cut blade, follow these steps:
- Place the “good side” of the laminate plank facing up.
- Apply painter’s tape over your cut line to add extra protection against small chips.
- Keep the jigsaw’s shoe flat on the plank for stability.
- Feed the saw slowly and steadily through the material. Do not force it.
Using a reverse-cut blade with these techniques will give you the confidence to make any intricate cut your project requires.
How to Make Common Cuts Like a Pro
Now that you have the right tools and blades, you can start making the cuts needed for your installation. You will encounter a few common types of cuts. Mastering these techniques will ensure your project looks clean and professional.
Making a Straight Crosscut
A crosscut is a straight cut across the width of a plank. You will make this cut most often. Your miter saw is the best tool for fast and perfect crosscuts. For the cleanest edge, you should always use a blade with a high tooth count of 80 or more.
Crosscut Tool Options
- Miter Saw: Provides the fastest and most accurate results.
- Laminate Cutter: A great choice for quiet, dust-free cuts inside your workspace.
- Jigsaw: Use a down-cutting blade and apply painter’s tape over the cut line to prevent the surface from chipping.
Making a Lengthwise Rip Cut
A rip cut is a cut made along the length of a plank. You will need to make rip cuts for the first and last rows of flooring. A table saw gives you the straightest and most accurate results for this task. For maximum precision, you can use a featherboard. This device applies gentle pressure, keeping the plank tight against the saw’s fence for a perfectly straight cut.
When you rip long planks, you need to support the board as it leaves the saw. You can use an outfeed support stand. If a helper assists you, instruct them to only support the plank’s weight and let you do all the guiding. This prevents the blade from binding and ensures a safe, straight cut.
Making an L-Cut or Notch
You will make L-cuts to fit your 12mm laminate flooring around door frames, corners, and cabinets. This cut is simply two straight cuts that meet to form a corner. The jigsaw is the perfect tool for this job.
- Mark Your Lines: Carefully measure and draw the L-shape on your plank.
- Cut the Short Side: Use your jigsaw with a reverse-cut blade to make the shorter of the two cuts. This gives you maneuverability.
- Cut the Long Side: You can finish the longer cut with the jigsaw. For an even straighter edge, you can also use a table saw or circular saw to cut up to your first line.
Cutting Around Vents and Pipes
You will need to make precise cuts to fit your flooring around obstacles like floor vents and pipes. Your jigsaw is the essential tool for these custom shapes. Careful measurement is the first step to a successful cut.
For rectangular floor vents, you will create a cutout inside the plank.
- Measure and Mark: Place the plank in position and carefully mark the four corners of the vent opening onto the plank’s surface.
- Draw the Cutout: Remove the plank and use a square to connect your marks, drawing the exact rectangle you need to cut.
- Drill Starter Holes: Drill a hole inside each corner of your marked rectangle. These holes give you a place to start and turn your jigsaw blade.
- Make the Cut: Use your jigsaw with a reverse-cut blade to cut from hole to hole, removing the rectangular section.
Cutting for pipes requires a different approach. You will drill holes and then split the plank. First, you must account for the floor’s movement.
The Crucial Expansion Gap 📏 You must leave a space around all fixed objects to prevent your floor from buckling. A consistent 3/8-inch expansion gap is crucial around pipes and vents. For installations under 20 feet, a minimum 5/16-inch gap is required. This gap increases for larger rooms. For example, a 25-foot installation needs a 3/8-inch gap.
To cut around a pipe, measure its position and diameter. Add the expansion gap measurement to the diameter. You will then drill a hole of this larger size using a spade bit or hole saw. After drilling the hole, you cut the plank in half directly through the center of the hole. This allows you to fit the two pieces around the pipe. You can apply wood glue to the cut edge to rejoin the plank during installation.
Pro Tips for a Chip-Free Finish
You can achieve a perfect, factory-quality edge on your cuts. The hard wear layer on 12mm laminate is prone to chipping, but a few simple techniques will guarantee a clean finish. These professional tricks help you prevent chipping before it starts.
Use the “Tape Trick” on Your Cut Line
You can use painter’s tape to protect the laminate surface. This simple trick adds an extra layer of defense against chipping.
- First, you measure and mark your cut line.
- Next, you apply a strip of blue painter’s tape directly over the line.
- Finally, you draw your cut line again on top of the tape.
The tape helps hold the top surface of the laminate together. When the saw blade cuts through, the tape minimizes splintering and keeps the edges of the cut sharp and clean.
Score the Cut Line Before Sawing
Scoring the cut line creates a shallow groove for your saw blade to follow. This technique is very effective at preventing the blade’s teeth from tearing the delicate top layer. You are essentially pre-cutting the brittle surface before your power saw makes the full cut.
You can use a sharp utility knife or a carpet knife for this task. A carpet knife is often better because it is extremely sharp and designed for precise cuts.
- Use a straightedge to guide your knife.
- Press firmly and score the line several times.
- Create a visible groove in the laminate’s surface.
Your saw blade will then follow this groove, resulting in a much cleaner cut with no ugly chips.
Control Your Cutting Speed
Your cutting speed has a major impact on the quality of the finish. You should never force the saw through the laminate. Pushing the tool too quickly causes the blade to tear the material instead of cutting it cleanly.
Slow and Steady Wins the Race 🏁 Let the saw blade do the work. A slow, consistent feed rate allows each tooth on your fine-tooth blade to make a small, clean cut. This gives you maximum control and prevents the blade from grabbing and chipping the material.
This rule applies to every saw you use, from a table saw to a jigsaw. A patient approach is the key to a professional, chip-free result.
Position the “Good Side” Correctly for Each Saw
You can prevent chipping by understanding how your saw blade cuts. Each power saw has a unique cutting direction. You must position the “good side” of your laminate plank correctly to match this direction. This simple step is one of the most effective ways to get a clean edge. The “good side” is the decorative top surface of the flooring.
The direction of the blade’s teeth determines whether you cut with the plank facing up or down. You want the teeth to enter the decorative surface cleanly, not tear out of it.
The Golden Rule of Sawing ⚙️ Always position the plank so the saw teeth cut into the finished side, not out of it. This simple rule prevents the blade from lifting and chipping the delicate wear layer.
Here is how you should position your plank for each major saw type:
-
Miter Saw & Table Saw: These saws have blades that spin down toward the plank. You should place the plank good side down. The blade’s teeth will enter the back of the plank and exit through the decorative top. This downward force on the good side would cause chipping. By flipping the plank, the teeth enter the good side first, pushing down and leaving a perfectly clean cut on the visible surface.
-
Jigsaw (Standard Blade): A standard jigsaw blade cuts on the upstroke. You must place the plank good side down. This ensures the upward-pulling teeth cut through the backer, preventing chips on the decorative face. If you use a special reverse-cut blade, you can place the plank good side up.
-
Circular Saw: A handheld circular saw blade spins upward toward the tool’s base. You should place the plank good side up. The teeth enter the top surface first, giving you a clean cut on the side you can see.
To make it easy, you can use this quick reference table:
| Saw Type | Plank Position | Reason |
|---|---|---|
| Miter Saw | Good Side Down | Blade cuts downward. |
| Table Saw | Good Side Down | Blade cuts downward. |
| Jigsaw (Standard) | Good Side Down | Blade cuts upward. |
| Circular Saw | Good Side Up | Blade cuts upward. |
You can now handle any cut your project requires. Your essential power tools are a miter saw, a table saw, and a jigsaw. Remember that investing in a high-quality, sharp blade with a high tooth count is the single most important step for clean results.
Success is in Your Hands! 🏆 With these heavy-duty tools and proven techniques, you can achieve professional, chip-free cuts on your 12mm laminate flooring project.
FAQ
Can I use a circular saw for 12mm laminate?
Yes, you can use a circular saw. You must use a fine-tooth carbide blade for this tool. For a clean cut, you should place the plank with the good side facing up. A circular saw works well for straight cuts when you use a guide.
Do I really need a special laminate blade?
A specialty blade provides the best results. You can also get clean cuts with any fine-tooth carbide blade (80+ teeth). The most important factor is using a sharp, high-quality blade. This is your best defense against chipping the laminate surface.
What is the best way to cut without making dust? 💨
A manual laminate cutter is your best dust-free option. It cleanly shears planks without noise or mess. You can use it in the same room you are working in. This tool only makes straight crosscuts, so you will still need a saw for other cuts.
Why did my laminate still chip with a new blade?
Chipping can happen for a few reasons. You might be feeding the saw too quickly. You may have positioned the plank incorrectly for your saw. Remember to place the good side down for miter and table saws. Using painter’s tape also helps prevent chips.




