
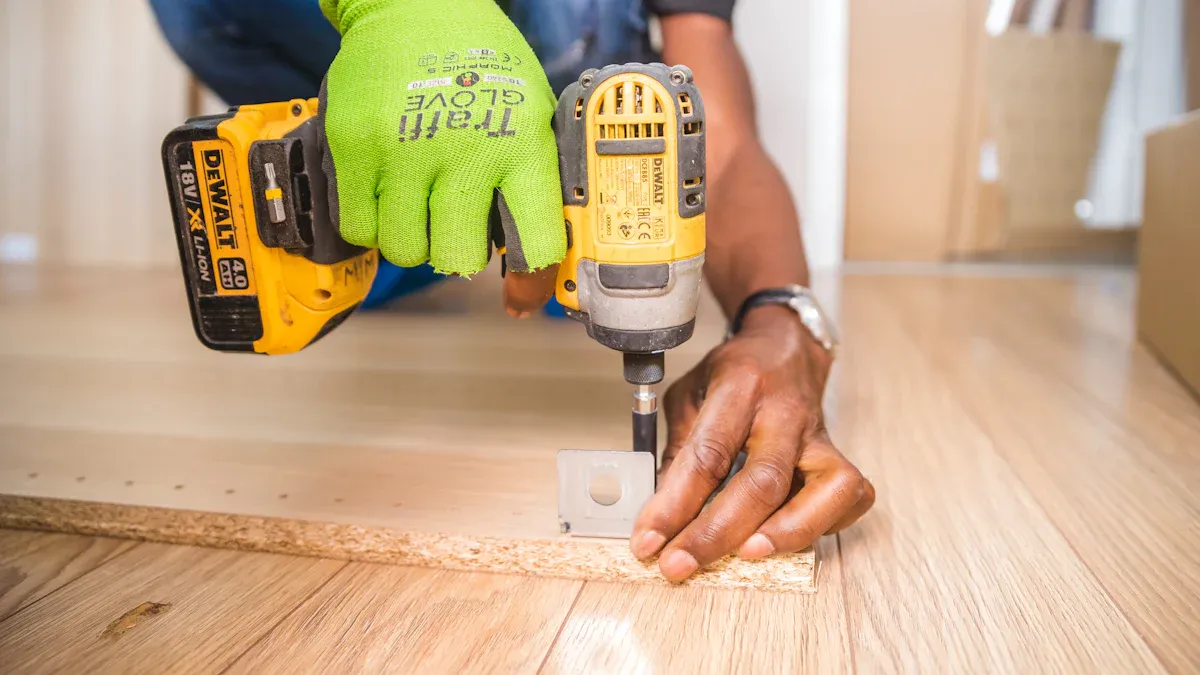
The laminate flooring market is growing, with its value projected to reach USD 2.39 billion by 2030. You have many tools for cutting laminate flooring. The main types include a manual flooring laminate cutter, electric saws, and specialty tools. Your choice to cut laminate flooring depends on your project’s size, budget, and the kinds of cut you need.
Selecting the right tools for cutting your laminate is the first step toward achieving high-quality, professional results. The quality of your cut directly impacts the final look of your flooring.
The Manual Flooring Laminate Cutter
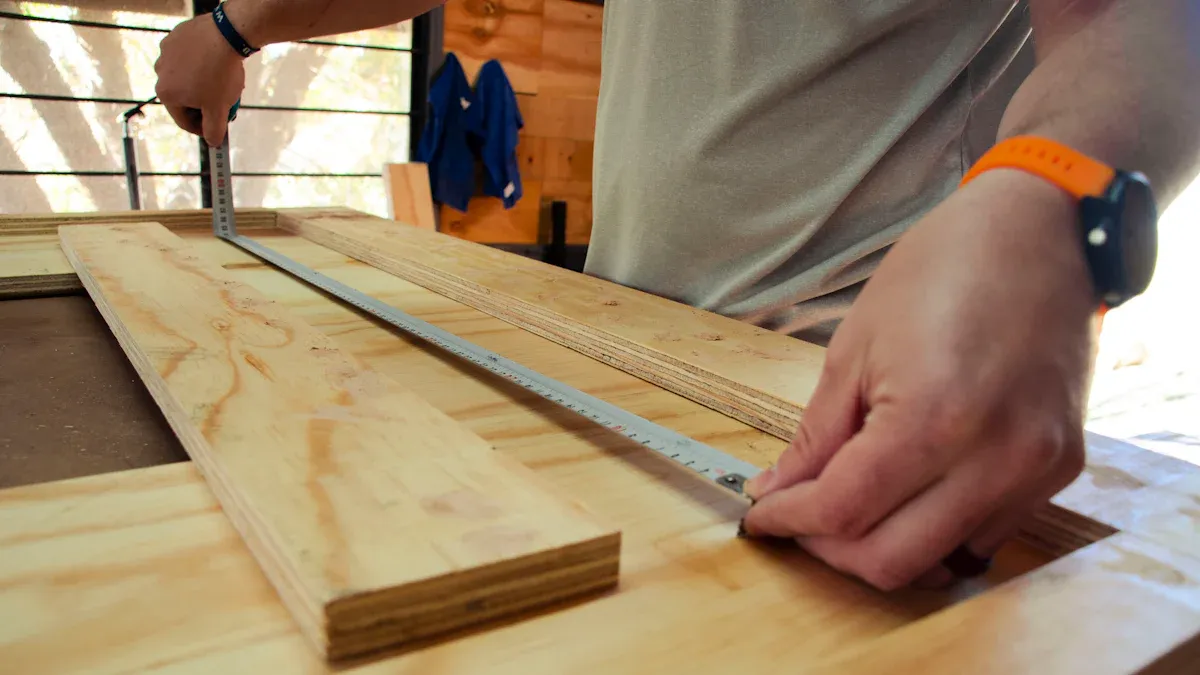
A manual flooring laminate cutter is a popular, human-powered tool designed specifically for laminate flooring jobs. It looks and works much like a paper guillotine but is built to handle tough flooring materials.
How Guillotine-Style Cutters Work
This tool, also known as a laminate shear, operates on the simple principle of leverage. You use a long handle to drive a hardened steel blade straight through a laminate plank, shearing it cleanly. The process is very straightforward.
- Position and Align: You place the plank on the cutter’s bed with the decorative side facing up. Then, you slide it under the blade and align your mark with the cutting edge.
- Shear the Plank: Hold the plank steady with one hand. You pull the long handle down firmly with your other hand. The leverage provides the force needed to make the cut.
- Inspect the Edge: The shearing action produces a sharp, clean edge with almost no chipping.
Pros: Quiet and Dust-Free Operation
One of the best features of a manual cutter is its clean and quiet operation. Unlike power saws, it produces no airborne dust. This means you can work inside the room where you are installing the flooring, saving you trips back and forth to an outdoor cutting station.
You can complete an entire flooring project without creating a mess. This makes cleanup fast and keeps your home’s air clean.
This tool is also nearly silent. You can work on your flooring project early in the morning or late at night without disturbing anyone in your household or your neighbors.
Cons: Limited to Straight Cuts
The primary limitation of this tool is its inability to perform varied cuts. The flooring laminate cutter is designed for one job: making straight, 90-degree cross-cuts on laminate planks. You cannot use it to make:
- Angled (miter) cuts for corners.
- Rip cuts (long cuts along the length of a plank).
- Curved or notched cuts for fitting around pipes or door jambs.
For any cuts other than a simple straight cut, you will need a different tool.
Best Use Cases for Manual Cutters
You should choose a manual cutter based on your project’s specific needs. This tool shines in situations where simplicity and convenience are more important than cut variety. A manual flooring laminate cutter is perfect for jobs in rooms with few obstacles, like square or rectangular bedrooms and hallways. Your installation will go quickly when you only need straight cuts to finish rows.
This tool is also an excellent choice for many DIY home improvement and repair jobs. You can use it for more than just laminate. Consider a manual cutter for your next flooring project if you are working with these materials:
- Laminate flooring
- Thin engineered wood
- Vinyl and VCT (Vinyl Composition Tile)
- Cork or rubber tiles
The main benefit is efficiency. You can make cuts right in the room where you are installing the flooring. This saves you countless steps and speeds up the entire project.
A manual cutter is the best option when you need to keep noise and dust to a minimum. If you live in an apartment or have young children, its quiet operation lets you work without disturbing others. The dust-free cutting action also protects your indoor air quality. You can install new laminate flooring without creating a big mess. This makes the entire process cleaner and more enjoyable from start to finish.
Using Electric Saws for Cutting Laminate Flooring
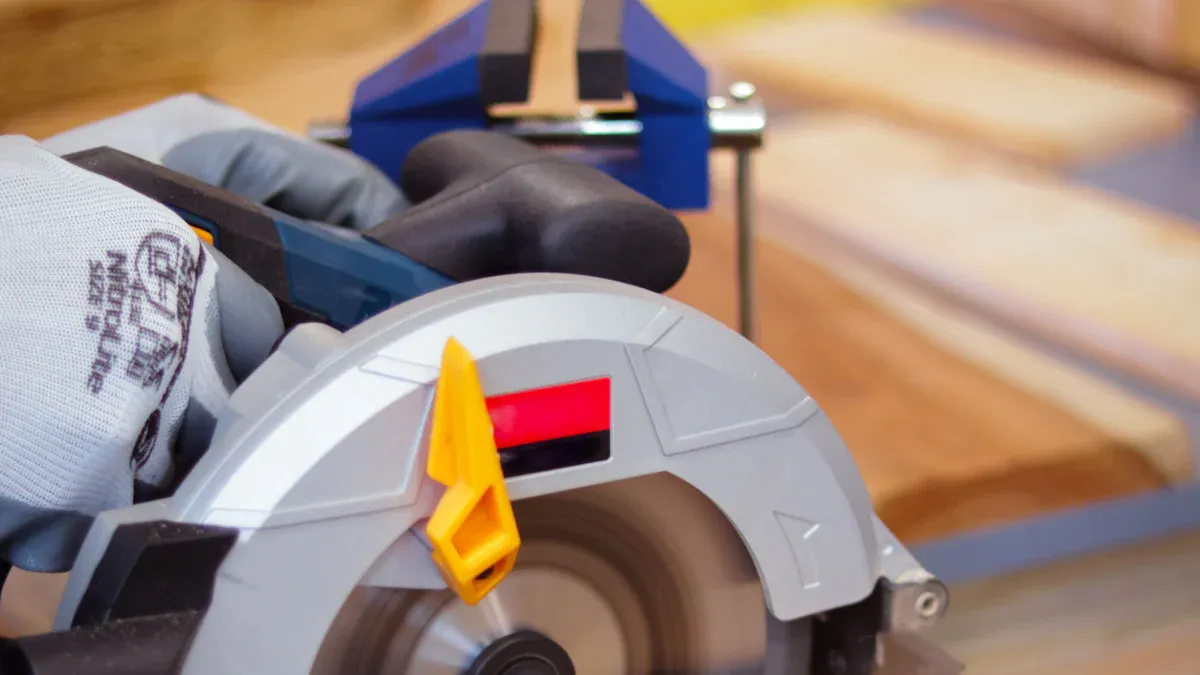
When your flooring project requires more than simple straight cuts, you will need an electric saw. Power saws offer the versatility to handle angled cuts, long rip cuts, and intricate shapes. While they create dust and noise, their ability to cut laminate flooring with precision is unmatched for complex installations.
Miter Saw for Precision Angles
A miter saw is your best tool for making perfect angled cuts. This saw features a circular blade mounted on a pivoting arm. You can set the blade to a specific angle, bring it down, and cut laminate flooring to length with exceptional accuracy. This precision is essential when you install flooring in rooms with non-square walls or need to fit pieces around a fireplace hearth.
The key features of a miter saw are its adjustable fence and angle guide. These allow you to lock in an exact angle for repeatable, flawless cuts every time.
For the cleanest results on laminate, you should equip your miter saw with a fine-tooth carbide-tipped blade. A blade with 80 teeth or more will slice through the material without chipping the top wear layer. Always make sure your blade is sharp. A dull blade can damage the flooring and is less safe to use.
Circular Saw for Versatile Straight Cuts
A circular saw is a handheld power tool that offers excellent versatility for cutting laminate flooring. It is portable and powerful, making it a great choice for making long, straight cuts directly on-site. You can use it for both cross-cuts and rip cuts. However, cutting a perfectly straight line freehand can be difficult. You can achieve professional results by using a straightedge guide or a track system. A track saw rides on a guide rail, which prevents the saw from drifting and ensures superior precision. This method also produces splinter-free cuts, which is ideal for delicate laminate surfaces.
To ensure a clean, straight cut with your circular saw, you should follow a few key steps:
- Support Your Material: Place the laminate plank on a stable surface like sawhorses. Proper support prevents the board from sagging or shifting during the cut.
- Use a Sharp Blade: A sharp blade designed for laminate is critical. You should set the blade depth to be just slightly deeper than the flooring thickness, about 1/8 inch more.
- Prevent Chipping: Cut with the decorative side of the flooring facing down. This ensures any potential chipping from the blade happens on the back of the plank, keeping the visible surface clean. Applying masking tape along the cut line can also help protect the finish.
A high-quality blade is your best defense against chipping. Choose a carbide-tipped blade with a high tooth count for the smoothest possible cut. A good blade makes the work easier and safer.
Table Saw for High-Volume Rip Cuts
A table saw is the ultimate tool for high-volume projects and making rip cuts. A rip cut is a cut made along the length of a plank. You will need to make these cuts for the first and last rows of flooring in a room. A table saw has a flat tabletop with a circular blade that extends through the surface. You guide the material through the blade to make the cut.
The most important part of a table saw for cutting laminate flooring is the rip fence. This is an adjustable guide that runs parallel to the saw blade. By setting the fence to the desired width, you can push your laminate plank through for a perfectly straight cut every time. This tool offers unmatched speed and precision for repetitive cuts.
To set up your rip fence for perfect accuracy, you can follow these steps:
- Set the fence to your approximate desired width and lock it down.
- Make a test cut on a scrap piece of wood or laminate.
- Use calipers to measure the exact width of the cut piece.
- Adjust your fence’s measurement indicator to match the true measurement.
This quick calibration ensures every subsequent piece of flooring you cut will be the exact same width. Always use a fine-tooth blade on your table saw. A dedicated laminate blade will give you the best performance. Remember to use a push stick to guide the flooring safely past the blade, keeping your hands far from the spinning blade.
Jigsaw for Intricate and Curved Cuts
When your flooring installation meets an obstacle, the jigsaw becomes your most valuable tool. You need a jigsaw for cutting laminate flooring when you encounter pipes, vents, or irregular walls. This handheld saw uses a reciprocating blade to make detailed cuts that other saws cannot perform. Its ability to cut curves and tight corners makes it essential for a professional-looking finish.
A jigsaw gives you the freedom to navigate complex shapes. You will need it to make custom cut-outs for various household features. These intricate shapes often include:
- Round pipes for plumbing or radiators
- Rectangular HVAC floor vents
- Irregular shapes around stone fireplaces or built-in cabinets
For the most accurate fit around complex objects, you can create a template. Use a piece of cardboard to trace the shape you need. Then, you can transfer that pattern onto your laminate plank before you make the cut.
The key to a clean cut with a jigsaw is selecting the correct blade. A standard wood-cutting blade will tear and chip the delicate surface of your laminate flooring. You should always use a blade designed specifically for laminate.
- A fine-tooth jigsaw blade is your best choice.
- Using this type of blade minimizes chipping and creates a much smoother cut on the laminate surface.
To get the best results, you should also consider the blade’s cutting direction. A standard blade cuts on the upstroke, which can chip the top surface of the flooring. A reverse-tooth blade, or “down-cut” blade, cuts on the downstroke. This pushes the fibers down and away from the finished side. This special blade helps you achieve a perfectly clean edge. When using any blade, you can apply painter’s tape along your cut line to add another layer of protection against chipping. Always let the blade do the work and guide the saw smoothly without forcing it. A sharp blade is a safe and effective blade.
Specialty Tools for Detail Work
While saws handle the bulk of the work, some cuts require specialized tools for a truly professional finish. An oscillating multi-tool and a simple utility knife are essential for the fine details that make your flooring installation look seamless. These tools help you work around tricky obstacles and make quick, simple cuts.
Oscillating Multi-Tool for Undercuts
An oscillating multi-tool is perfect for making precise undercuts on door jambs and casings. This allows you to slide the flooring underneath the trim for a clean, gap-free look. The tool’s small, vibrating blade lets you cut in tight spaces where other saws cannot reach. A bi-metal blade is a great choice for this job because it is durable enough to cut through wood and any hidden nails without damage.
For a perfect undercut, you need to set the correct height for the blade. This ensures your laminate flooring fits snugly without being too tight or too loose.
You can achieve a flawless undercut by following a few simple steps:
- Place a scrap piece of your laminate flooring and underlayment against the door jamb. This acts as a height guide for your blade.
- Rest the oscillating tool’s blade flat on the flooring scrap.
- Turn the tool on and slowly plunge the blade into the jamb to make the cut. Work continuously across the casing for a smooth, even line.
- Check that your flooring plank slides easily under the cut. If it feels tight, you can use the tool to trim a little more.
Utility Knife for Scoring and Snapping
For a quick, dust-free cut on a thin laminate plank, you can use a utility knife. This method, known as “scoring and snapping,” works well for straight cuts when you do not have a saw nearby. The key is to use a sharp blade and score the material deeply enough for a clean break.
This technique has a few important features. You must mark your line accurately and use a straightedge to guide your blade. Applying masking tape along the cut line can help prevent the top layer of the laminate from chipping. You will need to pass the blade over the line several times to create a deep groove. Once the plank is scored, you can snap it by bending the shorter edge carefully. A sharp blade is critical for this process, as a dull blade will not cut deep enough and can ruin the flooring.
Key Factors for Choosing Your Cutter
Choosing the right tool is a critical decision for your flooring project. The best cutter for you depends on the types of cuts you need, the size of your job, and where you plan to work. Understanding these factors helps you select a tool that delivers the best performance and a high-quality finish.
Comparing Cut Type Capabilities
Different tools excel at different types of cuts. Your project will likely require more than one kind of cut, so you need to know what each tool can do. A manual cutter is great for straight cuts, but you will need a power saw for anything more complex. The right tool ensures you get the precision you need for every part of the installation.
The quality of your flooring installation depends on making the right cut for each situation. Matching the tool to the cut type is essential for professional results.
This table compares the capabilities of common tool types.
| Cut Type | Manual Cutter | Miter Saw | Jigsaw |
|---|---|---|---|
| Cross Cuts | Good for straight cuts | Excellent for precise cuts | Possible, but edges can be rough |
| Rip Cuts | Not recommended | Not its main purpose | Possible, but lacks precision |
| Miter Cuts | Not possible | Excellent for accurate angles | Possible, but less precise |
| Curve Cuts | Not possible | Not designed for curves | Excellent for all curved shapes |
A sharp blade is crucial for good performance with any saw. For a miter saw, a fine-tooth blade ensures clean angles. For a jigsaw, a special laminate blade prevents chipping on curves. Always use the correct blade for the material and the cut. The right blade improves both safety and the quality of your work.
Matching the Tool to Your Project Size
The size and complexity of your project will guide your tool choice. For a simple, single-room installation with straight walls, a manual cutter is often enough. Its efficiency with straight cuts makes the job go quickly.
However, for more complex projects, you will need more versatile tools. If you are cutting laminate flooring for multiple rooms or rooms with angled walls, a combination of power saws is essential.
- A miter saw gives you speed and precision for the many crosscuts and angled cuts you will encounter. Its performance is unmatched for trim work.
- A table saw is the best choice for the long rip cuts needed for the first and last rows of flooring.
- A jigsaw is necessary for cutting around obstacles like pipes or a fireplace hearth.
For the best results on a large or complex project, you can use a manual cutter for most straight cuts inside the room. Then, you can use power saws at a separate cutting station for all the special cuts. This workflow gives you both efficiency and precision.
A sharp blade is key to the performance of any saw. A dull blade will slow you down and reduce the quality of your work. Make sure every blade you use is sharp and designed for laminate flooring. A good blade provides a clean cut and better control.
Portability and On-Site Convenience
You should also think about where you will be working. The weight and size of your tools affect how easily you can move them around your job site. A manual cutter is lightweight and portable, allowing you to work directly in the room you are installing the flooring. This convenience saves you time and effort.
Power saws are heavier and less portable. They often require a dedicated workspace, like a garage or an outdoor area. This means you will spend more time walking back and forth to make cuts. The features of each saw impact its portability.
This table shows how different saws compare in size and setup.
| Tool Feature | Job-Site Table Saw | Miter Saw |
|---|---|---|
| Portability | Mobile but requires a workbench | More compact and sits on a bench |
| Weight | Lighter than full-size models | Lighter than a table saw |
| Setup | Needs a sturdy, flat surface | Needs a workbench or stand |
| Blade Size | Varies by model | A larger blade allows longer cuts |
The blade on each tool affects its performance. A miter saw with a large blade can handle wider laminate planks. A smaller blade makes the tool more compact. The right blade and tool combination gives you the precision and power you need for your specific laminate flooring project. A sharp blade is always the most important part of getting a clean cut.
Managing Dust and Noise Levels
Your work environment is an important factor in any home improvement project. Cutting laminate flooring can create significant dust and noise. You should choose a tool that matches your tolerance for mess and sound. A manual cutter offers a clean, quiet experience. Power saws, however, require more management.
The dust from cutting laminate is not just wood fiber. It contains melamine resin, which you should not breathe in. Proper dust control protects your health and keeps your home clean.
Power saws are loud and produce a lot of fine dust. You can manage these issues with the right approach.
- Work Outdoors: Set up your power saws in a garage or outside if possible. This keeps the dust and noise out of your main living area.
- Use Dust Collection: Many modern saws have ports for attaching a shop vacuum. This captures most of the dust right at the blade. This greatly improves air quality and reduces cleanup time.
- Wear Protection: Always wear safety glasses and a dust mask when using power saws. Hearing protection is also essential to protect you from the loud noise. A sharp blade produces less dust and offers better performance.
A dull blade will burn the material and create more airborne particles. You should always use a sharp blade for a cleaner cut and a safer work environment. The right blade improves the saw’s overall performance.
Understanding Tool Costs and Value
Your budget plays a big role in choosing a cutter. Tool prices can range from under one hundred dollars to several hundred. You should think about both the initial cost and the long-term value. A cheap tool might save you money now, but a quality tool delivers better results and can be used for future projects. The performance of your tool directly impacts the look of your new flooring.
A tool’s value is not just its price. Consider its versatility, durability, and the quality of the finish it provides. Investing in the right tool can save you from costly mistakes.
This table gives you a general idea of tool costs. Prices can vary based on brand and features.
| Tool Type | Typical Price Range | Best For |
|---|---|---|
| Manual Cutter | $70 – $200 | Simple, dust-free straight cuts |
| Jigsaw | $50 – $150 | Intricate and curved cuts |
| Circular Saw | $60 – $200 | Versatile straight and rip cuts |
| Miter Saw | $150 – $500+ | Precise angled and cross cuts |
| Table Saw | $200 – $600+ | High-volume rip cuts |
Remember to include the cost of a high-quality blade in your budget. A specialized laminate flooring blade might cost more, but it is essential for achieving clean, chip-free cuts. A good blade is a smart investment that protects your flooring material. The blade you choose is just as important as the saw itself. A new blade ensures the best performance from any saw. A sharp blade makes every cut smoother. You need the correct blade for your specific saw. The right blade will make your flooring project a success.
Best Practices to Cut Laminate Flooring for High-Quality Results
Following best practices when cutting laminate flooring is essential for a professional finish. Your technique directly impacts the final quality of your project. Proper measurement, surface protection, and a steady hand will help you achieve excellent results while installing laminate flooring.
Measure Twice, Cut Once
The old saying “measure twice, cut once” is the most important rule when installing laminate flooring. Incorrect measurements lead to wasted material and a poor-quality finish. You can improve your accuracy by using a “cheater board” instead of a tape measure for end-of-row cuts. This method helps you get a perfect fit every time.
You can use this simple technique for better quality cuts:
- Take a full plank and turn it 180 degrees.
- Place it next to the last full plank in the row, tight against the wall.
- Mark the new plank where it overlaps the end of the previously laid plank.
- Use this mark to cut laminate flooring for a precise fit.
This process ensures your cuts are accurate, which is critical when installing laminate flooring.
Protect the Laminate Surface
The top wear layer of laminate is durable but can chip during cutting. You must protect this surface to get a clean look. When using a circular saw or table saw, you should always cut with the decorative side of the flooring facing down. The saw blade enters from the bottom, so any chipping happens on the back of the plank. For a jigsaw, you should use a special down-cut blade.
Applying painter’s tape along your cut line is another great way to protect the laminate surface. The tape helps hold the top layer together and gives you a very clean cut. A sharp blade is your best tool for preventing chips. A dull blade will tear the material instead of cutting it cleanly. This is a key part of installing laminate flooring for high quality.
Make Smooth, Confident Passes
The quality of your cut depends on how you handle the saw. You should always let the tool do the work. Forcing the saw or a dull blade through the material will result in a rough, uneven edge. A sharp blade requires very little pressure. Your job is to guide the saw smoothly along your cut line. A confident, steady pass with a sharp blade produces a clean and precise cut.
This technique applies to every tool you use for cutting laminate flooring. A sharp blade ensures the best performance from your saw. A good blade makes the work safer and improves the final quality. A clean and precise cut is the goal when installing laminate flooring. Always check that your blade is sharp before you begin cutting laminate flooring. A quality blade is essential for installing laminate flooring.
Choosing the Right Saw Blade for Laminate Flooring
The quality of your cut depends heavily on the saw blade for laminate flooring you choose. A great saw with the wrong blade will produce poor results. Choosing a saw blade specifically designed for laminate flooring is essential for a clean, professional finish. Understanding the different types of saw blades helps you get the best performance and quality from your tools. A quality saw blade is a key investment.
Fine-Tooth Blades for Clean Cuts
You should always select a saw blade for laminate flooring with a high tooth count. More teeth on a blade result in a smoother, more clean cut. A blade with fewer teeth will tear through the material, causing chips and a rough edge. A fine-tooth blade makes many small cuts, which gives you a very clean finish on the delicate top layer of the laminate. A quality saw blade ensures a clean cut.
For the best results, you should use a saw blade for laminate flooring with 80 teeth or more. This high tooth count is the secret to a chip-free, clean cut every time. A quality saw blade will deliver a clean result.
Using the right blade makes your work look better and reduces waste. A clean cut from a quality saw blade means your flooring pieces will fit together perfectly. This is why a good saw blade for laminate flooring is so important for quality work.
Carbide-Tipped Blade Durability
Laminate flooring is very abrasive and will quickly dull a standard steel blade. You need a blade with excellent durability to handle this tough material. A carbide-tipped saw blade for laminate flooring offers superior durability. The hard carbide tips stay sharp much longer, giving you consistent, clean cuts throughout your project. The durability of a quality saw blade saves you time and money.
Investing in the durability of a carbide-tipped blade is a smart choice. This type of saw blade for laminate flooring maintains its edge, ensuring high-quality performance. The enhanced durability means you will not have to stop and change your blade in the middle of a job. This durability is a feature of every quality saw blade. The durability of the blade is critical for working with laminate flooring. You can count on the durability of a carbide blade for a clean cut. This durability is what makes it the right saw blade for laminate flooring.
Cross-Cut vs. Rip-Cut Blades
You will encounter two main types of saw blades: cross-cut and rip-cut. Each blade is designed for a specific job. A cross-cut blade is made to cut across the wood grain, while a rip-cut blade is for cutting along the grain. Choosing a saw blade of the right type is important. These types of saw blades have different tooth designs that affect their performance.
This table shows the differences between these two types of saw blades.
| Feature | Cross-cut Blade | Rip-cut Blade |
|---|---|---|
| Tooth Count | 60-80 teeth | Fewer, larger teeth |
| Tooth Shape | Angled like tiny knives | Point straight down |
| Action | Slices through wood fibers | Splits wood fibers apart |
| Gullet Size | Smaller gullets | Larger gullets |
For most cuts on laminate flooring, a fine-tooth cross-cut blade is your best option. It provides the clean edge you need for a high-quality installation.
Your flooring project may only need a manual flooring laminate cutter. A quality saw blade for laminate flooring is the best blade. This saw blade for laminate flooring is a better blade. A good saw blade for laminate flooring is a sharp blade. The right saw blade for laminate flooring is a quality blade. A new saw blade for laminate flooring is a clean blade. This saw blade for laminate flooring is a great blade. Your saw blade for laminate flooring is a key blade. The right flooring laminate cutter impacts the quality of your flooring. A quality saw blade for laminate flooring ensures a quality laminate finish for your project.
FAQ
Can I cut laminate flooring with the good side up?
It depends on your saw. For circular saws and table saws, you should cut with the good side facing down. The saw blade cuts upward, which protects the top surface. For miter saws and jigsaws with a down-cut blade, you can cut with the good side up.
What is the best blade for cutting laminate?
You need a fine-tooth carbide-tipped blade. This type of blade has at least 80 teeth for a smooth finish. A quality blade prevents chipping on the laminate’s surface. The best blade is one specifically designed for laminate or fine-finishing work.
Do I really need more than one type of saw?
For simple jobs with only straight cuts, a manual cutter is enough. For projects with angles, curves, or rip cuts, you will need a combination of saws. A miter saw and a jigsaw together offer the most versatility for a professional-quality installation.
How often should I change my saw blade?
You should change your blade when you notice a drop in performance. Signs of a dull blade include rough edges, burn marks on the wood, or needing to push the saw harder. A sharp blade makes your work safer and gives you a cleaner cut.




