
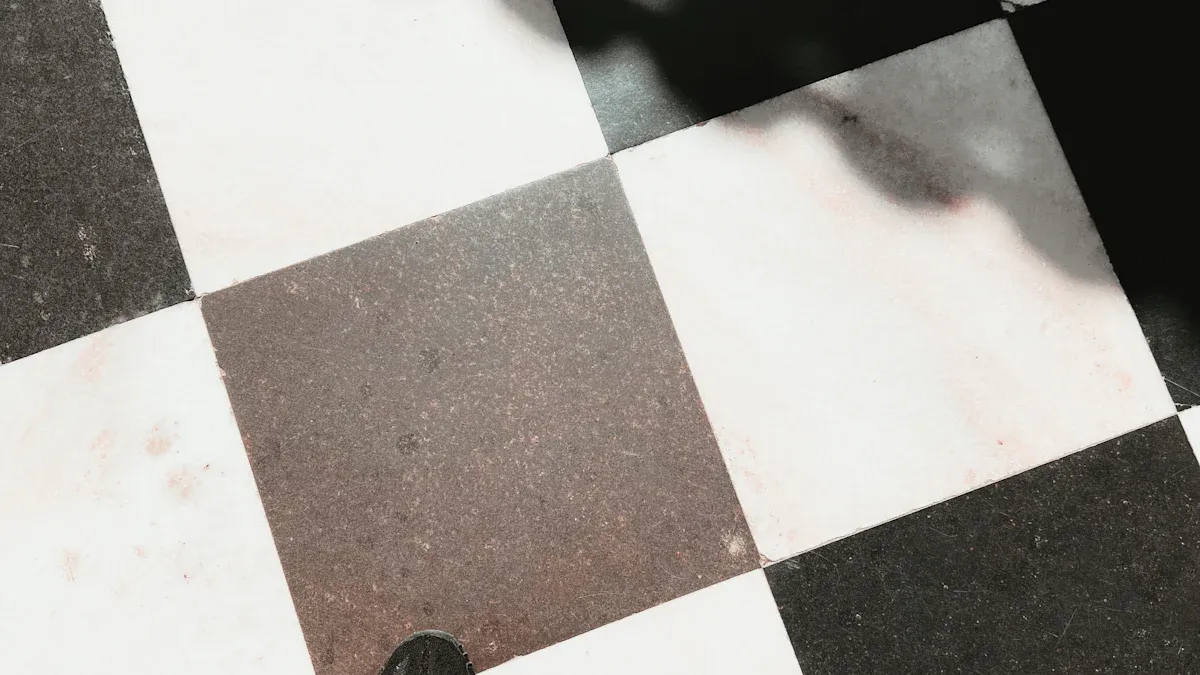
You can create a stunning vinyl flooring pattern layout in your home. Many homeowners choose vinyl because it stands up to water, offers many styles, and feels comfortable underfoot. In fact, the 2020 U.S. Houzz Bathroom Trends Study showed more people picked vinyl flooring for bathroom updates than before. You get a durable floor that is easy to clean and fits your budget. When you plan your vinyl flooring pattern layout carefully, your space looks polished and inviting.
Tip: Vinyl flooring works well in busy areas and rooms with lots of moisture.
Planning Your Vinyl Flooring Pattern Layout
Measure and Map Your Room
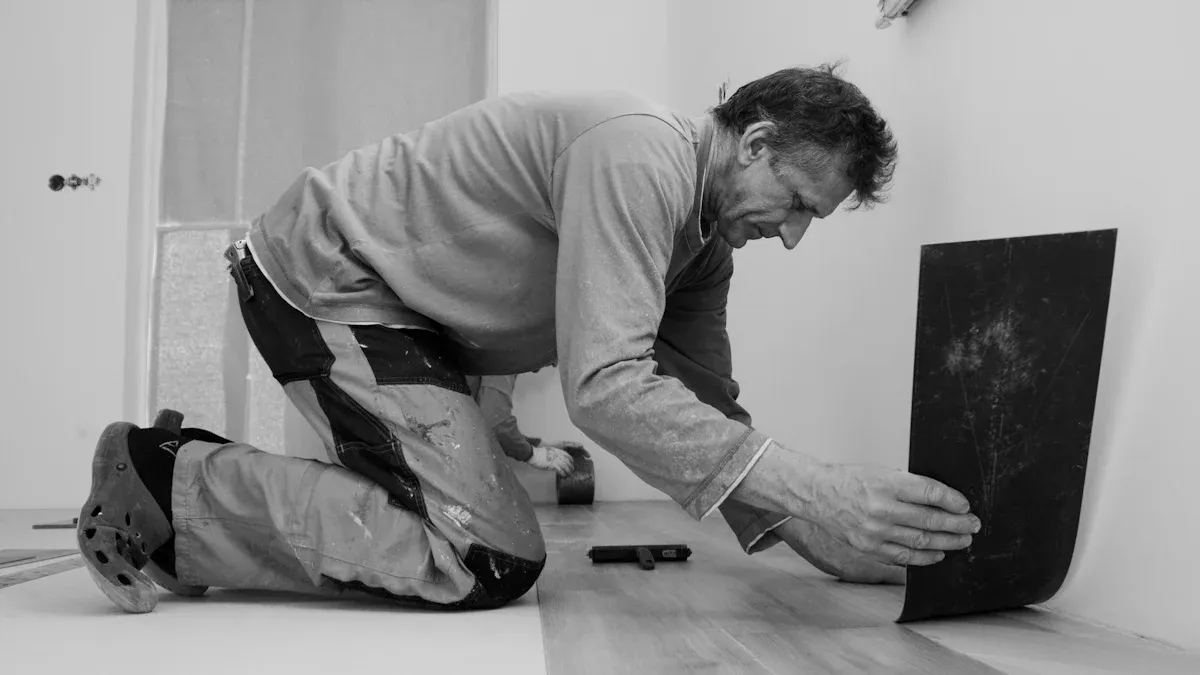
Start your vinyl flooring project by measuring your room carefully. Use a tape measure to find the length and width of the space. Write down these numbers. If your room has unusual shapes or features, like a bay window or a fireplace, sketch a simple map on paper. Mark all doors, closets, and built-in cabinets. This step helps you see how much flooring you need and where you might need to cut planks.
- Mapping your room lets you plan for symmetry and a smooth visual flow.
- You can adjust your pattern before you start, which helps you avoid mistakes.
- Planning on paper gives you a chance to see how different layout ideas will look.
- You can make sure your planks line up and that seams are staggered by at least 6 inches.
- When you know how people move through the space, you can place wider or narrower planks in the best spots.
Tip: Careful mapping turns an ordinary vinyl flooring pattern layout into a beautiful, custom design.
Consider Room Shape, Features, and Entryways
Every room is different. Some rooms are square, while others have odd shapes or extra features. Look at the shape of your room and think about how it will affect your layout. For example, in an L-shaped room, lay your luxury vinyl plank parallel to the longest wall or the main light source. This keeps the space looking neat and connected.
- Room size affects which pattern works best.
- Lighting, both natural and artificial, guides how you place your planks.
- Features like cabinets, fireplaces, and doorways can change your layout.
- In entryways, lay your flooring perpendicular to the door for a smooth transition.
- If you have stairs, continue the direction of your lvp for a consistent look.
- Feature walls or large furniture may look better if you lay planks perpendicular to them.
When you plan your layout around these features, you create a space that feels balanced and welcoming. Larger rooms with lots of light can handle bold patterns like herringbone, while smaller rooms may look better with a simple straight lay. Match your pattern to your room’s style and size for the best results.
Assess Light, Traffic Flow, and Focal Points
Light changes how your vinyl flooring looks. Sunlight from windows can make your luxury vinyl plank shine and show off its texture. Try to lay your planks parallel to the main light source. This lets sunlight cast shadows along the seams, making your pattern stand out. In rooms with less light, you can use plank direction to make the space feel bigger or cozier.
Think about how people move through your room. High-traffic areas, like kitchens and entryways, need durable flooring. Luxury vinyl flooring and lvp have a tough wear layer that resists scratches and dents. Place rugs or mats in busy spots to keep your floor looking new. The direction of your pattern can also guide people through the space and highlight focal points, like a fireplace or a big window.
Note: With proper installation and care, vinyl flooring can last 15 to 20 years, even in busy homes.
When you plan your vinyl flooring pattern layout with light, traffic, and focal points in mind, you create a room that looks great and works well for your family.
Choosing the Best Vinyl Plank Flooring Pattern
Popular Patterns: Straight Lay, Offset, Diagonal, Herringbone
When you choose a vinyl flooring pattern layout, you have many options. Each pattern changes how your room looks and feels. Some patterns are simple, while others add drama or elegance. Here is a table to help you understand the most popular patterns for vinyl plank flooring:
| Pattern | Defining Characteristics |
|---|---|
| Straight Lay | Planks line up in a basic grid, running horizontally or vertically. This pattern looks clean and timeless. |
| Offset | Each plank starts halfway down the previous plank, like a brick wall. This offset pattern creates a balanced, rhythmic look. |
| Diagonal | Planks run at a 45-degree angle to the walls. This pattern makes small or narrow rooms feel bigger and adds movement. |
| Herringbone | Planks meet at right angles, forming a zigzag or V shape. This pattern brings elegance and visual interest but takes more time to install. |
- The offset pattern, also called running bond, gives a classic look that works in many homes.
- Diagonal patterns add dimension and make tight spaces feel more open.
- Herringbone patterns create a striking zigzag that draws the eye and makes rooms appear larger.
Tip: The herringbone pattern can make narrow rooms feel wider and short rooms look longer. It offers a unique flow that straight patterns cannot match.
Interior designers often use these patterns to change the mood of a room. For example, straight lay patterns keep things simple and organized. Diagonal and herringbone patterns add flair and make a space feel special. If you want a bold look, you can also try a chevron pattern, which uses planks cut at an angle to form a continuous V shape.
Matching Patterns to Room Style and Size
You should always match your vinyl plank flooring pattern to your room’s style and size. The right pattern can make your space feel bigger, cozier, or more elegant. Room size plays a big role in your choice. Large rooms look best with wider and longer planks, such as 7 inches by 48 inches. These planks reduce seams and make the room feel open. Small or narrow rooms work better with planks that are 3 to 5 inches wide. Narrow planks help balance the space and make it feel wider.
Patterns also change how your room feels. Herringbone and chevron patterns add luxury and work well in formal spaces like living rooms or entryways. Straight lay and offset patterns fit bedrooms, offices, and kitchens because they look clean and organized. If you want a cozy, rustic feel, choose distressed wood-look lvp in a random stagger pattern. For a modern look, use wide planks in neutral colors.
Here is a quick guide to help you match patterns to your room style:
| Room Style | Recommended Pattern/Color | Effect on Room Style |
|---|---|---|
| Modern and Minimalist | Straight lay, wide planks, neutral shades | Clean, open, and simple |
| Traditional and Classic | Offset or herringbone, warm wood tones | Timeless and elegant |
| Rustic and Country | Random stagger, distressed wood look | Cozy and lived-in |
| Bold and Eclectic | Chevron or herringbone, vibrant colors | Unique and full of character |
| Elegant and Sophisticated | Herringbone, tile-look patterns | Adds luxury and depth |
| Coastal and Beachy | Straight lay, light colors | Airy and relaxed |
Note: Matching your vinyl flooring pattern layout to your furniture and wall colors helps your room look well-planned and stylish.
Deciding on Plank Direction for Your Layout
The direction you lay your lvp planks changes how your room looks and feels. You can use plank direction to make a room appear larger, brighter, or more welcoming. Here are some tips to help you decide:
- Lay planks parallel to the longest wall to make the room look bigger.
- Run planks toward the main window to catch the light and highlight the seams.
- In narrow hallways, lay planks lengthwise to add depth.
- Use diagonal or herringbone patterns to soften odd-shaped rooms and add visual interest.
- Lay planks perpendicular to a fireplace or feature wall to draw attention to that area.
- For open floor plans, keep the plank direction consistent to create a seamless flow.
- If you want to define different zones, change the direction in each area.
Try laying out a few planks before you start the full installation. This dry run helps you see how the light and space will look with your chosen pattern and direction.
Plank direction also affects how much flooring you need and how much waste you create. Diagonal and herringbone layouts use more material and take more time, but they can transform a plain room into something special. Always consider the shape and size of your room, the main light source, and the flow between spaces when planning your luxury vinyl plank or luxury vinyl flooring installation.
Avoiding Common Vinyl Flooring Pattern Layout Mistakes
Preventing the “H” and “Step” Patterns
You want your vinyl floor to look natural and professional. The “H” and “step” patterns can ruin the look of your floor. The “H” pattern happens when seams line up every other row, making the floor look less random and more artificial. The “step” pattern appears when the spacing between seams repeats in a regular way, creating a predictable look. Both patterns reduce the beauty of your floor and can even weaken its structure.
To avoid these mistakes, always stagger your seams by at least six inches for standard planks. For wider planks, increase the stagger to eight or ten inches. Start each new row with a different length plank, using leftover pieces from previous rows when possible. This method keeps the seams from lining up and helps you create a more natural pattern. Mixing plank colors and rotating them during installation also prevents similar patterns from sitting next to each other.
Tip: Step back often to check your work. If you see repeating seams or blocks of similar planks, adjust your layout before moving on.
Achieving Natural-Looking Stagger and Variation
A beautiful vinyl floor mimics real wood. You can achieve this by staggering seams and mixing plank patterns. Never start every row with a full plank. Instead, use offcuts that are at least six inches long to begin new rows. This approach prevents artificial, repetitive patterns and strengthens your floor.
- Mix planks from different boxes to get a good blend of colors and patterns.
- Offset seams by at least six inches in each row.
- Vary the length of starter planks to avoid a predictable look.
- Dry-fit a few rows before locking them in place to see how the pattern looks.
Randomizing your layout makes the floor look more like real wood and less like a manufactured product. Regularly check your progress to avoid accidental repeats or awkward seams.
Planning Expansion Gaps and Seam Placement
Vinyl flooring needs room to expand and contract with changes in temperature and humidity. If you skip expansion gaps, your floor can buckle, warp, or develop gaps at the seams. Always leave a 1/4-inch gap around the room’s edges. Use spacers during installation to keep this gap even. After you finish, cover the gap with baseboards or trim. Never attach trim directly to the floor, as this can stop the vinyl from moving as needed.
Proper seam placement also matters. Avoid placing seams near air vents or in corners, as this can weaken the locking system. Plan your layout so that seams fall in strong, stable areas of the floor. This planning helps your vinyl floor last longer and look better.
Note: Acclimate your vinyl planks in the room for at least eight hours before installation. This step helps prevent future expansion problems.
Laying Out the First Rows of Vinyl Plank Flooring
Starting from the Most Visible Wall
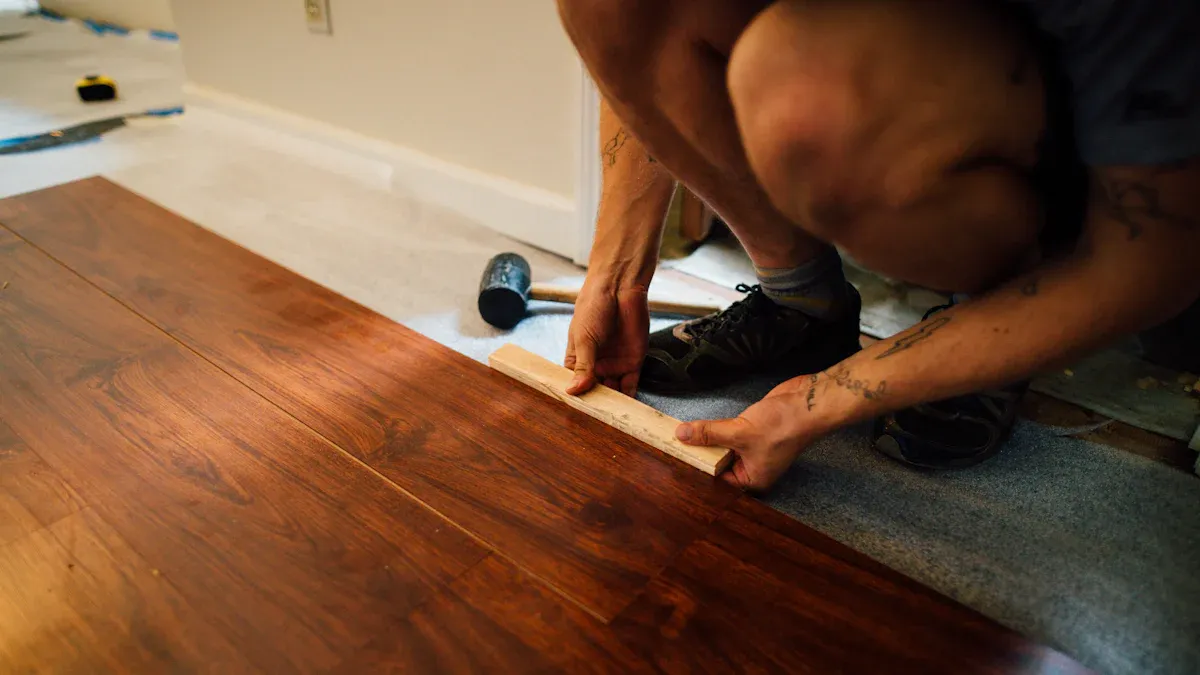
You should always begin your lvp installation from the most visible wall in the room. This wall often faces the main entrance or serves as a focal point. Starting here helps you keep the first row of vinyl planks straight and parallel. This step sets the foundation for your entire flooring project.
- The first row acts as a guide for every row that follows.
- You will find it easier to keep your lvp installation neat and aligned.
- You avoid awkward cuts and reduce mistakes later in the process.
- The finished floor looks more professional and visually appealing.
- You also save material and prevent waste by planning your layout from this wall.
- Use spacers to keep a consistent expansion gap along the wall. This gap stops the vinyl from buckling as it expands and contracts.
Tip: Always check that your first row is perfectly straight before moving on. This small step makes a big difference in your final result.
Creating a Straight Reference Line
A straight reference line is your best friend during lvp installation. You can use a chalk line or a straight edge to mark this line on your subfloor. This line guides your first row of vinyl planks and keeps everything in place.
- The reference line ensures your planks stay straight and even.
- You avoid crooked rows and gaps between planks.
- Each plank lines up with the next, giving your flooring a smooth, professional look.
- You set a strong baseline for the rest of your lvp installation.
Note: Double-check your reference line before you start laying planks. A small mistake here can lead to bigger problems later.
Tips for Staggering Seams and Mixing Plank Lengths
Staggering seams and mixing plank lengths give your vinyl flooring a natural, wood-like appearance. This method also adds strength to your lvp installation.
- Always stagger end joints by at least 6 inches between rows. This prevents visible seams and weak spots.
- Use leftover pieces from one row to start the next. Make sure each starter plank is at least 6 inches long.
- Mix planks from different boxes to balance color and pattern. This step creates a dynamic, natural look.
- For wider planks, increase the stagger to 8 or 10 inches, but do not go beyond that to avoid repeating patterns.
- Trim the tongue off the first plank and place it with the cut side against the wall, leaving a 1/4-inch expansion gap.
- Use tools like utility knives, spacers, and tapping blocks for precise cuts and tight seams.
- Randomize plank lengths and placement to avoid a predictable pattern.
- Prepare your subfloor and let your lvp acclimate for at least 48 hours before installation.
Pro Tip: Dry-fit a few rows before locking them in place. This helps you spot any repeating patterns or color clusters.
A careful approach to layout, seam staggering, and plank mixing ensures your vinyl flooring looks beautiful and lasts for years.
Final Installation Tips for a Beautiful Layout
Following Manufacturer Instructions for Vinyl Plank Flooring
You should always follow the manufacturer’s instructions for your lvp installation. Each brand of vinyl plank flooring may have unique requirements. Start by letting your planks acclimate in the room for at least 48 hours. This step helps prevent warping and keeps your flooring stable. Prepare your subfloor by cleaning, filling gaps, and sanding high spots. Use underlayment if the manufacturer recommends it. Underlayment smooths out small imperfections, reduces noise, and adds comfort.
Tip: Always leave a 1/4-inch expansion gap around the room’s edges. Use spacers to keep this gap even during your lvp installation.
Plan your pattern before you begin. Avoid awkward seams and make sure your layout matches your room’s style. Stagger the end joints by at least six inches in each row. This method gives your luxury vinyl plank floor a natural look and adds strength.
Double-Checking Alignment and Visual Appeal
Check your lvp installation often as you work. A straight reference line keeps your rows even. Use spacers to maintain expansion gaps. Make sure each plank lines up with the next. Pay close attention to seams. Tight seams keep water out and help your luxury vinyl plank floor last longer.
Here is a checklist to help you keep your flooring aligned and beautiful:
- Use a chalk line or straight edge to guide your first row.
- Stagger seams by at least six inches for a natural look.
- Mix planks from different boxes for color variation.
- Inspect each row before moving on to the next.
- After finishing, remove spacers and check for gaps or uneven spots.
- Trim excess material for a clean finish.
- Walk the floor to spot any loose planks or raised edges.
Note: A careful post-installation inspection helps you catch small issues before they become big problems.
Making Clean Cuts Around Obstacles and Edges
You will need to cut vinyl planks to fit around doorways, vents, and corners during your lvp installation. Use the right tools for each type of cut. A sharp utility knife works well for straight cuts. Guide the knife with a ruler for best results. For curves or angles, use a jigsaw with a fine-toothed blade. A miter saw helps with angled cuts near doorways.
Follow these steps for clean, professional cuts:
- Practice on scrap pieces before cutting your actual vinyl.
- Make several shallow passes with your knife instead of one deep cut.
- Place a cutting mat or scrap wood under the vinyl to protect your floor.
- Use cardboard templates to trace complex shapes onto your plank.
- Trim slowly and check the fit often.
- For tight spots, use a jamb saw or heat gun to make the vinyl more flexible.
Safety First: Always wear eye and ear protection when using power tools.
Clean cuts and careful fitting help your lvp installation look seamless and polished. Your new flooring will look like it was installed by a pro.
You can achieve a beautiful vinyl flooring pattern layout by following simple steps and paying close attention to detail. Choose from classic patterns like checkerboard or herringbone to match your style. Careful planning, such as measuring your space and staggering planks, helps your floor look balanced and last longer. Many homeowners enjoy vinyl because it is easy to clean, comfortable, and resists water and scratches. Take your time, trust the process, and enjoy your new floor for years to come.
FAQ
How do you choose the right vinyl plank pattern for your room?
You should look at your room’s size and style. Straight lay works well in most spaces. Herringbone adds elegance. Diagonal patterns make small rooms feel bigger. Try laying out a few planks first to see what looks best.
Can you install vinyl plank flooring over existing floors?
Yes, you can install vinyl planks over many surfaces, such as tile or hardwood. Make sure the old floor is clean, dry, and level. Remove any loose tiles or boards before you start.
What tools do you need for a vinyl flooring pattern layout?
You need a tape measure, utility knife, spacers, straight edge, and chalk line. For tricky cuts, use a jigsaw or miter saw. Always keep a broom or vacuum handy to clean as you work.
How do you keep seams tight and prevent gaps?
Tip: Press each plank firmly into place. Use a tapping block to close gaps. Check seams as you go. If you see a gap, fix it right away. Tight seams help your floor last longer and look better.




