
You can achieve a professional look when you install spc vinyl plank in your home. This guide walks you through spc flooring installation step by step. You will learn how to handle planks and use the right tools for installing spc flooring. Many homeowners choose spc vinyl plank because it offers strength and style. Follow this guide, and you will see how easy spc vinyl flooring installation can be. Vinyl planks make any room look fresh and new.
Tip: Always check each plank before installation to avoid defects.
Tools and Materials for SPC Vinyl Plank Installation
Essential Tools for Installing SPC Flooring
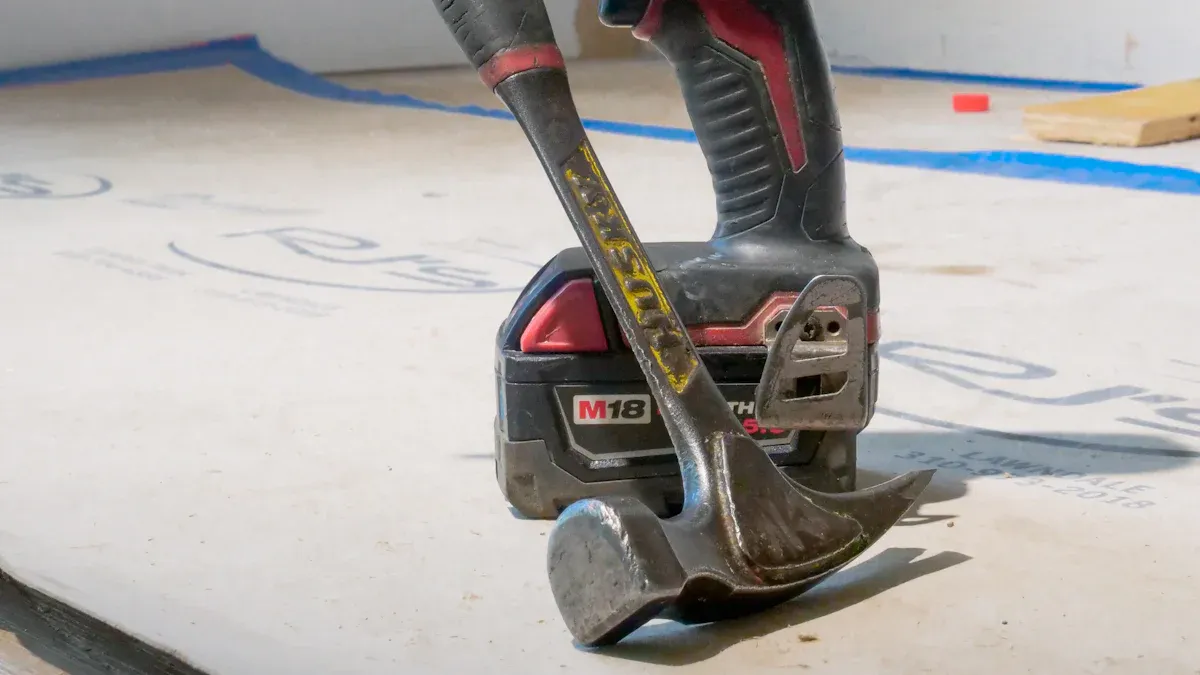
You need the right tools to achieve a smooth installation. Gather all the necessary tools before you start. This step saves you time and helps you avoid mistakes. Here is a list of tools you should have on hand:
- Tape measure: Measure your room and planks for accurate cuts.
- Utility knife: Cut SPC planks cleanly and safely.
- Rubber mallet: Tap planks into place without damaging them.
- Tapping block: Protect plank edges while locking them together.
- Pull bar: Fit planks tightly near walls.
- Spacers: Keep a consistent gap between the flooring and the wall.
- Pencil and straight edge: Mark your cuts clearly.
- Safety gear: Wear gloves and knee pads for comfort and protection.
Tip: Always double-check your measurements before making any cuts. This habit prevents waste and ensures a professional finish.
Materials Checklist for SPC Plank Flooring Installation
You also need the right materials to install spc flooring like a pro. Use this checklist to prepare for your project:
| Material | Purpose |
|---|---|
| SPC vinyl planks | Main flooring material |
| Underlayment (if needed) | Adds cushion and sound reduction |
| Transition strips | Connects flooring to other surfaces |
| Baseboards or trim | Covers expansion gaps at the wall edges |
| Adhesive (for glue-down) | Needed for some types of installation |
| Cleaning supplies | Keeps your workspace tidy |
Check each item before you begin. This guide helps you avoid last-minute trips to the store. When you have all the materials and necessary tools ready, you can focus on the steps of installation and get the best results.
Preparing for SPC Flooring Installation
Subfloor Inspection and Cleaning
Before you start the installation, you must check the subfloor condition. A strong and clean subfloor helps your SPC vinyl plank last longer. Look for these important points:
- The subfloor must be flat, smooth, and dry.
- Remove all dirt, paint, wax, oils, and old adhesive.
- Test for moisture. The moisture vapor emissions should not go over 5 lbs per 1,000 ft², and relative humidity should stay below 95%.
- Make sure the subfloor is not damaged or swollen.
- Avoid using cleaners with petroleum, solvents, or citrus oils.
Note: Dusty surfaces need a primer before you install the planks.
You should also keep the room temperature between 65°F and 85°F for at least 48 hours before and after installation. This step helps the floor adjust to the room condition.
Leveling the Subfloor for SPC Plank Flooring
A level subfloor is key for a smooth installation. Use a straight edge to check for high or low spots. The floor should be flat within 3/16 inch over 10 feet or 1/8 inch over 6 feet. If you find high spots, sand them down. Fill low areas with the right underlayment. This process prevents gaps and makes the planks fit tightly.
Tip: Subfloor panels should have a smooth, sanded face. Remove any swelling or damage from weather or heavy traffic.
Acclimating SPC Vinyl Plank
Proper acclimation protects your new floor from problems like buckling or gapping. Place the unopened boxes of SPC vinyl plank in the installation room for at least 24-48 hours. If you can, leave them for up to 7 days. Keep the room temperature between 60°F and 80°F, and the humidity between 30% and 50%. This step lets the planks adjust to the room preparation and condition.
Callout: Following these steps helps control the moisture content of flooring and ensures a stable installation.
Planning the Layout for SPC Flooring Installation
You need to plan your layout before you start the installation. Good planning helps you get a balanced and professional look in your room. Take time to measure the space and mark your starting point. This step makes the whole process easier and helps you avoid mistakes.
Start by looking at the shape of your room. Most people begin laying planks parallel to the longest wall. This method gives your floor a balanced and pleasing appearance. You can also lay the planks in the direction of natural light. This choice makes the room look brighter and more open.
Tip: Use a chalk line or pencil to mark your starting line. This guide keeps your first row straight and even.
Think about how the planks will fit at the edges of the room. You want to avoid having very narrow pieces along the walls. If you measure and plan, you can cut the first and last rows to a similar width. This step gives your installation a neat finish.
Stagger the seams between rows. This pattern adds strength to your floor and makes it look more interesting. Try to keep the seams at least 6 inches apart from each other. Double-check your measurements before you cut any planks. Careful planning helps you use your materials wisely and prevents waste.
A well-planned layout supports a smooth installation. You will see a balanced look, fewer mistakes, and a floor that lasts longer.
Step-by-Step Guide to Install SPC Flooring
Starting the First Row of SPC Vinyl Plank
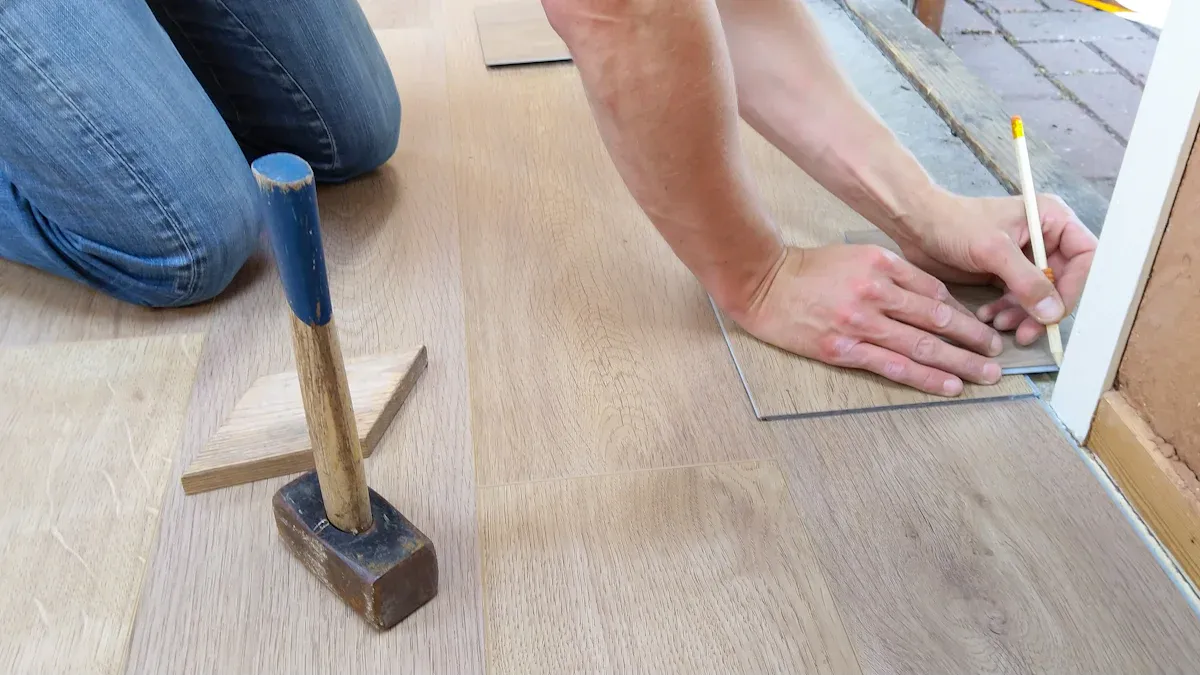
You begin installing spc flooring by focusing on the first row. This step sets the foundation for the rest of your spc flooring installation. Place spacers along the wall to create a 1/4 inch expansion gap. This gap allows your spc vinyl plank to expand and contract with temperature changes. Start at the left side of the room and work toward the right. Lay the first plank with the tongue side facing the wall. Use a tape measure to check that the plank sits 1/4 inch from the wall.
Cut the last plank in the row to fit, making sure it is at least twice as long as the plank’s width. This length helps the planks lock together and keeps your floor stable. Always leave a 1/4 inch gap at the end of the row. Use a pull bar to fit the last plank tightly. Check that the row is straight before moving on.
Tip: Use a chalk line to keep your first row perfectly straight. This guide helps you avoid crooked rows later.
Click-Lock vs. Glue-Down SPC Flooring Installation
You can choose between two main installation methods for spc vinyl plank: click-lock and glue-down. Each method has unique benefits and challenges. Click-lock spc plank flooring uses a tongue-and-groove system. You snap the planks together without adhesive. This method works well for DIY projects and saves time. Glue down spc plank flooring requires you to spread adhesive on the subfloor and press each plank into place. This method takes more time and effort but creates a permanent bond.
Here is a comparison of these installation methods:
| Aspect | Glue-Down Installation | Click-Lock Installation |
|---|---|---|
| Installation | Requires adhesive application; more labor-intensive and time-consuming | Uses tongue-and-groove locking system; faster and DIY-friendly |
| Stability & Durability | Provides a permanent, stable bond; better moisture resistance; quieter floor | Stable when installed properly; may have slight movement in high moisture areas; noisier |
| Repair | Individual plank replacement possible; requires specialized tools and expertise | Repairs may require disassembly of adjacent planks; DIY possible but more cumbersome |
| Noise Reduction | Adhesive bond dampens sound, resulting in quieter floors | May produce more noise due to lack of adhesive bonding |
You should select the installation method that fits your skill level and the needs of your space. Click-lock spc plank flooring works best if you want a quick, easy project. Glue-down spc plank flooring gives you a quieter, more stable floor, especially in areas with high moisture. Both installation methods can give you a professional finish if you follow the right steps.
Note: Loose-lay spc plank flooring is another option. You lay these planks without adhesive or locking systems. This method works best in small rooms or temporary spaces.
Cutting and Fitting SPC Planks
You need to cut and fit planks carefully during spc plank flooring installation. Accurate cuts help your spc vinyl flooring look neat and last longer. Always measure twice before you cut. Use a straight edge and pencil to mark your cut line. Cut the plank with a utility knife or a vinyl cutter. Snap the plank along the scored line for a clean edge.
Keep these tolerances in mind during installation steps:
| Installation Step/Aspect | Recommended Tolerance/Measurement | Purpose/Notes |
|---|---|---|
| Expansion gap to walls | 1/4 inch (5 mm) | Allows for expansion and contraction; maintain throughout installation |
| Minimum length of cut planks | At least twice the width of the plank | Ensures proper locking and stability |
| Distance between short ends in parallel rows | Minimum about two times the plank width | Prevents alignment of short ends for structural integrity and aesthetic continuity |
| Use of spacers during installation | Maintain 1/4 inch gap consistently | Keeps expansion gaps uniform and prevents floor from pressing against walls |
| Adjusting for uneven walls | Mark and cut planks to wall contour, still leaving 1/4 inch gap | Ensures proper fit while maintaining expansion space |
| Positioning first row | Place plank 1/4 inch from wall on left side | Helps achieve even width of first and last rows |
| Positioning last plank in first row | Leave 1/4 inch gap to wall; cut plank to fit with minimum length | Ensures proper fit and expansion space |
You may need to trim planks to fit around doorways or obstacles. Mark the shape on the plank, then cut carefully. Always keep the expansion gap, even when fitting planks to uneven walls. Use spacers to help you keep the gap consistent.
Callout: Loose-lay spc plank flooring also needs careful fitting. Even though you do not use adhesive or locking systems, you must still measure and cut each plank for a snug fit.
When you install spc flooring, take your time with each cut. This care ensures your spc flooring installation looks professional and lasts for years.
Staggering Seams in SPC Plank Flooring Installation
You need to stagger the seams when you install spc flooring. This step makes your floor stronger and helps it look more natural. When you stagger the seams, you avoid having the ends of the planks line up in a straight row. This pattern spreads out the joints and keeps the floor from shifting or separating over time.
Start by using the leftover piece from the last plank in the first row as the first plank in the next row. Make sure this piece is at least 8 inches long. If it is too short, cut a new plank in half and use that instead. Always keep the seams at least 6 inches apart from each other. This distance gives your floor a balanced look and adds strength.
Tip: Use a tape measure to check the distance between seams. This habit helps you keep the pattern even across the whole floor.
Here is a simple way to remember the staggering process:
- Lay the first row of planks.
- Use the leftover piece from the last plank to start the next row.
- Make sure the seams are at least 6 inches apart.
- Repeat this pattern for each new row.
Staggering the seams also helps hide any small gaps or mistakes. Your spc flooring installation will look more professional and last longer when you follow this method.
Installing SPC Flooring Around Doors and Obstacles
You will face challenges when installing spc flooring around doors, pipes, or other obstacles. Careful planning and precise cuts help you get a clean finish in these tricky spots.
First, measure the space around the obstacle. Mark the plank where you need to cut. Use a utility knife or a jigsaw to make the cut. Always leave a 1/4 inch gap around the obstacle. This gap lets the spc vinyl plank expand and contract with changes in temperature.
For door frames, you can undercut the frame so the plank slides underneath. Place a scrap piece of flooring next to the frame. Use a handsaw to trim the bottom of the frame to the right height. Slide the plank under the frame for a neat look.
When you work around pipes, measure the distance from the wall to the pipe. Mark this spot on the plank. Drill a hole slightly larger than the pipe. Cut a small wedge from the plank to the hole. After you fit the plank around the pipe, use a matching filler or trim to cover the gap.
Note: Always keep the expansion gap, even when you cut planks to fit around obstacles. This step prevents buckling and keeps your floor stable.
You can use transition strips where the spc flooring installation meets another type of flooring. These strips cover the gap and give your floor a finished look.
By taking your time and measuring carefully, you can install spc flooring around any obstacle. Your finished floor will look smooth and professional.
Finishing Touches After Installing SPC Flooring
Installing Baseboards and Trim for SPC Flooring
You need to install baseboards and trim to complete your flooring project. These finishing pieces cover the expansion gap left along the walls. Start by measuring each wall and cutting the baseboards to fit. Use a miter saw for clean corners. Nail the baseboards to the wall, not the floor. This method allows your floor to expand and contract without problems. Add quarter-round trim for a polished look if you want extra coverage. Baseboards and trim help prevent dirt and moisture from getting under your new floor.
Tip: Paint or stain your baseboards before installation to save time and avoid mess on your new floor.
Cleaning Up After SPC Flooring Installation
After you finish the installation, you should clean the area. Remove all spacers and sweep up dust and debris. Use a damp mop or soft cloth to wipe the surface. Avoid using steam cleaners or harsh chemicals. These can damage the SPC core and reduce the lifespan of your floor. Routine cleaning with non-abrasive methods keeps your floor looking new and protects its surface. Place rugs or mats at entryways to trap dirt and moisture before it reaches your vinyl floor.
- Proper cleaning prevents warping, bubbling, and gaps.
- Regular care maintains the appearance and strength of your floor.
- Avoid sharp objects and high heels to minimize scratches.
Protecting Your New SPC Vinyl Plank Floor
You can keep your spc vinyl flooring in top shape with a few simple steps. Place furniture pads under heavy items to avoid dents and scratches. Use rugs in high-traffic areas to catch dirt and moisture. The protective layers in your floor resist stains and scratches, but you should still clean up spills quickly. Do not use steam cleaners, as heat and moisture can harm the SPC core. If you notice any damage, repair it right away to prevent further wear.
| Finishing Touch | Description | Impact on Longevity |
|---|---|---|
| Furniture Pads | Place under heavy furniture | Prevents scratches and dents |
| Regular Cleaning | Use damp mop or soft cloth | Maintains appearance and durability |
| Avoid Steam Cleaners | Do not use on SPC vinyl flooring | Protects SPC core from heat and moisture |
| Rugs and Mats | Place at entryways | Traps dirt and moisture |
| Prompt Repairs | Fix damage quickly | Stops further wear and tear |
Your new floor can last 10 to 25 years or more with these simple habits. The UV coating and wear layer protect against stains and fading. The waterproof core keeps out moisture and prevents mold. These features make maintenance easy and help your floor stay beautiful for years.
Aftercare and Maintenance for SPC Vinyl Plank
You want your SPC vinyl plank floor to look great for years. Good aftercare starts right after installation. This type of waterproof flooring stands up to spills and stains, but regular cleaning keeps it looking new. You do not need to wax or polish the surface. Instead, focus on simple daily and weekly habits.
Here are some best practices for caring for your floor:
- Sweep or vacuum every day to remove dirt and grit.
- Wipe up spills right away to prevent stains.
- Use a damp mop with a pH-neutral cleaner once a week.
- Place mats at doors and pads under furniture to avoid scratches.
- Check the edges of planks each month for lifting or damage.
Tip: Avoid using harsh chemicals or steam cleaners. These can damage the floor’s surface.
The table below shows how often you should perform each maintenance task and how it helps your floor last longer:
| Maintenance Task | Frequency | Durability Impact |
|---|---|---|
| Dry Cleaning | Daily | Stops dirt from scratching the surface |
| Damp Mopping | Weekly | Keeps the floor clean without causing wear |
| Deep Cleaning | Quarterly | Refreshes the finish and removes stubborn dirt |
| Plank Inspection | Monthly | Catches problems early and prevents water damage |
| Surface Treatment | Not needed | The scratch-resistant layer protects the floor |
You save time and money with these habits. SPC vinyl plank floors need less care than hardwood or laminate. The waterproof core blocks moisture, so you do not worry about spills or pet accidents. Most household cleaners work well for stain removal. You do not need climate control or special treatments. These simple steps help your floor stay beautiful and strong for many years.
Installing SPC vinyl plank flooring is a project you can handle with confidence. The click-lock system makes the process simple and requires only basic tools. Careful preparation, such as cleaning the subfloor and letting the planks acclimate, leads to a smooth installation.
- Plan your layout and gather your tools before you begin.
- Take your time with each step for the best results.
You will enjoy a durable, stylish floor that looks professionally installed and saves you money.
FAQ
How long does it take to install SPC vinyl plank flooring?
You can usually finish a standard room in one day. Larger rooms or complex layouts may take longer. Plan for extra time if you need to move furniture or prepare the subfloor.
Can you install SPC flooring over existing tile or hardwood?
Yes, you can install SPC vinyl plank over most hard surfaces. Make sure the old floor is clean, dry, and level. Remove any loose tiles or boards before you start.
Do you need underlayment for SPC vinyl plank flooring?
Most SPC planks have a built-in underlayment. If your product does not, use a thin underlayment for added comfort and sound reduction. Always check the manufacturer’s instructions.
What should you do if a plank gets damaged?
You can replace a damaged plank. For click-lock floors, remove the baseboard and unlock the planks until you reach the damaged one. For glue-down floors, cut out the damaged plank and glue in a new one.
Is SPC vinyl plank flooring waterproof?
Yes, SPC vinyl plank flooring is 100% waterproof. You can use it in kitchens, bathrooms, and basements. Wipe up spills quickly to keep your floor looking its best.




