
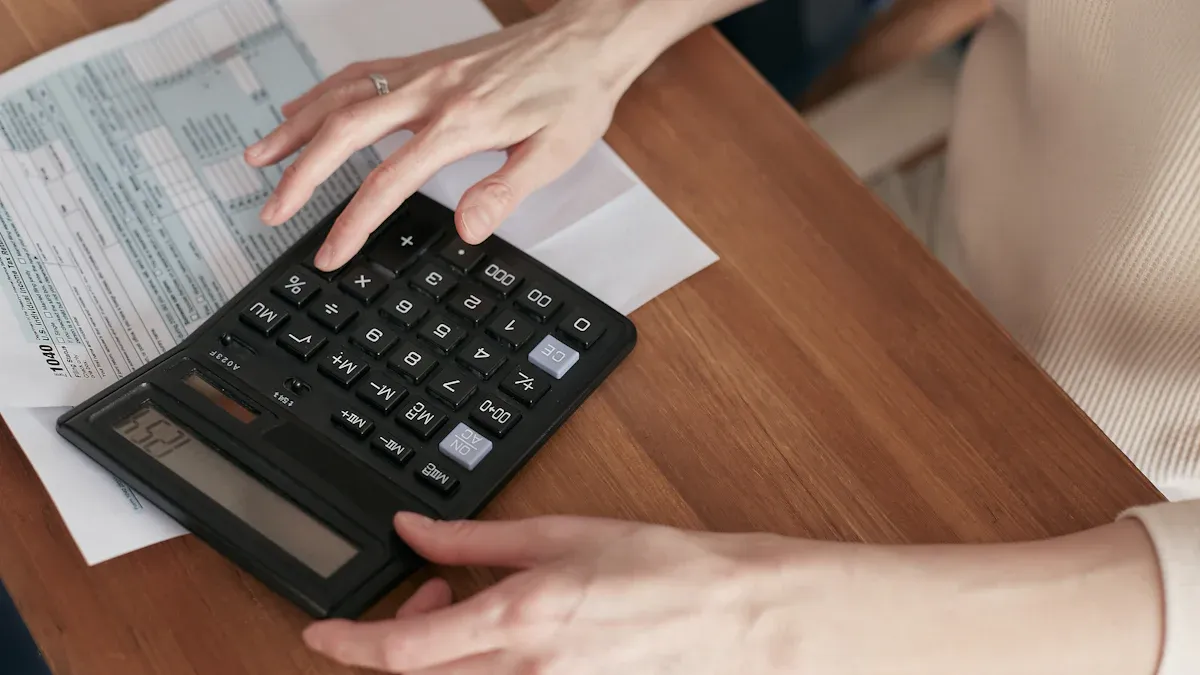
Are you planning to install new floors? A vinyl plank flooring calculator can be your best friend. This tool helps you make accurate estimates for your flooring project. You can avoid costly mistakes by calculating the right amount of material needed. With a flooring calculator, you gain confidence in your budgeting. You will know the total cost before you start, which means fewer surprises. Save time and money by using this essential tool.
Importance of Accurate Measurements
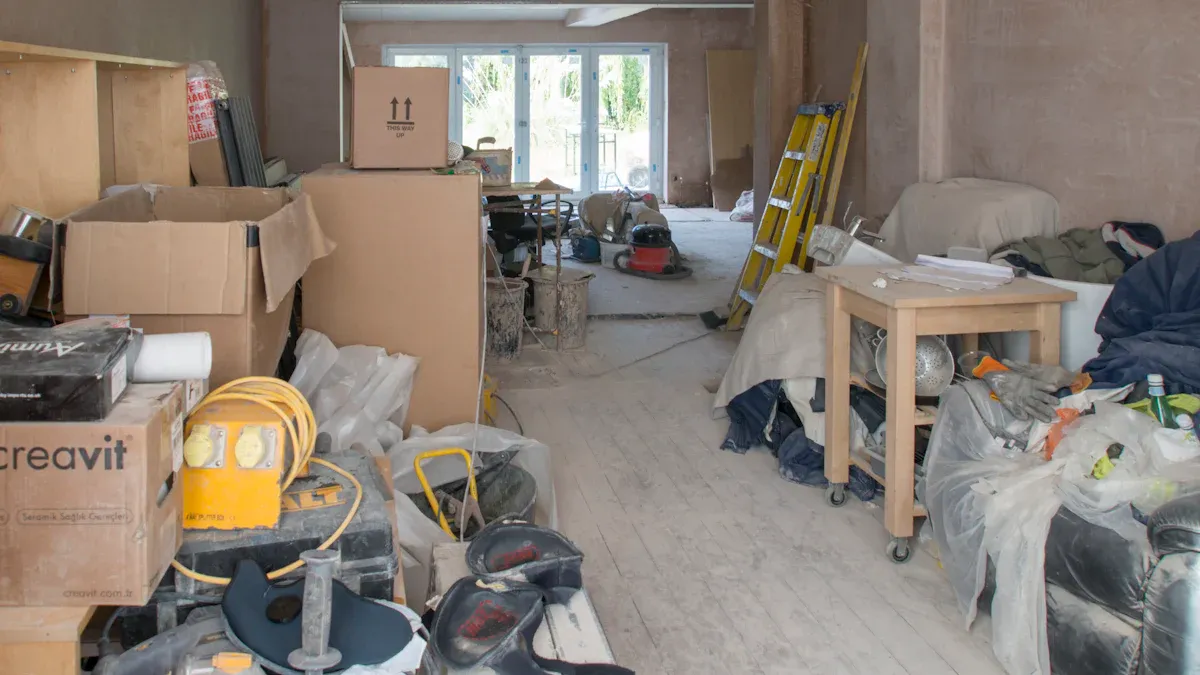
Accurate measurements play a crucial role in any flooring project. When you measure your space correctly, you set the foundation for a successful installation. Inaccurate measurements can lead to various issues that may complicate your project and inflate your budget. Here are some common measurement errors to avoid:
- Leaving inadequate expansion gaps around the room perimeter. These gaps are necessary to accommodate vinyl plank expansion and prevent buckling or warping.
- Incorrectly undercutting door jambs due to inaccurate measuring. This mistake can lead to uneven transitions and a poor appearance.
- Failing to remove baseboards and trim before installation. This oversight can cause difficulties in achieving a properly finished edge and risks buckling if baseboards press tightly against the flooring.
- Poor subfloor preparation, including not leveling and repairing imperfections. This affects the stability and fit of the flooring.
- Not planning the layout properly, which can result in awkward seams and uneven plank widths at edges.
Inaccurate measurements can also impact your total costs. For instance, if you underestimate the area, you may run out of materials, causing delays and extra costs for reordering. Conversely, overestimating leads to buying excess materials, unnecessarily increasing your total project cost. Additionally, improper waste factor application due to inaccurate measurements can further inflate expenses.
To achieve accurate floor covering estimates, always double-check your measurements. Account for all areas and obstacles in your space. By doing so, you can ensure that you have the right amount of material, leading to accurate results and a smoother installation process.
Using the Vinyl Plank Flooring Calculator

Using a vinyl plank flooring calculator can simplify your flooring project. This tool helps you make precise calculations, ensuring you order the right amount of material. Here are the steps involved in using a vinyl plank flooring calculator for a standard room:
- Measure the length and width of the room or flooring project.
- Calculate the total area by multiplying the length by the width. For irregular rooms, divide the space into smaller rectangles and sum their areas.
- Add 10% extra to the total area to account for waste and overage.
- Determine the coverage per case of vinyl planks, which usually ranges from 18 to 25 square feet per case.
- Divide the adjusted total area by the coverage per case.
- Round up the result to the nearest whole number to find the number of cases needed.
Tip: For plank flooring in kitchens, subtract cabinet areas from the total measurement. Always measure under trim and add a few inches to accommodate walls that are not perfectly square.
When selecting a vinyl plank flooring calculator, consider these important features:
- Precise input of floor area dimensions and flooring material dimensions is essential for accurate calculation.
- The option to add a wastage percentage (typically 5-10%) helps prevent material shortages.
- Flexibility in units of measurement (mm, cm, m, inches, feet) allows you to work with your preferred measurements.
- Ability to enter price per unit or per square measurement enables accurate cost estimation.
- Capability to compare different flooring materials helps you make informed decisions based on cost and style.
- Support for multiple rooms and inclusion of all project costs ensures comprehensive budgeting.
Mistakes often occur when inputting data into the calculator. Here are some common errors to avoid:
- Failing to measure all parts of the room, including architectural features like chimneys and bay windows.
- Incorrectly converting units, such as from square feet to square meters.
- Not allowing for waste material by neglecting to add an extra 5-10% to the total estimate.
- Measuring only once without double-checking, increasing the risk of errors.
- Errors in calculating areas, especially in irregular or L-shaped rooms.
To adjust for irregular room shapes, break down the space into smaller, manageable shapes. Measure each shape separately and sum the areas to get the total square footage. Always measure the widest parts of the room, including any bump-outs or irregular sections.
Using a vinyl plank flooring calculator not only helps you calculate flooring costs but also ensures you have accurate results for your project. This tool can lead to efficient floor renovation cost estimation, saving you time and money.
Understanding Material Dimensions
When you choose vinyl plank flooring, understanding material dimensions is essential. The thickness, width, and length of the planks can significantly impact your project. Here’s what you need to know:
- Thickness: Vinyl plank flooring typically ranges from 2mm to 15mm. Common thicknesses include:
- 2mm (1/12 inch) – thinnest option
- 4mm (5/32 inch) – entry-level thickness
- 5mm (3/16 inch) – standard residential thickness
- 6.5mm (1/4 inch) – premium residential thickness
- 8mm (5/16 inch) – commercial grade thickness
- 12mm (1/2 inch) – premium commercial grade thickness
The most common thickness range for vinyl planks is between 6.5mm and 9.5mm, suitable for most residential and commercial applications. Thicker planks provide better durability, sound insulation, and comfort underfoot, making them ideal for heavy commercial settings.
-
Width and Length: Vinyl planks come in various widths and lengths. Standard widths typically range from 6 inches to 12 inches, while lengths can vary from 36 inches to 72 inches or more. Choosing the right dimensions affects the overall look and feel of your space. Wider planks can create a more spacious appearance, while narrower planks may suit smaller areas better.
-
Wear Layer Thickness: The wear layer is crucial for durability. It typically ranges from 6 mils to 30 mils. A thicker wear layer offers better protection against scratches and dents, making it essential for high-traffic areas.
Understanding how these dimensions affect your project is vital for calculating material quantities accurately. For instance, if you select wider planks, you may need fewer pieces to cover the same area compared to narrower planks. This can influence the total flooring materials required and ultimately affect your material costs.
Tip: Always check the manufacturer’s specifications for the recommended overlap or spacing during installation. Proper staggering of seams enhances structural integrity and prevents weak points in your flooring.
| Key Point | Details |
|---|---|
| Minimum stagger distance | At least 6 inches offset between seams in adjacent rows |
| Optimal stagger range | 6 to 12 inches for better structural integrity |
| Purpose of staggering | Prevents seams from aligning, strengthens floor, avoids small last planks |
| Expansion gap at wall | Approximately 1/4 inch to prevent buckling due to humidity changes |
By understanding these material dimensions, you can make informed decisions when using a flooring calculator. Accurate calculations will help you avoid costly mistakes and ensure you order the right amount of material for your project.
Accounting for Wastage
When planning your vinyl plank flooring project, accounting for wastage is essential. During installation, you will likely encounter cuts, mistakes, and layout challenges that can lead to excess material being used. To avoid running short on flooring, you should add approximately 10% extra to your measured square footage. This extra material covers the typical waste factor, which ranges from 5% to 10% for vinyl plank flooring.
Several factors contribute to material wastage in vinyl plank projects:
- Cuts and Fitting: You need to cut planks to fit around corners, doorways, and other obstacles. This cutting process generates waste.
- Room Shape: Irregularly shaped rooms or those with multiple angles often require more cuts, increasing the waste percentage.
- Color Matching: If you need to match colors from different production batches, you may end up with leftover pieces that cannot be used.
- Installation Method: Laying planks parallel to the longest wall can minimize cuts and reduce waste. Conversely, diagonal installations often lead to more waste due to increased cutting.
Professional installers recommend budgeting for 5% to 15% extra material to cover these factors. This approach helps you avoid the hassle of sourcing matching material later. It also ensures that your project runs smoothly without delays or unexpected costs.
To summarize, always account for flooring wastage when using a flooring calculator. By doing so, you can ensure you order enough material for your project while staying within budget. Remember, planning for waste not only saves you money but also helps you achieve a professional-looking installation.
Calculating Total Costs
When planning your vinyl plank flooring project, calculating total costs is essential. You need to consider both material and installation expenses to create an accurate budget. Here’s how to break down the costs effectively:
-
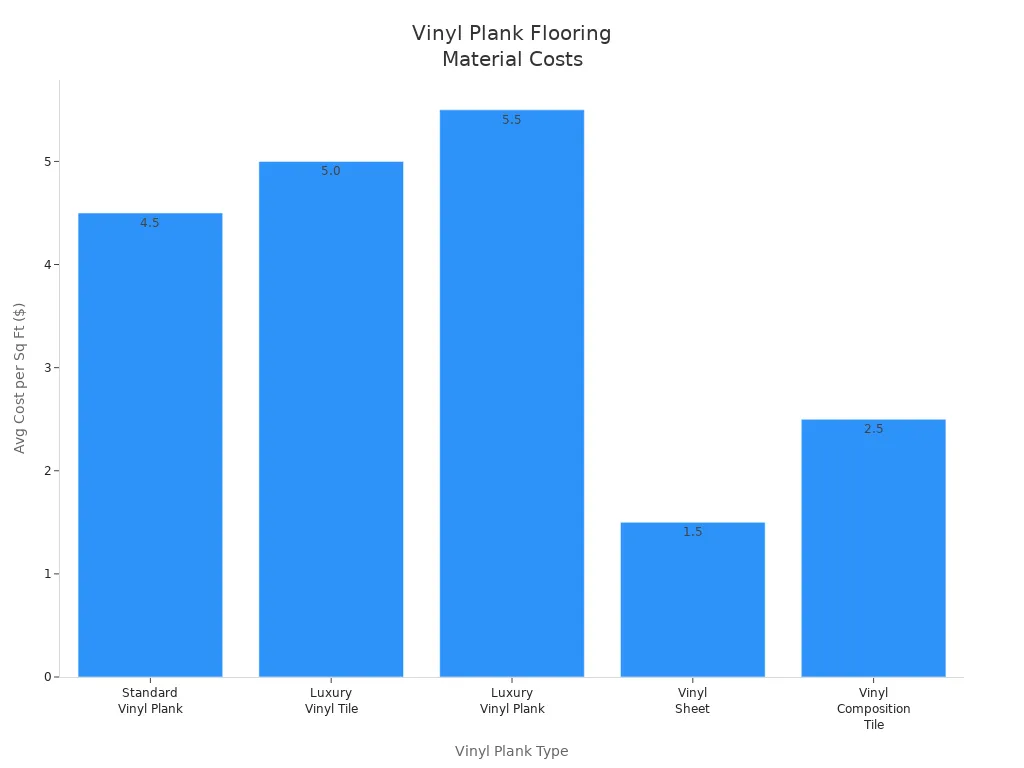
Material Costs: Start by determining the type of vinyl plank you want. The average material costs per square foot for various vinyl plank flooring types are approximately:
Vinyl Plank Type Average Material Cost per Square Foot Standard Vinyl Plank $4.50 Luxury Vinyl Tile $5.00 Luxury Vinyl Plank $5.50 Vinyl Sheet $1.50 Vinyl Composition Tile $2.50 This data indicates that vinyl plank flooring material costs generally range from about $1.50 to $5.50 per square foot, depending on the specific type.
-
Installation Costs: Installation costs can vary significantly based on your location. For example, in metropolitan areas, you might pay between $2.50 and $15 per square foot, while rural areas often have lower rates. Factors influencing installation costs include:
- Labor costs, which typically range from $1.50 to $7 per square foot.
- The complexity of the installation method. Peel-and-stick options are usually less expensive than glue-down methods.
- Room size and layout. Larger, open spaces often reduce per-square-foot costs.
-
Additional Expenses: Don’t forget to account for other costs that may arise during your project. Consider these potential expenses:
- Subfloor preparation, which may require repairs or leveling.
- Underlayment costs, typically ranging from $0.30 to $0.50 per square foot.
- Removal and disposal fees for existing flooring.
- Trim and molding replacement to match your new flooring.
By carefully estimating these costs, you can avoid surprises and ensure your total project costs stay within budget. Using a vinyl plank flooring calculator can help streamline this process, allowing you to input your measurements and get a clear picture of your overall expenses.
Using a vinyl plank flooring calculator can significantly enhance your flooring project. These tools simplify the measuring process, especially for irregular spaces. They provide precise calculations, helping you avoid ordering too little or too much material. This accuracy reduces project stress and minimizes costly mistakes.
Remember, even small miscalculations can disrupt your budget and delay installation. By automating measurements and calculations, these calculators help you plan confidently.
Take the first step in your flooring project today. Embrace the power of a vinyl plank flooring calculator to ensure a successful and budget-friendly installation! 🛠️✨
FAQ
What is a vinyl plank flooring calculator?
A vinyl plank flooring calculator is a tool that helps you estimate the amount of flooring material needed for your project. It considers room dimensions, waste factors, and material coverage to provide accurate calculations.
How do I measure my room for flooring?
To measure your room, use a tape measure to find the length and width. Multiply these dimensions to get the area. For irregular spaces, divide the area into smaller rectangles, measure each, and sum their areas.
Why should I account for wastage?
Accounting for wastage ensures you have enough material to cover cuts and mistakes during installation. Adding 10% extra helps avoid running short on flooring and prevents delays in your project.
Can I install vinyl plank flooring myself?
Yes, you can install vinyl plank flooring yourself if you have basic DIY skills. Follow manufacturer instructions and use the right tools. However, consider hiring a professional for complex layouts or large areas.
How do I choose the right vinyl plank thickness?
Choose vinyl plank thickness based on your space’s traffic level. Thicker planks offer better durability and comfort. For residential areas, 5mm to 9.5mm is ideal, while commercial spaces may require 8mm or thicker options.




