
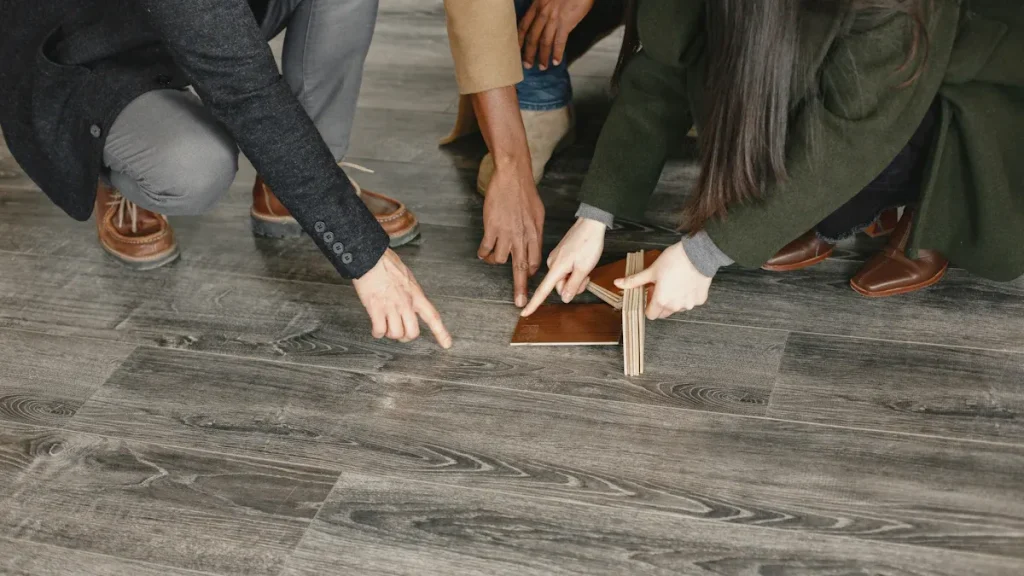
SPC flooring, or Stone Plastic Composite flooring, is a tough and water-resistant option for your home. It’s perfect for areas like kitchens or bathrooms. Cutting it accurately is key to achieving a polished, professional look. Whether you’re a DIY enthusiast or a beginner, learning how to cut SPC flooring can make your project a success.
Key Takeaways
- Collect important tools like a sharp knife, small saw, and jigsaw to cut SPC flooring well.
- Measure two times and mark clearly before cutting to be exact and save material.
- Use sharp tools and wear safety gear like gloves and goggles to stay safe and make neat cuts.
Tools for Cutting SPC Flooring
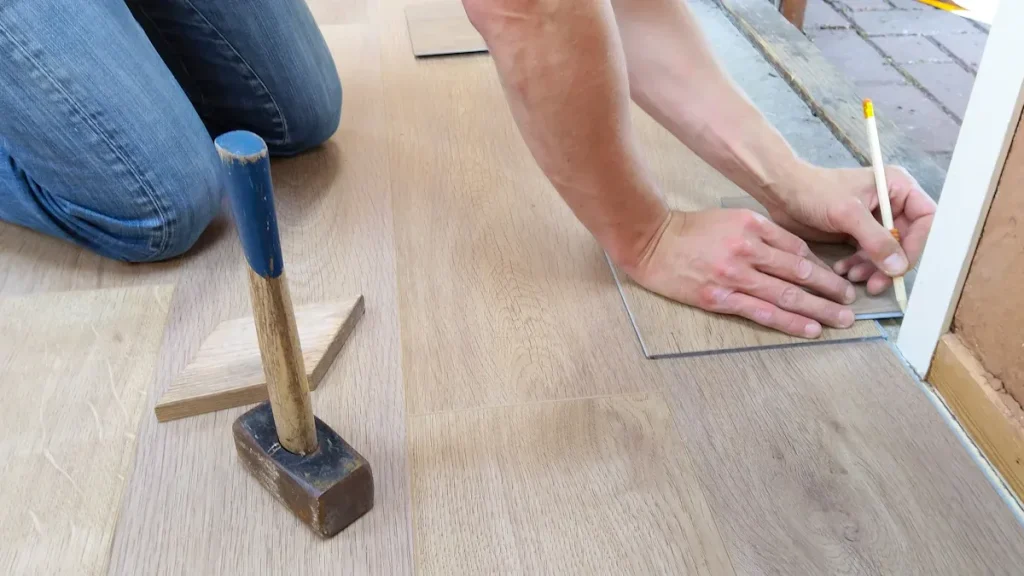
When it comes to cutting SPC flooring, having the right tools makes all the difference. Let’s break down what you’ll need to get started.
Essential Tools (Utility Knife, Circular Saw, Jigsaw)
You don’t need a ton of fancy equipment to cut SPC flooring, but a few key tools are must-haves. A utility knife is perfect for trimming planks to size, especially for straight cuts along edges or corners. If you’re working on larger pieces, a circular saw can help you make quick, precise cuts. For more detailed work, like cutting around pipes or irregular shapes, a jigsaw is your go-to tool. Pair these with a T-square or straight edge to ensure your cuts are clean and accurate.
Tip: Always use sharp blades or knives. Dull tools can damage the flooring and make cutting harder.
Safety Gear (Gloves, Safety Glasses)
Safety should always come first. Cutting SPC flooring can create small debris or sharp edges, so protect yourself. Wear safety glasses to shield your eyes from flying particles. Gloves are also a good idea to prevent cuts or scrapes while handling the planks. In fact, organizations like OSHA recommend eye protection when using power tools, so don’t skip this step.
Optional Tools for Complex Cuts (Fine-Toothed Handsaw)
For those tricky, detailed cuts, a fine-toothed handsaw can be a lifesaver. It’s especially useful for curves or intricate designs that a jigsaw might struggle with. While not essential for every project, it’s a handy tool to have in your arsenal if you’re tackling a more complex layout.
Note: After cutting, sanding the edges lightly can help smooth out any rough spots and give your flooring a polished look.
By gathering these tools and safety gear, you’ll be well-prepared to tackle your SPC flooring project with confidence.
How To Cut SPC Flooring: Step-by-Step Guide
Measuring and Marking the Flooring
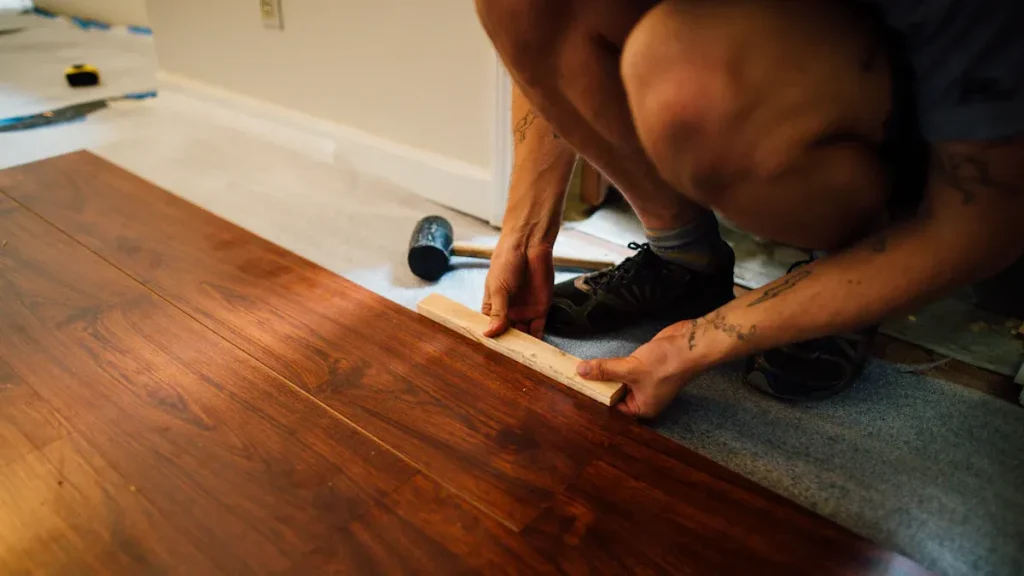
Before making any cuts, accurate measurements are crucial. Start by measuring the length and width of your room in either inches or centimeters. This ensures you know exactly how much flooring you’ll need. When you reach the edges of the room or areas like door frames, measure the remaining space carefully. Mark these measurements directly onto the SPC plank using a pencil or marker.
For straight cuts, use a straight edge or T-square to draw a clear line where you’ll cut. If you’re working around obstacles like pipes or corners, take your time marking the shape. Double-check your measurements before moving on. Remember, precise marking is the foundation of a clean cut.
Tip: Always measure twice to avoid wasting material.
Scoring and Snapping Straight Cuts
Once you’ve marked the plank, it’s time to cut. For straight cuts, grab your utility knife and align it with the marked line. Hold a straight edge firmly against the plank and score along the line with the knife. Apply steady pressure to create a deep groove.
After scoring, bend the plank backward along the cut line. It should snap cleanly. Flip the plank over and cut through the backing along the same line to separate it completely. This method works well for most straight cuts and keeps the process simple.
Note: Scoring and snapping is a quick and efficient way to cut SPC flooring without needing power tools.
Using a Saw for Complex or Irregular Cuts
For irregular shapes or detailed cuts, a saw is your best friend. A jigsaw works great for cutting around pipes or creating curves. If you’re dealing with intricate designs, consider using a fine-toothed handsaw for better control.
Before cutting, secure the plank on a stable surface to prevent movement. Follow your marked lines carefully, and take your time to avoid mistakes. If you’re using a circular saw, make sure to use a blade designed for fine cuts to minimize splintering.
Pro Tip: Practice on a scrap piece of flooring before tackling complex cuts. This helps you get comfortable with the tool and ensures a cleaner result.
Tips for Clean and Accurate Cuts
Avoiding Splintering and Damage
When cutting SPC flooring, splintering can ruin the clean look you’re aiming for. To avoid this, always use sharp tools. A dull blade or knife can tear the material instead of slicing through it smoothly. For straight cuts, a utility knife paired with a T-square or straight edge works wonders. Hold the plank steady and score firmly along your marked line.
If you’re using a saw, make sure the blade is designed for SPC materials. Tungsten steel or cold saw blades are excellent choices. They reduce the risk of splintering and ensure a cleaner cut. Also, secure the plank on a stable surface before cutting. This prevents unnecessary movement that could damage the flooring.
Tip: Always cut with the decorative side facing up to minimize visible splintering.
Ensuring Smooth Edges
Rough edges can make installation tricky and leave your flooring looking unpolished. After cutting, take a moment to smooth out the edges. Sandpaper or a fine file works great for this. Gently sand along the cut edge to remove burrs or jagged spots.
For even smoother results, use a floor-cutting machine or a curve saw with a sharp blade. These tools are designed to handle SPC materials and leave a clean finish. Remember, the smoother the edges, the easier it will be to fit the planks together seamlessly.
Pro Tip: Test your cut piece by fitting it into place before moving on to the next plank. This ensures everything aligns perfectly.
Choosing the Right Blade or Knife
The right tool can make all the difference when learning how to cut SPC flooring. For straight cuts, a utility knife is your best bet. Pair it with a straight edge to score and snap the plank cleanly. For more complex cuts, like curves or notches, a jigsaw with a fine-toothed blade is ideal.
If you’re using a saw, choose a blade specifically designed for SPC flooring. Tungsten steel blades are highly recommended for their precision and durability. Avoid general-purpose blades, as they can leave rough edges or even damage the material.
Note: Always check your tools before starting. A sharp blade not only ensures clean cuts but also makes the process safer and faster.
Post-Cutting Steps for SPC Flooring
Sanding or Smoothing Edges
After cutting SPC flooring, you’ll want to smooth out the edges for a polished look. Rough edges can make installation harder and might even cause gaps between planks. To fix this, grab some sandpaper or a fine file. Gently sand along the cut edge to remove any burrs or jagged spots. This step ensures the planks fit together seamlessly and gives your flooring a professional finish.
Here’s why sanding is so important:
- It eliminates sharp edges that could damage other planks during installation.
- It helps the planks align perfectly, reducing visible gaps.
- It prevents splinters or uneven surfaces that might affect the final look.
Take your time with this step. A little extra effort here can save you from headaches later during installation.
Tip: Use fine-grit sandpaper for the best results. It’s gentle on the material and leaves a smooth finish.
Preparing the Flooring for Installation
Before you start installing your SPC flooring, preparation is key. A clean and level subfloor is essential for a flawless finish. Make sure the surface is free of dirt, cracks, or uneven spots. If you notice any irregularities, use a leveling compound to fix them.
Another important step is acclimating the flooring. Let the planks sit in the room for at least 48 hours. This helps them adjust to the temperature and humidity, preventing issues like expansion or contraction after installation.
Here’s a quick guide to preparing your flooring:
| Aspect | Details |
|---|---|
| Surface Preparation | Ensure the subfloor is clean, flat, and crack-free. Use leveling compound for irregularities. |
| Acclimation | Allow SPC flooring to acclimate for 48 hours to prevent expansion or contraction post-installation. |
By following these steps, you’ll set yourself up for a smooth and successful installation.
Pro Tip: Double-check the subfloor for moisture. SPC flooring is water-resistant, but a damp subfloor can still cause problems over time.
Cutting SPC flooring doesn’t have to be intimidating. With the right tools—like a utility knife, jigsaw, or circular saw—and careful preparation, you can achieve clean, professional results.
Remember: Accuracy and patience are your best friends during this process.
Follow this guide step by step, and you’ll be ready to install your flooring like a pro!
FAQ
How do I avoid mistakes when cutting SPC flooring?
Measure twice before cutting. Use a straight edge for guidance and practice on scrap pieces to build confidence. Patience is key! 🛠️
Can I cut SPC flooring without power tools?
Yes! A utility knife works great for straight cuts. Score and snap the plank for a clean result. No power tools needed.
What’s the best way to handle curved cuts?
Use a jigsaw with a fine-toothed blade. Secure the plank, follow your markings carefully, and take your time for precise curves.
Tip: Always test-fit your cut pieces before installation to ensure accuracy.




